Learn how to use Blender to
achieve efficiency and
individuality by modeling
your drawing style!
Illustrator,Kelly_일러스트레이터 켈리 Details
Class introduction
Class Intro
Illustrator, Kelly
“We would like to teach you the know-how to achieve both efficiency and quality by using the free 3D tool Blender.”
Was it difficult for you to spend more time and energy than before to improve the level of perfection as you became more specialized in illustration?
If you previously had to draw rough sketches repeatedly to get a composition you liked, now you can work faster and more efficiently by calculating light and contrast according to the light source and manipulating the movement of the human body model with the free 3D tool Blender!
Everything from the know-how to color densely like an oil painting, how to form an efficient work cycle, and even to create your own 3D human body modeling that matches your unique deformation and drawing style!
Learn how to use Kelly's Blender and Photoshop now at Coloso, where you can not only strengthen the basics of the human body by looking at pictures in three dimensions, but also take care of both perfection and efficiency.
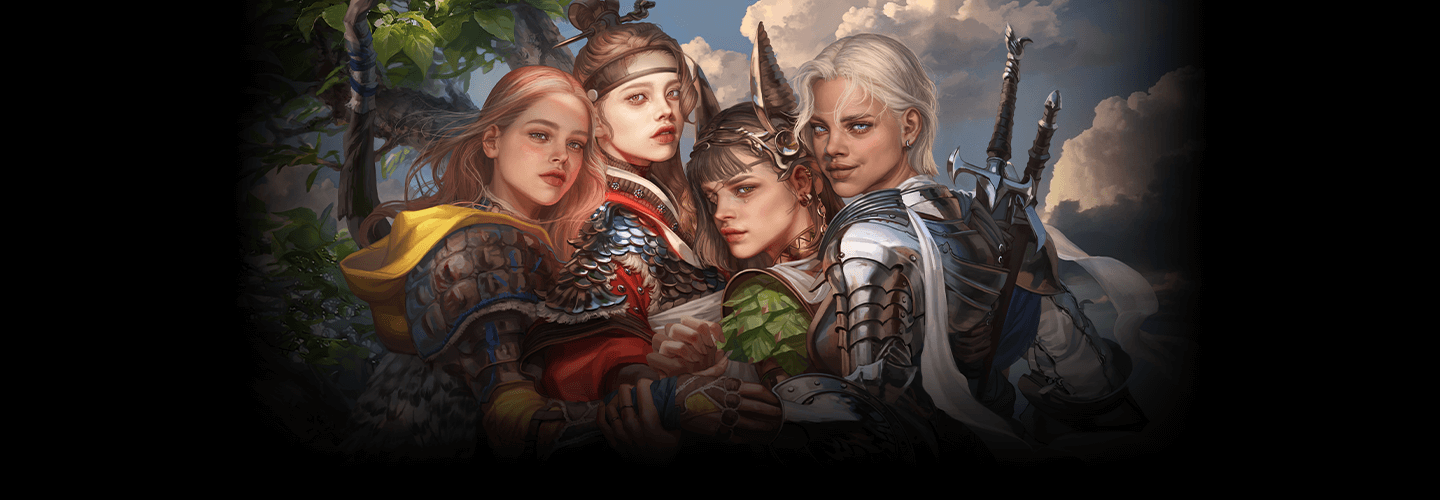
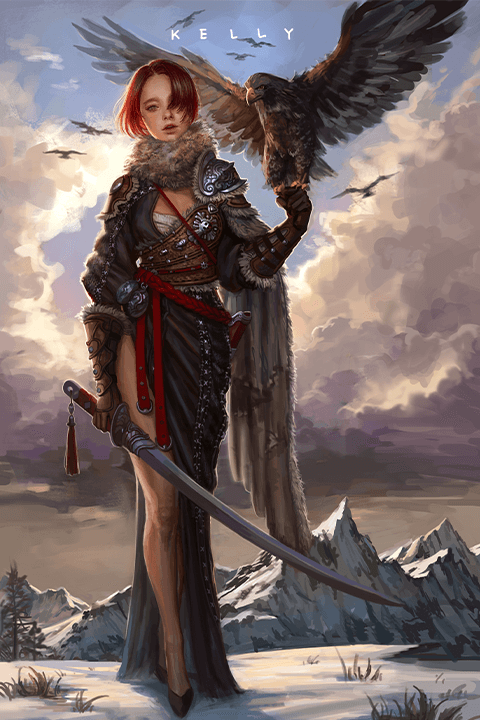
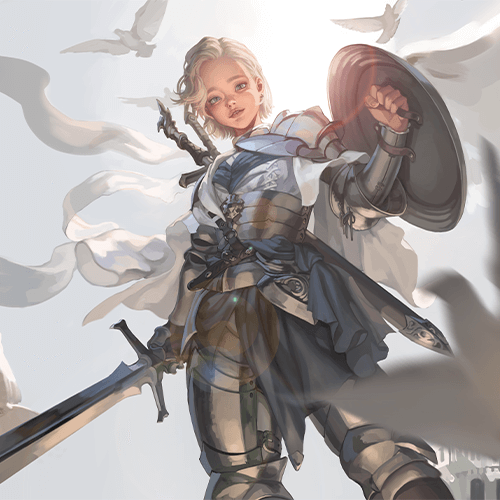
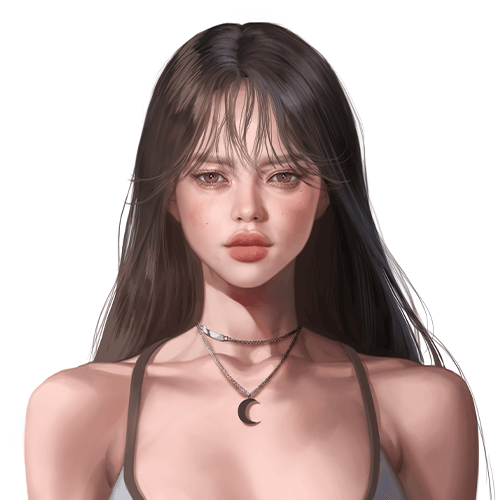
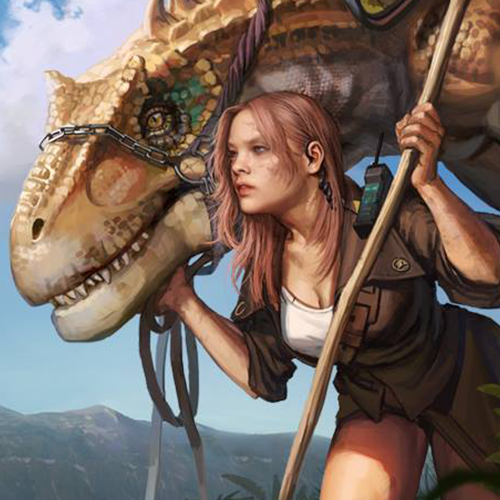
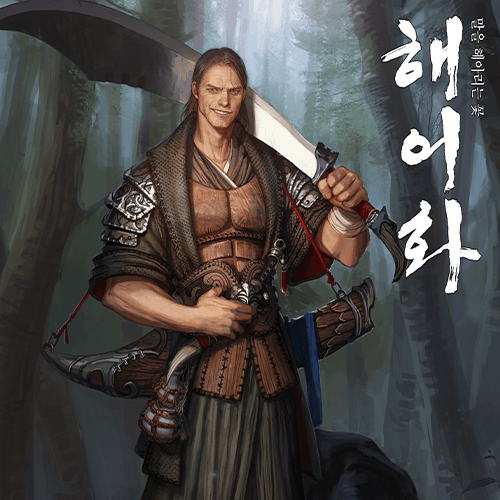
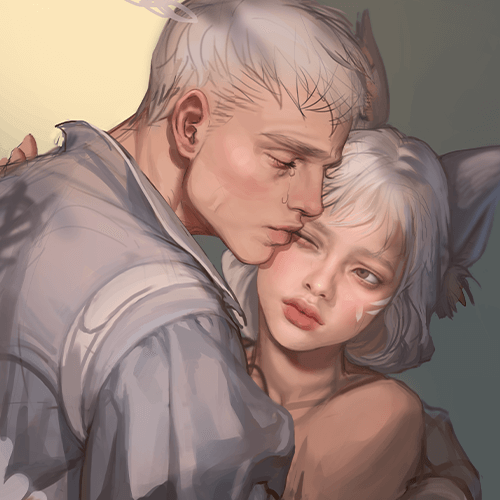
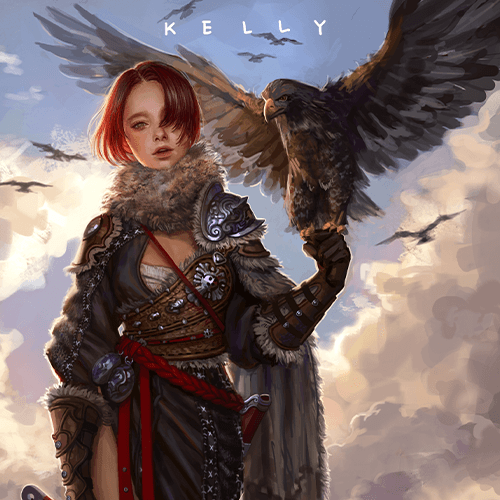
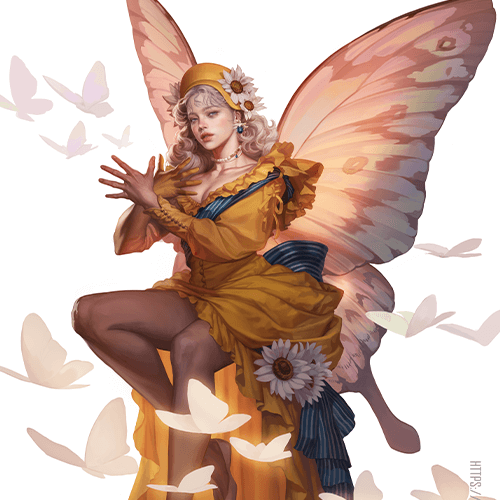
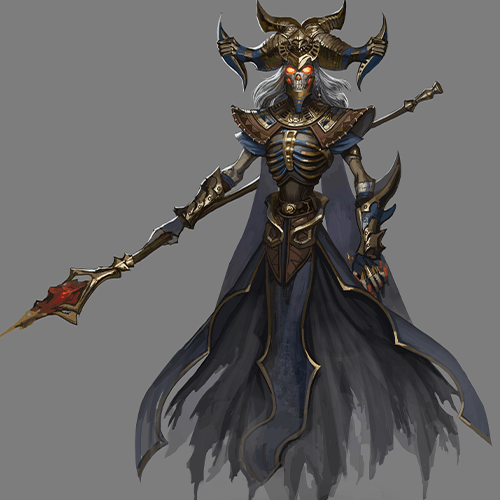
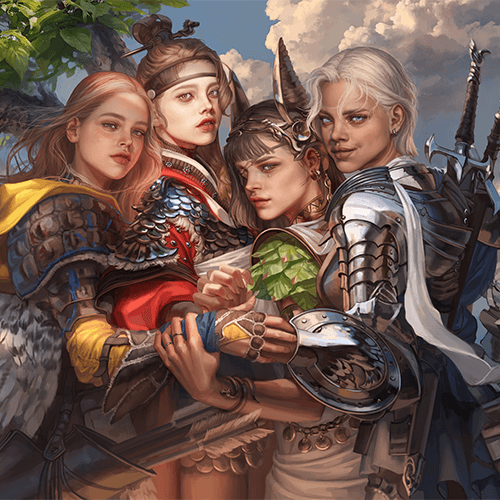
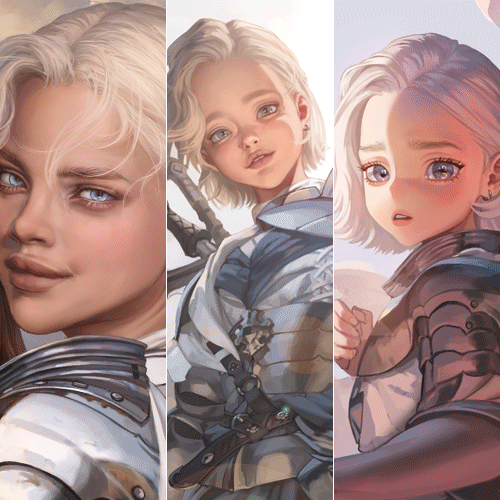
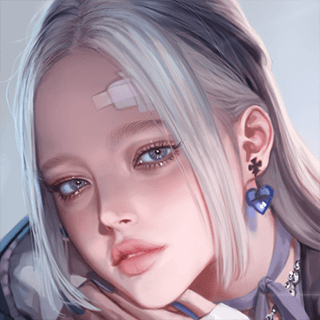
Expert Illustrator Kelly's Portfolio


Why Take This Class?
Have you felt limited in your drawing work due to your lack of basic understanding of the human body structure and the increasing number of simple repetitive tasks?
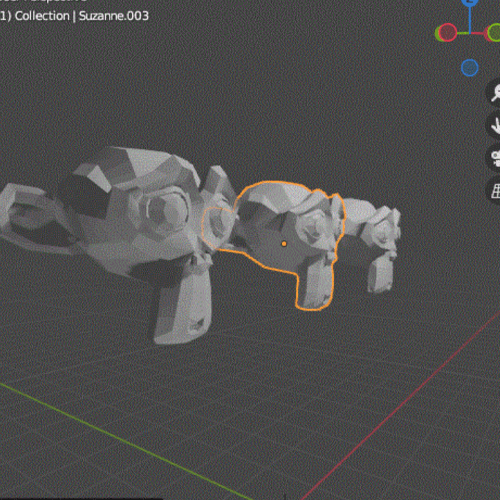
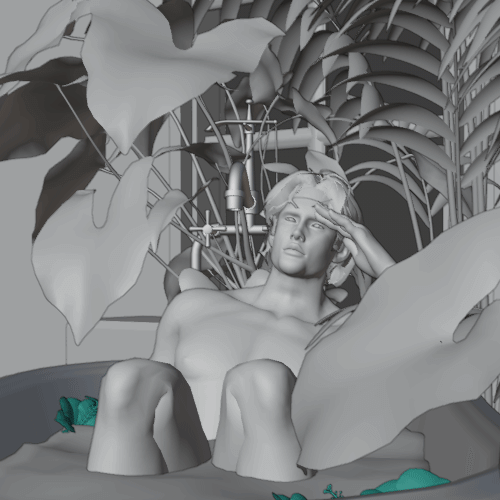
In this class, you will use the free 3D tool Blender to look at the character's human body structure from various angles and understand it three-dimensionally.
Create an easier atmosphere by using light and angles automatically calculated by Blender and modeling props and backgrounds!
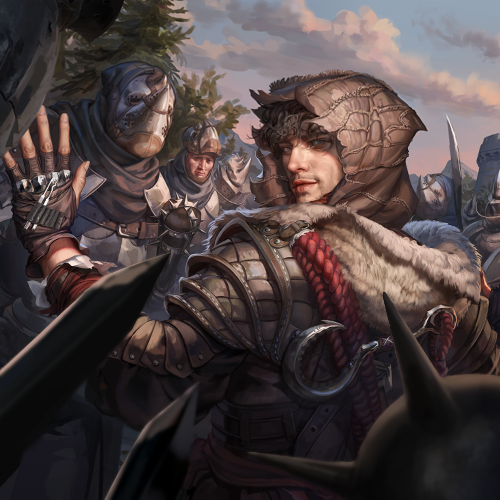
Kelly, an illustrator who has participated in many famous game projects, tells you all based on 9 years of practical experience.

12 Class Exercises
-
How to use blender -
Face custom creation -
human body fabrication -
Character deformation
-
lighting settings -

My drawing modeling -

natural facial expression -
How to use free props
-

Building Density -
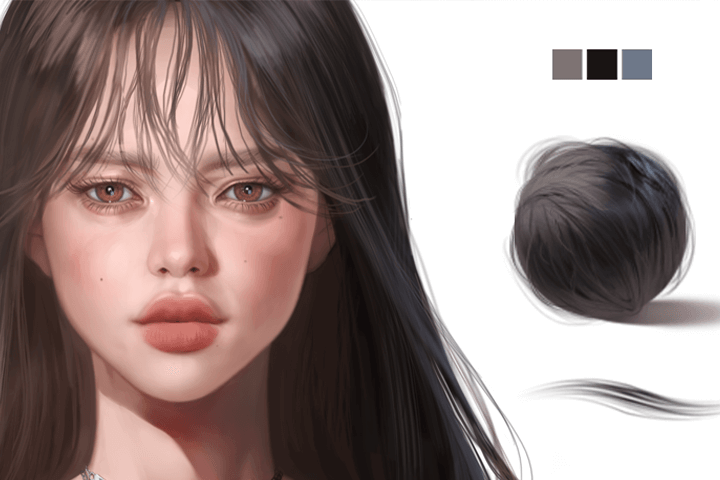
Hair material expression -
Costume material expression -

Finish with details
* This image is an example image to help you understand the class.
Illustrator
Kelly
Hello, this is illustrator Kelly.
I participated in various projects such as Nexon's <Wild Land: Durango>, Smilegate's VR project, and Bluehole MMORPG project.
Every artist wants their paintings to be remembered, and they feel a sense of accomplishment when people relate to what they express.
Through this course, you can expand your options in your work process using 3D tools. I will also learn what I like and what I am good at, and develop the strength to draw consistently.
In particular, in art work that consumes a lot of energy, we will teach you specifically how to improve the quality of the results and use time and energy efficiently.

Illustrator, Kelly
hyeon)
Art Cognitive Instructor
Freelance Illustrator
Projects & Awards
jeon)
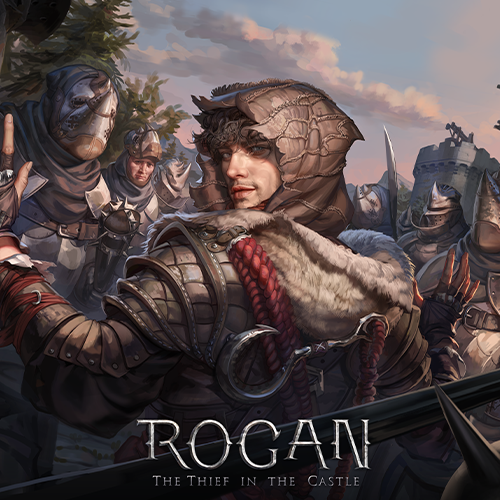
Smilegate | VR Steam " ROGAN: The Thief in the Castle "
Nexon | Mobile Sandbox "Wild Land: Durango"
Blue Hole | PCMMO "project W"
Many other outsourcing projects underway
Class Highlights
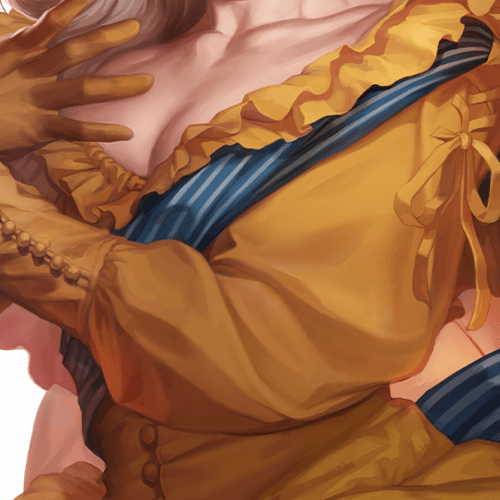
Drawing illustrations combining 2D and 3D
Expand your drawing world beyond 2D to 3D through Blender. I explore the characteristics and individuality of my illustrations by shortening simple work times and broadening my range of skills to strengthen my illustration creation cycle.
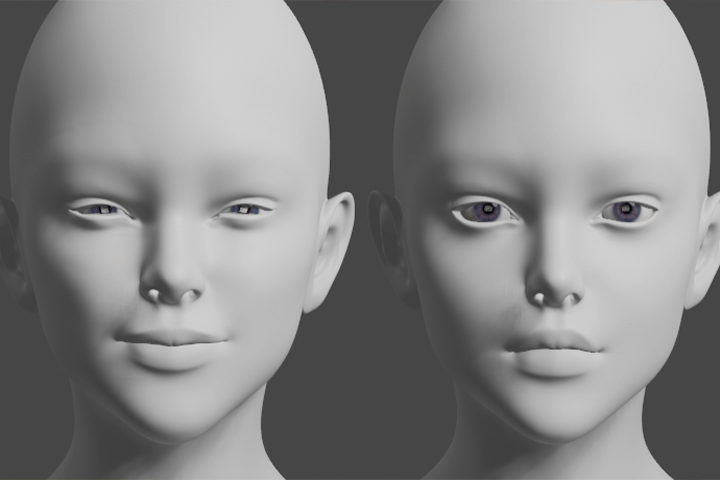
Understanding three-dimensional basics and modeling my drawing style
Through 3D character work, you will study the character's skeleton and muscles in a more three-dimensional way and at the same time strengthen your basic skills. Also, when drawing a picture, you can save time and energy by referring to the desired angle and light by modeling your drawing style or by compositing.
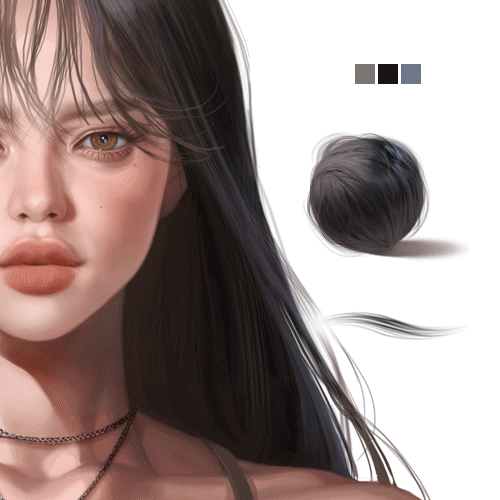
High-density expression with brushes and textures
By using material brushes and photo textures together to create an atmosphere with a preliminary color, you can firm up the tones and organize the angular silhouettes to achieve high-density coloring with delicate yet detailed details like an oil painting.
Class Details
You'll Learn
-
 How to use Blender for 2D artistsFor 2D artists who are unfamiliar with 3D tools, we will learn the basics of Blender, including how to install Blender, basic operation methods, shortcut keys, and engine explanation, and then teach you the basic character work cycle.
 -
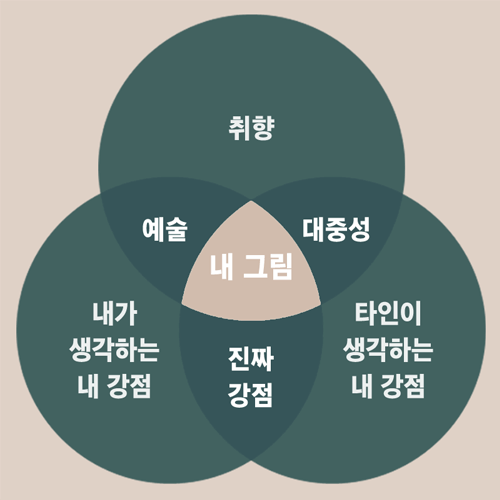 How to distinguish between what I like and what I am good atAfter collecting data, find out what style you want and at the same time distinguish between what you consciously want to do and what you are good at unconsciously. After that, I study my own deformation and work cycle accordingly.
 -
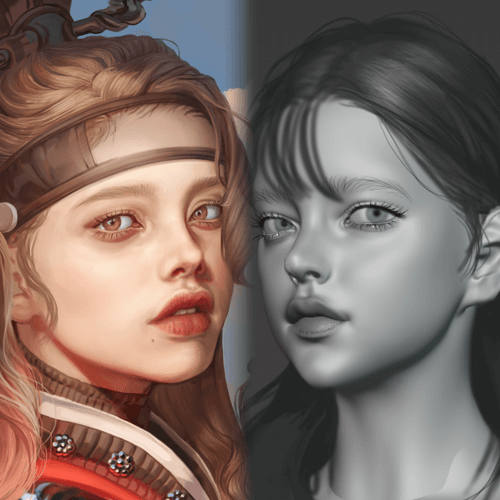 Create my own picture modelingLearn the process of creating a three-dimensional character and examining it from various angles to establish your own style. Afterwards, I will understand the structure of the human body three-dimensionally, take care of the basics, and construct modeling that suits my drawing style that will be useful in the future.
-
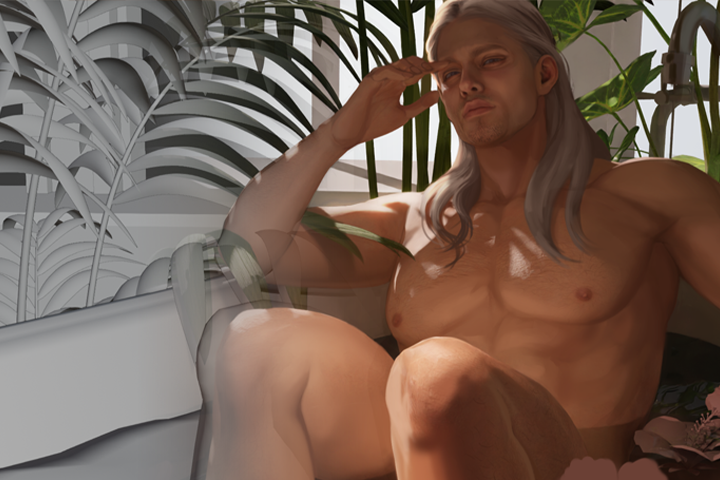
 Working with Photoshop on a 3D basisLearn the process of composing a 3D render shot that sets the ratio of drawing and 3D used, production method, pose, composition, lighting, etc., and drawing on it.
 -
 Draw densely like an oil paintingLearn how to build density, such as coloring layer structure and solid coloring using base colors, organizing silhouettes, and adding emphasis points, and upload the details of the face, hair, clothing, and skin of the created character.
 -
 Create a high-quality painting in a short period of timeBy using Blender and Photoshop, you can create high-quality drawings in a short period of time, increasing the efficiency desired by those who make a living in drawing as well as those who want to learn drawing in depth.
* This image is an example image to help you understand the class.
curriculum
Curriculum
In-Depth Look
SECTION 01. Intro: Why use Blender for illustration work?
01. Why do you use Blender for illustration work?
- How can you keep your job longer and enrich your life?
- Consider your work style
- Advantages of using a blender
SECTION 02. Blender setting basics and character creation preparation
02. Installing and setting up the blender
- Install Blender
- Simple introduction and activation of essential add-ons
- tablet settings
03. Moving and using the blender
- Introduction to the Layout panel and division of the work area
- Blender operation and usage
04. My style, getting to know myself
- Why you need style
- Benefits of having an established style
- How to create a style
05. Customizing characters
- Workflow to create a character
- Introduction to a simple sculpting brush
- Customize your character with provided materials
SECTION 03. Creating characters with Blender
06. Creating character geometry
- Setting up before sculpting
- Setting the character's proportions by creating shapes
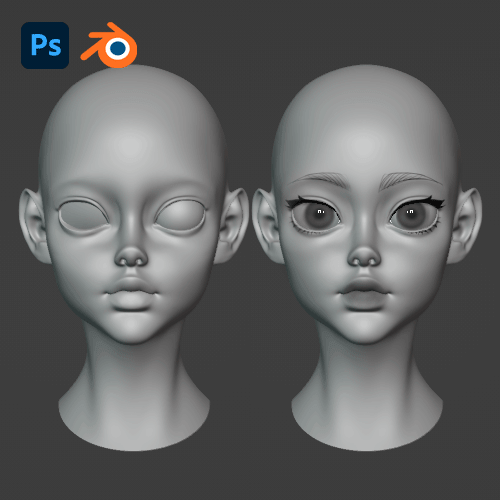
07. Creating a character face
- Create a face by concretizing shapes
- Create deformation projections using Photoshop and Blender simultaneously
08. Making eyes
- Eye modeling
- Connecting Nodes
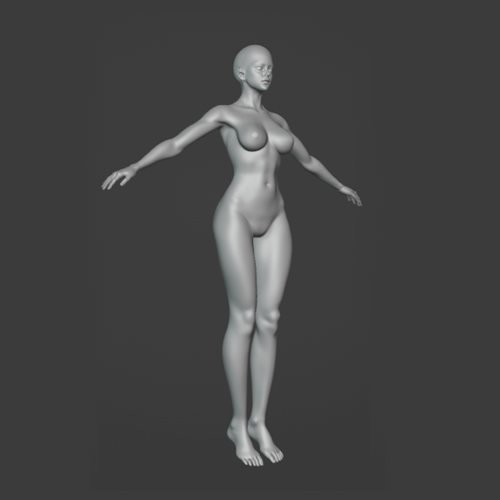
09. Concretization of figure drawing human silhouette
- Create the human body shape into the desired silhouette
- Understand and study three-dimensionally by identifying the position of muscles and skeleton
10. Building the body
- Describing the Torso
- attaching breasts
11. Making arms + hands
- Describe and connect arms and hands
- Copy your finger
12. Making legs + feet
- Describing Legs and Knees
- Copy toes and describe feet
SECTION 04. Setting character facial structure with Blender
13. Free add-on Face Retopology
- Add-on preparation
- Reasons for Retopology
- How to use the add-on Retopoflow and proceed with retopology
- Things to keep in mind when doing retopology
- Doing face retopology
14. Free add-on Upper Body Retopology
- Doing upper body retopology
15. Free add-on Son Retopology
- Doing hand retopology
16. Free add-on Lower Body Retopology
- Doing knee and calf retopology
- Doing foot retopology
17. Retopologize paid add-ons
- Download the base mesh and import it into Blender.
- Matching character poses
- Use pins to adhere polygons and proceed with retopology
18. Cut and Expand UVs
- UV description and precautions
- Cut and Expand UVs
- UV uniformity
19. Normal baking
- effect of normal
- Setting up normal bake
- How to paint with simple colors
20. Planting eyelashes and eyebrows
- Creating eyelashes and eyebrows using particles
SECTION 05. Character rigging and light settings
21. Creating character teeth
- making teeth
- making gums
22. Rigging
- About Rigify
- Precautions before planting and how to resolve expected errors
- Bone planting and automatic weighting
23. Create a pose
- Introduction to weight paint and simple usage instructions
- Correcting the weight value of a moving and distorted part.
- Create a pose
24. Creating character expressions
- How to use Shape Key
- Making facial expressions
25. Add lighting
- Types of Lights
- Expression of color, location and atmosphere of lighting
26. Rendering
- Use the camera comfortably
- Take pictures by changing locations
- cycles simple setup
SECTION 06. Adding 2D retouching to created characters
27. Character styling rough
- Weaving rough drafts for hair, clothes, etc.
28. Balance color and brightness
- How to see balance through black and white
- Intrinsic brightness of color
29. Making brushes
- Making brushes and synthetic sources
30. Expressing character details
- Increase face details
- Hair material expression
31. Expressing clothing details
- Expression of wrinkles in clothes
- decoration expression
32. Finishing illustration production
- depth of field
- Check overall brightness, saturation balance, etc.
33. Building density using 3D
- Build density by compositing the picture you were drawing
34. Conclusion
- How to self-teach and why you were able to get a job
- Draw healthily and happily
- Advantages and disadvantages of being an employee and a freelancer
Interview with
Illustrator Kelly

Question. 01
What are the goals of this course?
What are the goals of this course?
Recently, there has been a lot of need in the gaming industry for internal training to create 2D works using Blender , so we wanted to plan a course on creating 2D illustrations using 3D tools. Accordingly, through the course I prepared , you can use 3D to improve both the quality of 2D illustrations and work efficiency .
Question. 02
Who do you recommend this course to?
Who do you recommend this course to?
I recommend it to those who want to save time and energy while working in the painting industry and improve quality . In particular, we will teach you how to efficiently perform simple repetitive tasks, props, backgrounds, etc. I think this is a great opportunity for those who are just starting to draw in earnest to learn the basics and efficient work methods at the same time.
Question. 03
What are the unique strengths of this course?
What are the unique strengths of this course?
With 3D modeling, you can quickly learn the basics of the human body and its compositional depiction , which are always difficult for people who draw. Furthermore, you can learn how to create your own work cycle by customizing this work process.
Required Programs
This course is conducted through the programs below,
To ensure smooth course attendance, download the latest version of the program.
Please purchase and install it separately.
Adobe Photoshop CS5
Blender 3.1.2
*Programs and materials are not provided separately.