principalcharacterartist,westonreid2 Details
Intro
Class Intro
Principal Character Artist, Weston Reid
"From building high-poly 3D models to identifying potential challenges,we've got all bases covered in this class"
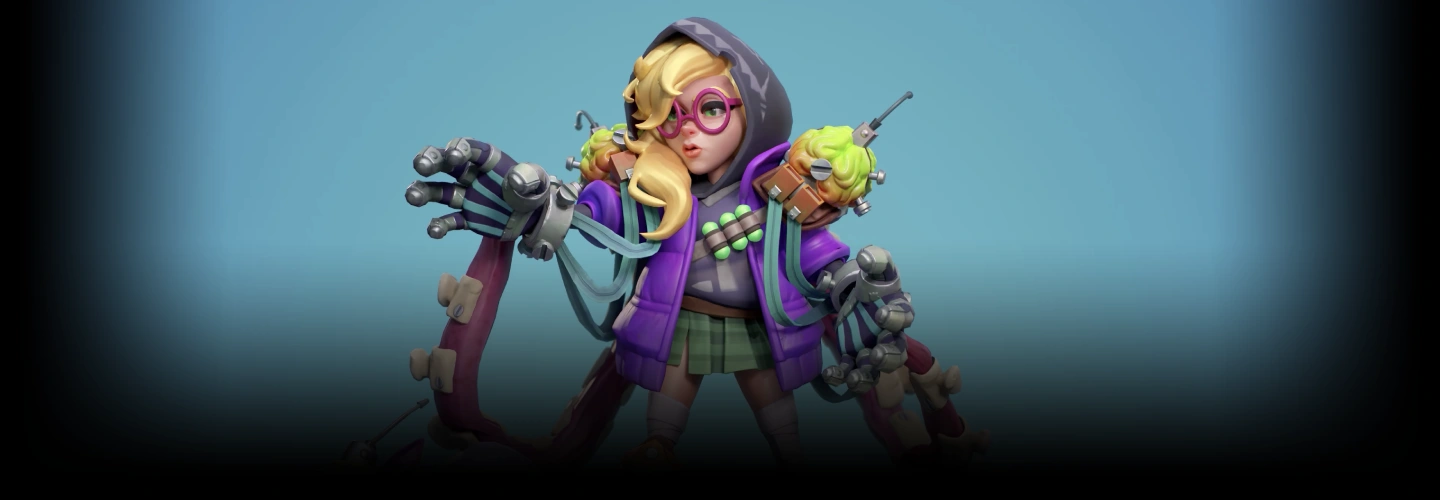
From Hand-Painted to PBR: Build a Complete, Production-Ready Character
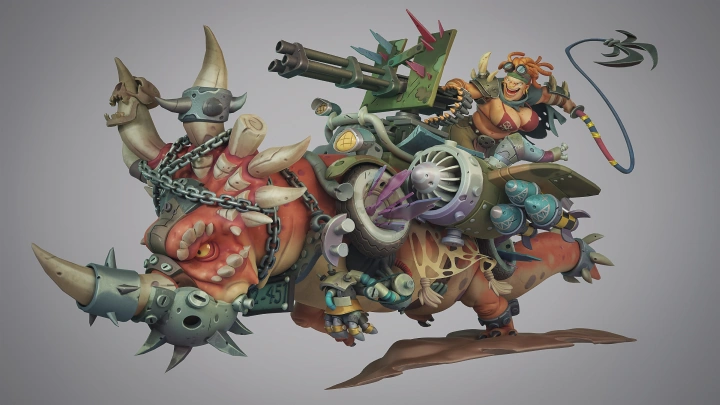
Creating a stylized character for real-time use requires more than strong fundamentals. It demands a clear understanding of how each stage of the pipeline contributes to a final, functional asset. Many artists can sculpt or texture effectively, but struggle to translate that work into a game-ready character that meets production standards across topology, materials, and animation.
In this course, Weston Reid—a Principal Character Artist with nearly 20 years of experience across AAA studios like Blizzard Entertainment and indie teams such as Lost Lake Games—guides students through the complete production pipeline used in professional game development. From concept analysis and high-poly sculpting to retopology, UV mapping, baking, and stylized PBR texturing, each step is structured as part of a cohesive, production-ready workflow.
The course concludes with rigging, skinning, and a simple idle animation, ensuring that every decision is validated in motion. By the end, students will understand how to create stylized characters that are not only visually compelling, but fully optimized, animation-ready, and aligned with real studio expectations.
The course concludes with rigging, skinning, and a simple idle animation, ensuring that every decision is validated in motion. By the end, students will understand how to create stylized characters that are not only visually compelling, but fully optimized, animation-ready, and aligned with real studio expectations.
Class Preview
Still Not Sure?
Check Out Weston Reid's Class Preview!
Chapter 25. Animation 02
1. Animation polish and export to Marmoset Toolbag
Class Perks
Special Gift from Weston Reid
-
 ZBrush Tutorial Model
 -
 Substance Painter Tutorial File
 -
 Marmoset Toolbag Tutorial Render
Recommendation
Who should take this class?
Artists who want to build a complete, end-to-end character workflow from concept to a fully realized, production-ready model
Intermediate artists looking to deepen their understanding and refine their skills across multiple stages of character creation
Artists interested in exploring stylized PBR workflows, blending physically based principles with hand-painted techniques for greater artistic control
Principal Character Artist
Weston Reid's Course Series

Expert Principal Character Artist Weston Reid's Portfolio
-
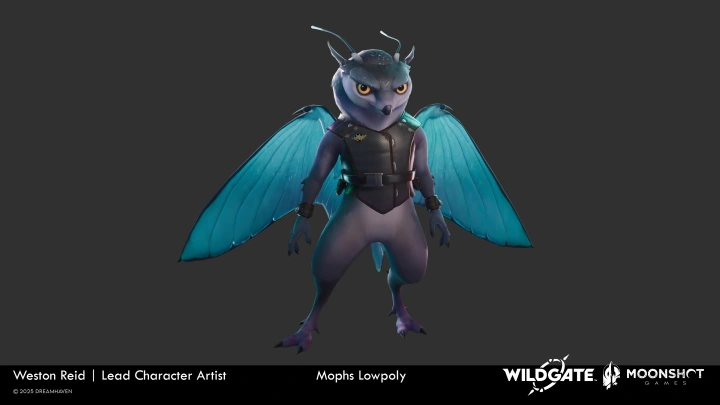
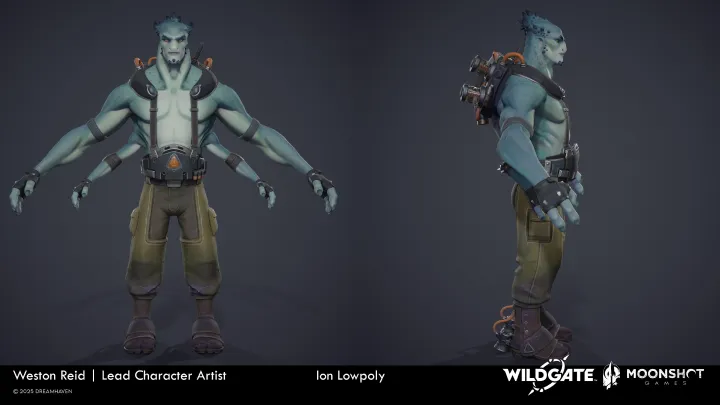 Moonshot Games - Wildgate - Ion
 -
Moonshot Games - Wildgate - Venturebot
-
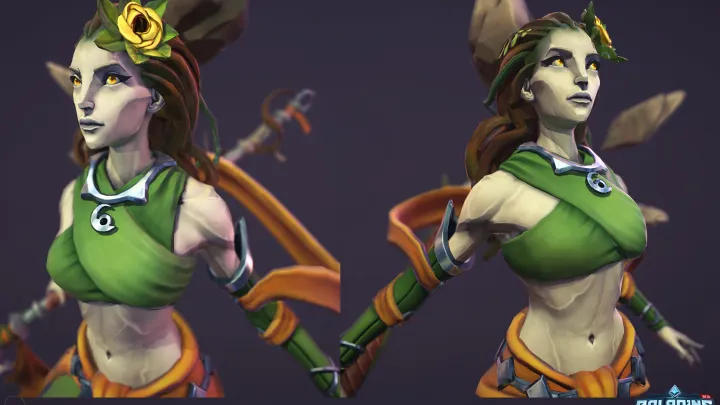 Hi Rez Studios - Paladins - Inara

Why Take This Class?
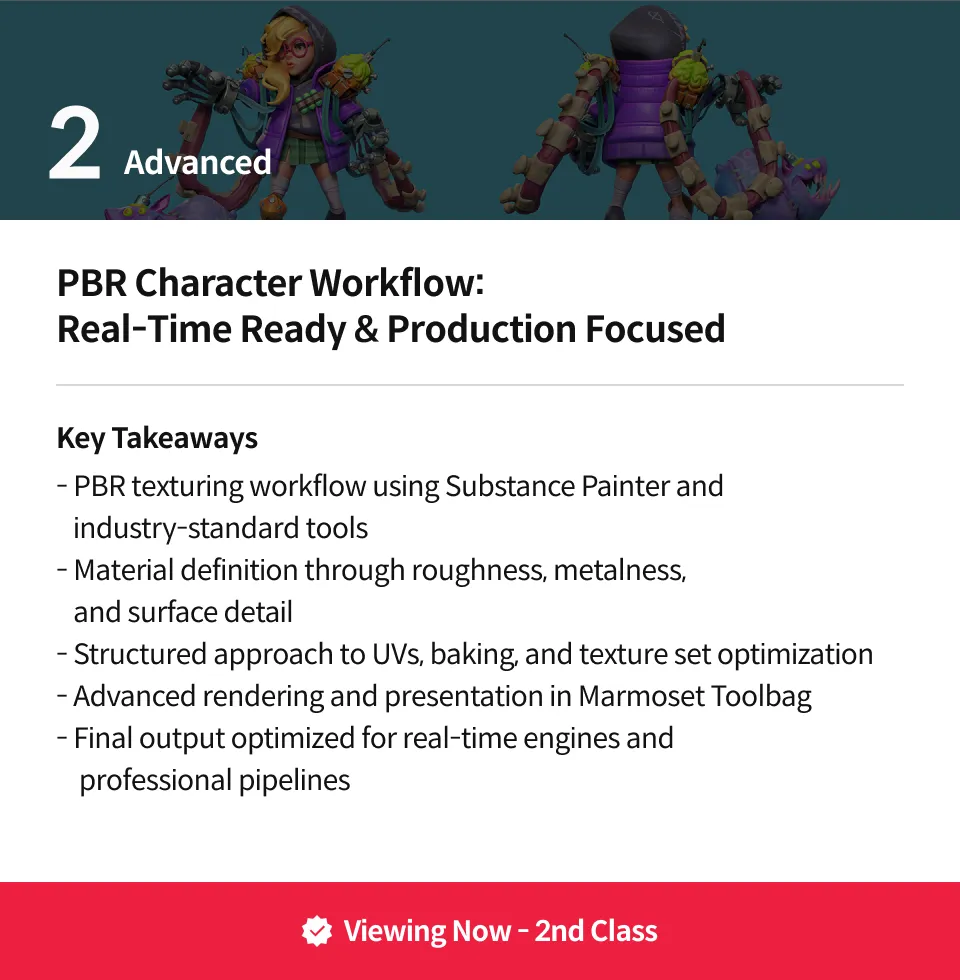
This course is designed for intermediate artists ready to expand their workflow and adapt to PBR, the industry standard for modern game development, whether coming from a hand-painted background or other character art experience.
While hand-painted texturing relies on manually defining light and shadow, PBR (Physically Based Rendering) focuses on building materials that respond naturally to real-time lighting. This shift changes not only how textures are created, but how characters are structured and prepared for use in a game engine.
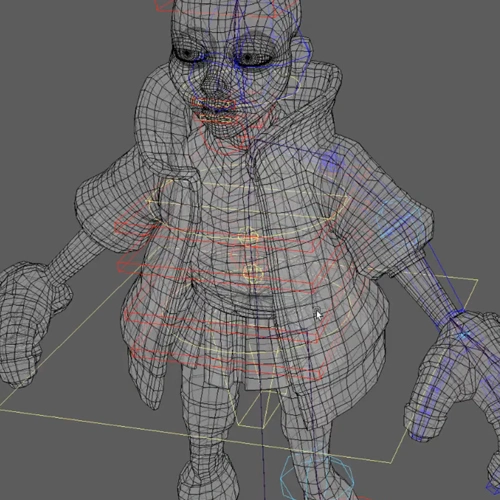
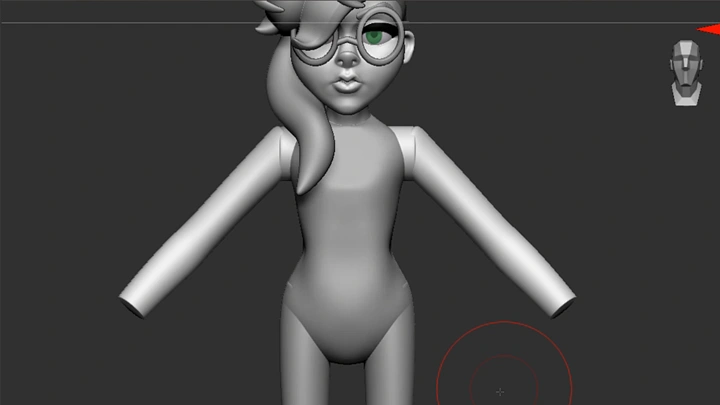
You will follow a production-style process that reflects this approach: from building a clean blockout in an ideal bind pose and refining a high-quality sculpt, to constructing efficient topology for animation and defining materials such as skin, hair, fabric, and metal through stylized PBR.
By understanding how and when to apply these approaches, you will be able to create characters that are adaptable, consistent under different lighting conditions, and fully aligned with modern production workflows—resulting in a polished, animation-ready portfolio piece.

Get Ready for the Real-World
12 Class Exercises
-
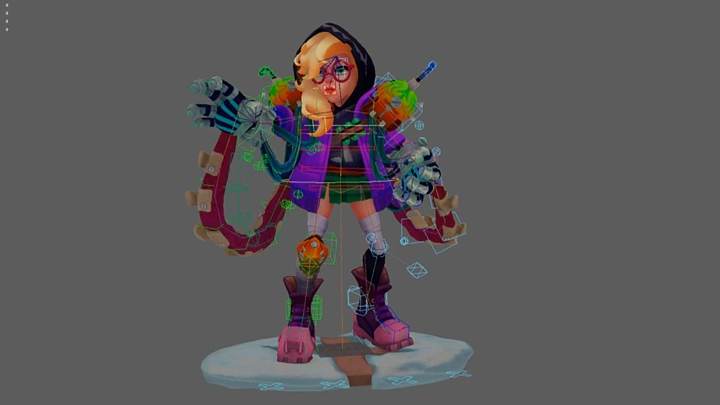
Blockout Pass
-
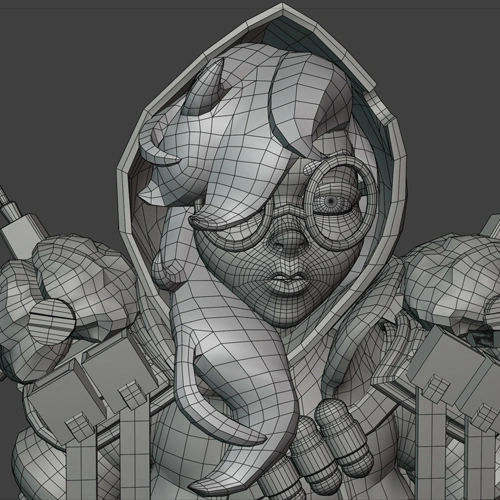
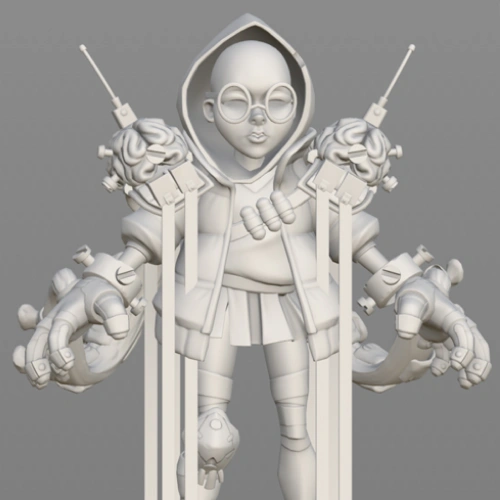
High-Poly Model
-
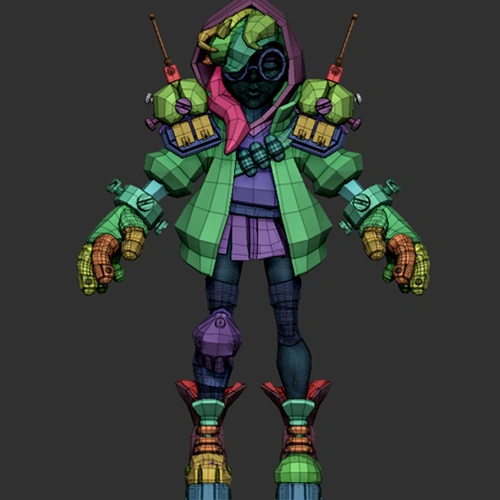
 Low-Poly Model
-
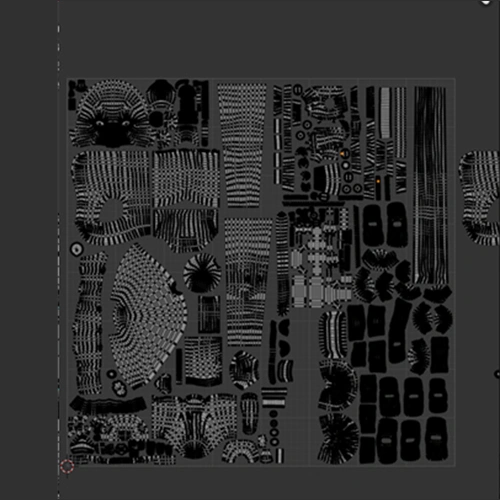 UV Layout
 -
Baked Texture Maps
-
 Susbtance Painter Scene Setup
-
 Character Textures
 -
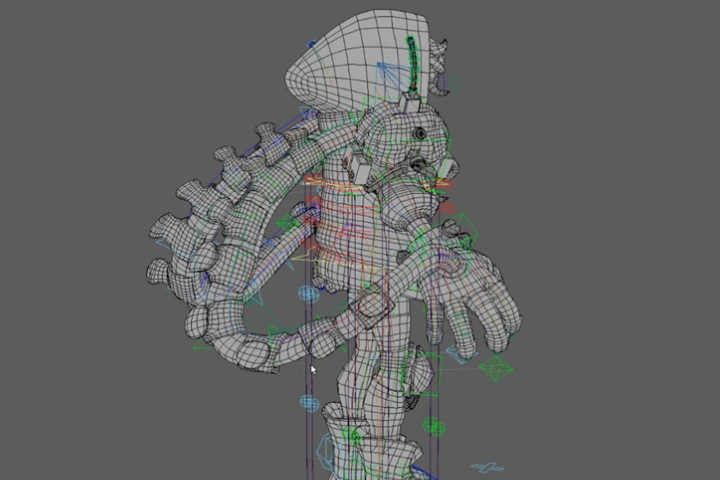
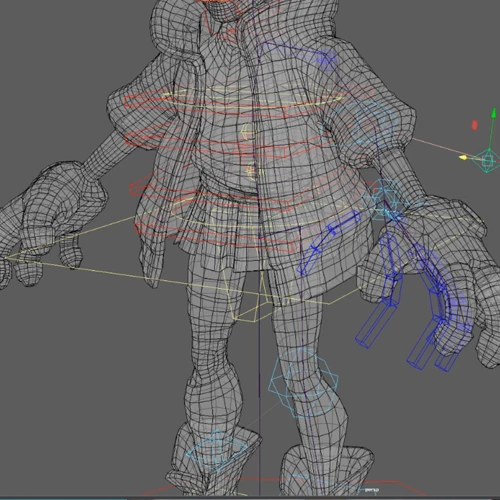 Base Rig Setup
 -
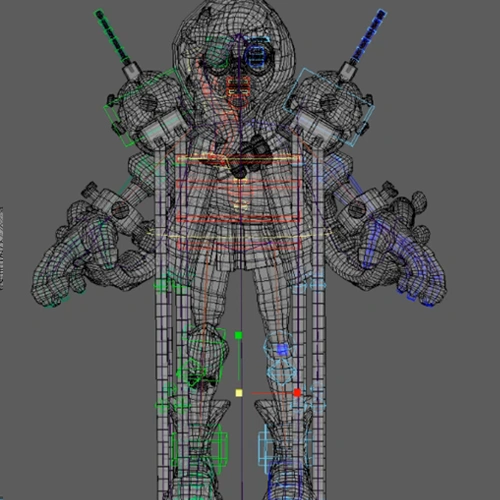 Final Character Rig
-
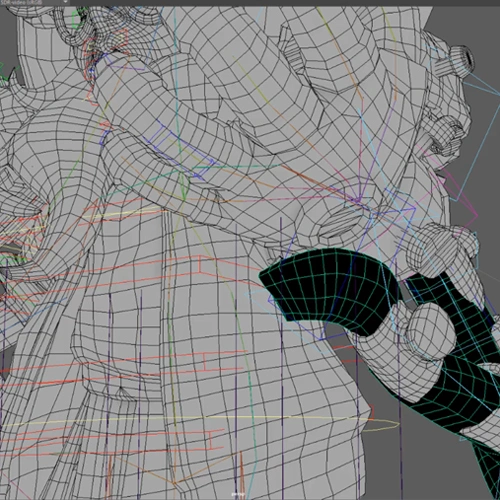 Skin Weighted Character
 -
Final Idle Animation
-
Final Portfolio Render
Final Product Example(s)
-
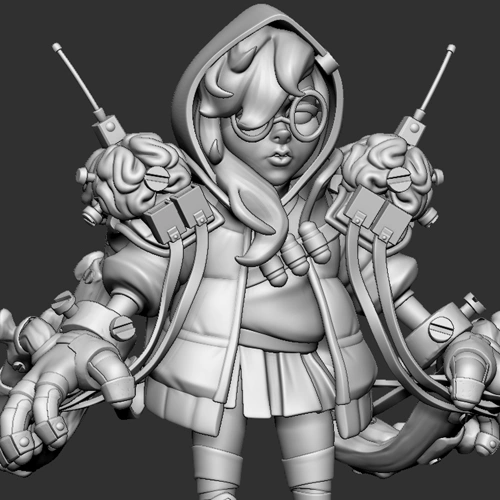
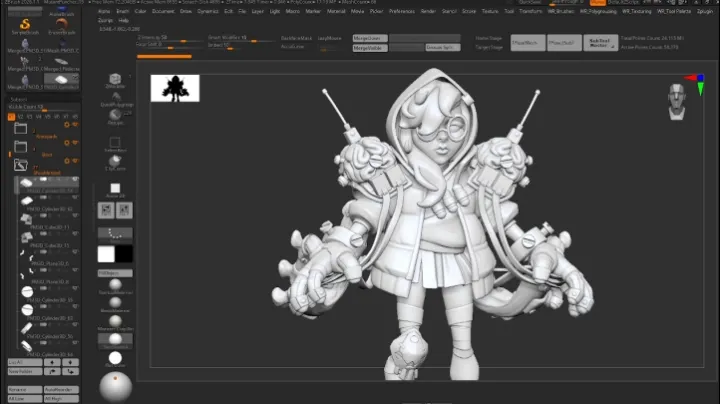
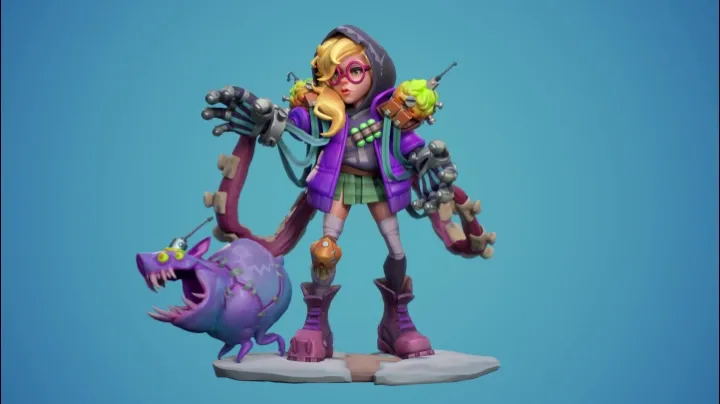
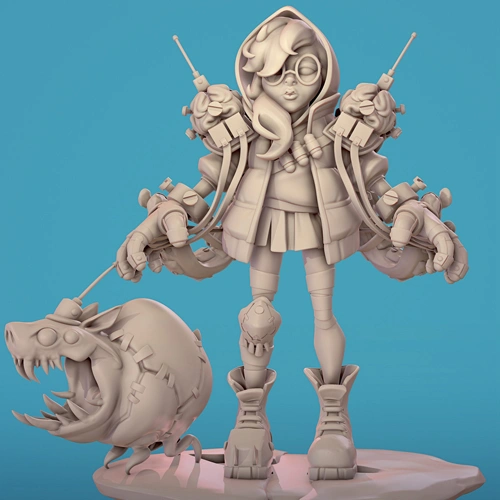
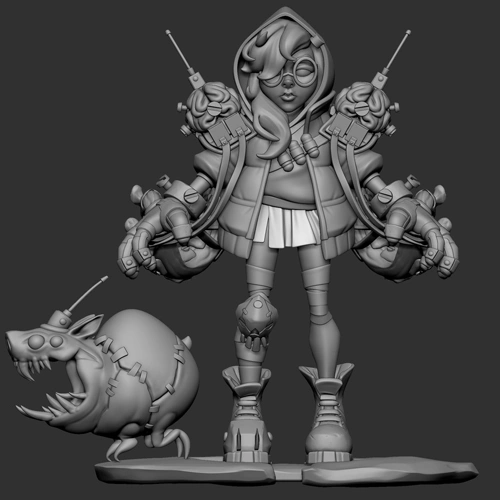 High-Poly ZBrush ModelA fully sculpted character in T-pose, ready for portfolio presentation and low-poly development.
 -
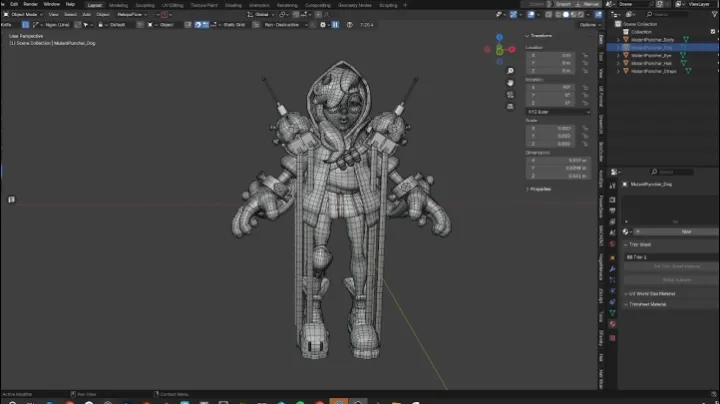
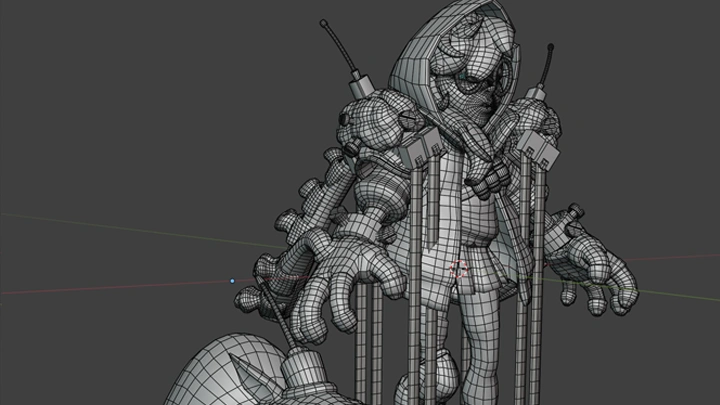
 Production-Ready Low-Poly ModelA game-ready low-poly model with optimized topology and clean UVs, prepared for seamless use across software and engines.
 -
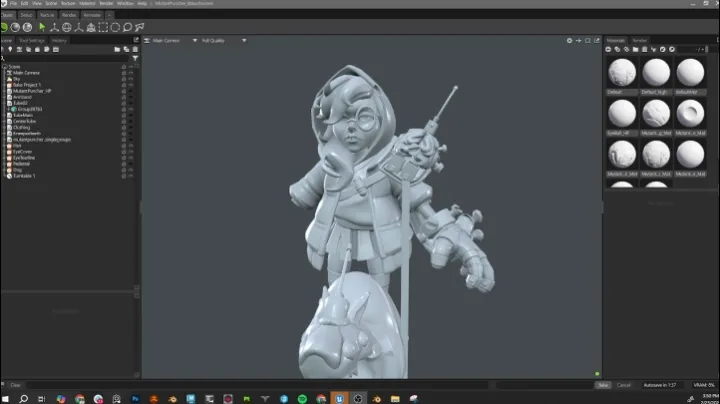
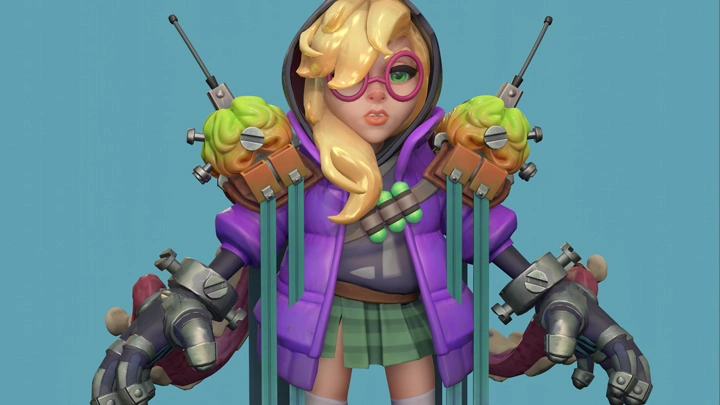
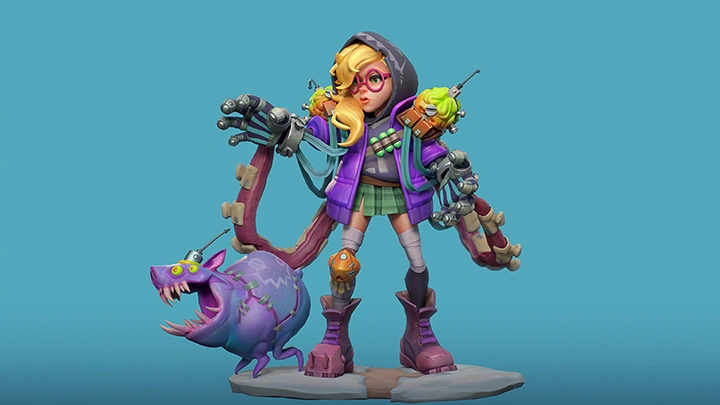
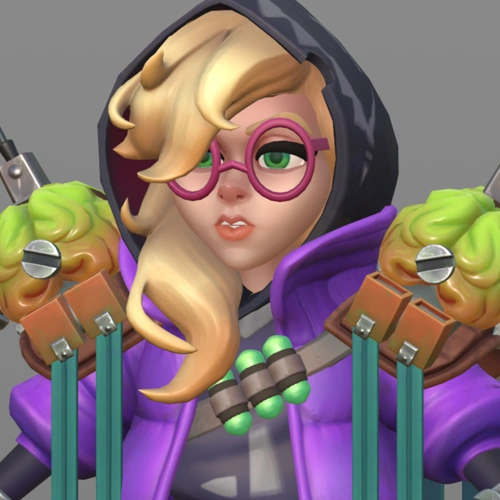
 Complete Textures & MaterialsA fully textured character with organized material sets, including supporting maps tailored to specific shader requirements.
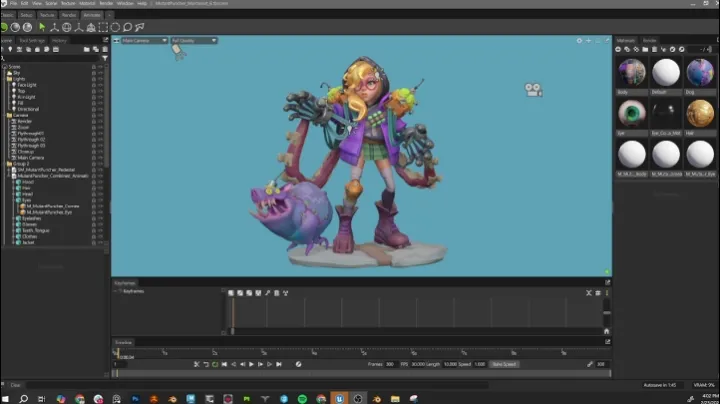
Final Rendered Output
Polished final renders and video, showcasing the complete character as the culmination of the course.
Highlights
Class Highlights
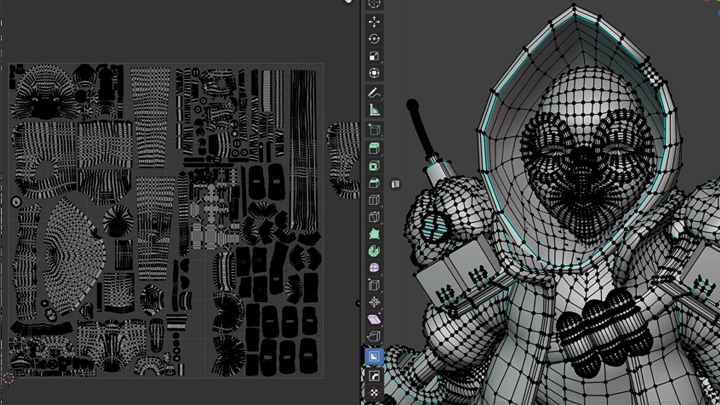
Full Character Modeling: From T-Pose Blockout to Final Low-Poly Model
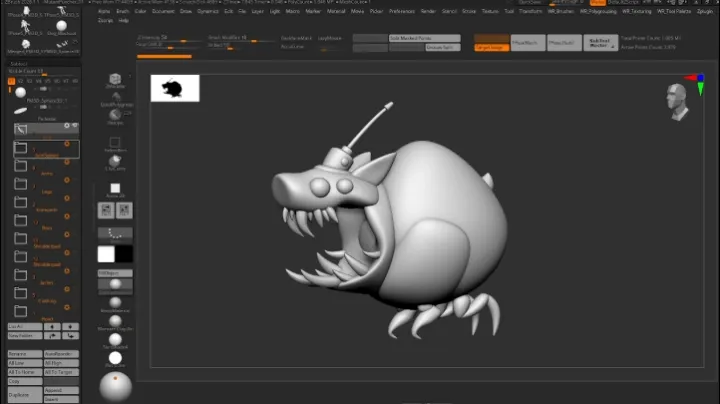
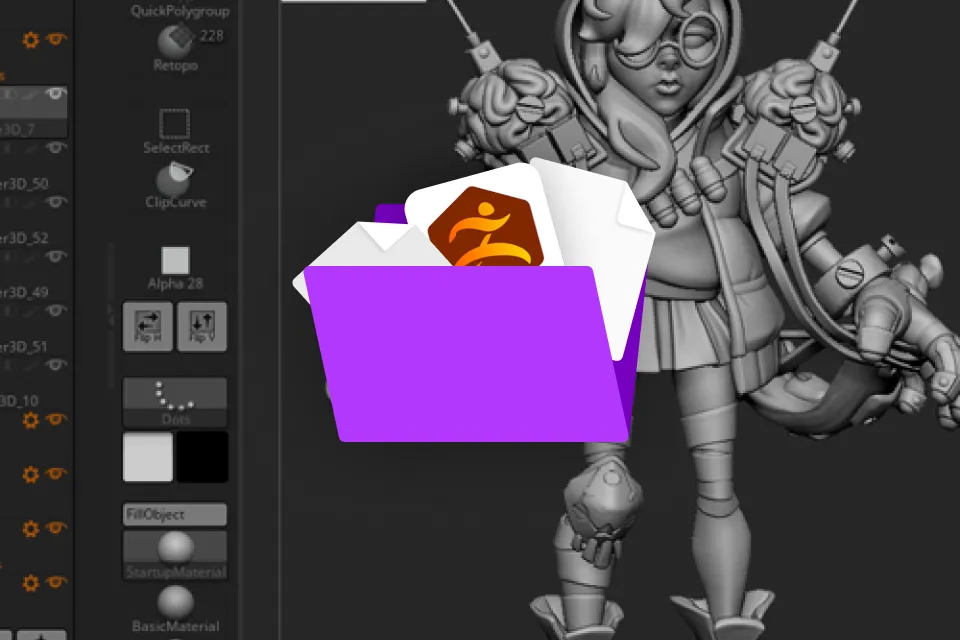
Students will use ZModeler, Dynamic Subdivision, DynaMesh, and more to build a strong high-poly 3D model. They will focus on accurately translating a 2D concept into 3D while following best practices, prioritizing rigging & animation readiness, and planning adjustments from the concept as needed.
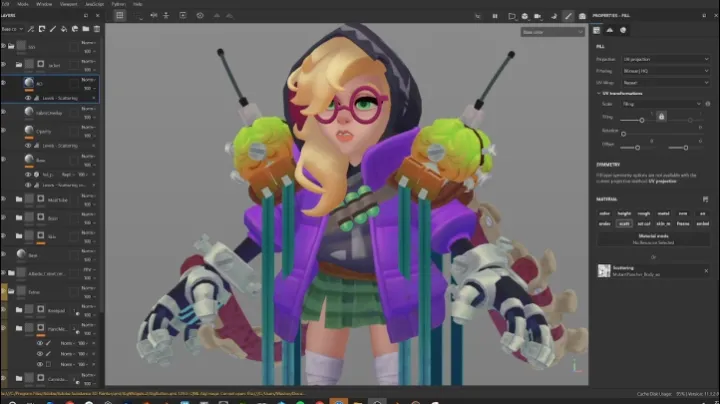
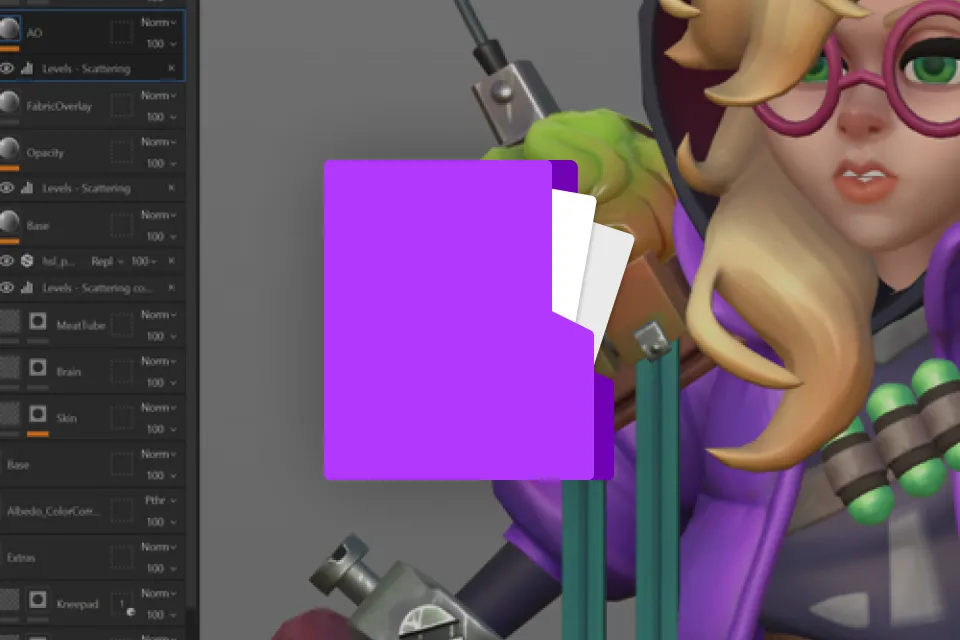
Bend but Don’t Break PBR: Methods for Injecting Stylization into Texturing and Materials
Students will break the model into material and texture sets based on shader requirements. From there, they will build custom texture settings in Substance Painter to generate the necessary support maps for each shader type. The course also explores how to stylize textures to respond effectively to different lighting conditions while preserving the character’s visual intent.
Problem-Solving the Model: Anticipating Challenges and Planning Solutions
Throughout the process, students will identify potential challenges and learn how to address them. The course covers when to deviate from the concept, when to merge shapes, and the key considerations behind these decisions.