

Question.01
What is the main focus of your curriculum?
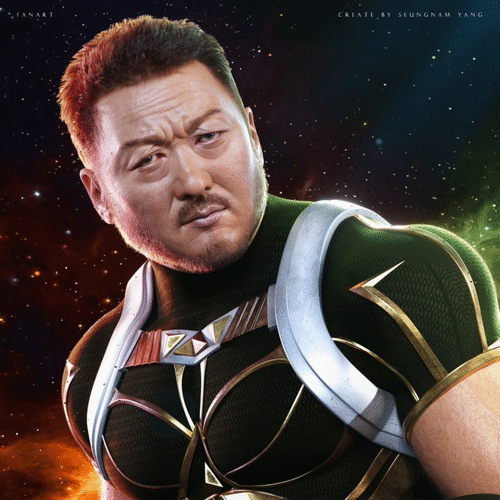
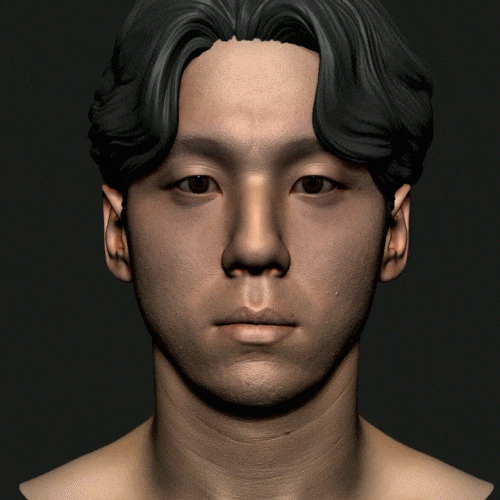
3DArtist,SeungnamYang_3D 아티스트 양승남 Details
Class introduction
Class Intro
3D Character Artist, Seungnam Yang
“Just by following the curriculum in order, you will be able to acquire all the capabilities to create realistic characters.”
Class Exercises
ZBrush Likeness is a challenging area where achieving the desired results goes beyond simply watching and following tutorials.
In this comprehensive course, you'll cover everything from basic settings to silhouette creation, brush development, detailing, and texturing—all in one go! Learn how to craft lifelike characters from Korea’s top 3D character artist, Seungnam Yang.
Speaker introduction
3D Character Artist
Seungnam Yang
Hello, this is 3D character artist Seungnam Yang.
He worked as a 3D modeler at companies such as NCSoft, Locus, and Giant Step, and produced cinematic videos for Lineage 2M, Seven Knights, and Terra.
The personal portfolios he created while working for the company were well received, and he was selected as the 'Artist of August' by Autodesk in 2018.

class features
Class Highlights
Revealing the Entire Zbrush Work Process
From reference collection to silhouette, sculpting, and final texturing! Discover a rich curriculum that seamlessly covers the entire ZBrush production process.
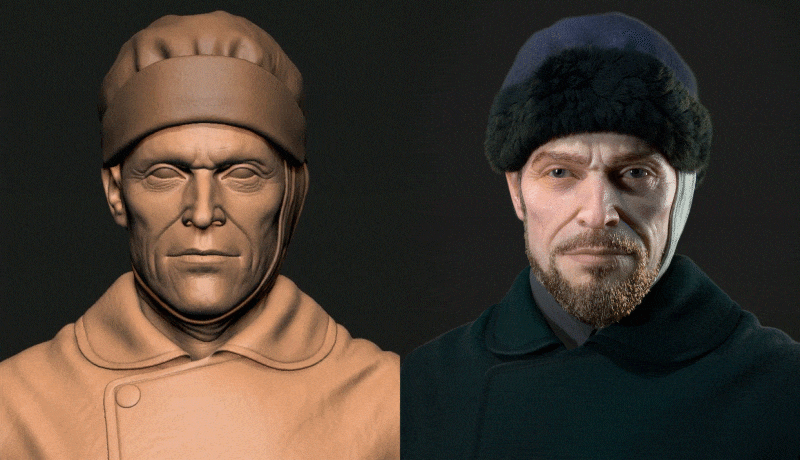
Likeness Formula to Apply as Desired
A secret that can be applied to animal and monster character modeling! You can create a character with your own personality through skills such as marker points and brush combinations.
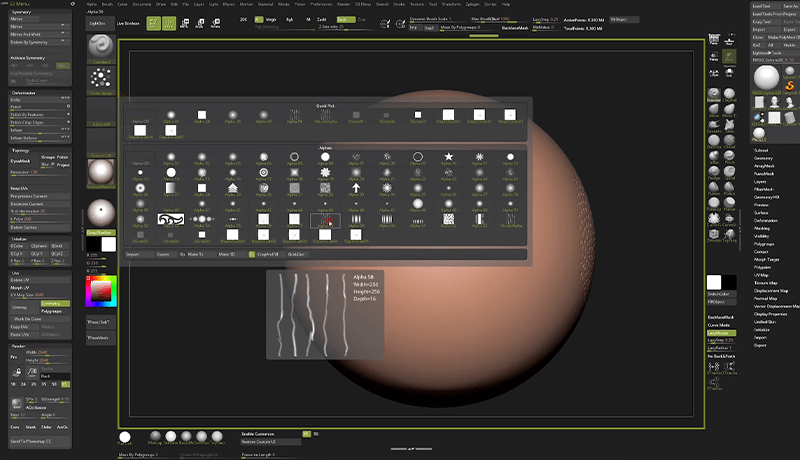
Self-Made Brushes Provided by Current 3D Character Artists
Discover four types of brushes designed by artist Seungnam Yang for easily expressing pores and skin, along with insights into the brush-making process and a list of various paid and free brushes.
Class Details
You'll Learn
-
 Understanding the Sculpting Tool, ZbrushWe'll talk about Focal Length, collect/use references, and learn how to set up a UI that's right for you.
 -
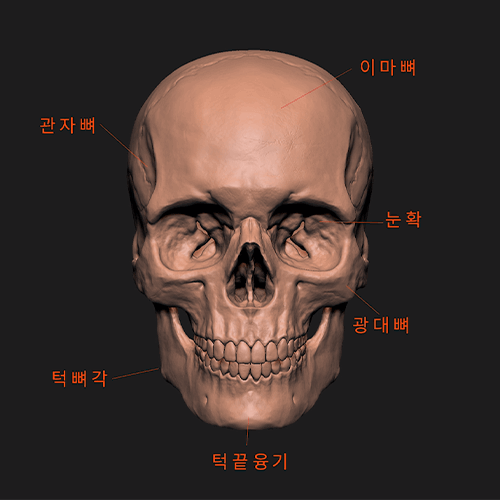 Understanding the Skeleton, Muscles, and SilhouetteBased on human anatomy, we will create a human shape by applying the muscles and bones necessary for facial sculpting.
 -
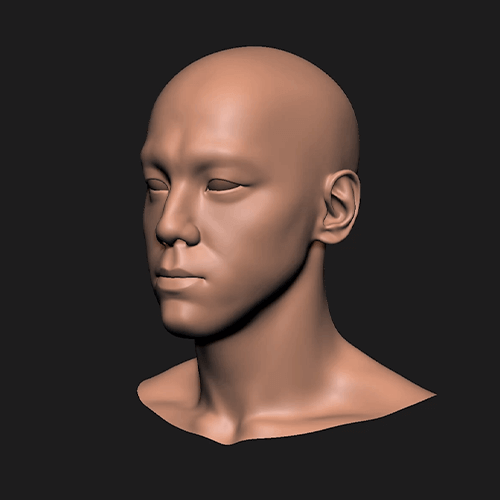 Configuring the Character's Facial FeaturesCreate a rough skeleton and silhouette based on basic boundaries that make it look humanoid.
-
 Finding Facial Proportions That Bring out DetailsWe will set the appearance likeness so that it looks as close to the real thing as possible, and we will also teach you the wire arrangement process for post-production.
 -
 Character Skin Expression Using a BrushLearn how to create/apply brushes to express human skin, pores, wrinkles, etc.
 -
 Easy to Apply Finishing TexturingLet's do simple texturing using the scan data and apply additional accessories to finish the modeling.
curriculum
Curriculum
In-Depth Look
SECTION 01. Understanding ZBrush tools
01. The importance of reference collection and camera focal length
- Collection of references using Google, Pinterest, and Artstation
- Understanding Image Distortion Based on Focal Length
02. Understanding ZBrush settings and Likeness
- Matching the skeleton based on the references found in Lecture 1
- UI settings that suit you (optimized work environment, shortcut keys)
- Find your own resources
SECTION 02. Start modeling
03. Match the basic silhouette
- Match the skeleton based on the silhouette using the provided mesh
- How to set facial features standards when starting modeling
04. Learn the main landmarks of the face
- Learn and apply important landmarks when modeling faces
- Learn three-dimensional modeling that determines a person's appearance/mood
05. Understanding facial muscles and creating basic human shapes
- Create a human shape by applying muscles and bones based on human anatomy
- Explaining the differences in skeletal structure between women and men
SECTION 03. Capturing the model’s features
06. Modeling 1: Eyes
- The most important part of the facial features and the standard for the face
- Measure the size of the eyes by measuring the front/back of the eyes, spacing, ratio, size, pupil, and amount of white of the eye.
07. Modeling 2: Nose
- Understanding the structure of the nose, nasolabial folds, and their relationship with the skull
- Sculpting Tips and Modeling Precautions
08. Modeling 3: Mouth
- Understanding the mouth area and how to construct lips in three dimensions
- Differences in lip shape depending on gender and race
09. Modeling 4: Ear
- Shaping the ears for rendering
- How to model your ears easily and tastefully
SECTION 04. Likeness 1: Determining face proportions
10. First Likeness task
- The task of determining the overall proportion based on the eyes
- Adjust the shape of the skull, the position of facial features, the distance between the eyes and ears, etc.
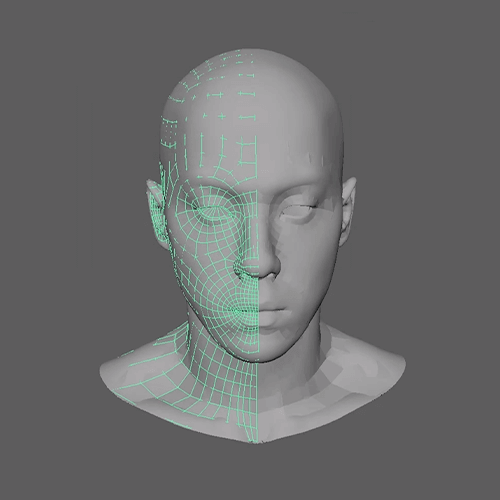
11. Understanding Retopology
- Pre-wire work required for animation work
- Reconstruct the faces of the model based on the basic mesh
* Maya will be used in this class.
12. Secondary Likeness task
- Asymmetrical work on the face and facial features
- The beginning of full-scale Likeness work that makes people most similar to reality
SECTION 05. Likeness 2: Expressing skin
13. Primary wrinkle expression
- Work mainly on large wrinkles on facial features, forehead, neck, etc.
- Learn how wrinkles appear on your face
14. Creating a skin expression brush
- How to create a brush to express pores, fine wrinkles, and irregular skin patterns
15. Skin base work
- Detail work on the entire skin base
- Types of brushes to use and skin expression tips
16. Skin detail work 1
- Equalize the overall details of the skin
- Wrinkle work using the brush made in Lesson 14
17. Skin detail work 2
- Expressing multiple detailed wrinkles
18. Skin detail work 3
- Expressing facial hair, pores, acne, scars, etc.
- Dirty work using different types of brushes
SECTION 06. Finishing modeling with texturing
19. Texturing using Zwrap
- How to do texturing easily and simply using scan data
20. Conclusion
- Expressing hair, eyelashes, and beard
- Create a finished product by making hair, accessories, stands, etc.
Interview with
3D Character Artist Seungnam Yang

I hope you take away the importance of silhouette from my class. Personally, I think the most important things in modeling are the skeleton and silhouette. The workflow of silhouette creation and subsequent sculpting, skin expression, and rendering was also carefully structured.
Question.02
What are the advantages of a tool called ZBrush?
What are the advantages of a tool called ZBrush?
I think the advantage is that you can model freely and there are no limits to expressive power . Another feature is that it is much easier to customize the brush, and it is clearly different from other tools in that it allows you to easily express details such as pores and wrinkles.
Question.03
What is the appeal of the Likeness field?
What is the appeal of the Likeness field?
The attractive point is that the joy of being able to gradually resemble a person who actually exists, and the joy of seeing and recognizing the model I created is so great that it cannot be expressed in words. Additionally, based on the observation skills developed while doing Likeness modeling, other modeling, hard surfaces, and other things can be created more realistically.
Question.04
What are your strengths as a 3D character artist?
What are your strengths as a 3D character artist?
When studying people, you look at the people around you and make a lot of observations . I don’t think there is any reference that is better than the real thing. And when I look for differences between people, I look to the limits of what I can do. Only then will I be able to find ways to express myself beyond that in my next work.
Question.05
What are the advantages of learning ZBrush online?
What are the advantages of learning ZBrush online?
In the case of general video lectures found on YouTube, etc., there is no classification as to what information is important and what information is more necessary. In this class, I have collected only useful tips based on my own thoughts and use, such as how to create a brush that brings out my own personality and workflow in actual practice.
Required Programs
This course will use
- ZBrush version 2020.1.3 (ver. 2019 or later)
* Please note that Maya will be used additionally in chapter 11 and Zwrap in chapter 19.
Please purchase and install these program(s) for an optimized chapter experience
.*These programs and/or materials will not be provided with the chapter.