gamedeveloper,shawcat Details
Intro
Every Creak. Every Chase. A Horror Game You Build to the Finish.
Build a door that checks your inventory for the right key, animates its opening, and triggers a creak. Create a flashlight with battery drain, a charge indicator, and low-power flickering.
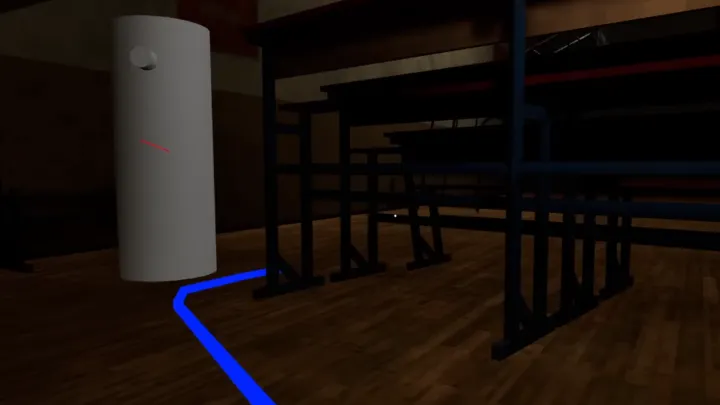
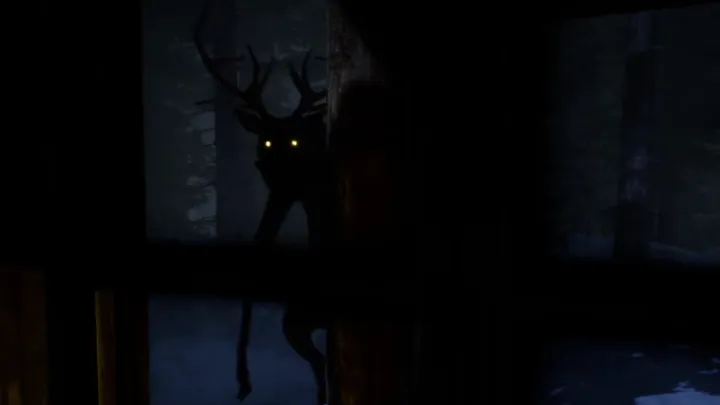
Program an enemy to detect sight and sound, investigate your last known location, chase, attack, and lose track of you when you hide. In this Unreal Engine 5 course, shawcat guides you through the interconnected mechanics of a complete first-person horror game, including sprint stamina, leaning around corners, item combinations, keypad puzzles, and checkpoints.
Learn the horror design skills that make those mechanics effective: use lighting contrast to restrict visibility, and design spatial audio to suggest threats off-screen. Structure puzzles, safe areas, and enemy encounters into a deliberate tension curve.
Guided by a developer with 11 published games, you’ll work through the full production process with final project files, models, animations, and a naming cheat sheet included to support further study and adaptation.
Learn the horror design skills that make those mechanics effective: use lighting contrast to restrict visibility, and design spatial audio to suggest threats off-screen. Structure puzzles, safe areas, and enemy encounters into a deliberate tension curve.
Guided by a developer with 11 published games, you’ll work through the full production process with final project files, models, animations, and a naming cheat sheet included to support further study and adaptation.
Class Perks
Special Gift from shawcat
-
 Cheat SheetEssential Unreal Engine naming conventions reference guide
 -
 Final GameComplete course project files to study, edit, and adapt
 -
 Materials For Game CreationFree 3D models and animations included to keep forever
Class Material Details
-
 Unreal Engine Naming Cheat Sheet- Unreal Engine naming conventions cheat sheet (.pdf)
- Complete asset prefix and file structure reference guide -
 Final Game Files- Complete Unreal Engine 5 project files (.uproject)
- Core gameplay, interaction & enemy AI Blueprints
- Playable horror level scenes & UI widgets -
 Free models and animations- 3D environment & level design prop models
- Stalking NPC character 3D model and textures
- Full character animations and motion clips
Recommendation
Who should take this class?
Aspiring indie developers
- Build and ship a complete horror game from scratch
- Master gameplay loops, tension pacing, and level flow
- Use production-ready Blueprints and clean architecture
Video game lovers
- Learn how atmosphere, tension, and scares are built
- Turn spooky ideas and stories into playable games
- Experience game creation through an immersive project
Programming hobbyists
- Hands-on Unreal Engine 5 Blueprint scripting
- Implement reactive enemy AI, state trees, and inventory
- Build modular, scalable systems without complex code
Expert Game Developer shawcat's Portfolio

Why Take This Class?
Build a Complete Horror Game. Down to the Systems That Make Every Scare Work.
A door creaks open. Your flashlight starts to flicker. Something nearby heard you move. In this course, you’ll build the details that make horror work, and understand how they connect.
Join shawcat to create a complete first-person horror game in Unreal Engine 5, from doors that check for keys in your inventory to a flashlight that flickers as its battery drains. Build enemies that see, hear, patrol, search, and chase, along with hiding places that give players a chance to escape.
Shape the experience with unsettling sound, carefully placed lighting, environmental storytelling, and puzzles that control when players can catch their breath.
That level of detail extends all the way to the finished game. Learn how to structure reusable, modular systems so each new feature fits into your project, then build the menus, saves, settings, and accessibility options players need.
Work through playtesting, bug fixing, optimization, and packaging your game into a standalone executable, guided by shawcat.
With final project files, models, animations, and a naming cheat sheet included, you can study how the whole game works, revisit individual systems, and adapt what you learn for your next project.

Get Ready for the Real-World
35 Class Exercises
Part 1. Getting Ready / Setup Character
-
Get ready- Create new UE5 project
- Set up folder structure
- Go over basics of engine navigation
- Commit initial project state -
Set up Input Mapping Context + Input Actions (Move, Look, Jump)- Configure Character Movement Component defaults
- Attach and configure camera component
- Test basic WASD + mouse look in a blank level -
Add crouch state (capsule half-height interpolation)- Add lean (camera offset + collision check)
- Build stamina system (drain on sprint, regen on idle/walk)
- Implement footstep sound via Physical Materials + Line Trace
- Add head bob camera modifier (with on/off setting)
Part 2. Level Testing / Creating Mood
-
Block out a small test level (corridor, 2 rooms, 1 junction)- Verify scale against default mannequin
- Mark intended "scare points" and "safe rooms" with placeholder notes/markers
- Playtest walk-through for pacing/scale issues -
Build a mood board for the game's visual identity- Collect visual references and art benchmarks for horror atmosphere
- Define color palette, lighting mood, and contrast rules
- Establish visual style guidelines for environment and props -
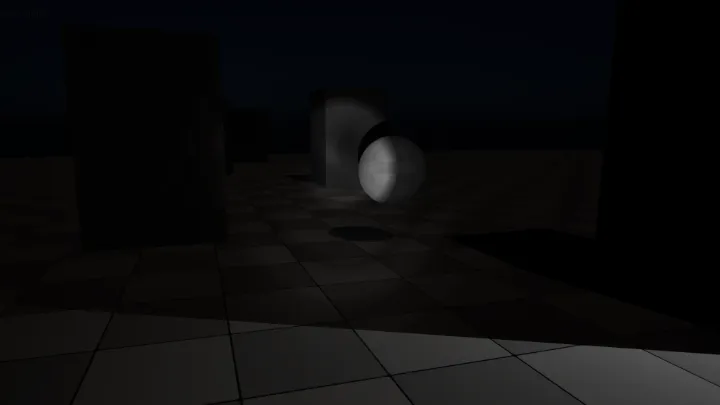
Enable Lumen in project settings- Place practical light fixtures (lamps, overheads) with proper attenuation
-
Build a reusable "Flickering Light" Blueprint Component- Trigger a lighting event from a Trigger Volume
- Sync one flicker event to a sound cue -
Set up base Post Process Volume (grain, vignette, contrast)- Create a "low health/high fear" post-process blend state
- Implement Blueprint function to blend post-process settings at runtime
- Add camera shake for a scare trigger test -
Add Exponential Height Fog to test level- Enable Volumetric Fog on key lights for god-rays
- Add a Niagara dust/mist particle system to one room
- Tune fog density for visibility vs. dread balance
Part3. Building Sound / Interface
-
Build an audio reference list/mood board for your game's soundscape- Define your game's "sound rules" (e.g., "music never plays during exploration, only stingers")
- Source or plan placeholder audio assets for next episode -
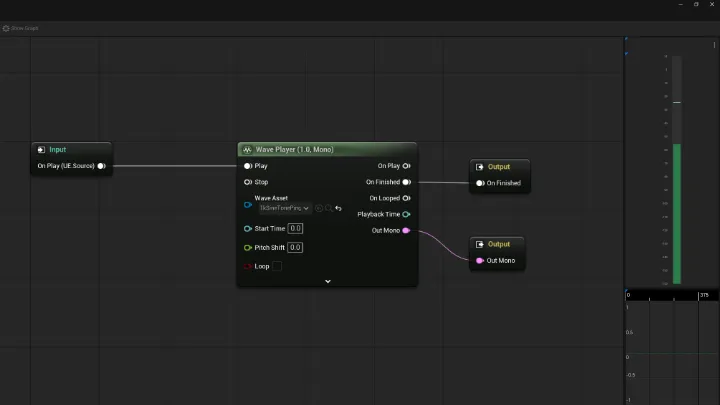
Build a base Metasound ambience loop- Set up Audio Volumes for zone-based ambience swapping
- Configure attenuation settings for spatial footstep/prop sounds
- Add a randomized timer-based "event" sound emitter -
Create Interactable Blueprint Interface |- Implement interaction line trace from camera
Part4. Game UI / Items and inventory
-
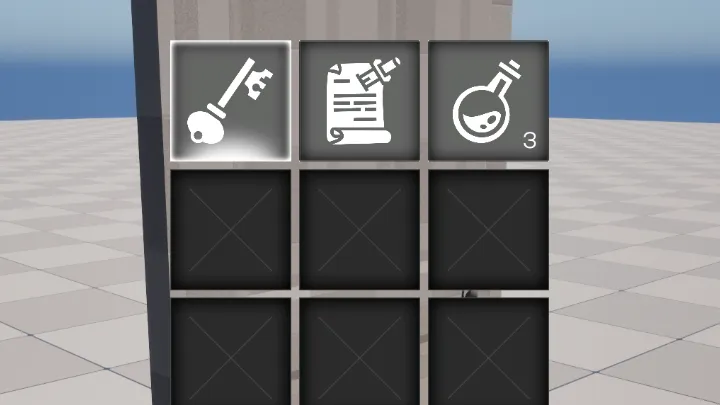
Create Item Data Asset/struct (name, icon, description, type)- Build Inventory Component (Add/Remove/Query functions)
- Build base Inventory UI Widget (grid or list)
- Wire pickup actors to add items to inventory -
Implement "Use Item" function per item type- Add item-combination logic (e.g., two items merge into one)
- Build equip slot system for held items
- Test full pickup → use → consume loop
Part5. Character Interaction / Enemy Design For Horror
-
Attach spotlight to character (hand or head socket)- Build battery drain/recharge logic
- Add low-battery flicker behavior
- Add flashlight toggle input + UI battery indicator -
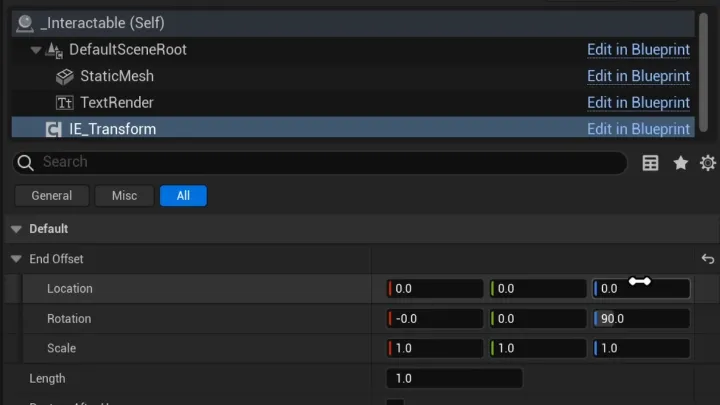
Build reusable Door Blueprint (open/close via timeline)- Add locked state requiring specific inventory item
- Wire door open/close sound effects
- Playtest a lock-and-key loop across two rooms -
Build a lever/switch Blueprint with sequence validation- Build a numeric keypad UI + code-check logic
- Implement one environmental puzzle (e.g., align 3 symbols)
- Playtest full puzzle chain for clarity -
Map your game's puzzle progression on paper (mechanic introduction order)- Identify where puzzles double as scare/tension delivery points
- Revise one existing puzzle from Ep18 based on these principles -
Write your enemy's rules document- Sketch the enemy's behavior states as a flowchart
-
Create enemy Character Blueprint with AI Controller- Configure AI Perception Component
- Build state trees
- Test basic sense detection with debug visualization
-
Implement Patrol behavior (waypoint array + BT task)- Implement Search behavior (move to last-seen location, look around)
- Add randomized search point selection
- Wire patrol/search animation states -
Implement Chase behavior- Implement Attack behavior
- Build player health / damage component
- Wire death state + respawn/checkpoint logic -
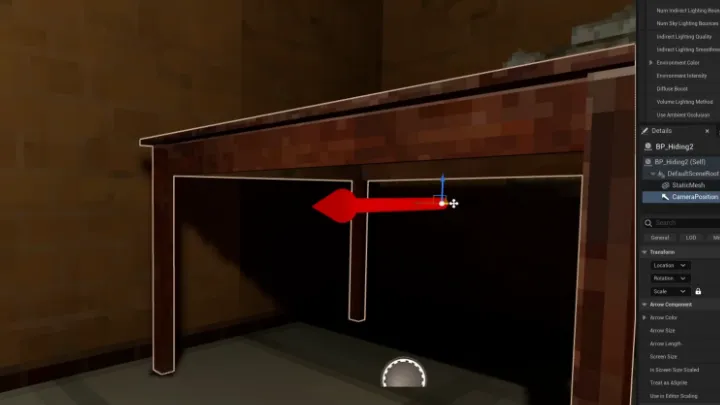
Build hideable object Blueprint (locker/closet with enter/exit)- Wire AI logic to lose player when hidden (perception override)
- Playtest full chase -
Add state-based footstep/breathing sounds to enemy- Add proximity-based audio cue
- Wire stinger sound to chase-state transition
- Mix levels against ambient soundscape
Part 6. Main Menu / Game Flow
-
Outline game's core narrative beats (3-5)- Identify 3 environmental storytelling opportunities in your existing level
- Draft 2-3 sample notes/logs for the game -
Build a full-game pacing chart- Mark planned breather/safe zones vs. high-tension zones
- Identify your game's climax placement and justify it -
Create Save Game Blueprint class with core variables- Implement Save/Load functions
- Build checkpoint trigger system
- Build basic save/load UI menu -
Build readable note interaction- Add collectible tracking counter
-
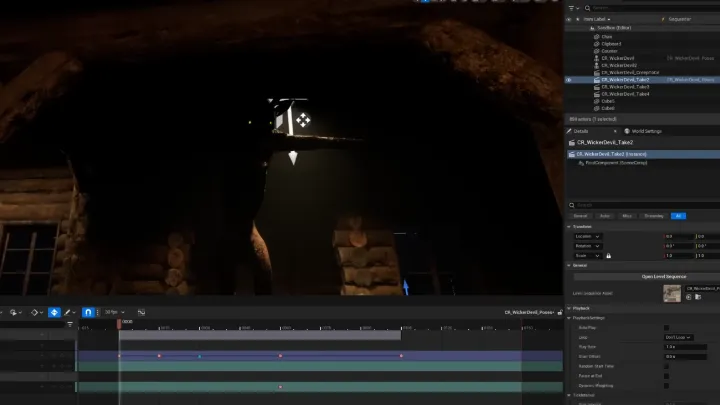
Build a short Sequencer cutscene- Wire cutscene trigger from a Trigger Volume
- Add skip-cutscene functionality
- Test camera blend in/out from gameplay -
Build reusable Scare Trigger Blueprint- Implement one full scripted jump scare in the test level
- Add one-time-trigger logic
- Playtest timing and adjust misdirection/payoff beat
-
Build Main Menu widget (New Game, Continue, Settings, Quit)- Build Pause Menu widget wired to a pause input action
- Implement menu navigation (keyboard/gamepad support)
- Wire menu buttons to actual game flow -
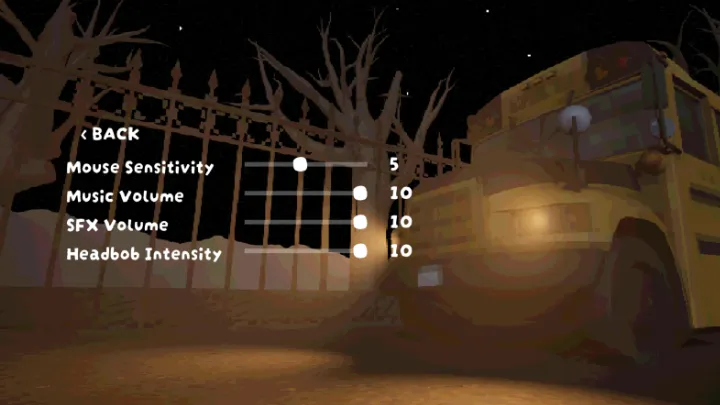
Build Settings menu widget (Graphics/Audio/Controls/Accessibility tabs)- Implement volume sliders wired to Sound Mix/Sound Class
- Add head-bob/camera-shake toggle
- Persist settings using Save Game or Game User Settings -
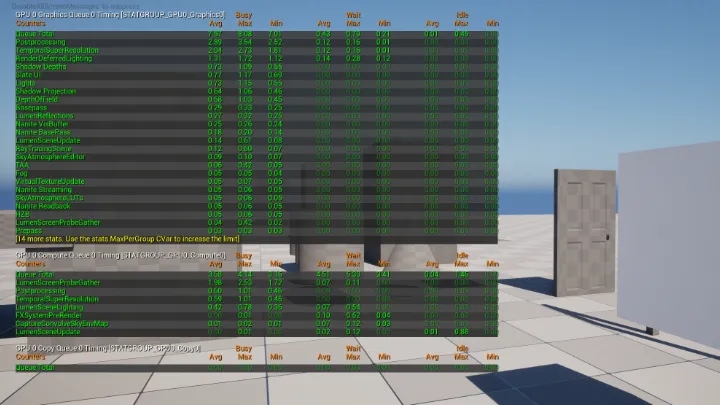
Run a profiling pass on the test level (stat unit, stat gpu)- Set up LODs on key meshes
- Audit and optimize dynamic light count/shadow settings
- Address any major frame-time spikes found
- Switching to baked lighting -
Fix issues identified- Do a full level walkthrough checking for visual/audio bugs
- Polish at least 2 small atmosphere details (sound layer, lighting tweak, animation timing)
- Re-test fixed issues -
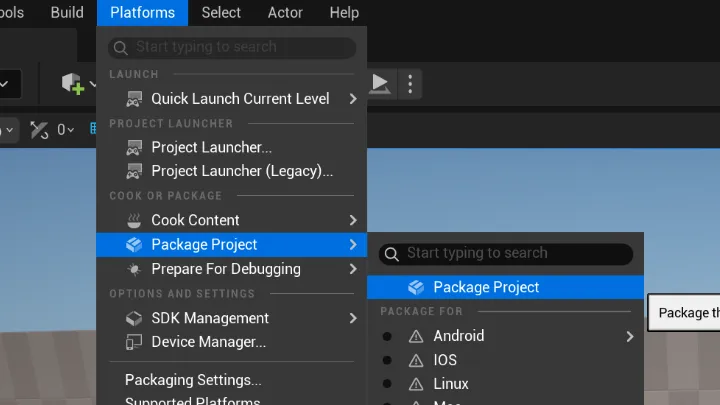
Configure packaging settings for target platform- Create a Shipping build and test it standalone
- Run through a full pre-release checklist (settings, saves, controls, credits)
- Package final build and verify it runs outside the editor
Final Product Example(s)
A complete, exported horror game
Own a complete horror game that demonstrates your ability to create stalking NPCs, smooth gameplay, complex game structures, and a horror atmosphere.
Highlights
Class Highlights
Thinking like a programmer: learning the foundations of game creation
Learning how to build modular, scalable code that supports the game as it grows is essential to actually finishing a project. A weak foundation of code will always make the project come crumbling down, leading to the constant cycle of abandoning a game to try and make another one. Even if you've learned how to make a game mechanic do what you want and when, the question of where the code should live, what level of abstraction it should have, and how it communicates with other objects can quickly make it exponentially harder to build upon your project. This course covers the rules of Object Oriented Programming as we go, so you learn with hands-on experience that creating mechanics doesn't have to be complicated.
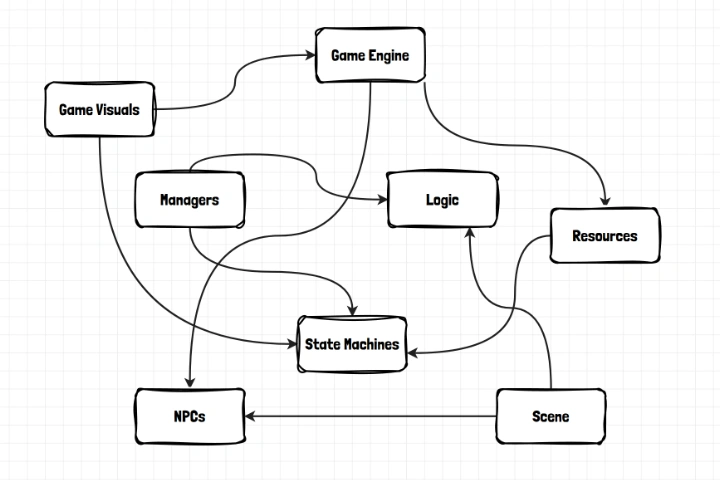
Making the process easy on yourself: the tools of Unreal Engine
Unreal Engine has a massive itenerary of complex tools and built-in systems designed to make the lives easier for the people that use it. Unfortunately, how to use them is often very undocumented and can quickly become very overwhelming. Understanding your way through what the engine offers will speed up your workflow, greatly reduce stress about the technical sides of making video games, and open your eyes to new possibilities you can achieve as an indie developer.
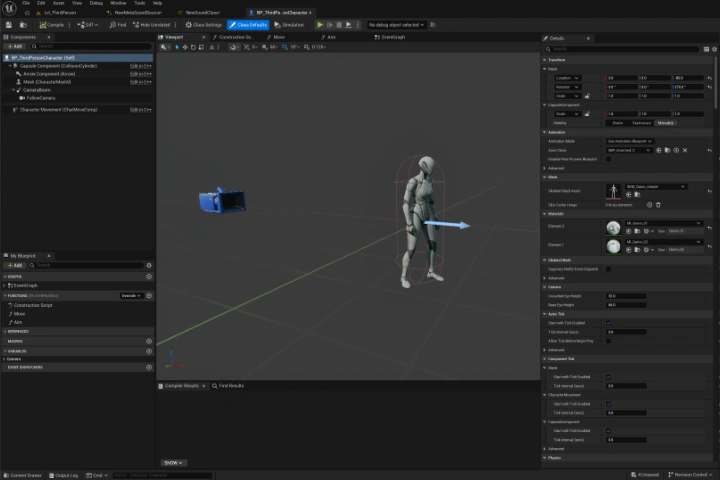
Finishing games / leave with a complete game
The most common story you hear in game development is abandoning a game before it's completed. Without learning the pipeline from starting to finishing a game, the project's many different branches easily become unmanageable. This course focuses on a clean workflow designed for solo developers to go from idea to pressing export.