Illustrator,Kaz Details
In-Depth Look
- SECTION 01
OT
01. Orientation- Meet your instructor and learn about the overview of this class - What you'll learn - The purpose of applying this knowledge in the future
- SECTION 02
Basic Anatomy and Body Types
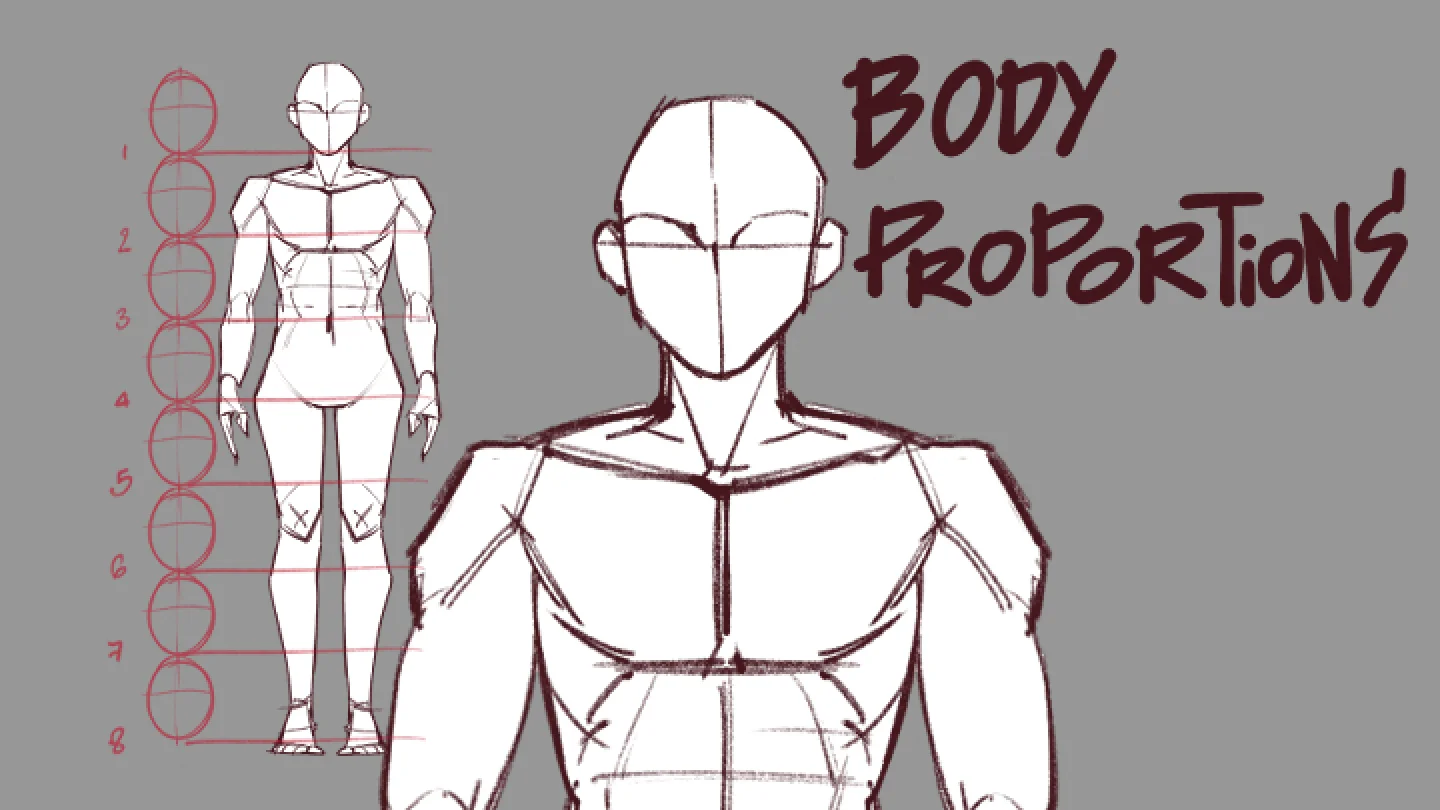
02. Getting to Know the Anatomy and Body Types of the Human Body- Basic of anatomy - Variety of Body Shapes: Male, female, children, adults, and elderly
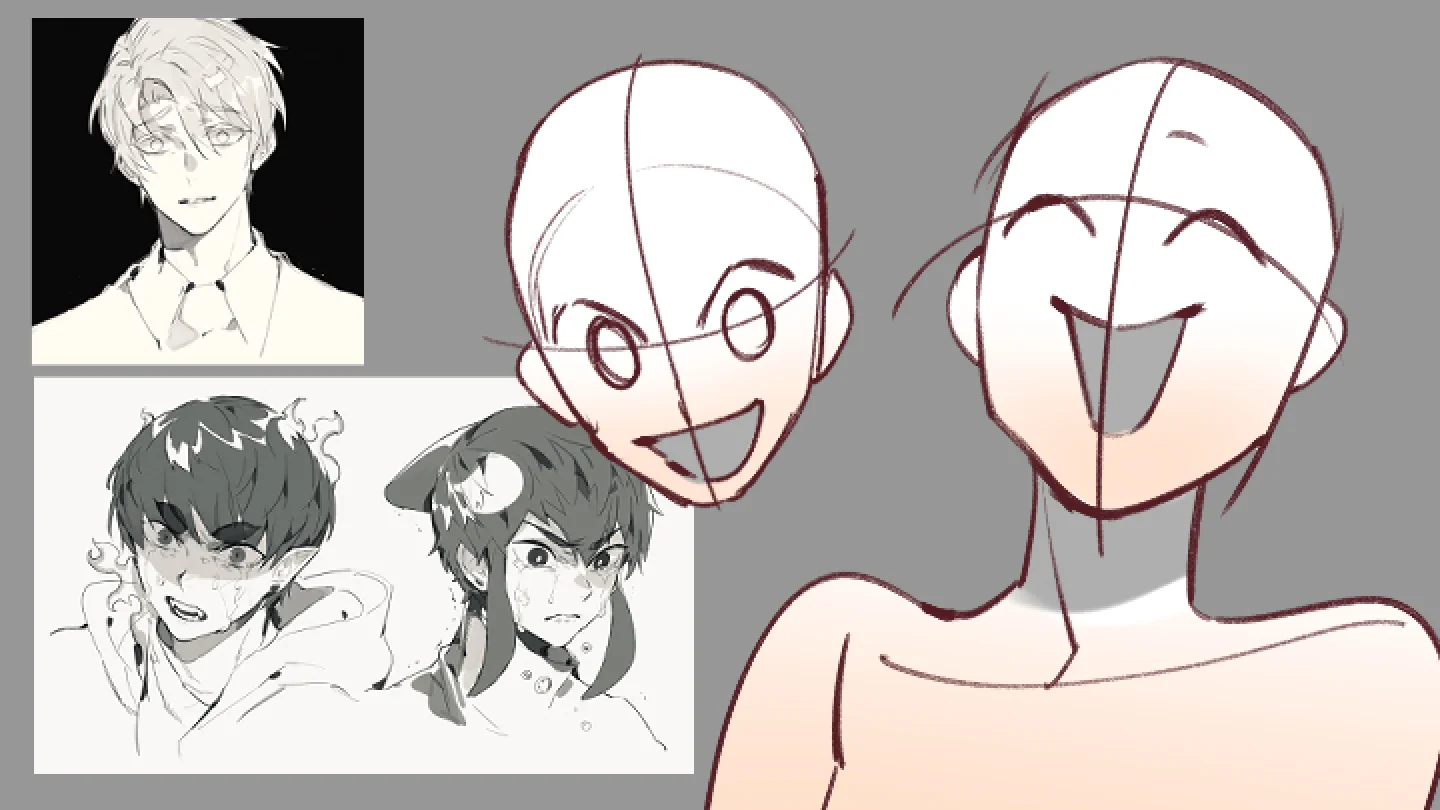
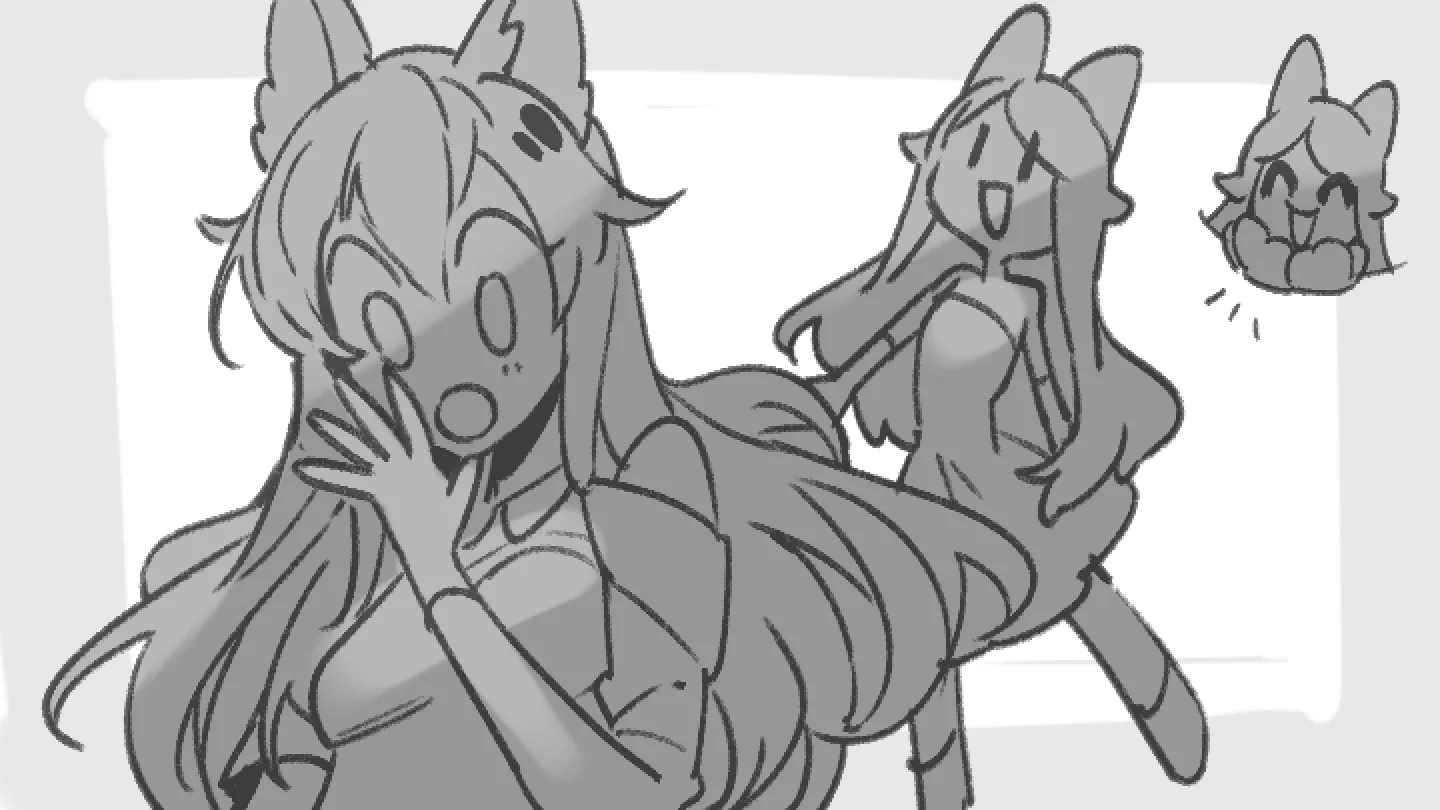
03. Drawing Expressions- Depicting a wide range of emotions in detail
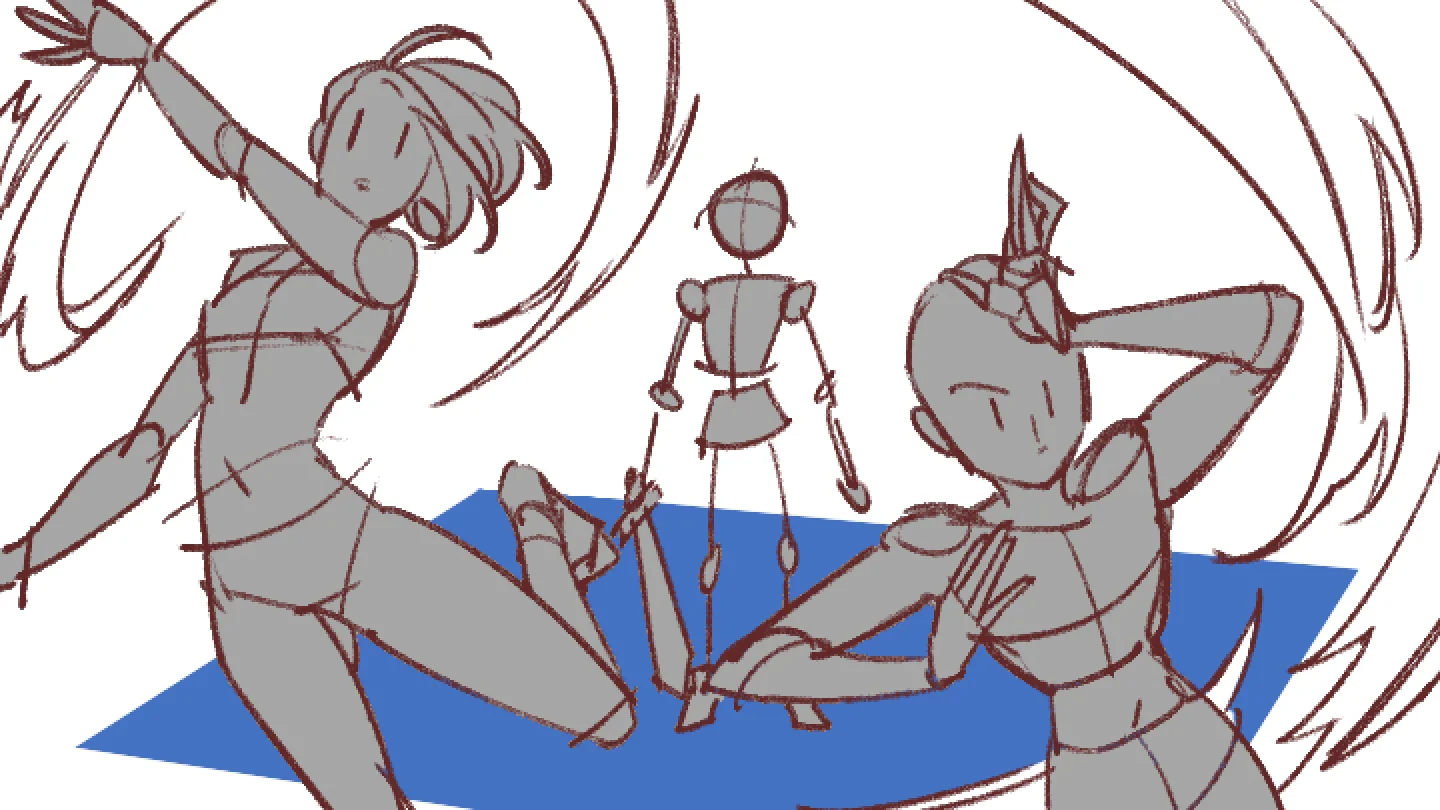
04. Drawing Dynamic Poses- Drawing bodies in various postures by studying and observing reference images - Drawing action poses, arranging good angles, and applying them to anatomy
- SECTION 03
Designing Characters to Be Intersting
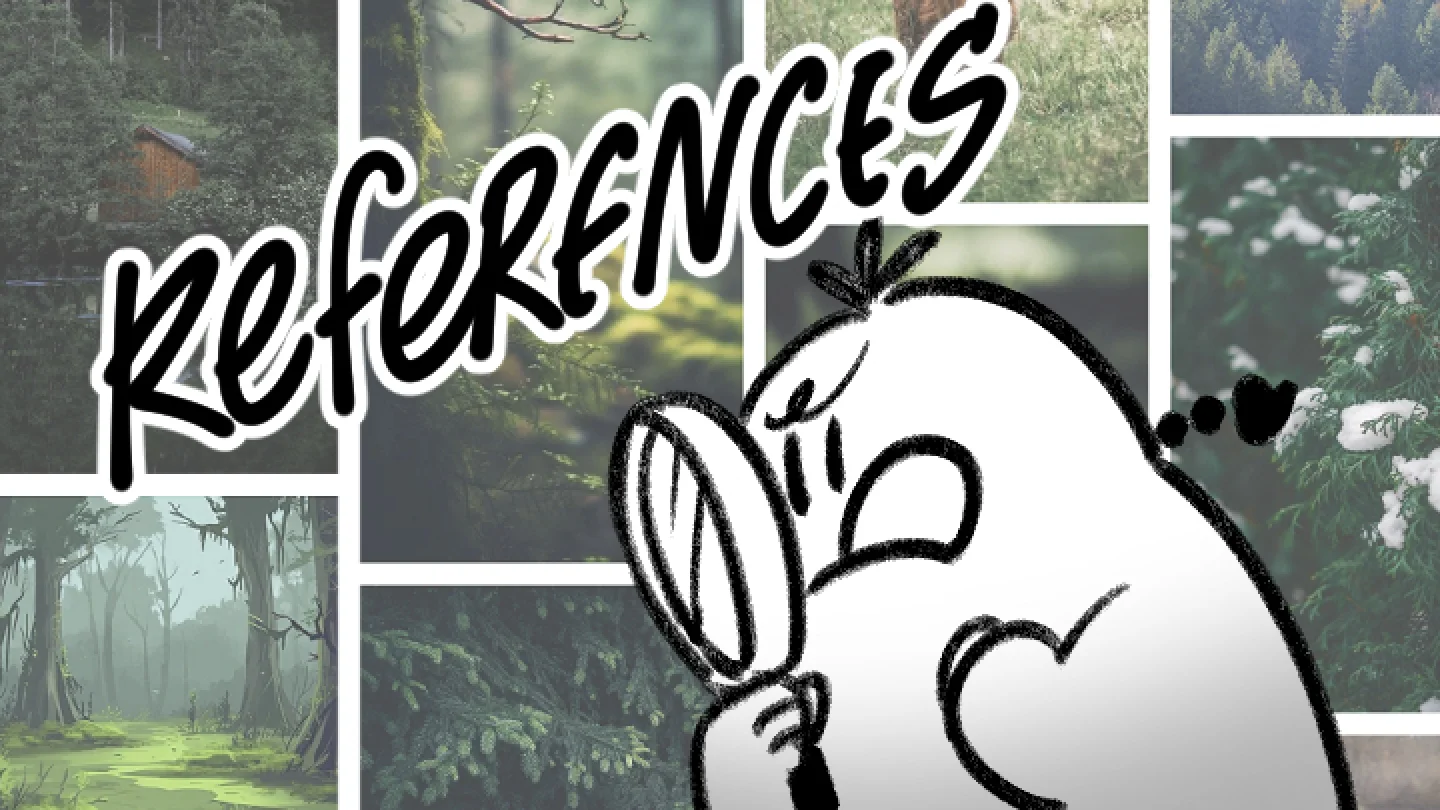
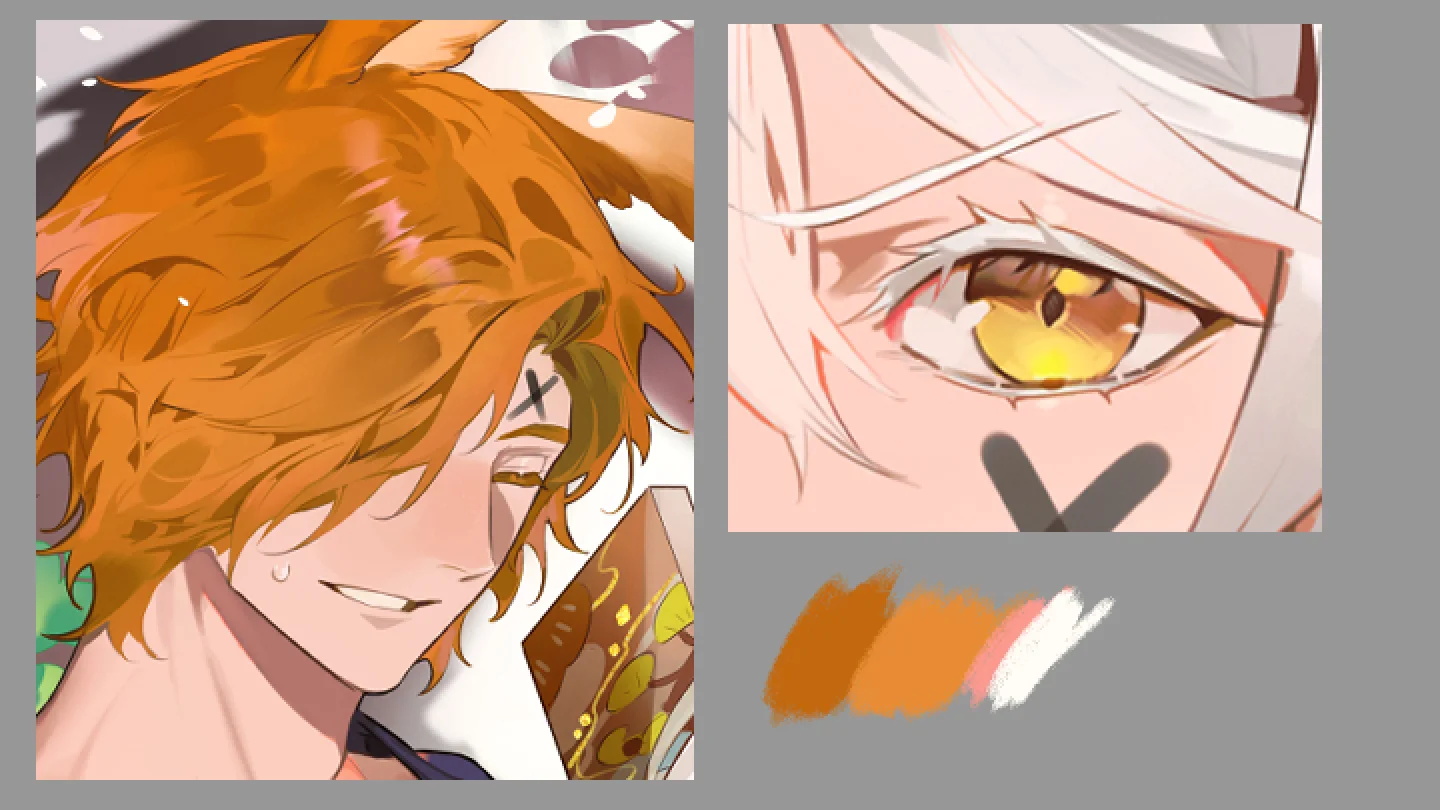
05. Finding Inspiration- Finding inspiration and references from various social media platforms or nearby objects - Deciding the color key, personality, and rough ideas of what the character likes or dislikes - Tips on simplifying certain details, considering usability for repetitive drawing
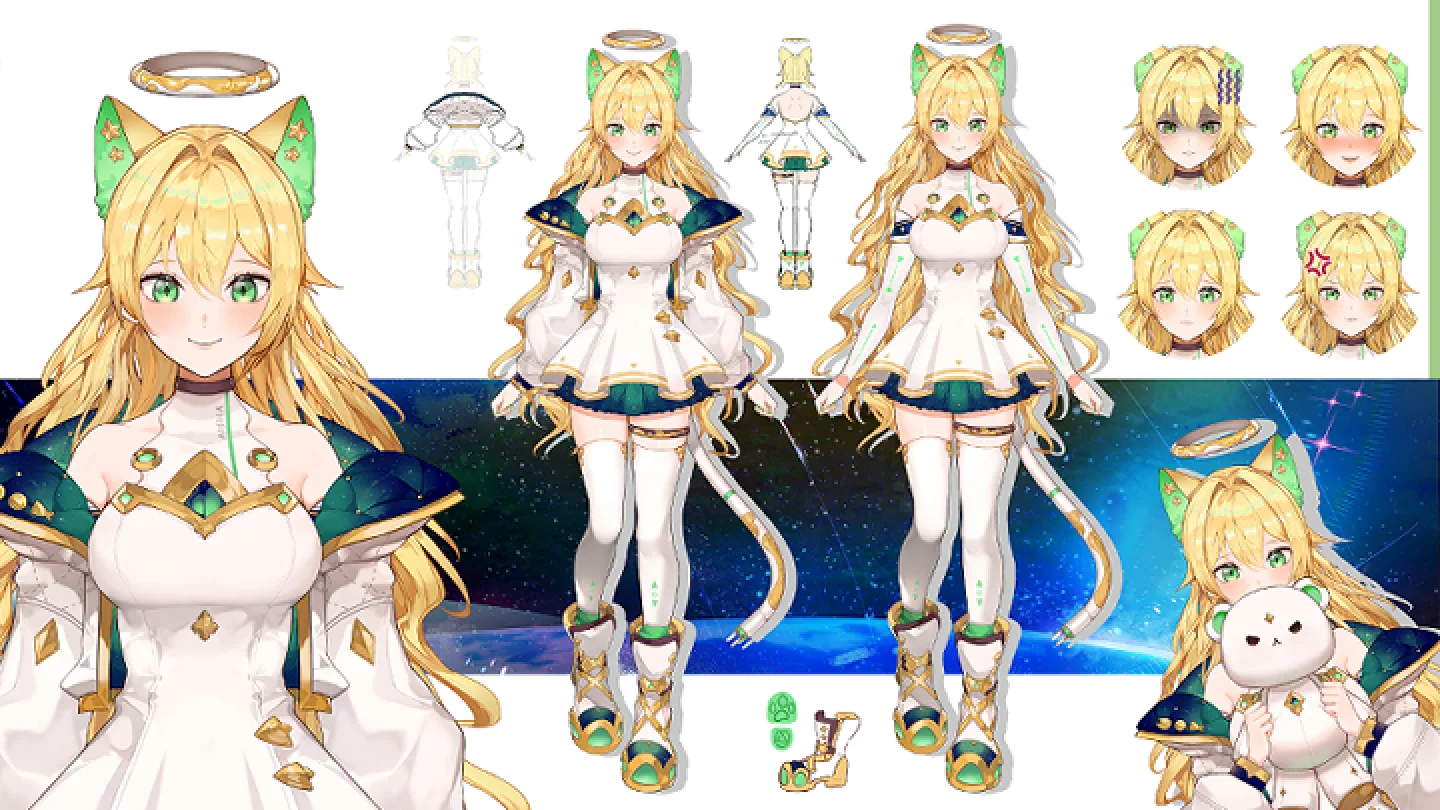
06. Creating a Character Sheet & Getting to Know Your Character Better- Creating a character sheet - Arranging composition and drawing a character turnaround - The benefits of creating a character sheet and different approaches or forms to composition - Basic coloring for characters - Using chapters 3 & 4 as a foundation and apply what you've learned to the characters you are designing (poses, expressions, personalities)
- SECTION 04
Basic Background
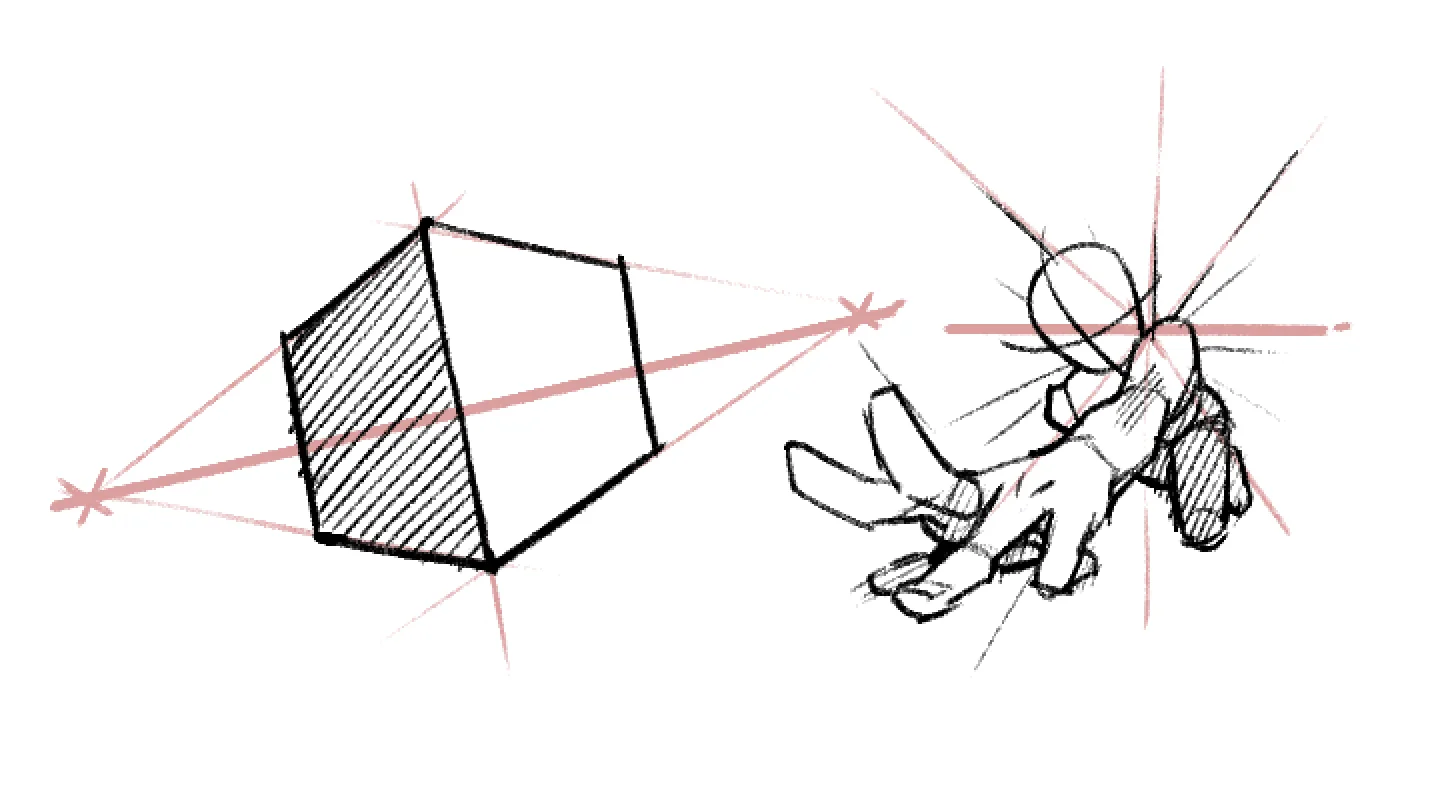
07. Basic Perspective- Understanding basic perspectives using tools in Clip Studio
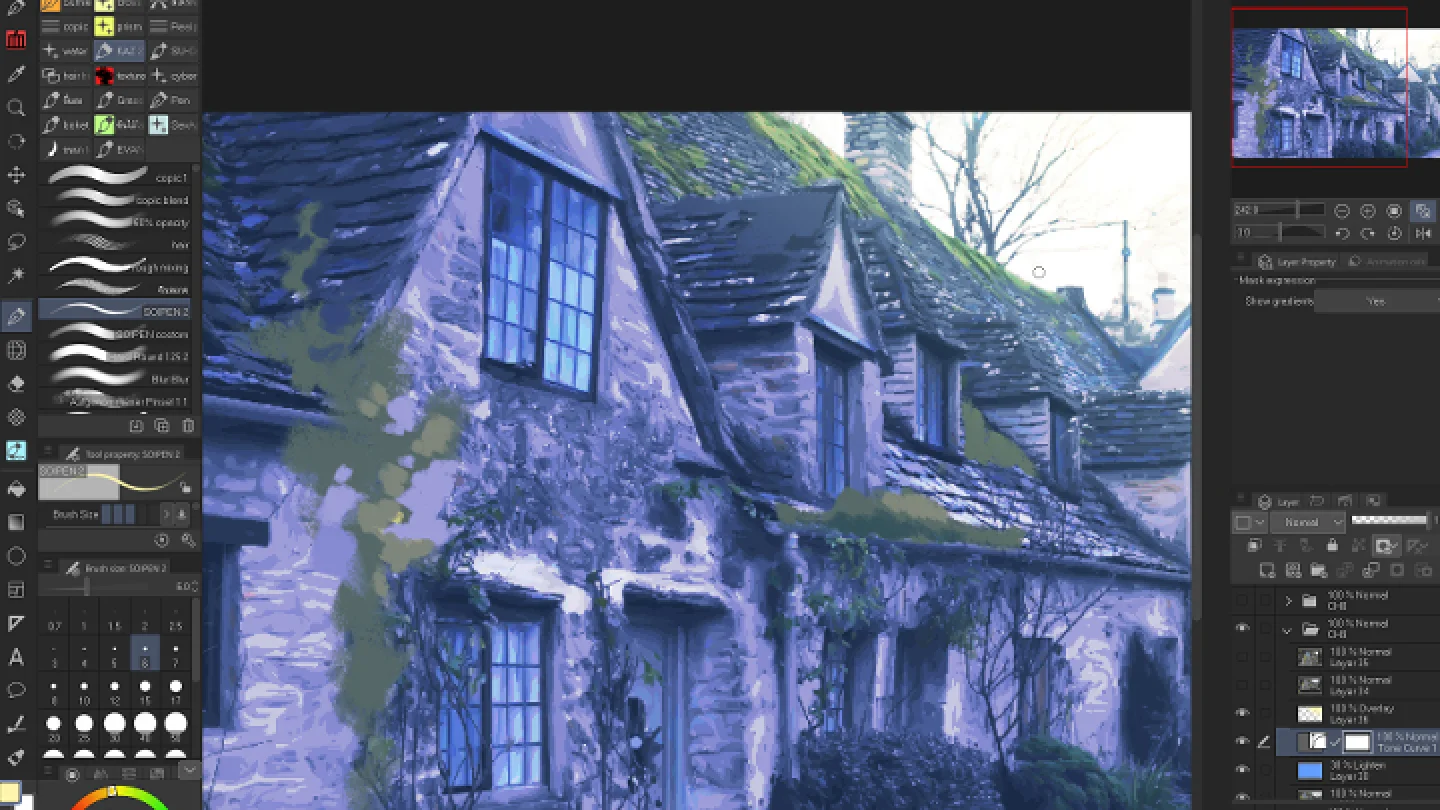
08. Background Adaption- Applying these perspective principles to create a background using various methods - Using photographs of backgrounds as reference points for copying perspective angles - Teaching how to incorporate background photos into artwork - Focusing on material painting techniques starting with combining multiple photographs - Adjusting photo filters - Adding detailed overlays
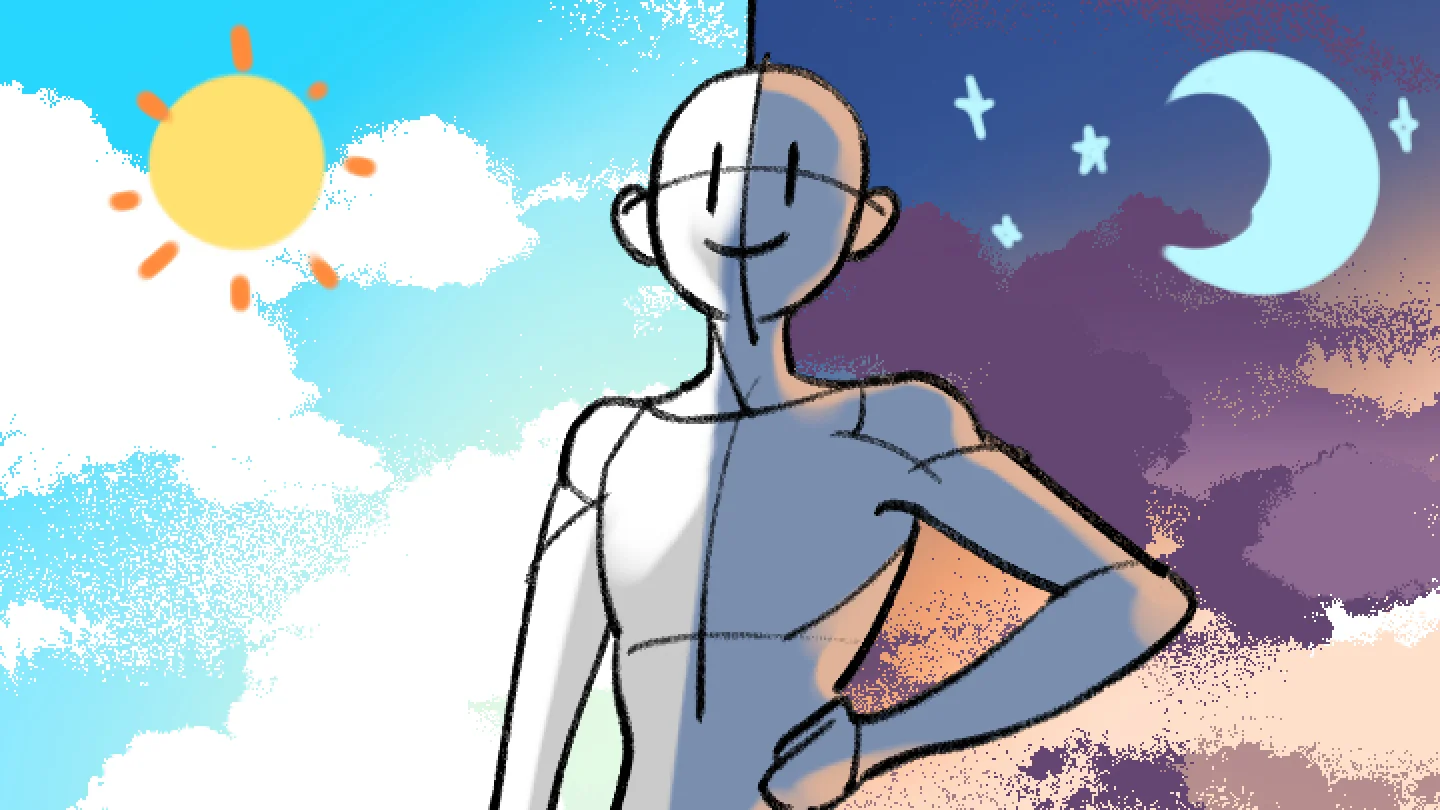
09. Basic Lighting- Placing characters in the background (indoor & outdoor) and roughly defining the direction of lighting - Defining character colors based on the ambient colors of the background - Painting While Considering the Value of Distances: Near, middle, and far!
- SECTION 05
Painting Food & Small Objetcs
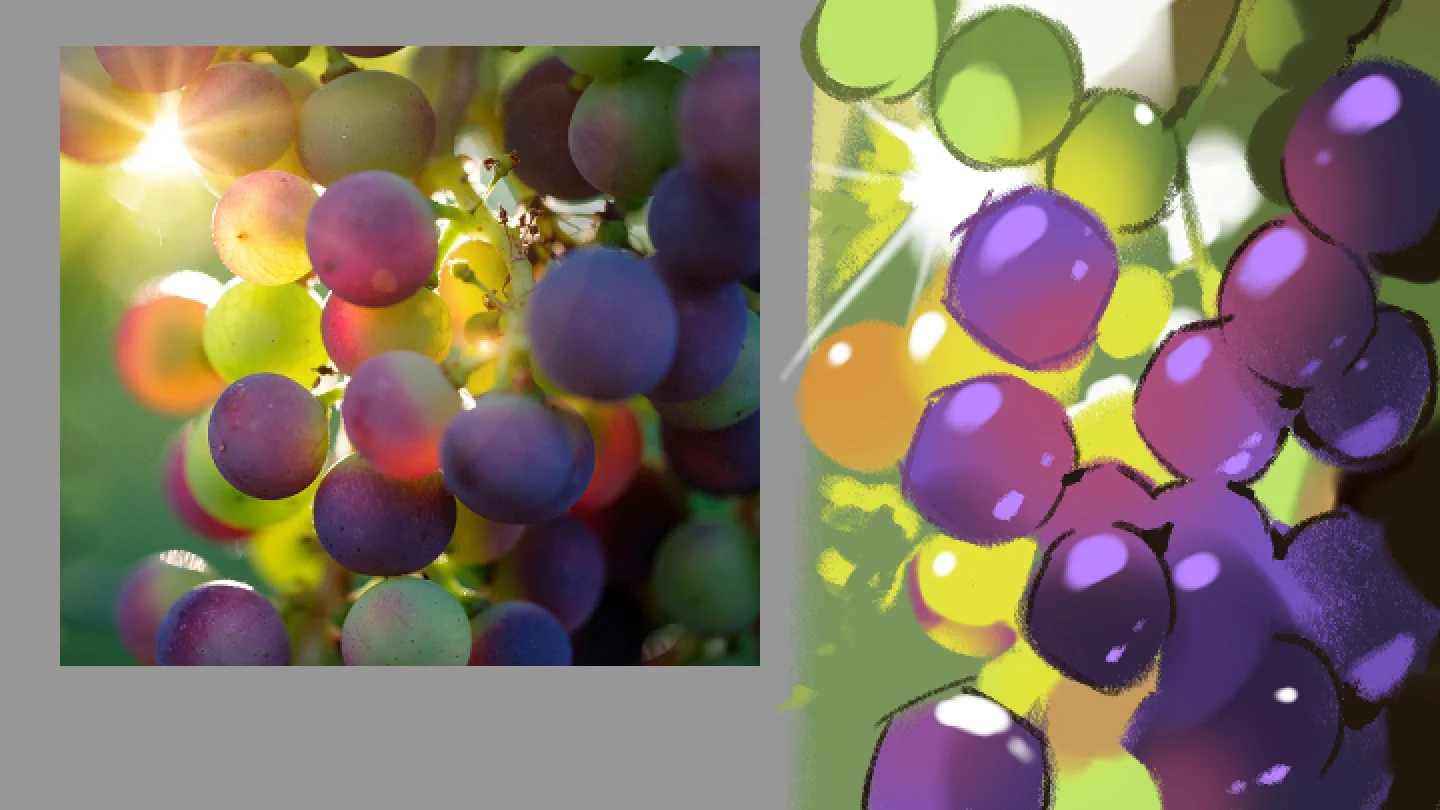
10. Shape Breakdown- Identifying geometric shapes and forms hidden within reference objects or food - Observing light, shadow, and the texture of the object - Using silhouettes to create and color the object based on the reference - Study the power of creating silhouettes and understanding light and shadow
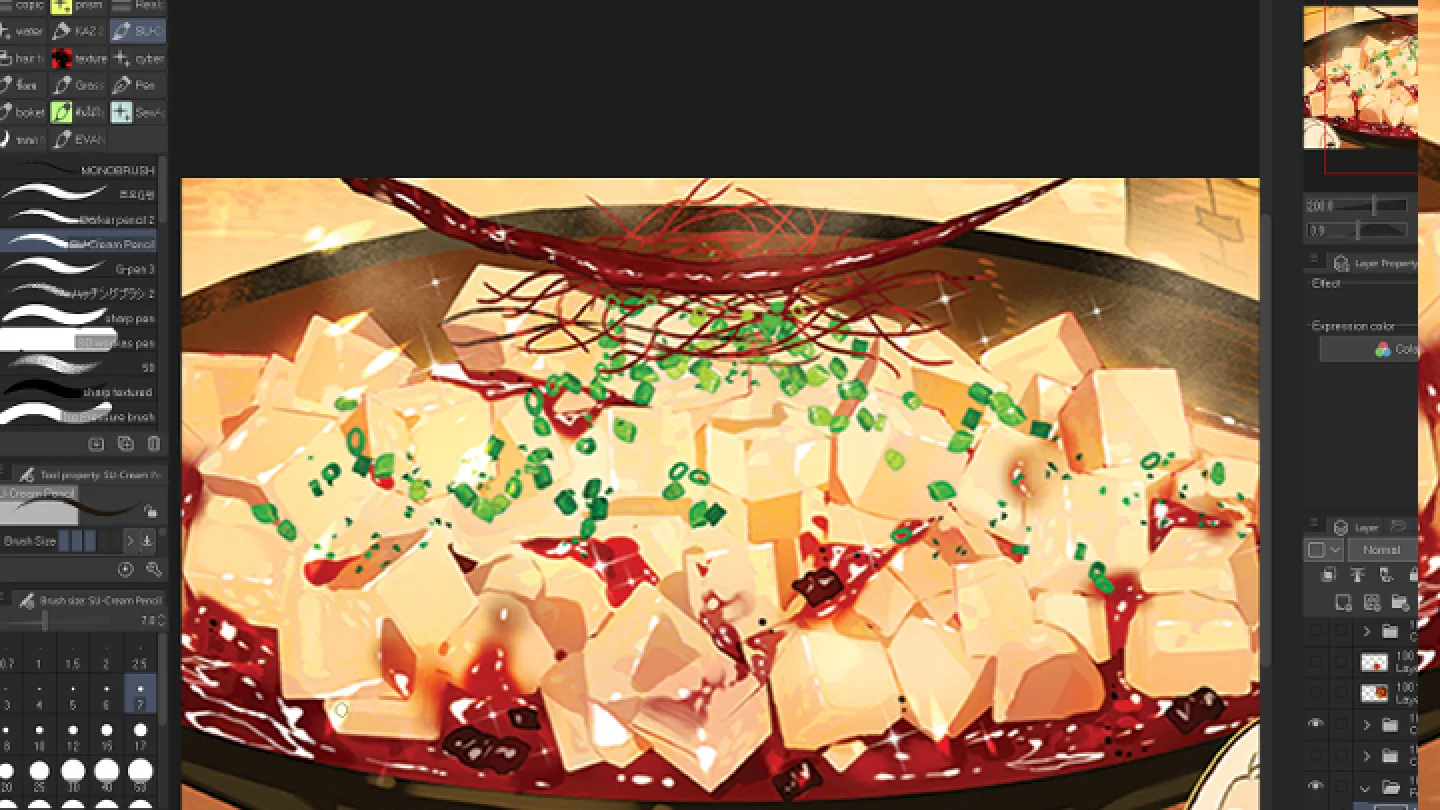
11. Detailing (1)- Taking the broken-down shape and adding details to make it more realistic
12. Detailing (2)- Detailing other parts besides food and objects
13. Detailing (3)- Applying weight and creating shapes with a high-fuzz brush - Using a fuzzy brush to roughly define the overall color scheme of the image
- SECTION 06
Time for Splash Art!
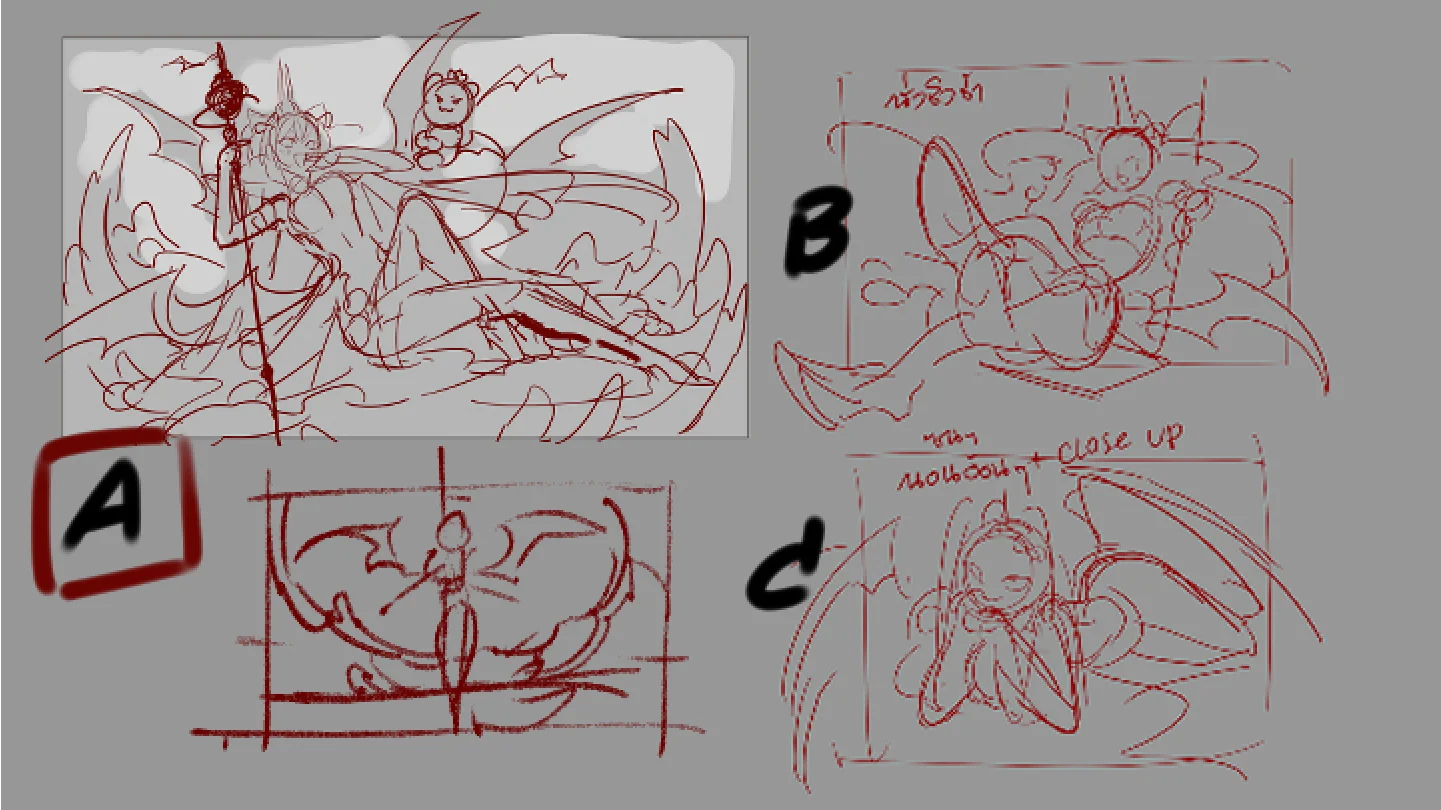
14. Compose & Concepts- Start working on an illustration incorporating previous lessons - Forms of the composition - Considering how to integrate storytelling into the image
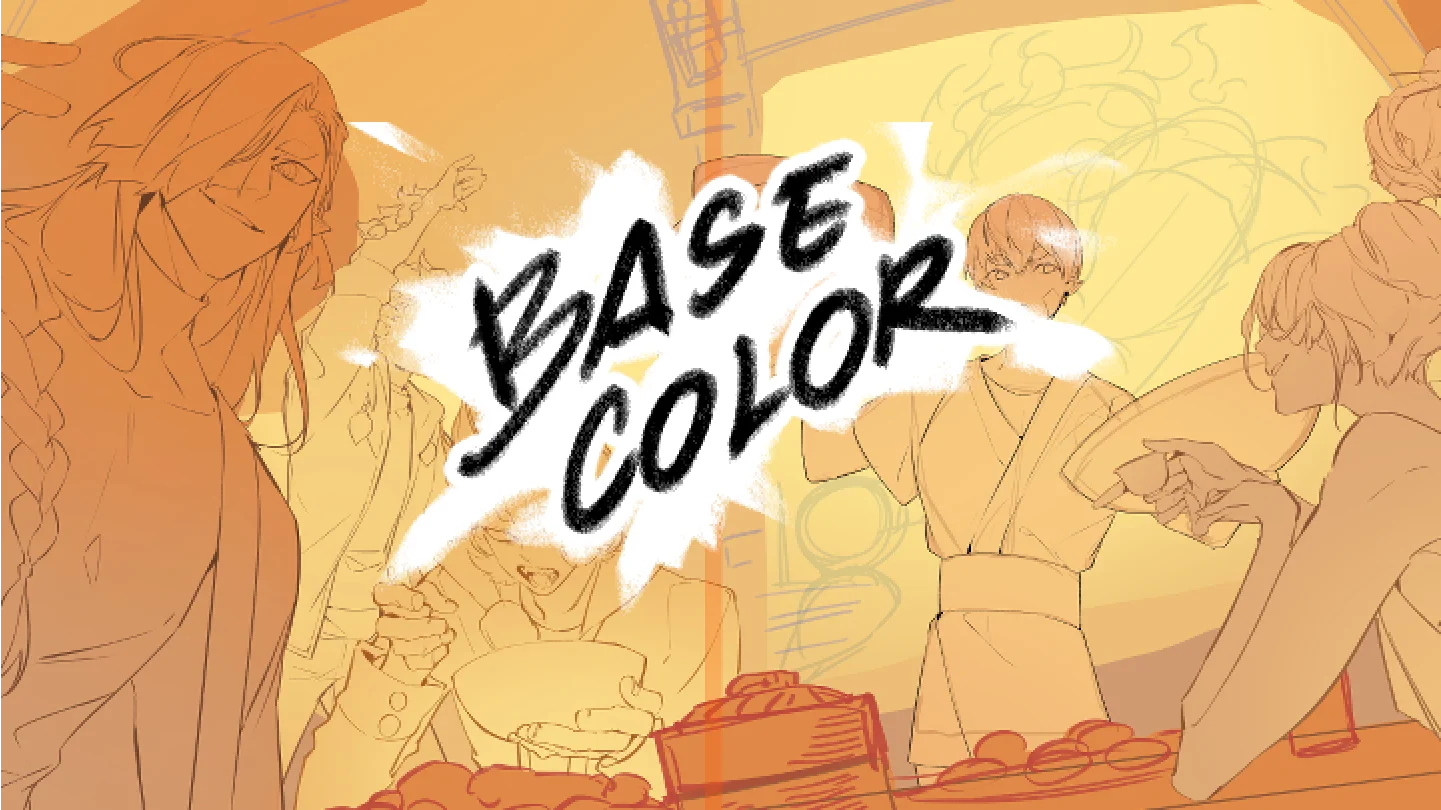
15. Base Coloring- Choose your favorite composition from all the sketches and create a clear sketch - Apply the base colors of the environment - Begin defining clearer light and shadows - Block the colors and separate the layers of characters/background clearly
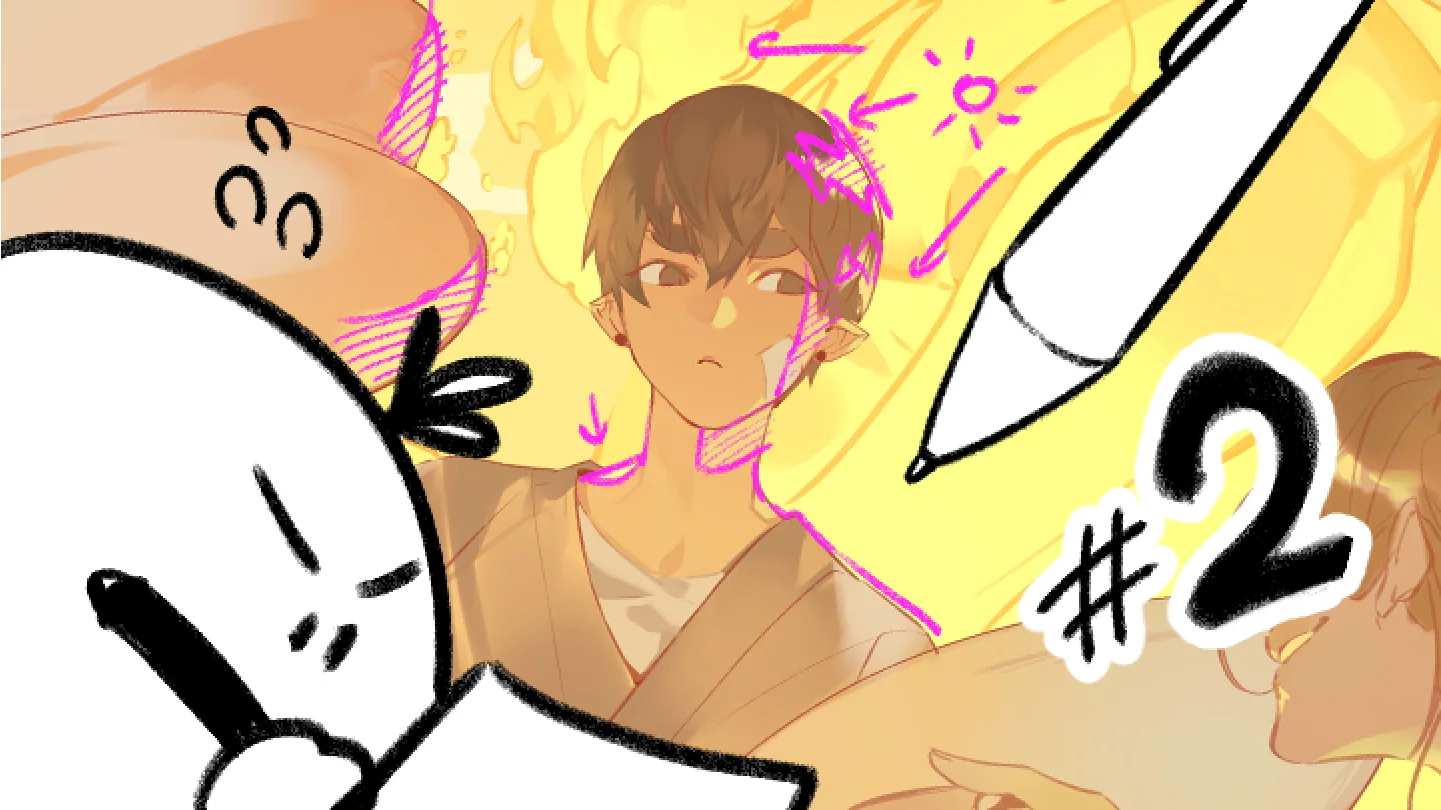
16. Coloring the Whole Scene- Start coloring roughly focusing on the main light and color of the image - Define character details while coloring the overall picture
17. Finishing the Whole Scene (Part 1)- Start detailing by beginning with food > characters > background - Coloring food or objects in the foreground based on the ambient colors
18. Finishing the Whole Scene (Part 2)- Coloring characters and emphasizing detailed work on the focal points - Coloring the background based on the details of the character and objects
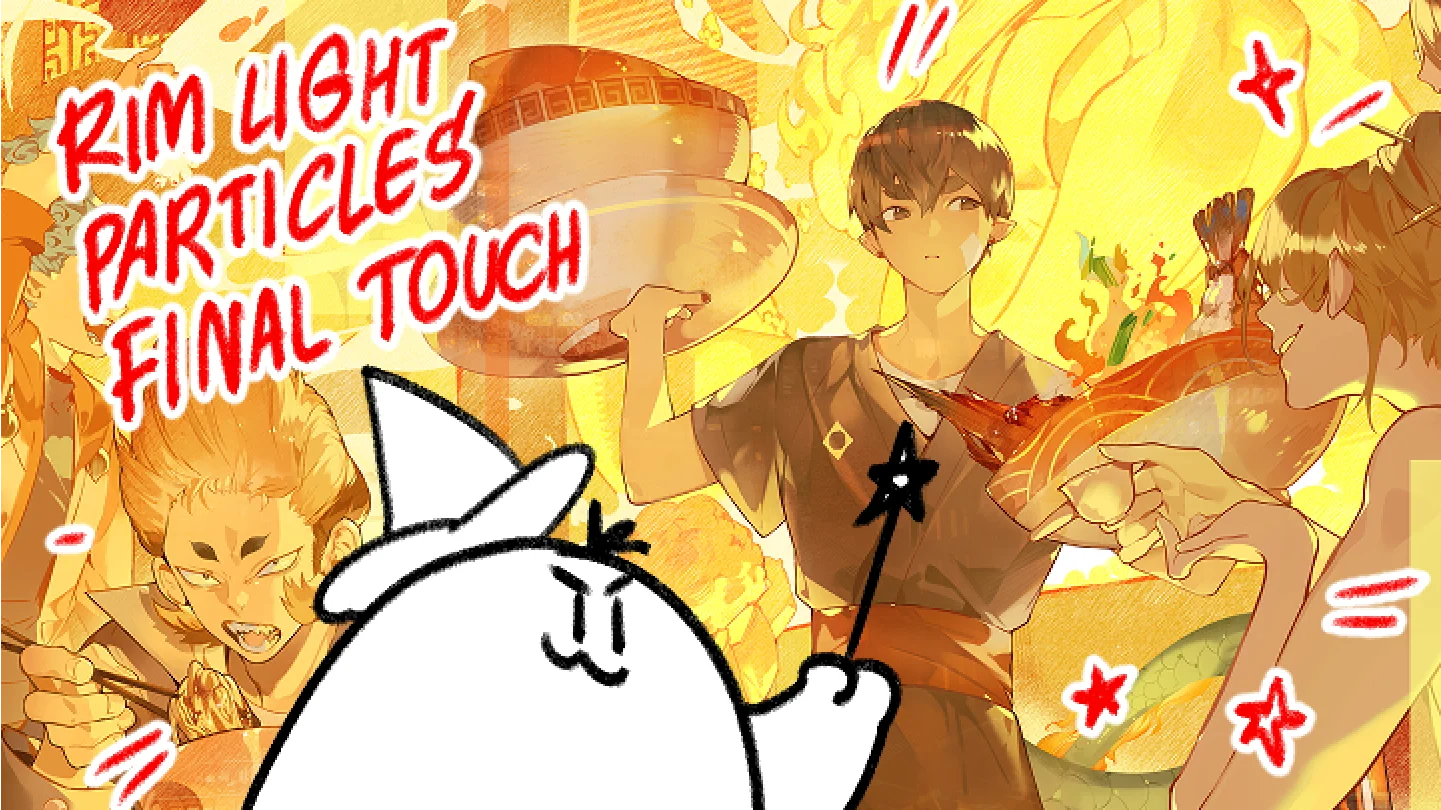
19. Final Detail Rendering- Rendering smaller details - Using bright brush colors to make the image stand out - Checking the overall value - Using the curve tool and various layer options to enhance the colors
- SECTION 07
Exporting the File
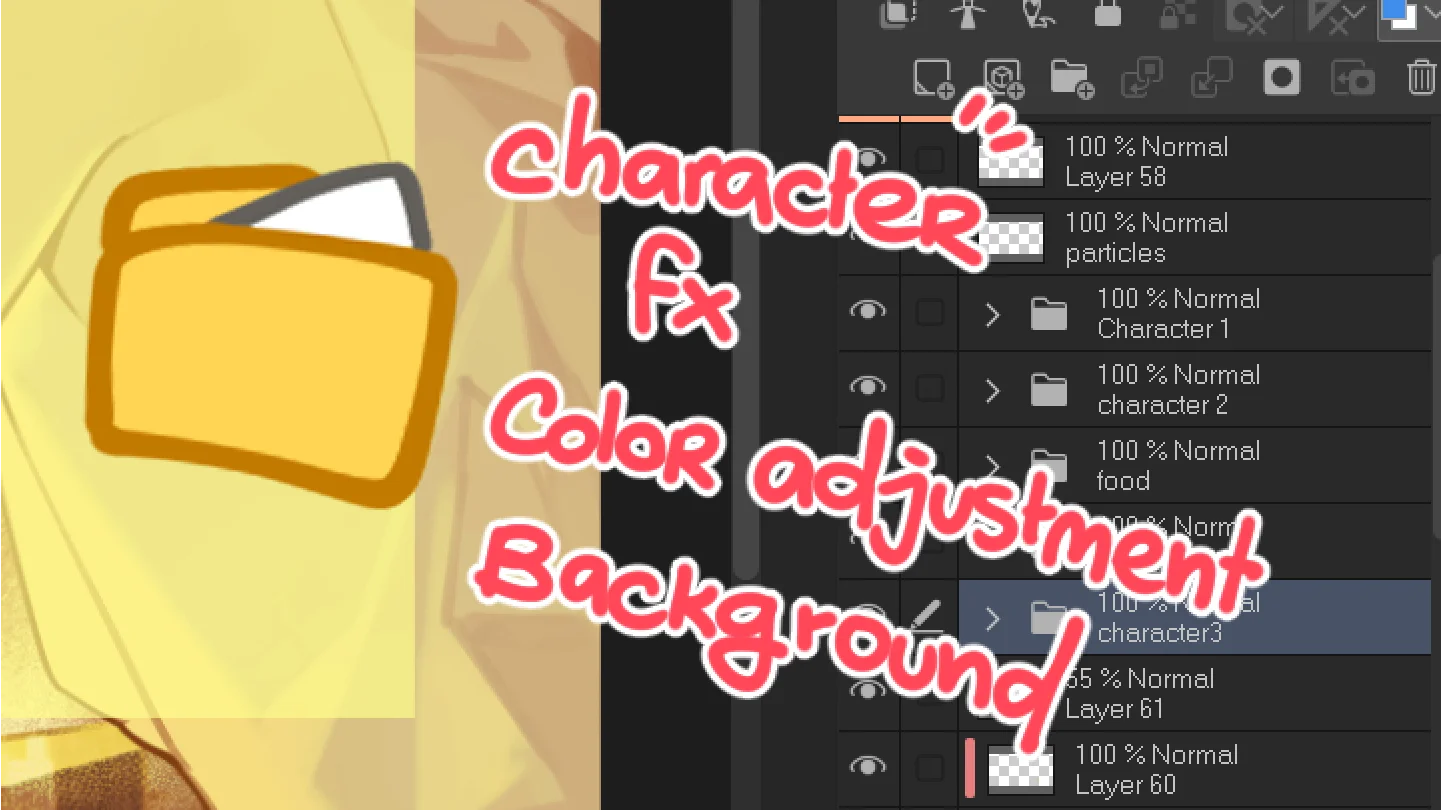
20. Arranging Layers for Sending the Work Forward- Explaining about organizing various folders
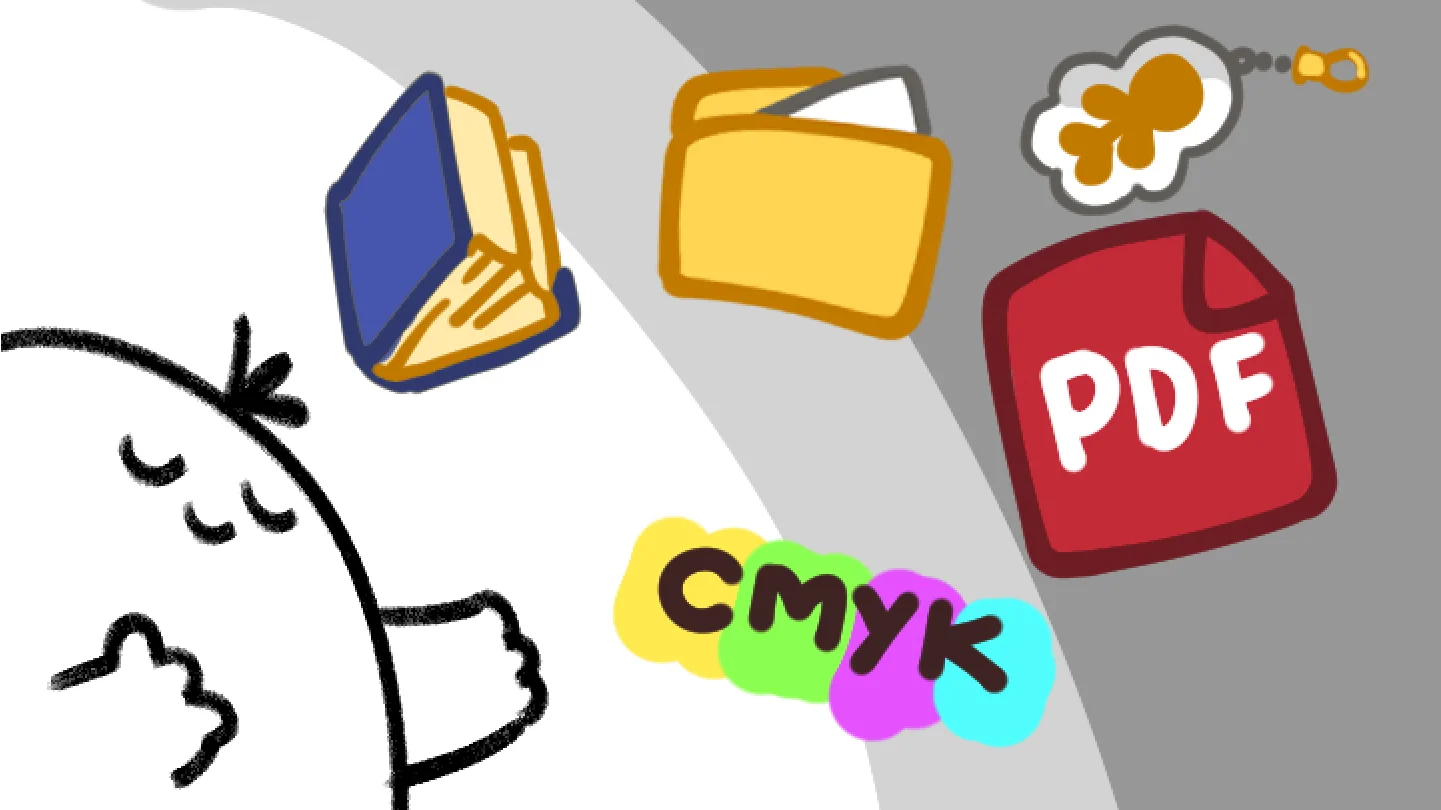
21. Exporting and File Setup for Printing- Exporting artworks in a format ready for printing - Adding margins to the image to prevent cropping
- SECTION 08
Parting Words
22. All about Being a Freelance Artist- Advice about career as an artist
