[Course]illustrator,xiaofanzhang Details
Intro
Class Intro
Illustrator, Xiaofan Zhang
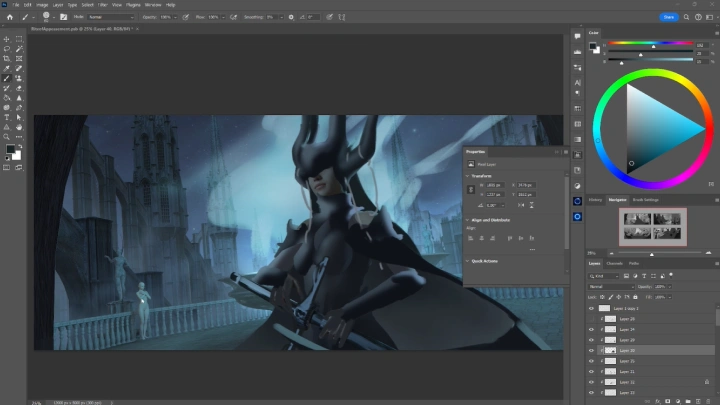
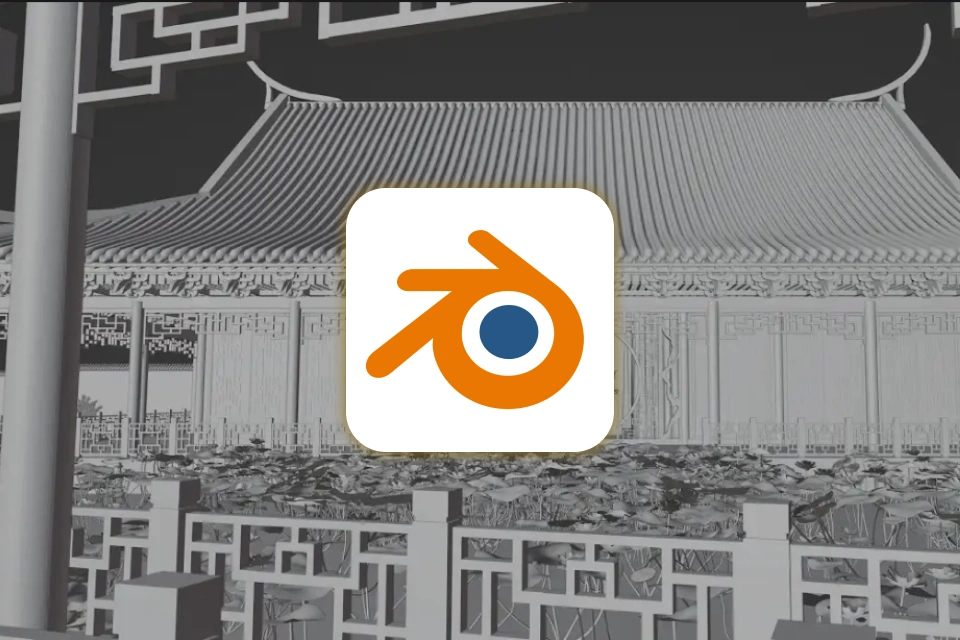
"I'll show you the end-to-end process of building your 3D base in Blender before rendering your composition in Photoshop."
Integrating 3D into Your 2D Workflow.
Step into the world of cinematic illustration with a hybrid 2D/3D workflow designed for illustrators and concept artists. This class provides an ultimate guide on how to use Blender’s most essential and powerful tools to enhance your 2D painting process.
Incorporating 3D into your 2D workflow has become an industry-standard approach, giving you greater control over your artistic direction to produce professional-quality work.
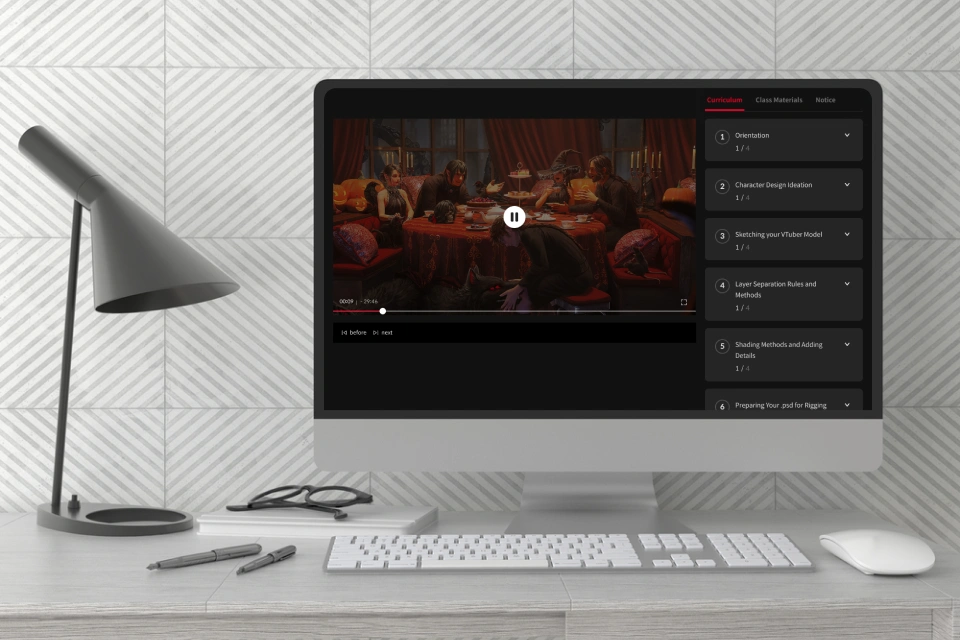
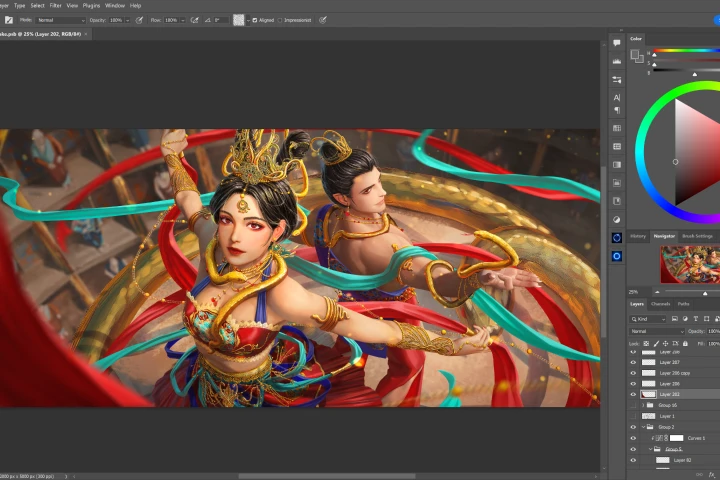
Led by artist Xiaofan, this course is equipped with over 40 chapters walking you through the entire pipeline step-by-step. You'll learn how to build modular 3D environments, pose characters, and set up cinematic lighting to create dynamic, believable scenes. With a focus on story-driven design, you'll explore how to paint over 3D renders in Photoshop to bring depth and drama into your personal works.
This isn’t a basic Blender crash course, it’s an in-depth look into the professional visual development pipeline. You’ll leave with a portfolio-ready keyframe illustration, a stronger grasp of cinematic composition, and a faster, more adaptable workflow that combines technical precision with your artistic voice.
Class Preview
Still Not Sure?
Check Out Xiaofan's Class Preview!
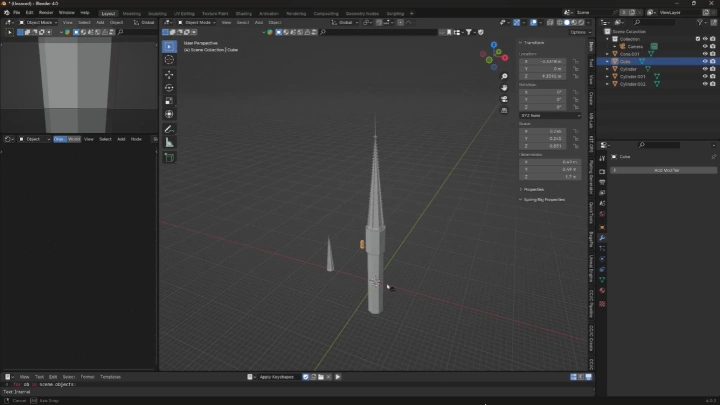
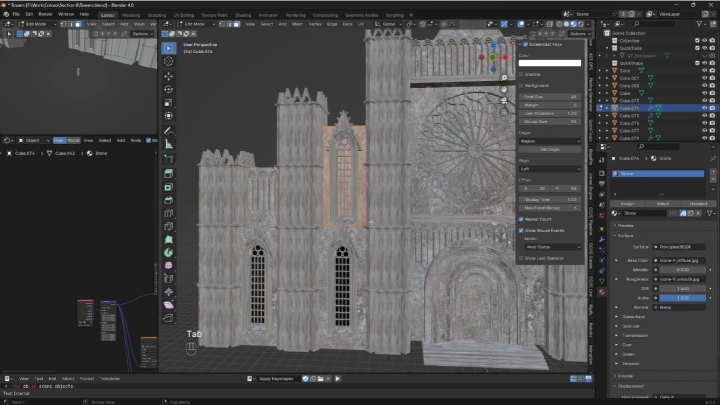
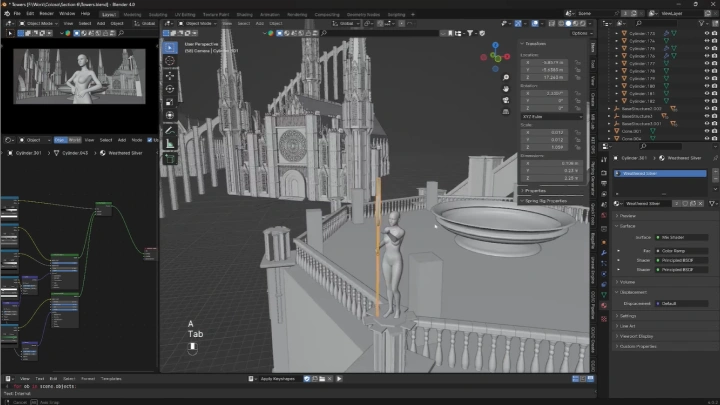
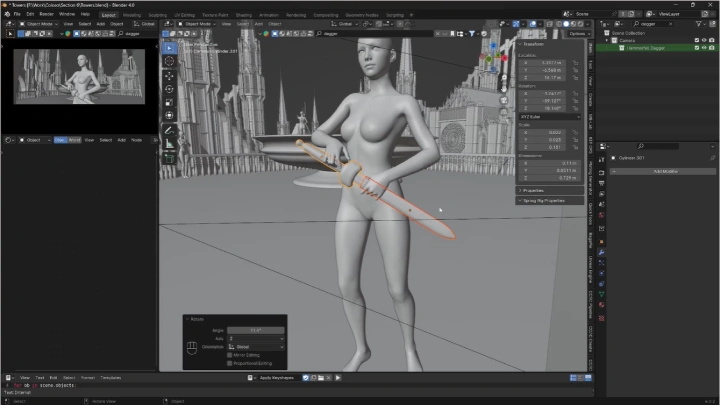
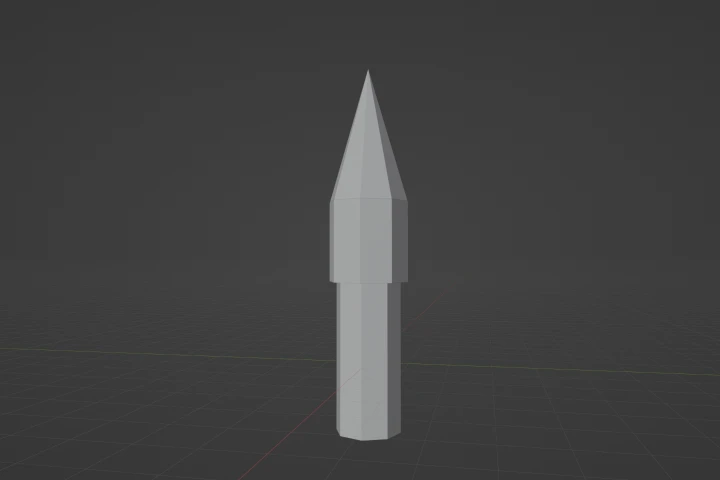
Chapter 13.
Detailing Base Structures
1. Add detailed elements to base model
Class Perks
Get These Coloso Exclusives
-
 Unlimited Access to 49 Chapters of Xiaofan's In-Depth Workflow
 -
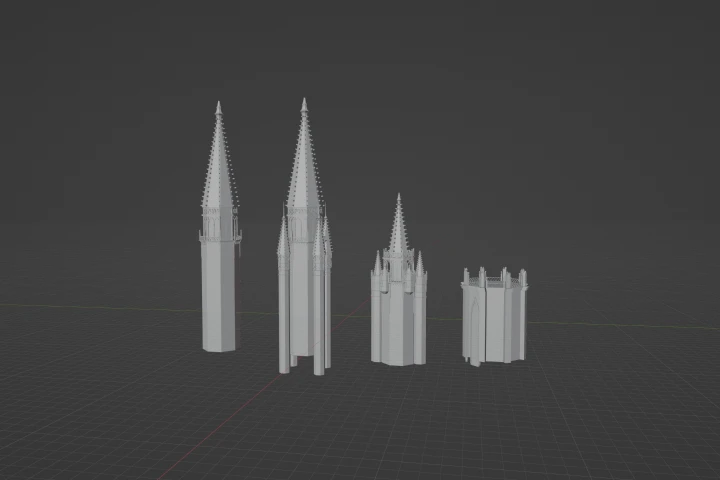
 Dark Fantasy Kitbash Assets- All assets built in the process of creating this course
- Tower models
- Base models
- Arches
- Railings -
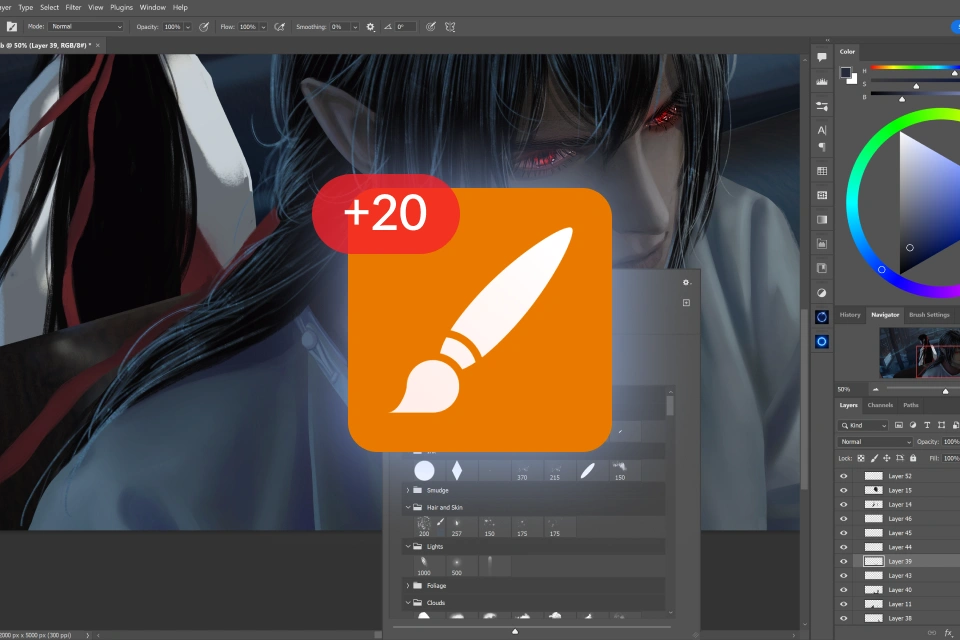 20+ Custom Brushes- Categorized brush pack for seamless and efficient use
- All brushes used and demoed in the class
- Basic sketching brushes
- Basic painting brushes
- Textured brushes used to embellish different materials
-
 In-Class Working Blender File- Blender file used in final 3D render
- Includes all lighting and composite settings -
 In-Class Working PSD Files- All PSD files in full resolution and including all layers for student reference
- Completed illustration file
- Completed character design file -
 Class Notes- All class notes written over the course of the drawing process
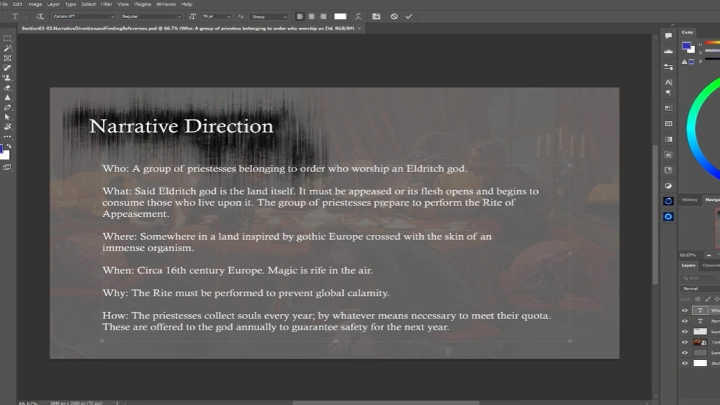
- Narrative concepts
Recommendation
Who Should Take This Class?
2D illustrators looking to integrate 3D for more cinematic impact, dynamic compositions, and efficient workflow.
Artists aiming to build portfolio-ready keyframe illustrations for visual development and concept art.
Artists seeking insight into the full 2D/3D hybrid workflow and behind-the-scenes techniques from start to finish.
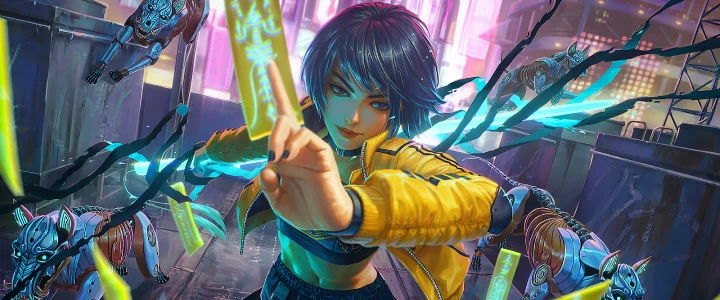
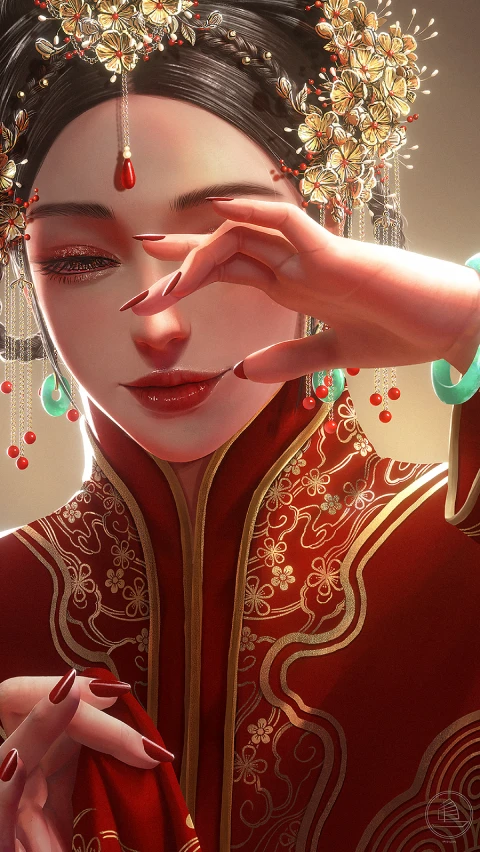
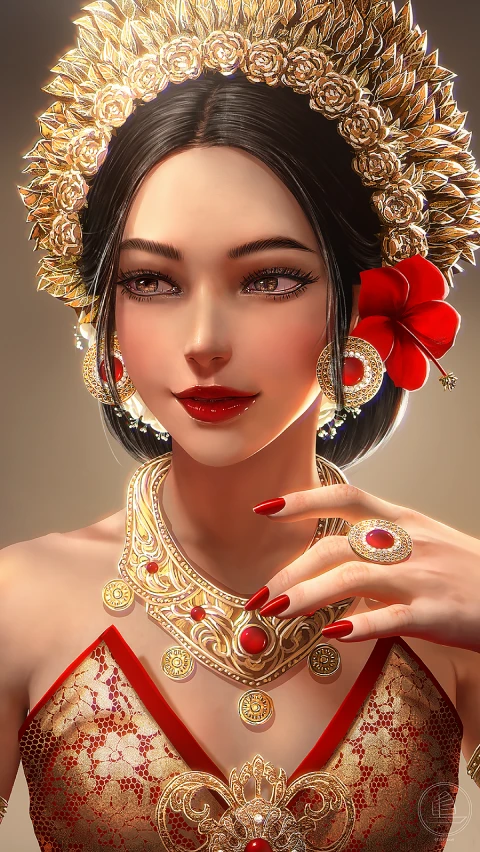
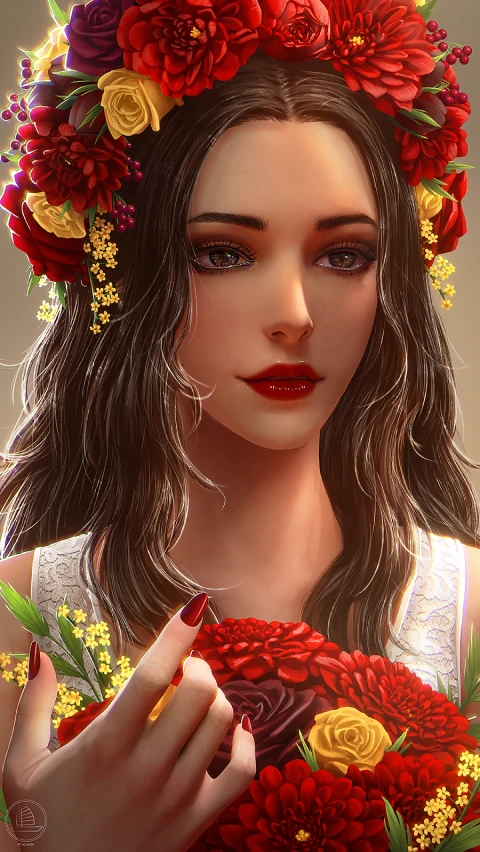
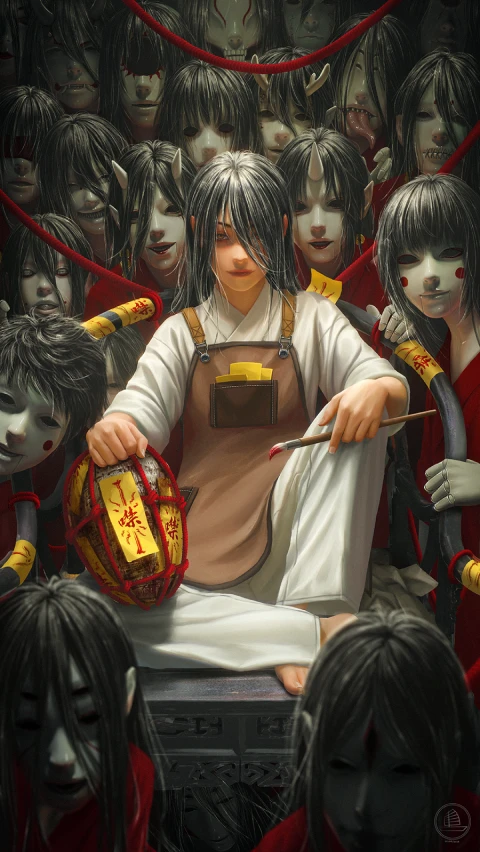
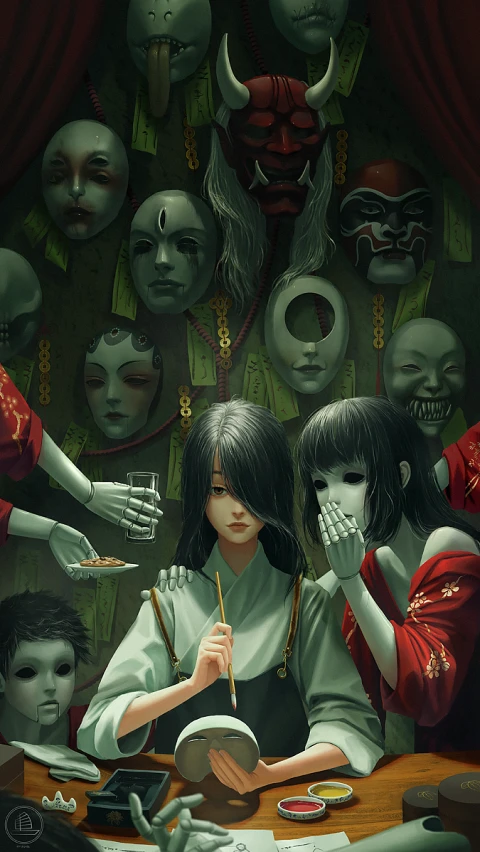
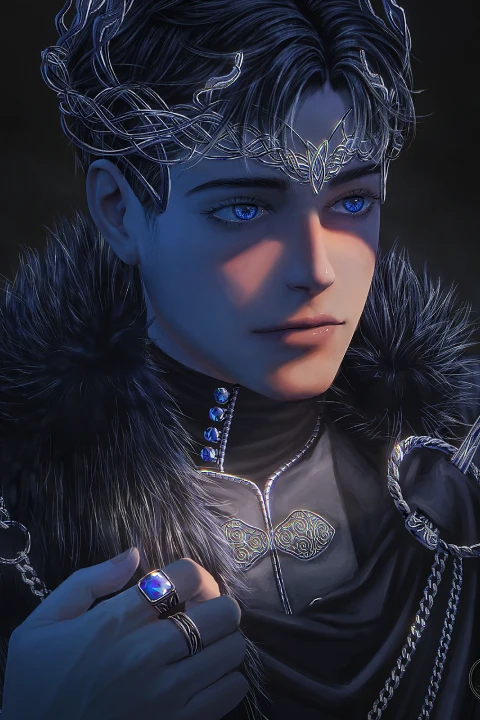
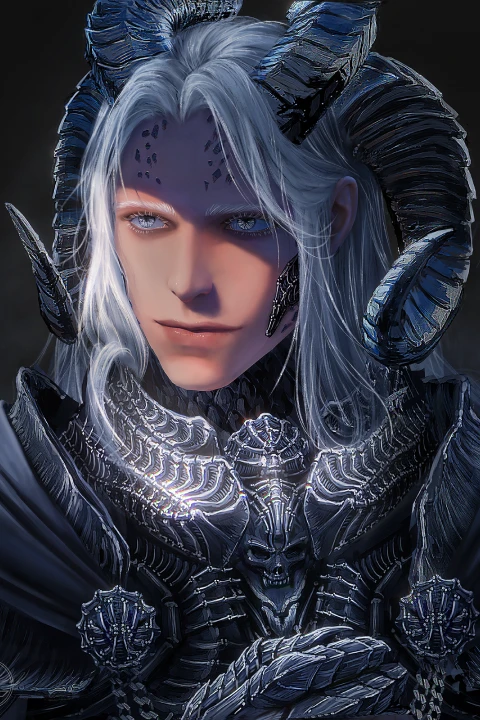
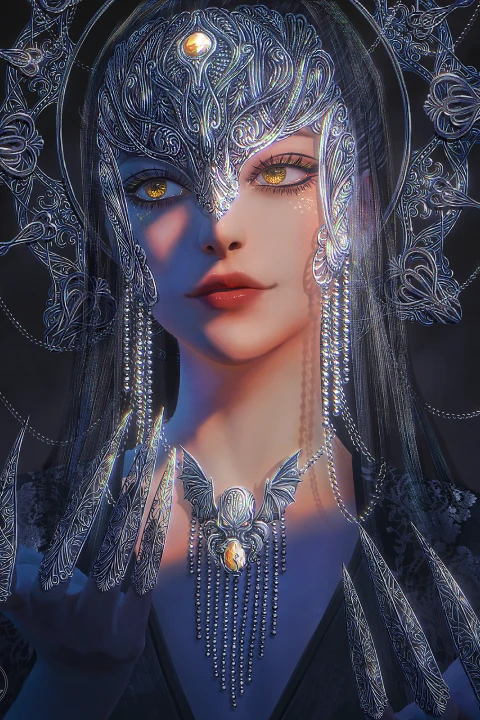
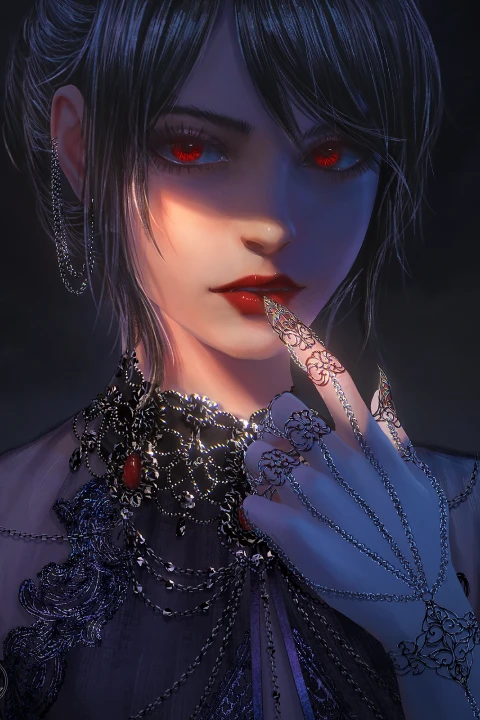
Expert Illustrator Xiaofan Zhang's Portfolio

Why Take This Class?
Build Smarter, Paint Better.
This class is built for artists who want more than just surface-level techniques. You’ll gain a deep understanding of how 3D can be used as a supportive tool, not to replace your painting, but to enhance your design, speed up iteration, and bring cinematic quality to your work.
Whether you're aiming for visual development, concept art, or storytelling illustration, this course gives you the tools to take full control of your scenes. From building reusable 3D assets to developing compelling compositions and painting realistic materials, you’ll learn a production-level pipeline that will make your work sharper, smarter, and dramatically more dynamic.

32 Class Exercises
-
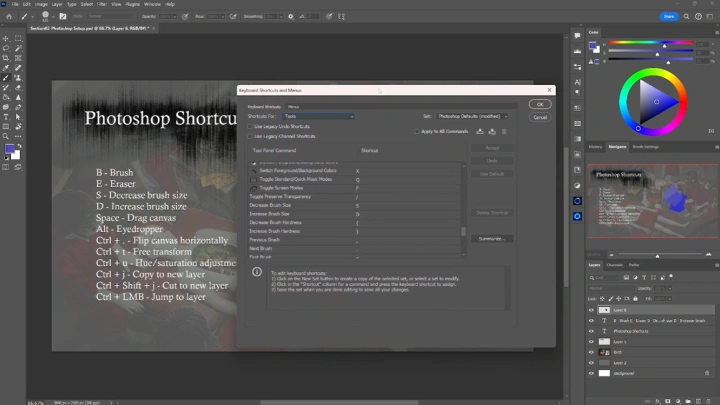
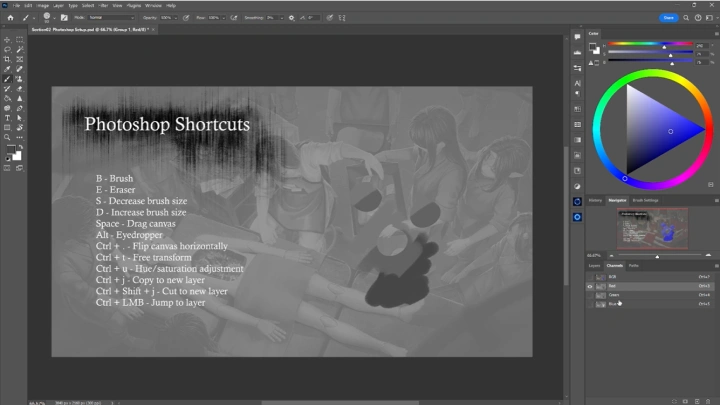
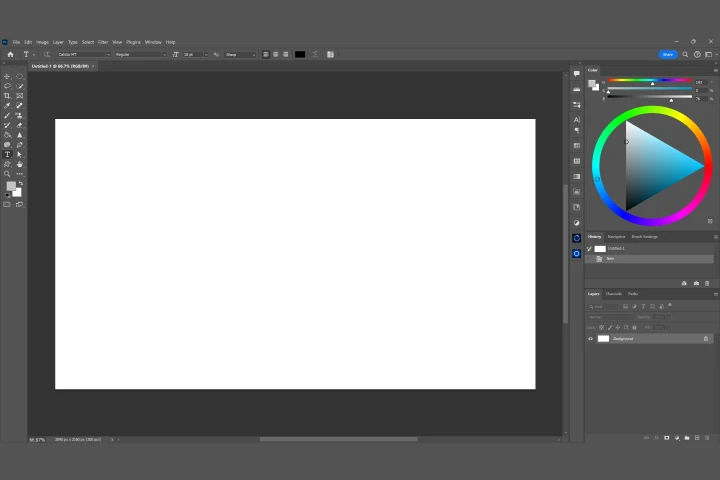 Photoshop Set Up
 -
 Concepts and References
 -
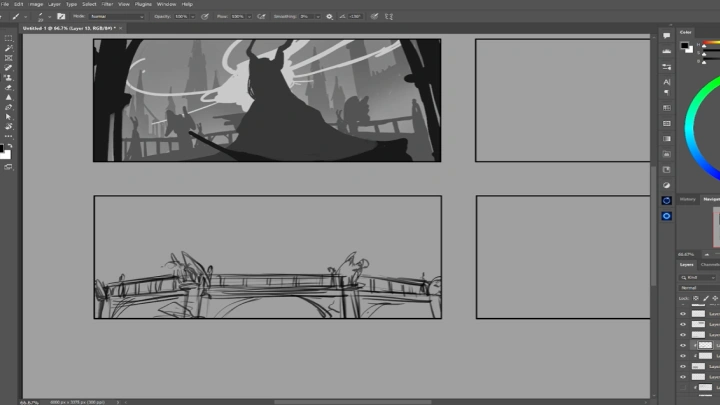
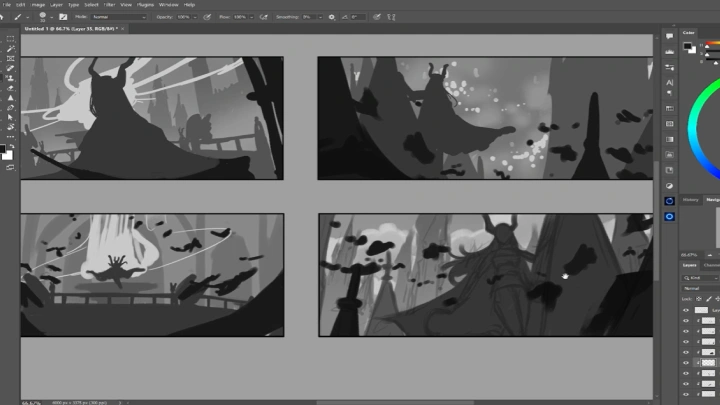
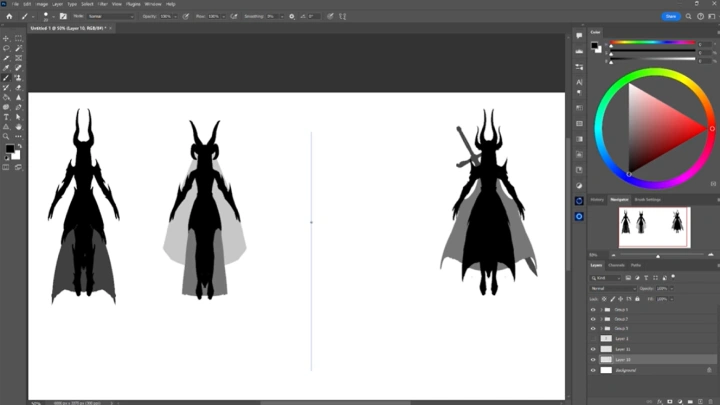
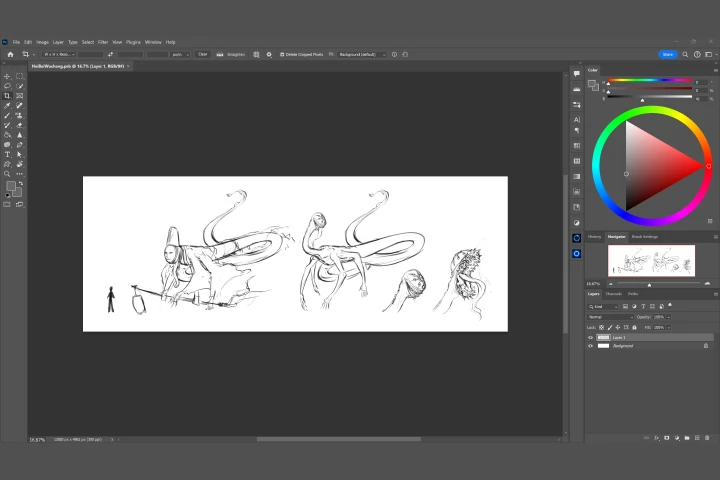
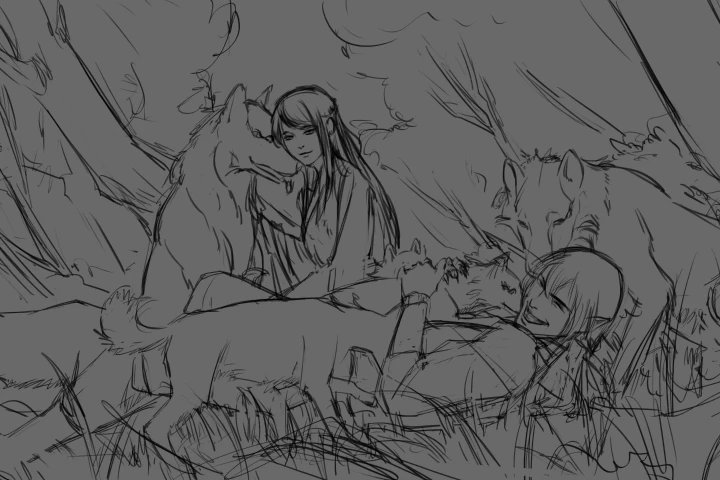 Sketching
 -
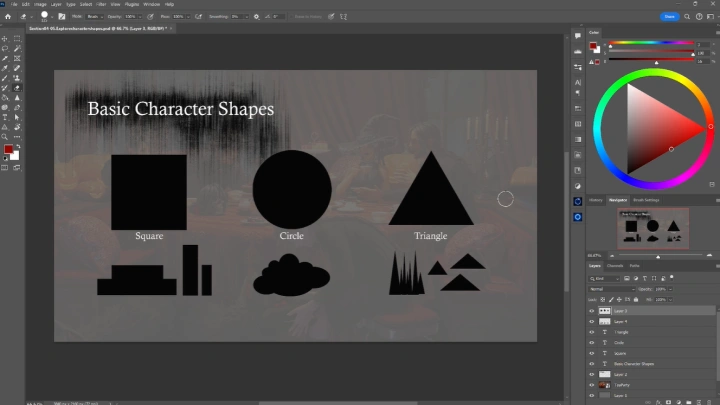
 Shape Exploration
 -
 Character Iterations
 -
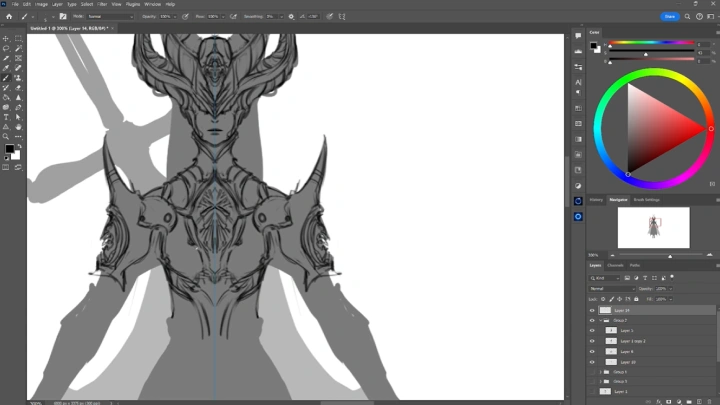
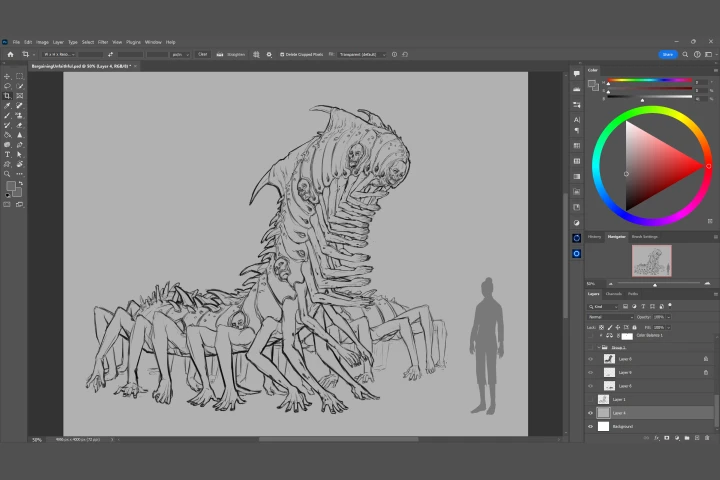 Detailed Sketch
 -
 Wrap up
 -
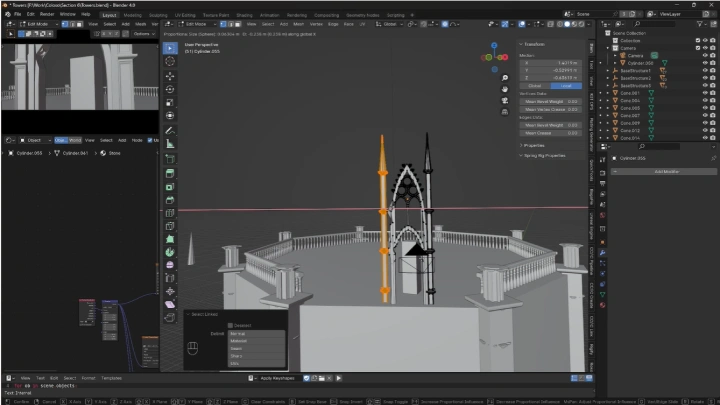
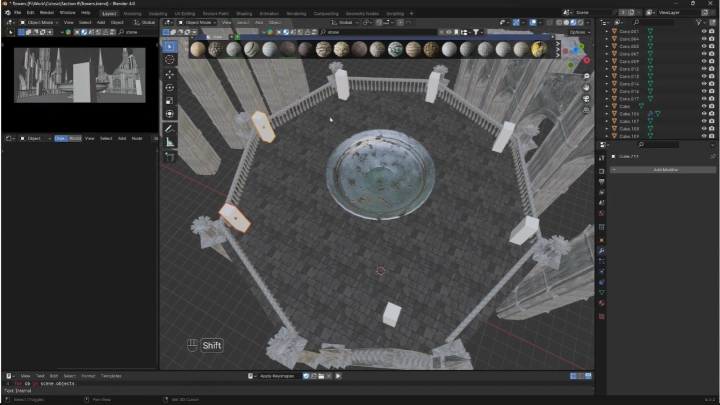
 Blocking in Towers
-
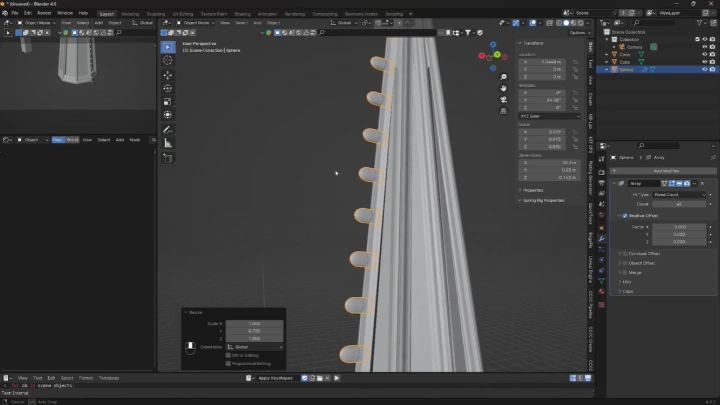
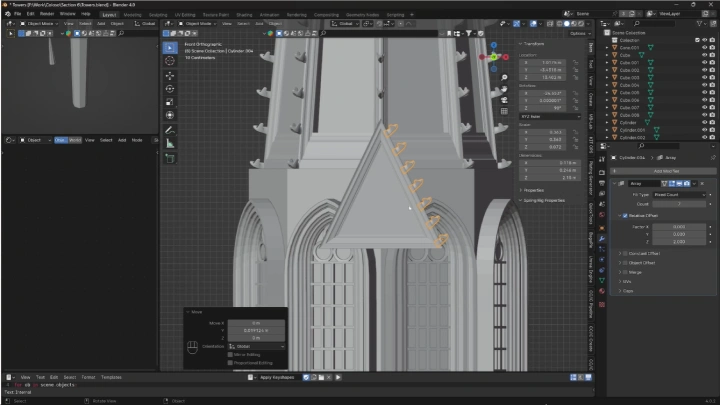
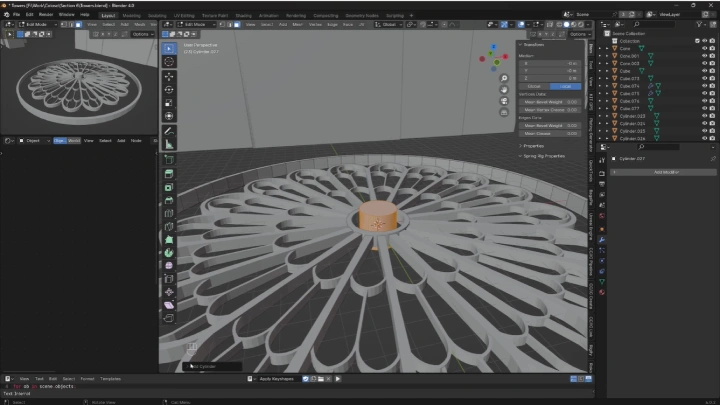
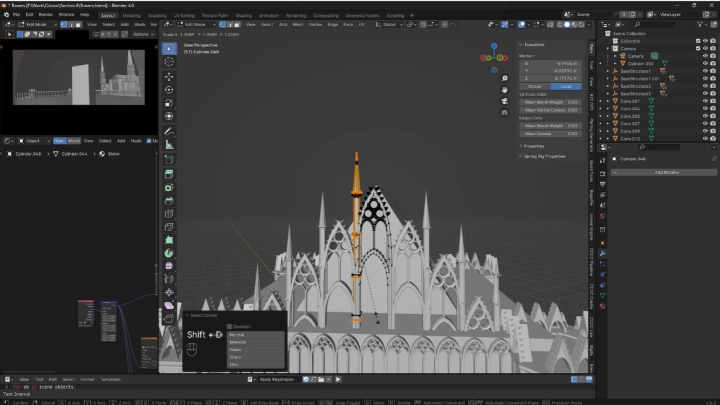
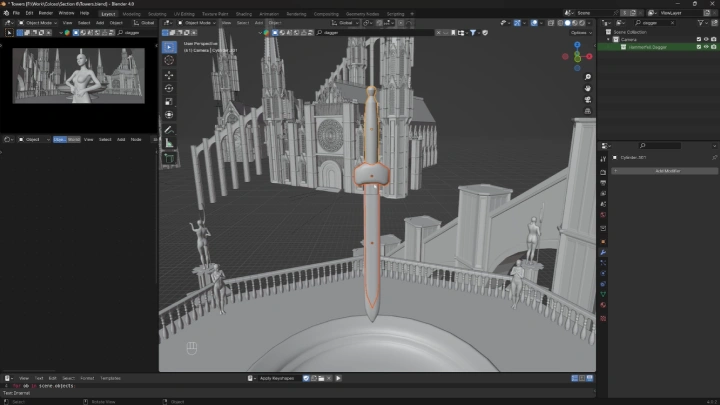
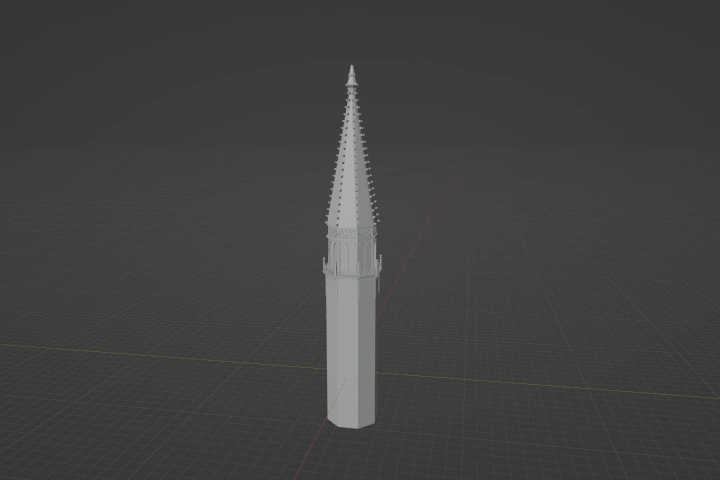 Detailing Towers
 -
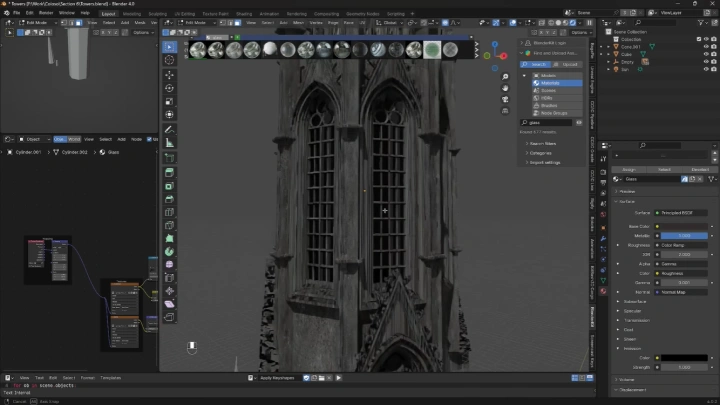
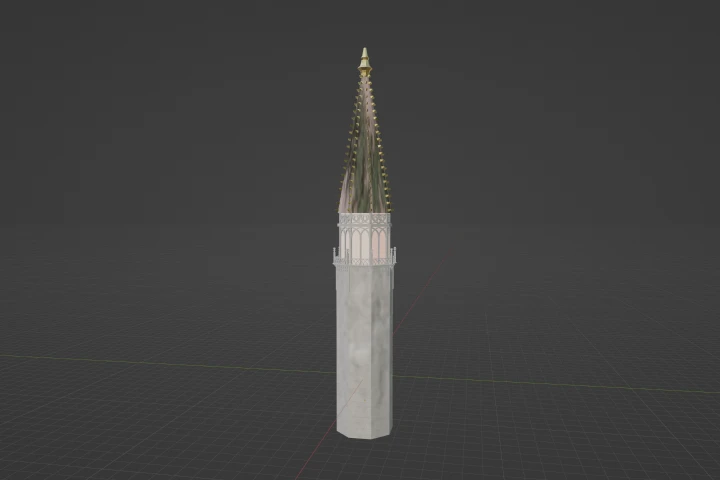 Texturing Towers
 -
 Making Alternate Versions
 -
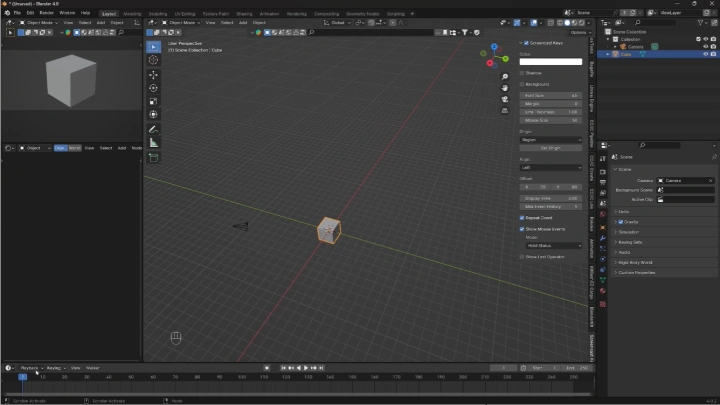
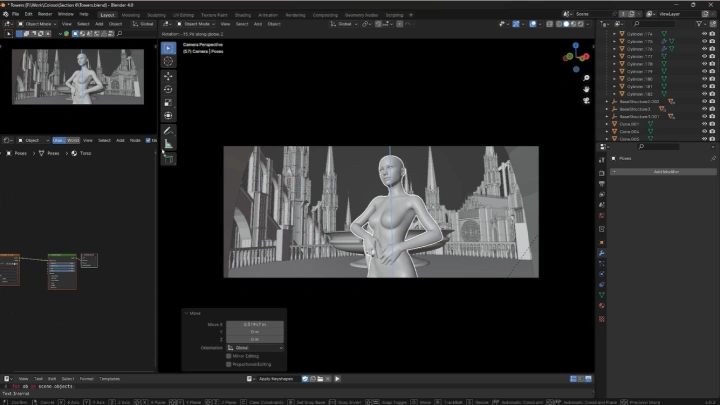
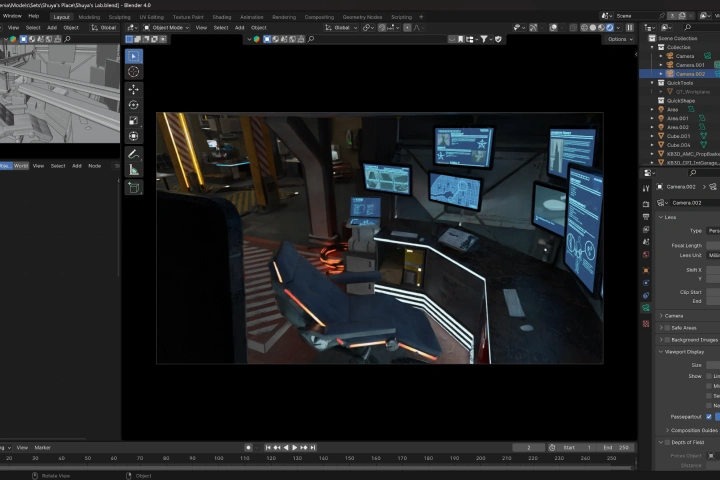
 Camera Set Up
 -
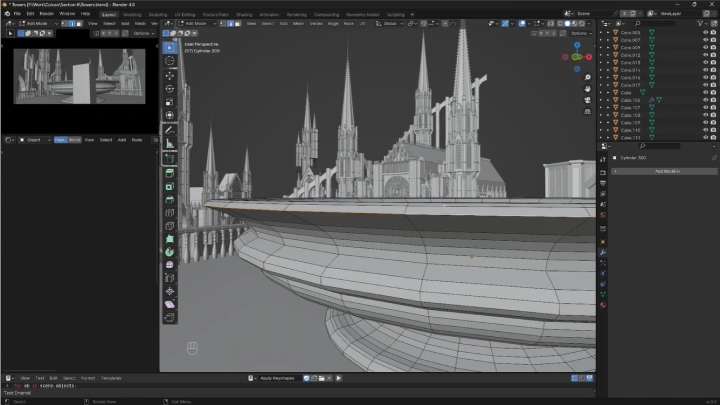
 Create Scene Part 1
 -
 Create Scene Part 2
 -
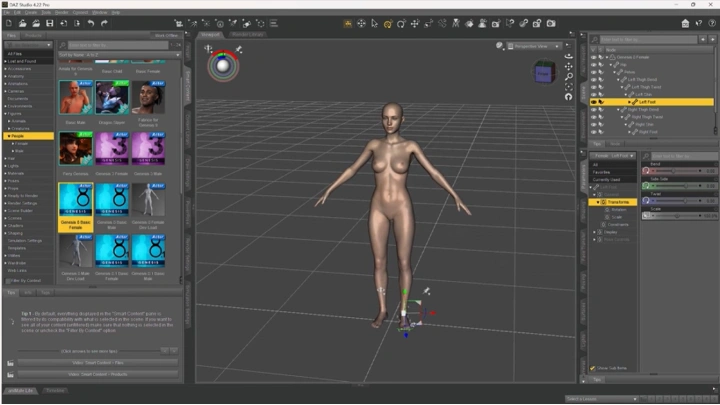
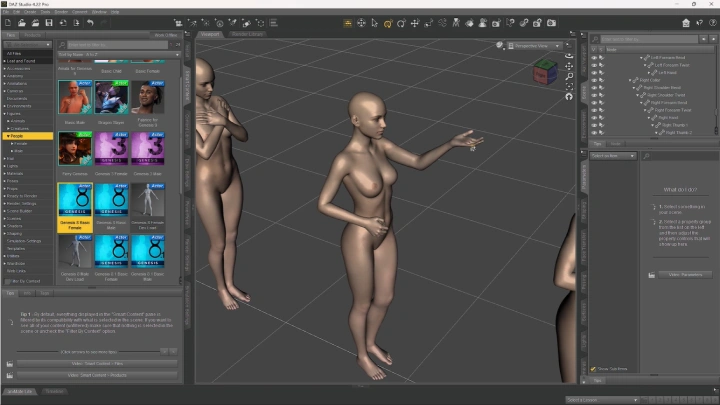
 DAZ Set Up
 -
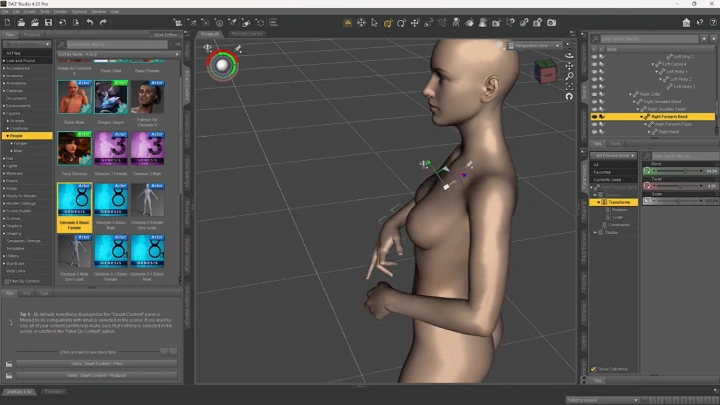
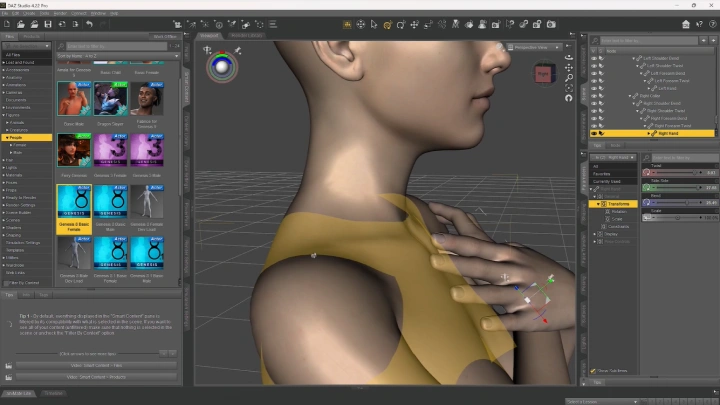
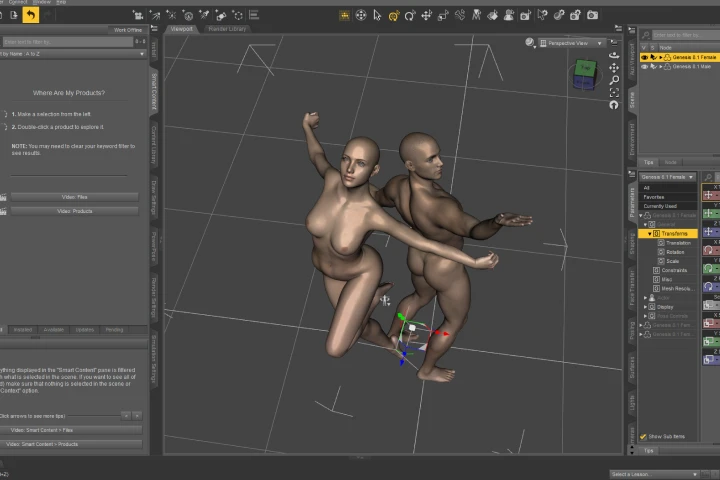 Character Posing
-
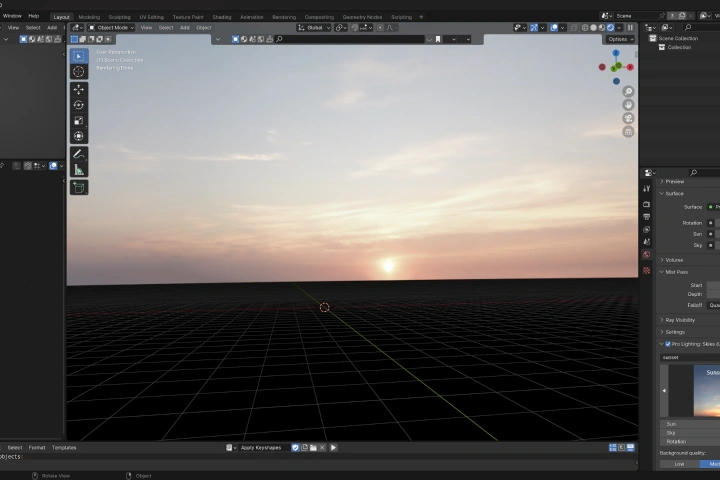 HDRI Set Up
 -
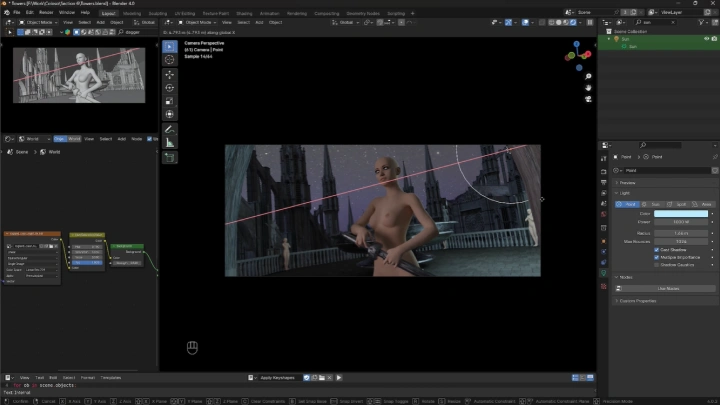
 Lighting Set Up
 -
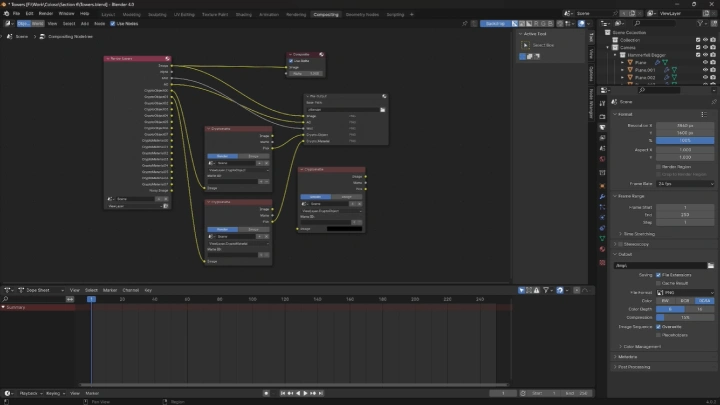
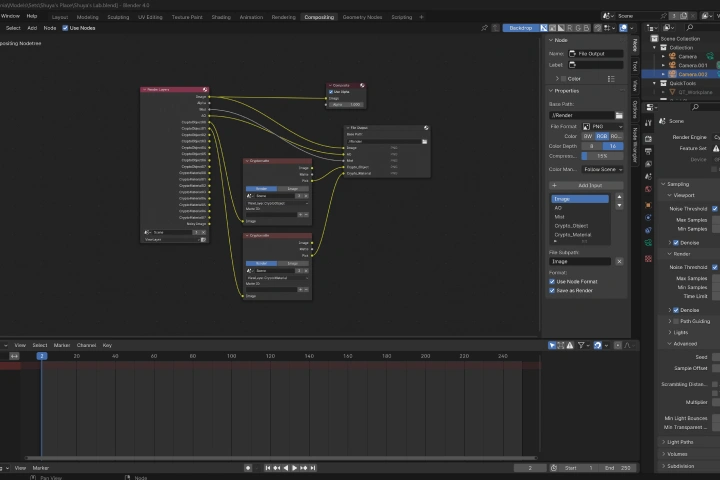 Composite Set Up
 -
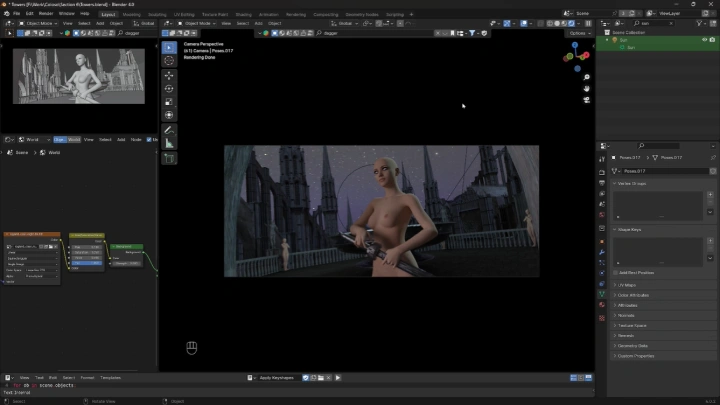
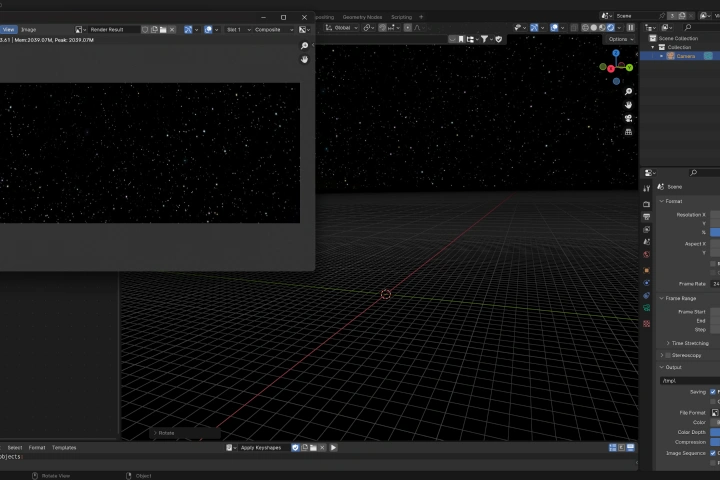 Render Settings and Image
 -
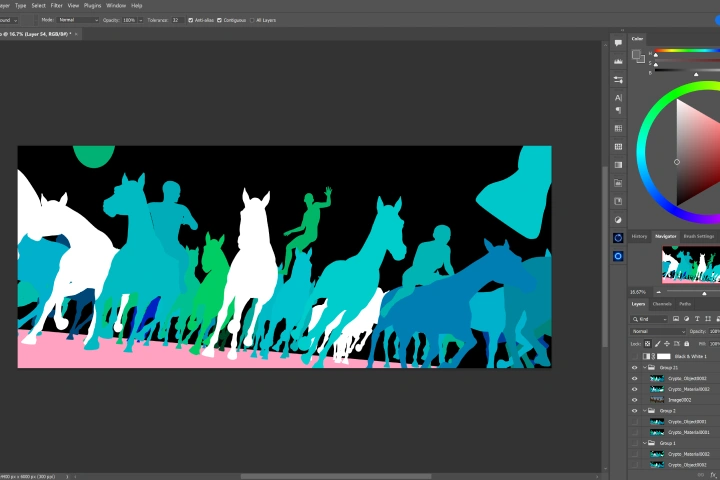 Import Renders
 -
 Block In
 -
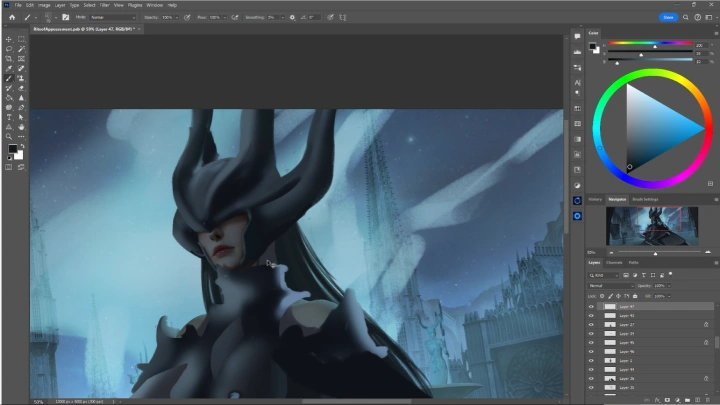
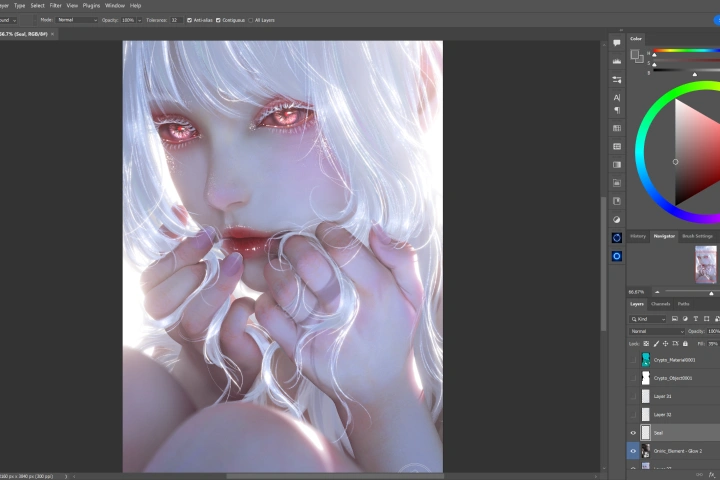
 Rendering Face and Hair
 -
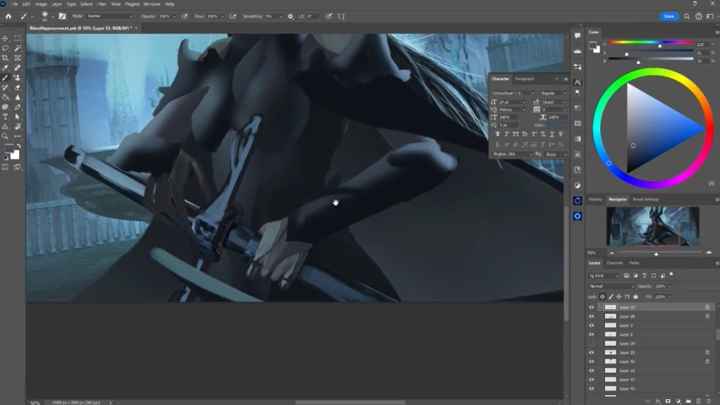
 Rendering Hands
-
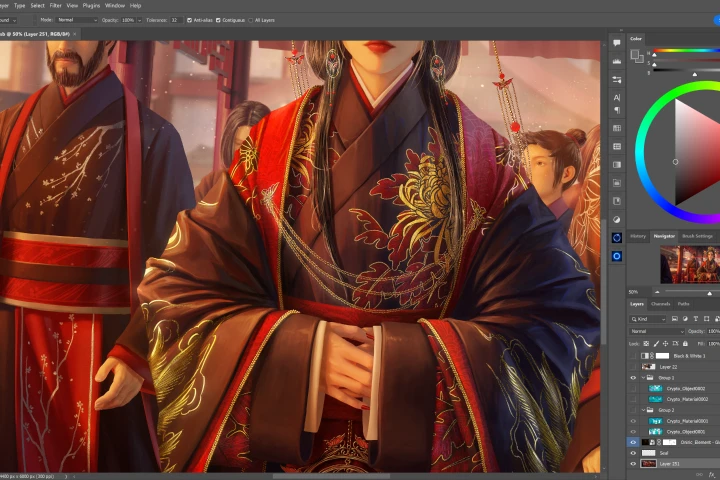 Rendering Cloth
 -
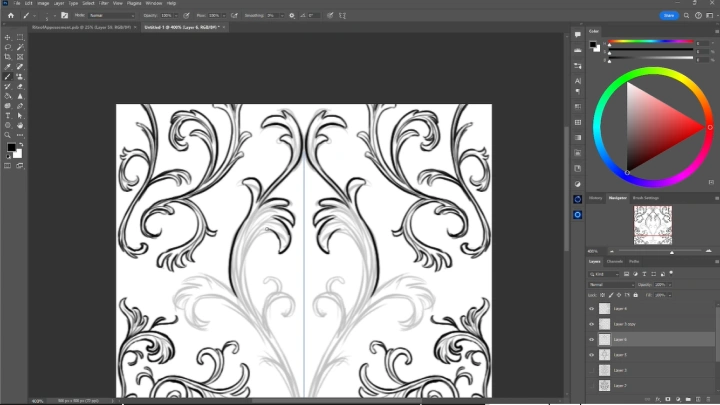
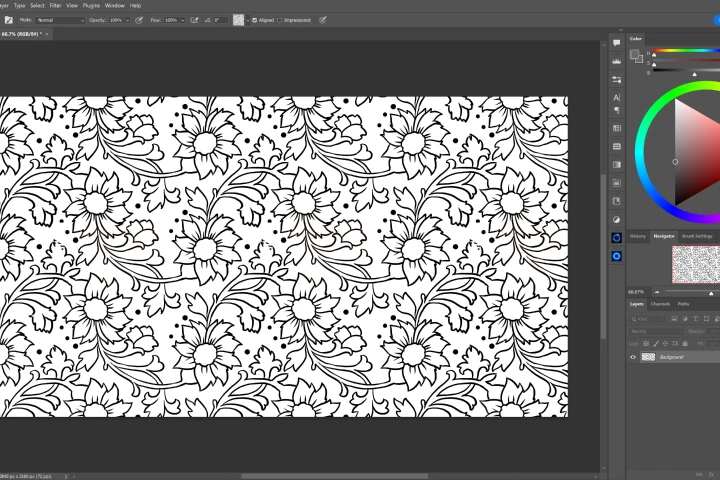 Design Patterns
 -
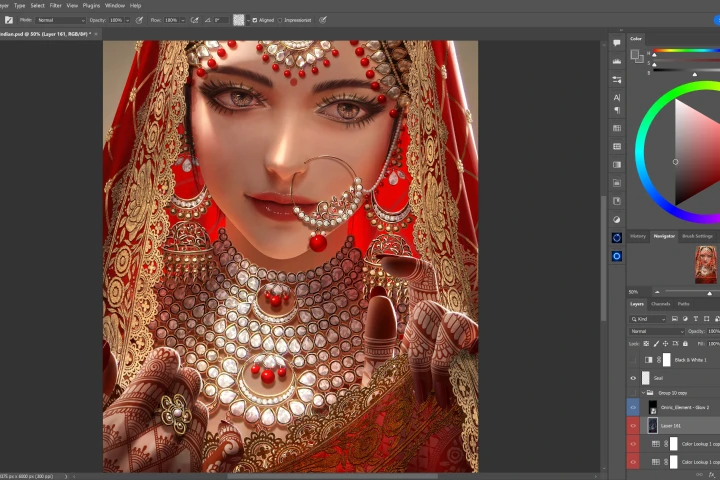 Rendering Jewelry
 -
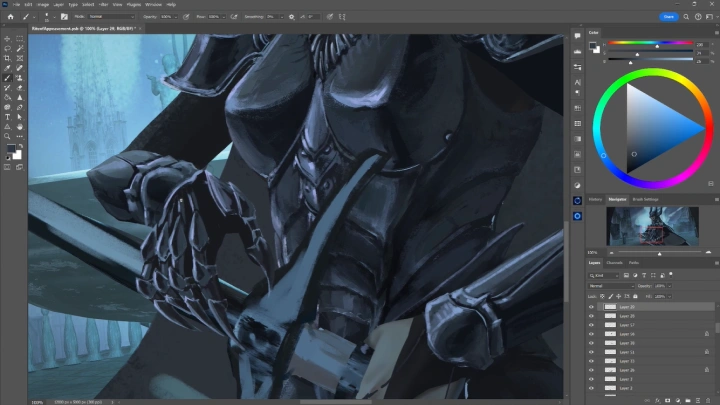
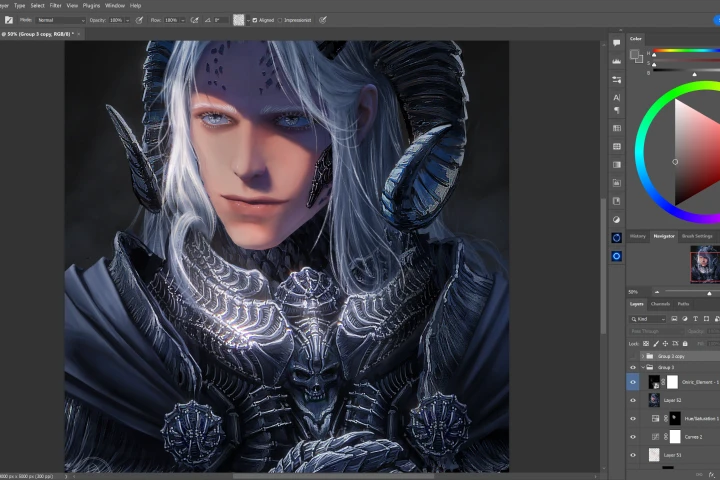 Rendering Armor
 -
 Special Effects
 -
 Paint the Sky
 -
 Paint in Imperfections
 -
 Add Adjustment Layers
Final Products
-
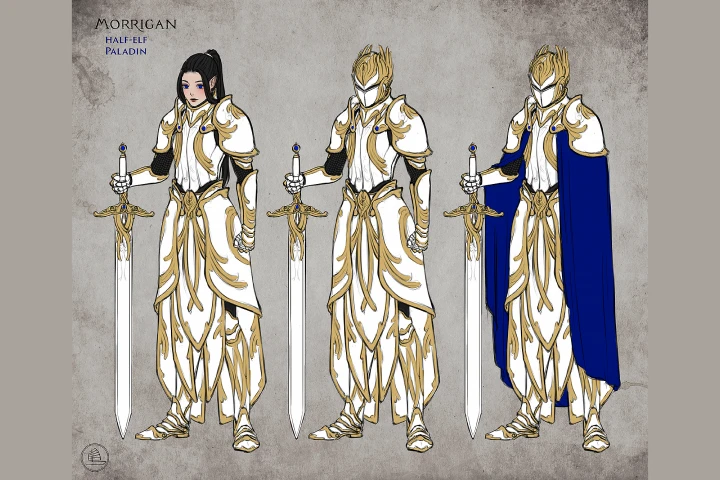
 Character Sheet
 -
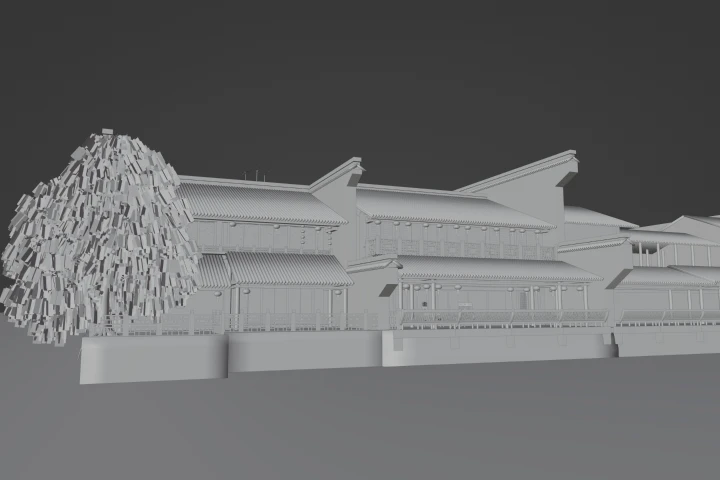
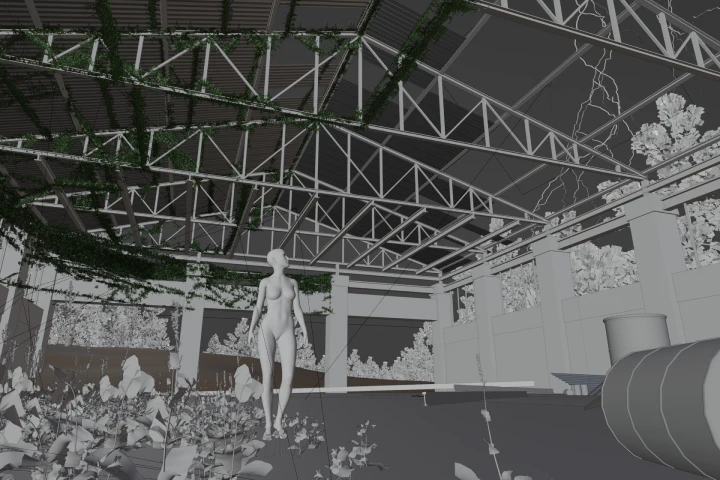
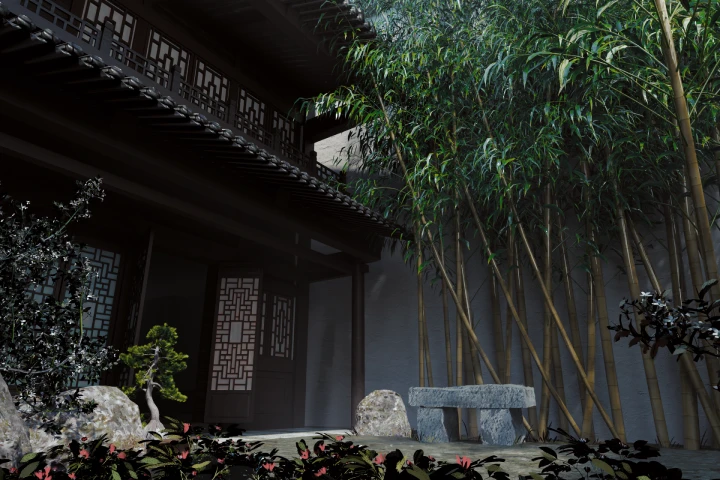
 3D Blender Scene
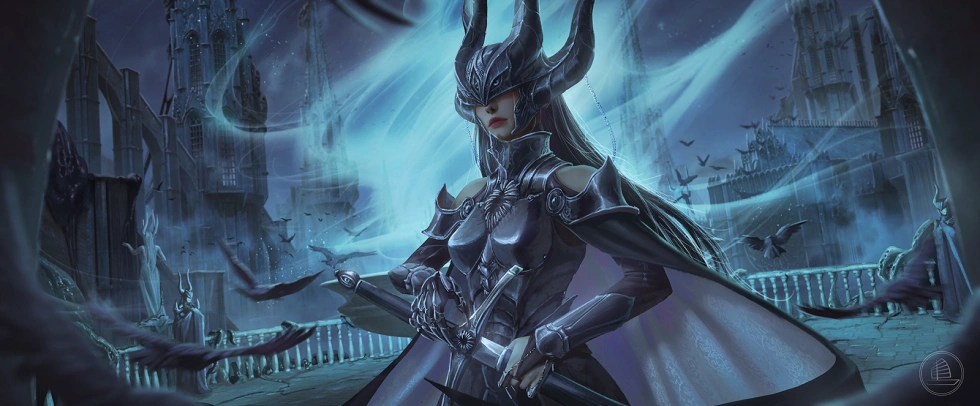
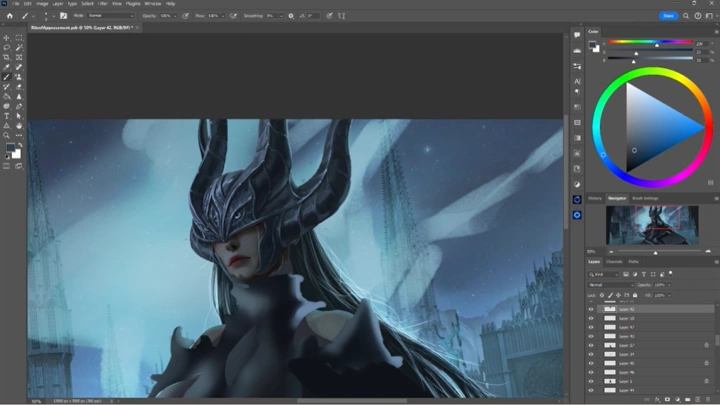
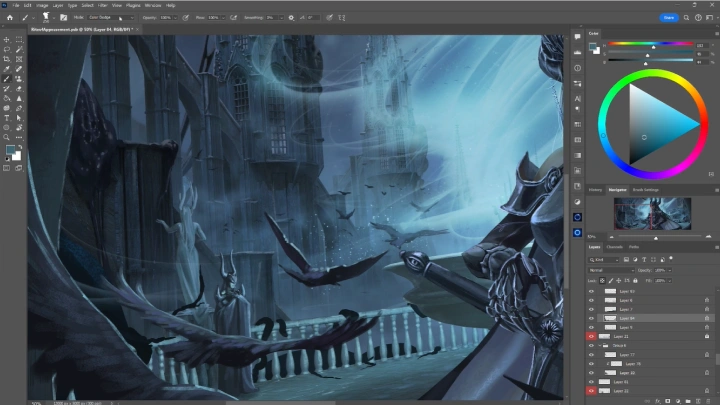
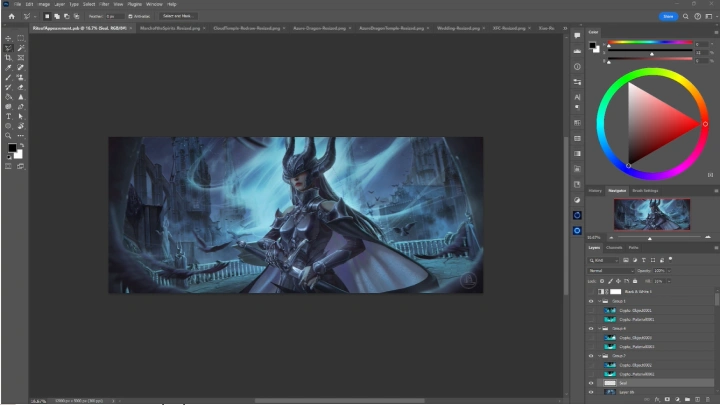
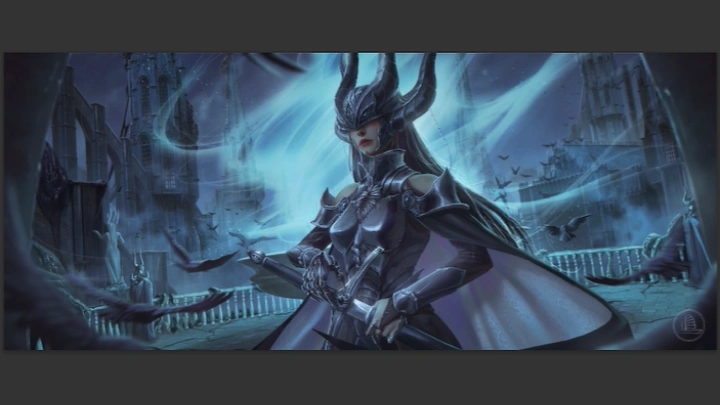
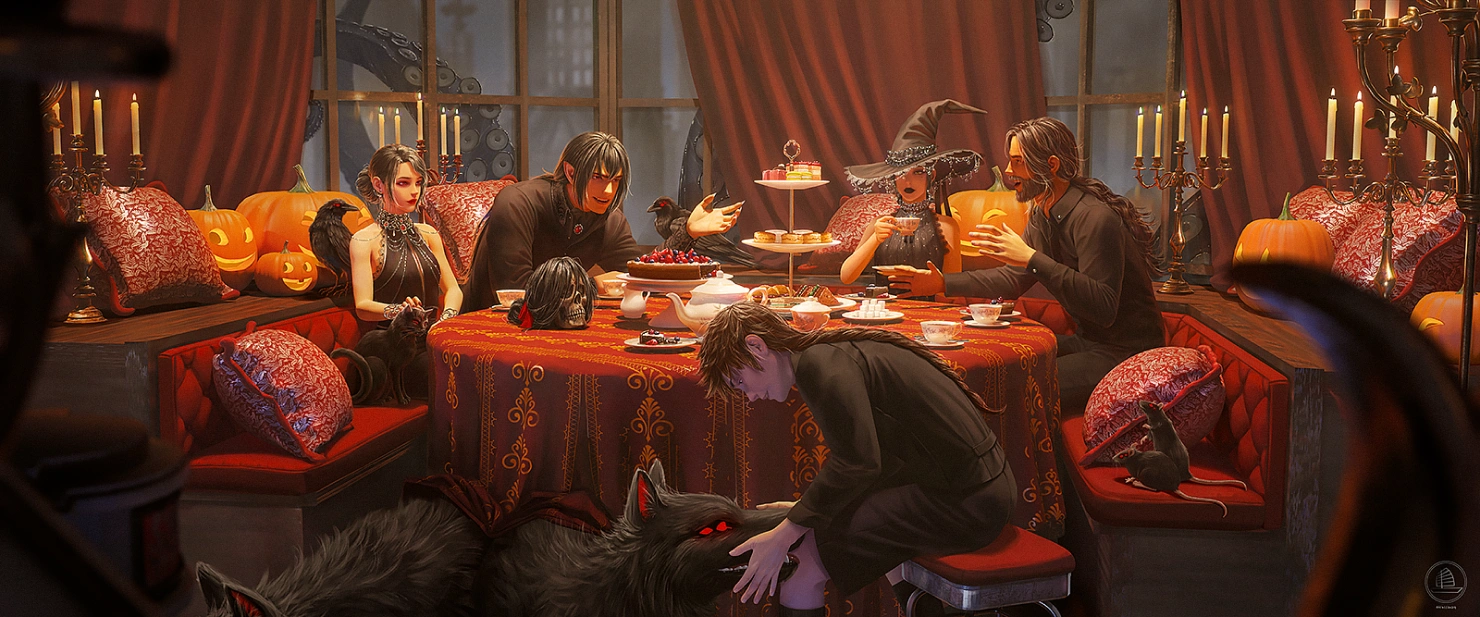
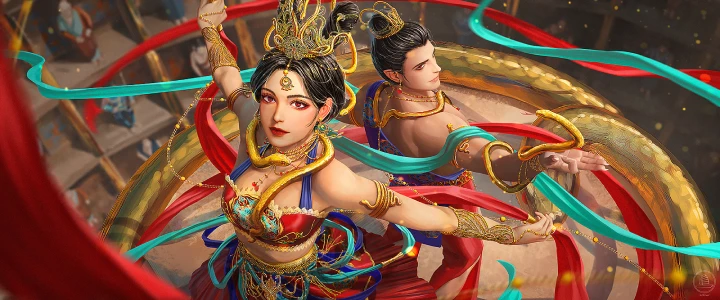
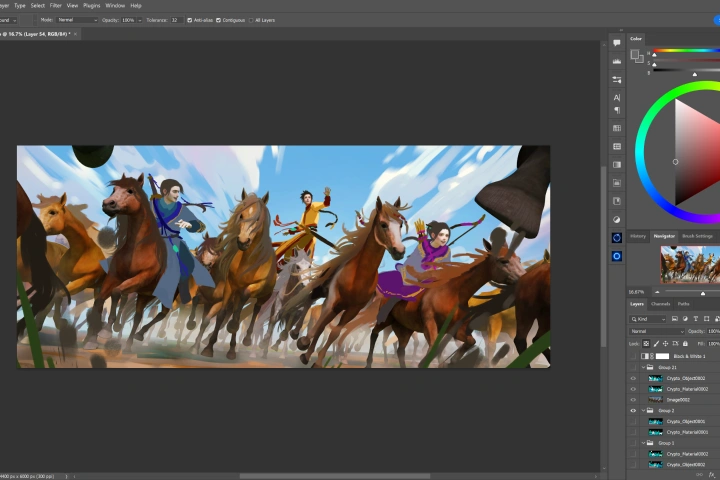
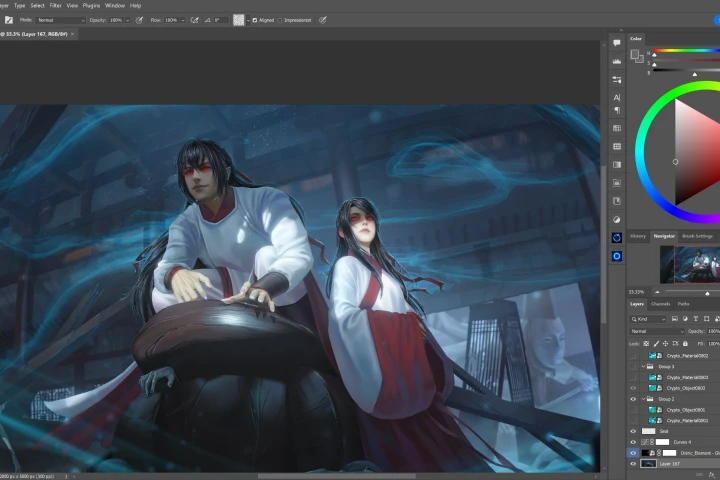
Character + Background
Instructor
Illustrator
Xiaofan Zhang
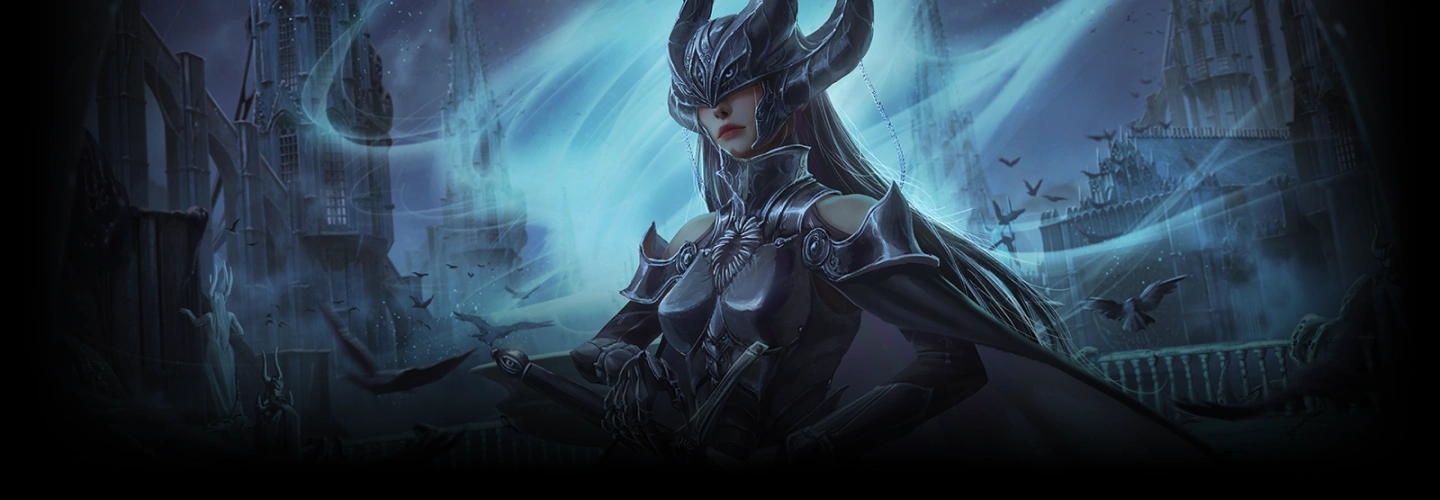
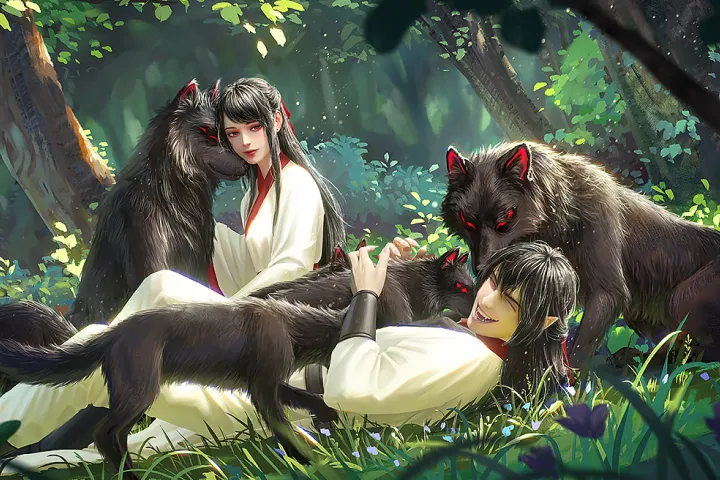
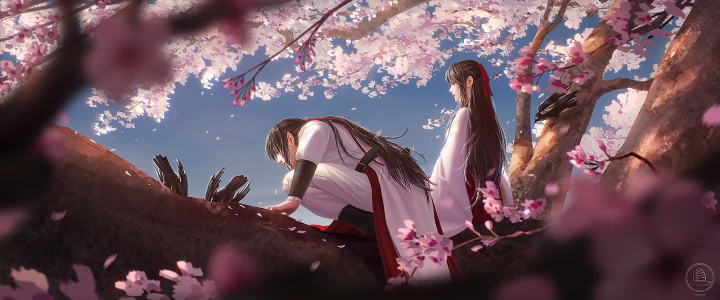
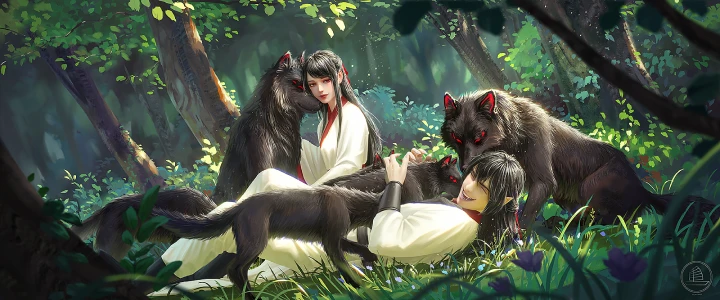
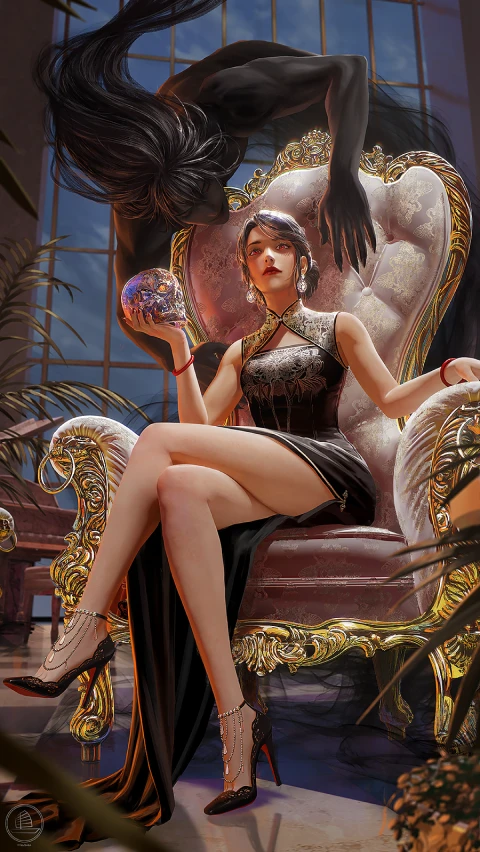
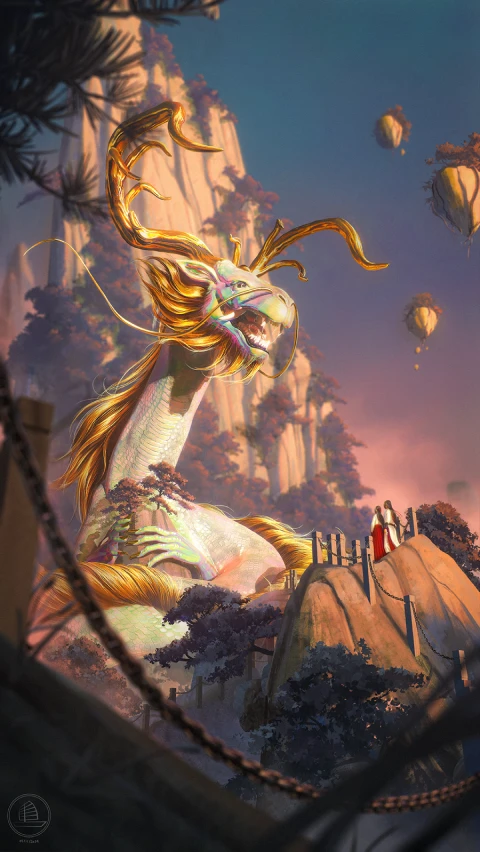
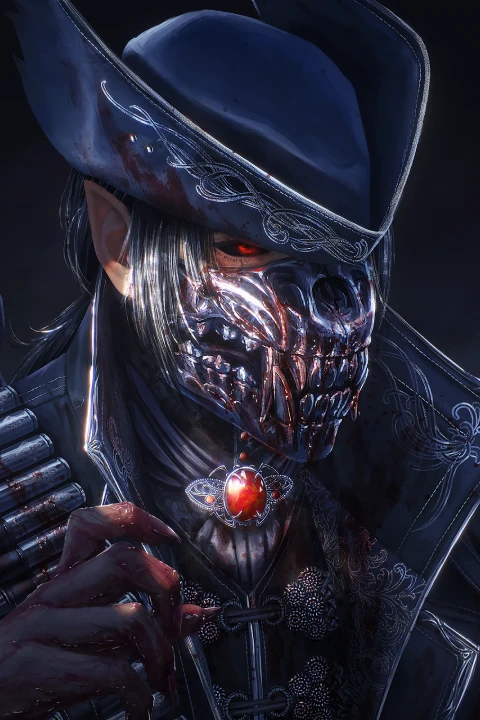
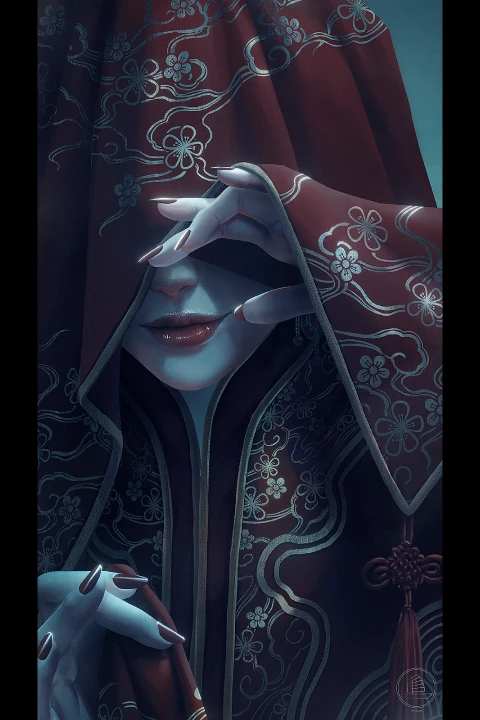
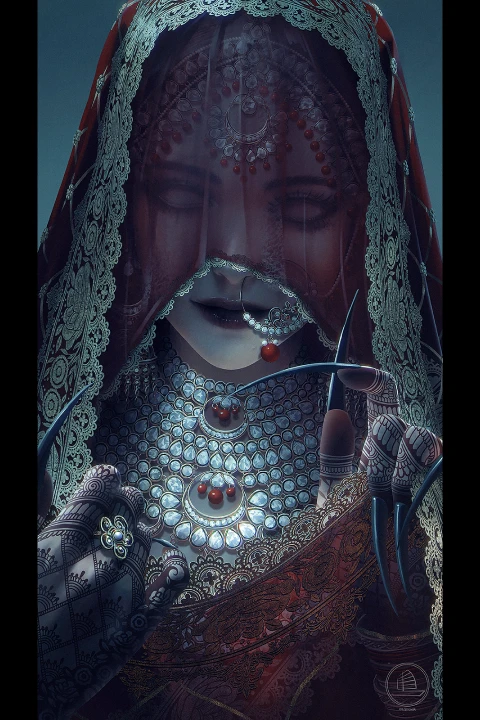
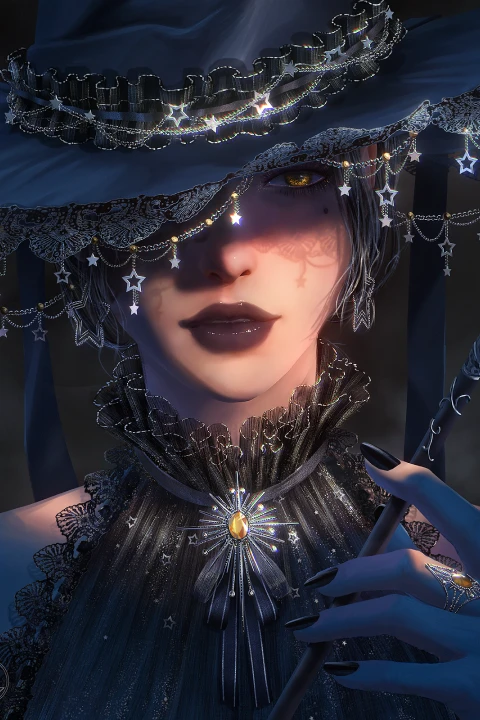
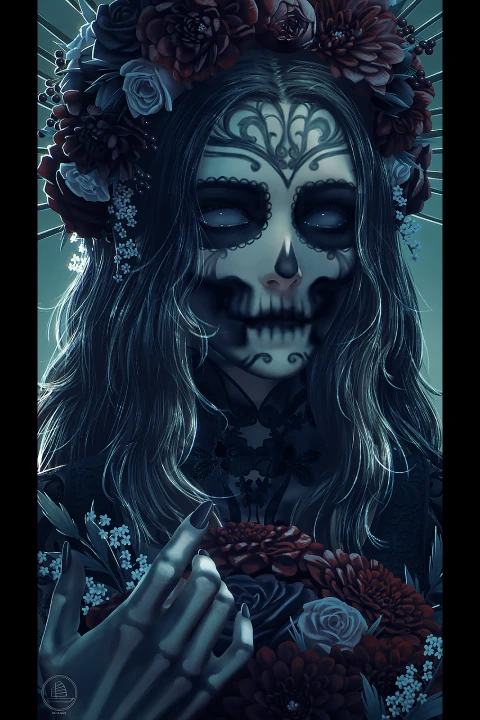
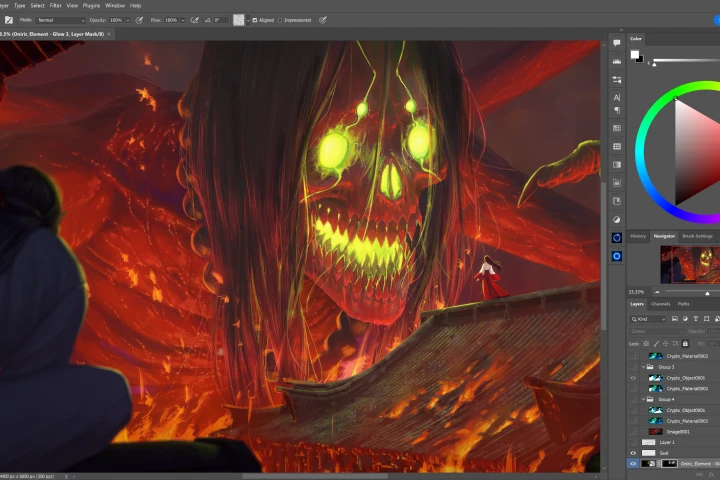
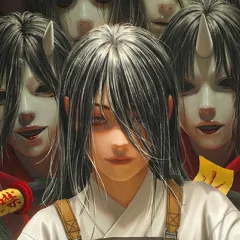
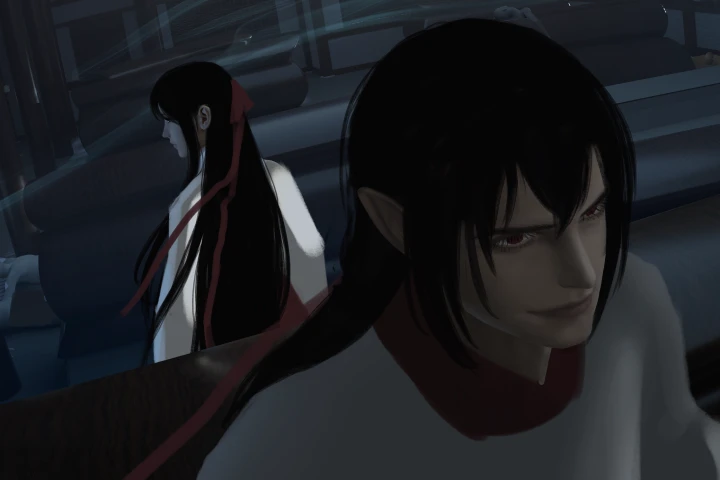
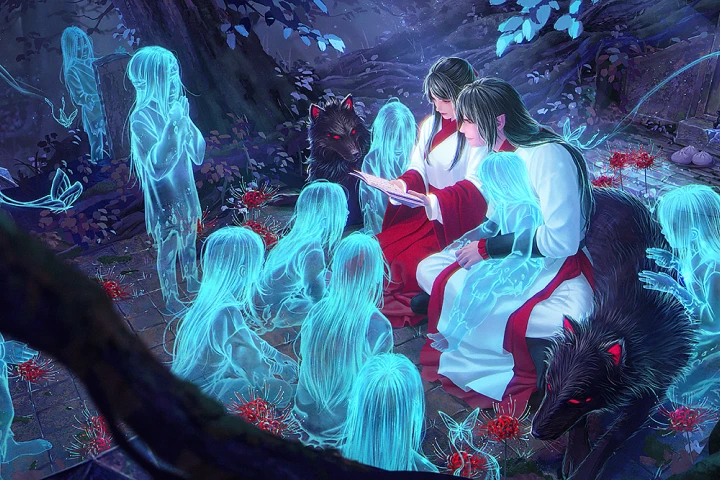
Hi, I'm Xiaofan! I'm a concept artist and illustrator based in Toronto, Canada. I specialize in horror and dark fantasy themed illustrations in a cinematic style with a heavy emphasis on narrative.
I currently work as a freelance illustrator and concept artist and serve the Founding Director of Xiaofanchuan Games Inc., an indie game studio that specializes in creating unique horror experiences.

Illustrator,
Xiaofan Zhang
[Current]
Xiaofanchuan Games Inc.
- Founding Director/Game Director/Art Director
Freelance Illustrator/Concept Artist
Highlights
Class Highlights
Blender Modeling for Illustration and Concept Art
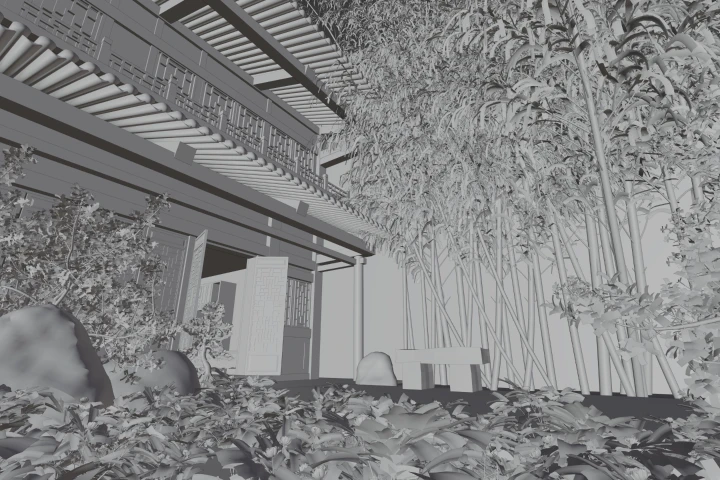
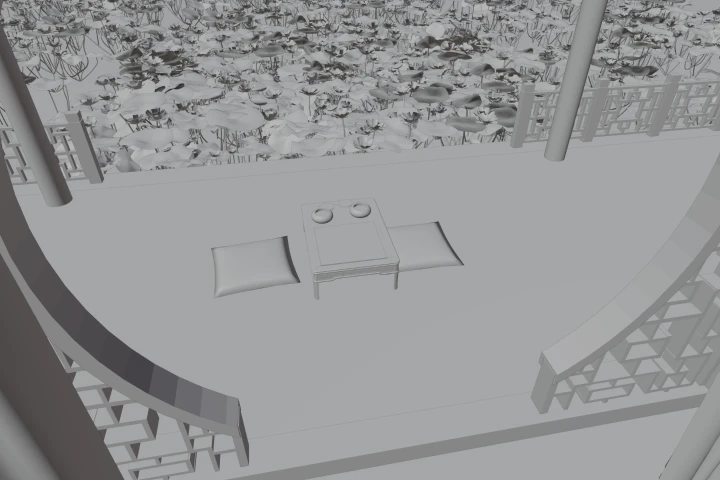
Learn to use a powerful, free, open-source 3D software that an increasing number of concept artists and illustrators are adopting into their toolbox. This class focuses on Blender’s core modeling tools, specifically tailored for 2D artists, to build modular elements like towers, railings, and arches that can be used to construct detailed and reusable scene compositions.
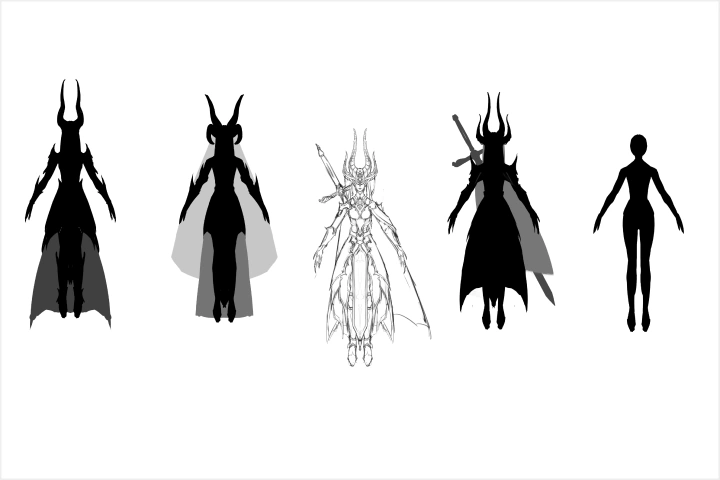
Character Design Fundamentals
Understand the fundamentals of character design and how it helps with storytelling. You’ll explore shape language, proportion, and visual motifs that reflect personality and narrative context, moving from basic character shape exploration to detailed design iteration that fits seamlessly within the story world.
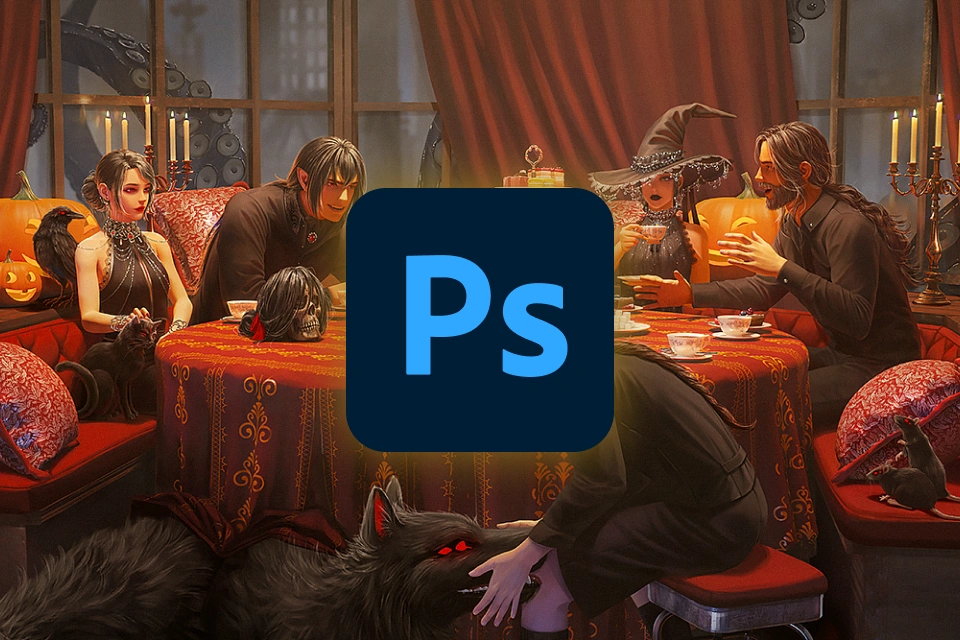
Combining 3D with 2D
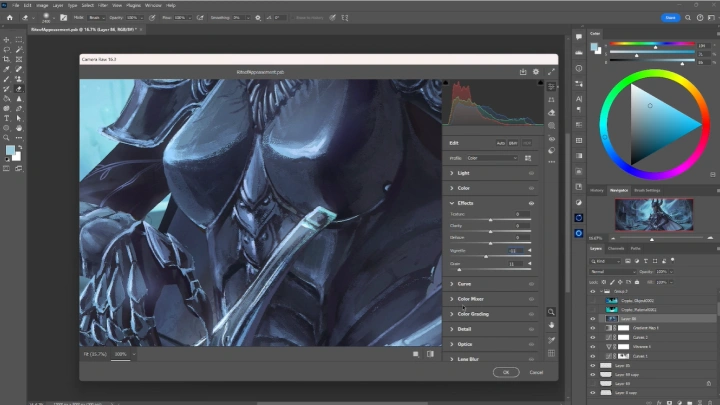
Learn how to effectively paint over a 3D base and render a variety of materials including cloth, metal, and patterns. This class covers layer organization, texture application, and lighting adjustment in Photoshop, showing you how to blend your painted elements with the 3D base to achieve a polished and cohesive final illustration.
Class Details
You'll Learn
-
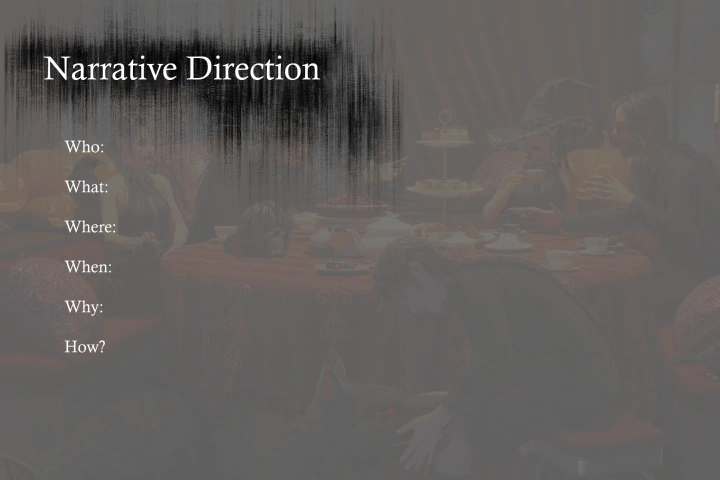
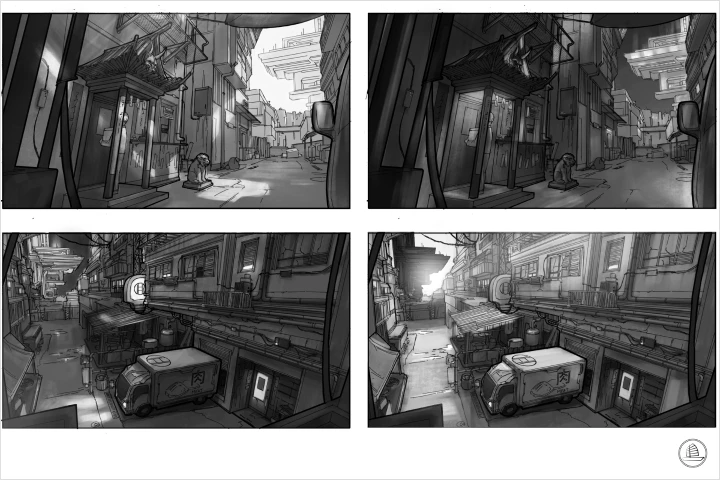 Thumbnail and Composition ExplorationCreate a compelling and impactful composition for your final illustration by exploring various framing, values, and narrative beats through thumbnails.
 -
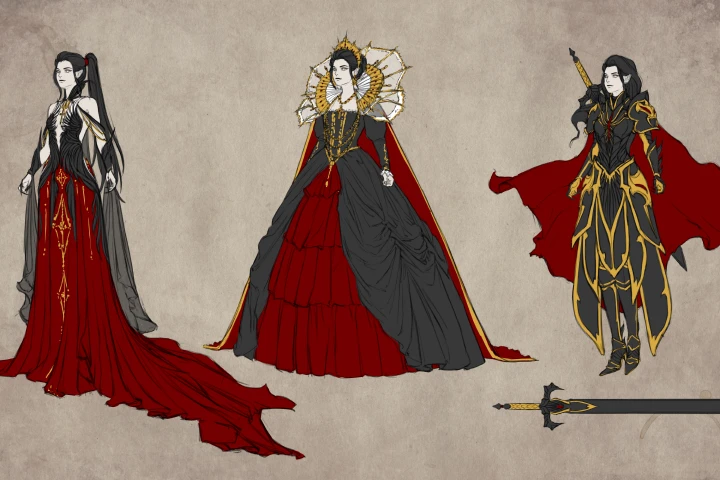 Character DesignDesign a character that fits the story of the illustration, while incorporating their own narrative into the larger context of the scene.
 -
 Blender Modeling for Illustration and Concept ArtDetailed demonstration of the specific Blender functions a 2D artist would need, focusing on modular modeling, lighting setup, and camera placement for illustration use.
-
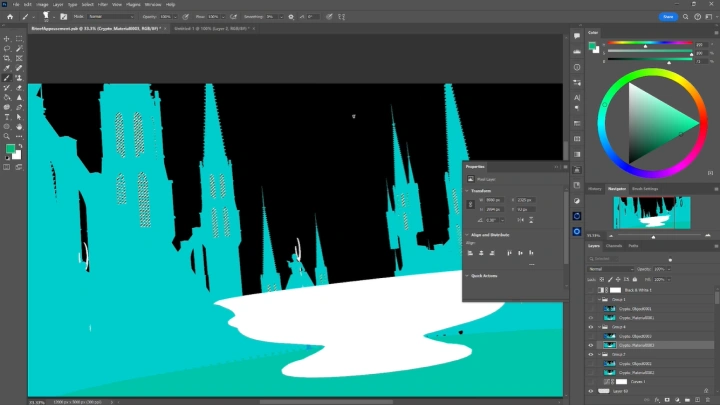
 Photoshop Set Up of 3D RendersUnderstand how to import raw 3D renders into Photoshop and organize them into layers to prepare for effective paintover and rendering.
 -
 Block-in RenderingApply basic shapes and block in all 2D elements in the illustration, establishing structure, form, and value relationships over the 3D base.
 -
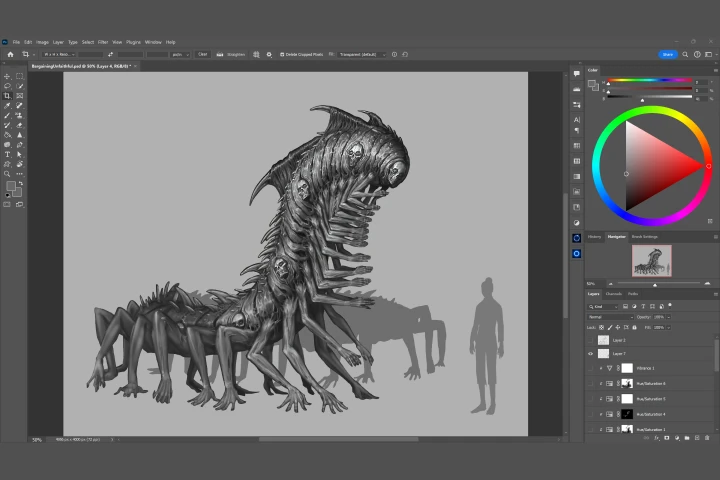
 Detailed RenderingPaint details over the blocked-in shapes to match the 3D environment and add a cohesive hand-painted feel to the model using texture, light, and color.
- Unlimited Access
- Best Price
Buy now, get unlimited access.
07/13 (Mon) (UTC-7) Special offer ends soon.
This special offer ends soon.
Buy now and save!
Interview with
Illustrator Xiaofan Zhang

Question.01
Is there a specific reason why you chose this specific topic/themes?
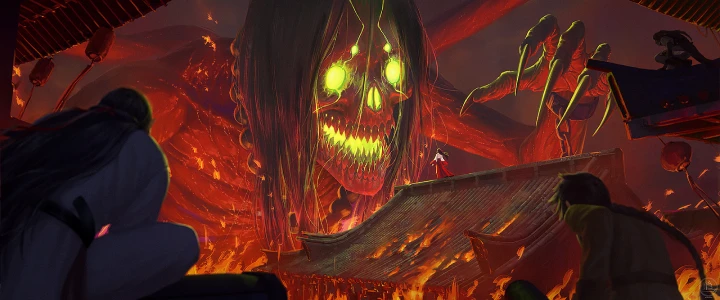
Dark fantasy and horror have always resonated with me. There's something beautiful in the complexity of themes that fundamentally represent the human experience. It gives people a safe way to explore these often unpleasant themes that are unfortunately a permanent fixture in our reality, and in conquering and living with these themes, we learn about the resilience of humankind.
Question.02
What makes your class different from other classes?
This class explores a wide variety of tools and adds 3D to your 2D toolkit. The use of 3D in 2D illustrations and concept art has become almost industry standard. It will make your workflow much faster and allow you to iterate shots without redrawing everything from scratch. It also does away with the feeling of being "trapped" by a perspective grid.
Question.03
Is there anything else you would like to share with your students?
Art is a life long journey of learning, failure, experimenting and accomplishment. If you don't give up, you will get better.
Required Programs
This course will use
Photoshop, Blender 4.0, DAZ 4.22.
Please purchase and install these program(s) for an optimized chapter experience.
*These programs and/or materials will not be provided with the chapter.