Illustrator,NixellCho_닉셀초 Details
Intro
Class Intro
Illustrator, Nixell Cho
Did you know that the bigger the scale
the more necessary planning becomes
in order to create a high-quality illustration?
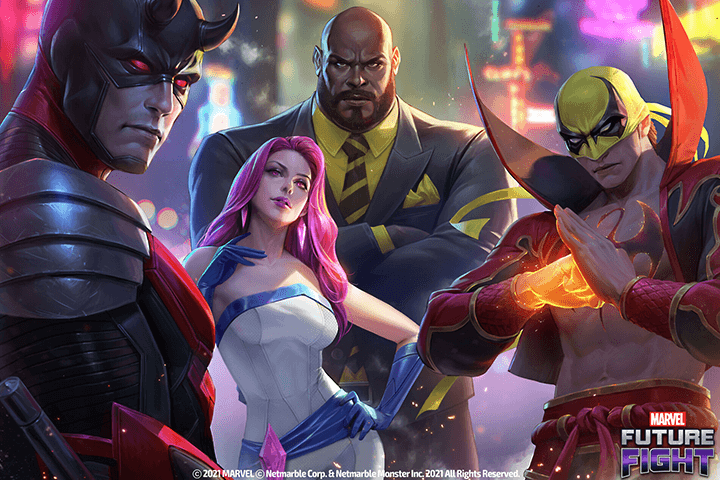
Nixell Cho, lead artist and illustrator of Marvel Future Fight is ready to guide you through the process of making your own original characters.
Nixell Cho, lead artist and illustrator of Marvel Future Fight is ready to guide you through the process of making your own original characters.
Learn everything from the standard method of setting the appearance and pose suitable for the character, to efficient glazing techniques to plan for light and brightness in black-and-white and stack colors step-by-step.
Expert Illustrator Nixell Cho's Profile & Portfolio

Instructor
Illustrator
Nixell Cho
Hello, I'm illustrator Yongjun Cho,
working under the pen name,
Nixell Cho.
I'm currently part of the art team
for the game "Marvel Future Fight."
There, I've been put in charge
of the main illustration
and character concept art.
Until now, I have worked on
over 200 different characters
and studied the skills necessary
to broaden the spectrum
of character expression.
I've dedicated my career to figuring out
how to make the character I work on
more appealing and dynamic.
My goal with this class is to share
the knowledge and insights that I've
gathered through my own
real-world work experience.

Illustrator,
Nixell Cho
[Current]
Marvel Future Fight - Lead Character Concept Artist
Recognizable
Projects & Awards
[Former]
Special Force 2 - Character Concept Art
Diablo3 Reaper of Souls Art Contest - Ranked 3rd
Marvel War of Heroes TCG - Illustration
Mobile Legends - Splash Art
SteamGate TRPG Project - Character Concept Art
12 Class Exercises
-
Character Storytelling -
Learn about Face Figures -
Expressing Different Types of Body Shape -
Dynamic Gesture
-
How to Study Value -

Understanding the Local Value -
Main Light, Ambient Light, Rim Light -

Controlling the Volume Step-by-step
-
Glazing Color Scheme -

Fancy Effects -
Detailed Polishing -
Final Artwork
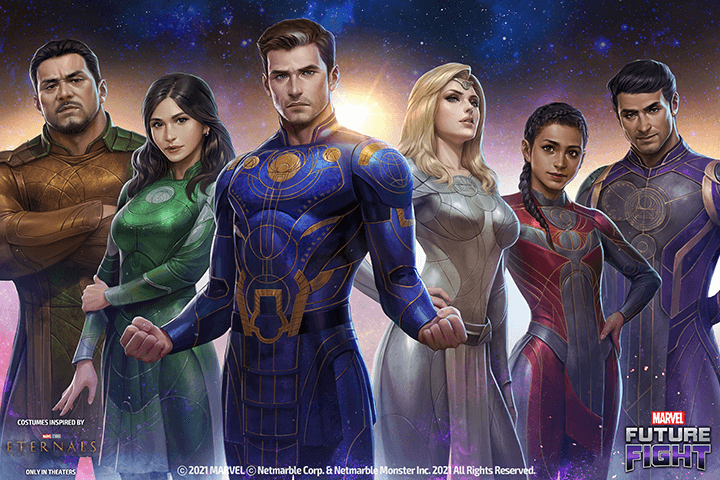
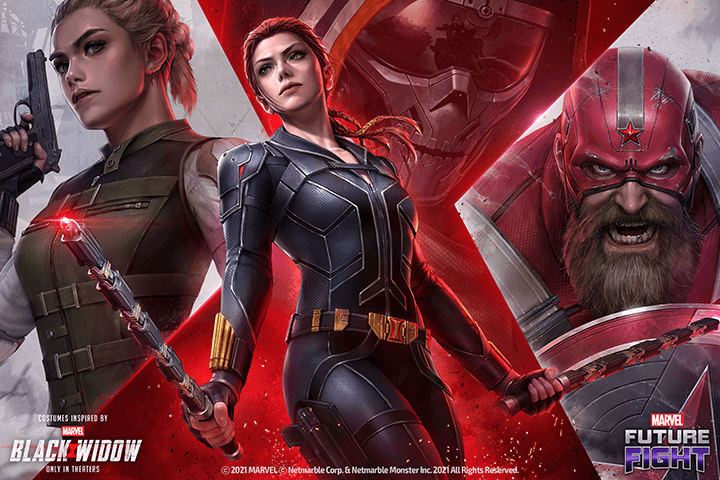
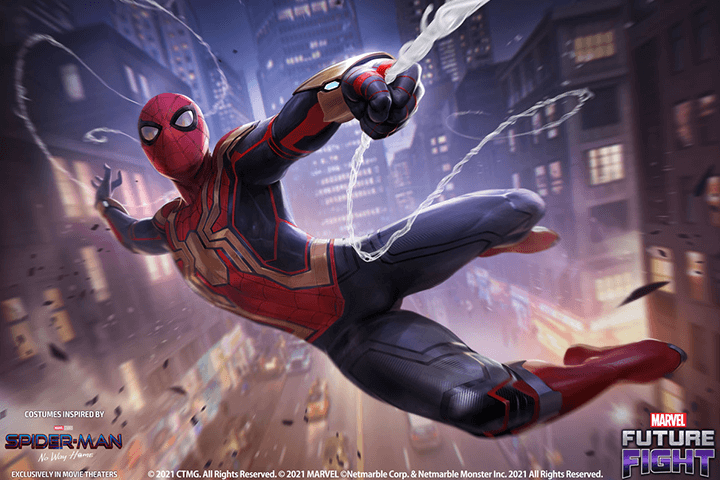
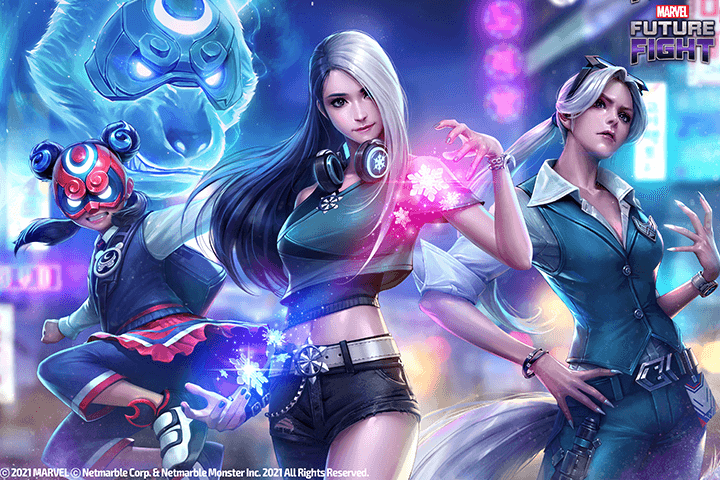
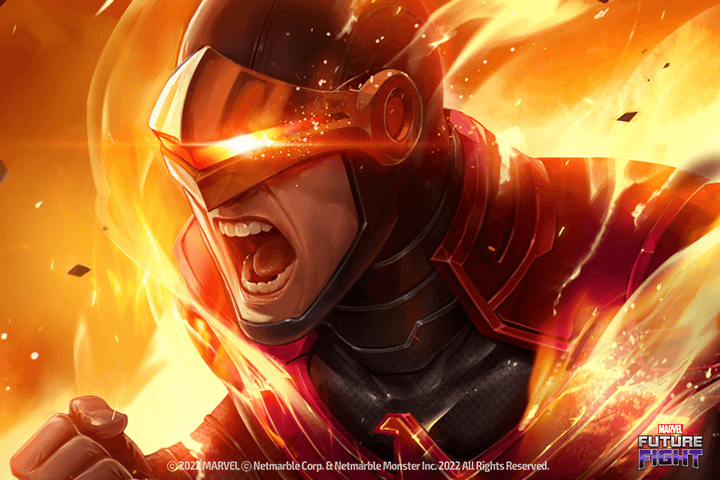
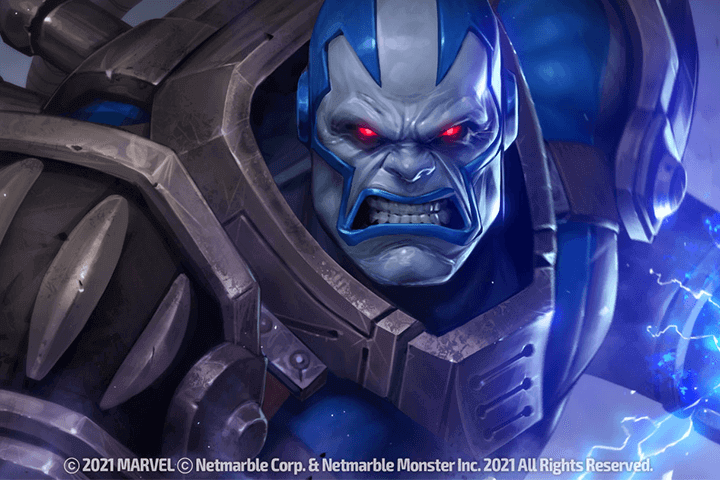
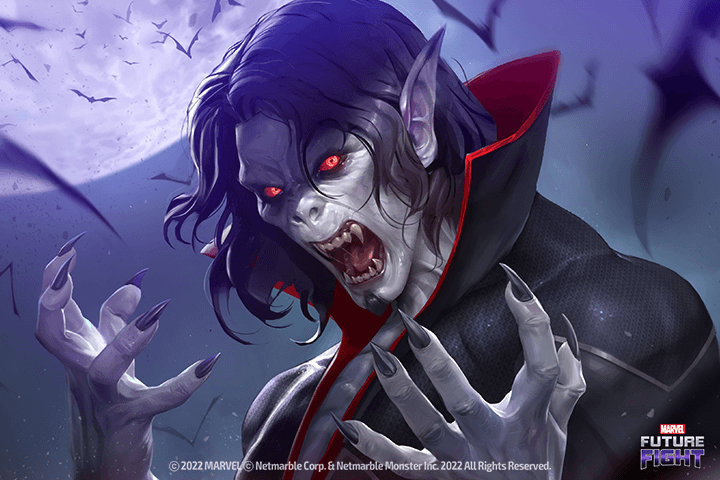
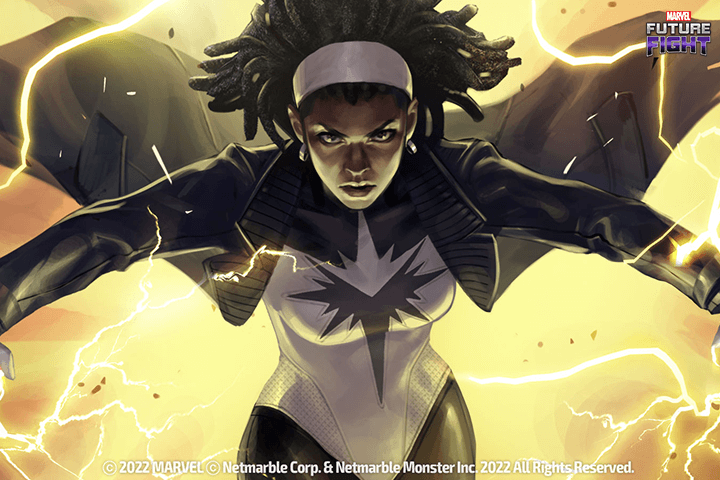
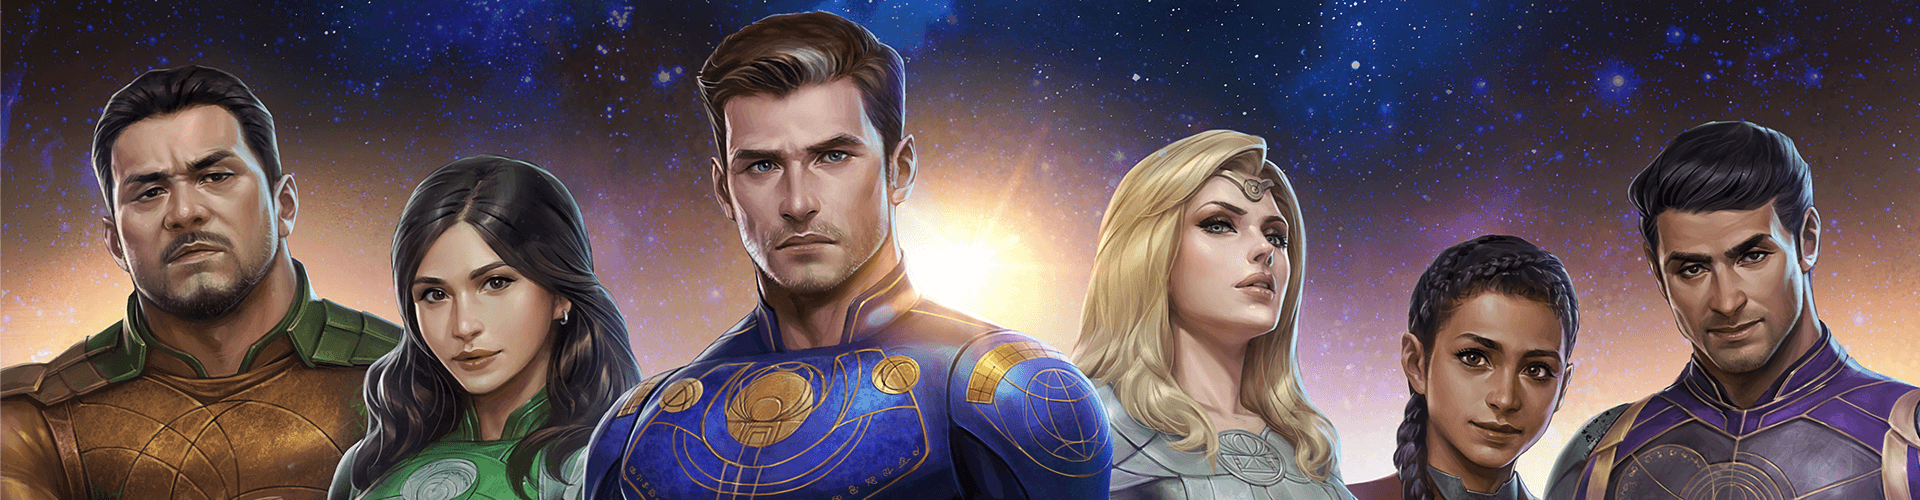
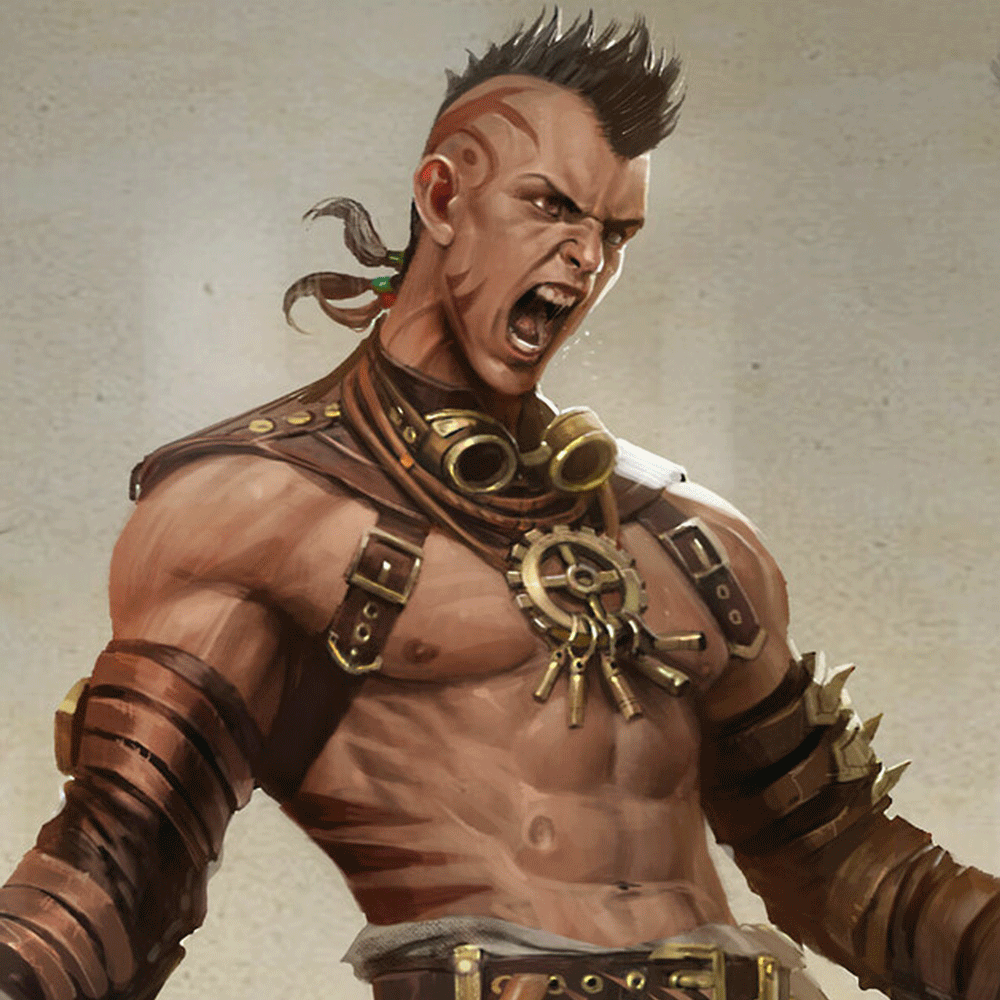
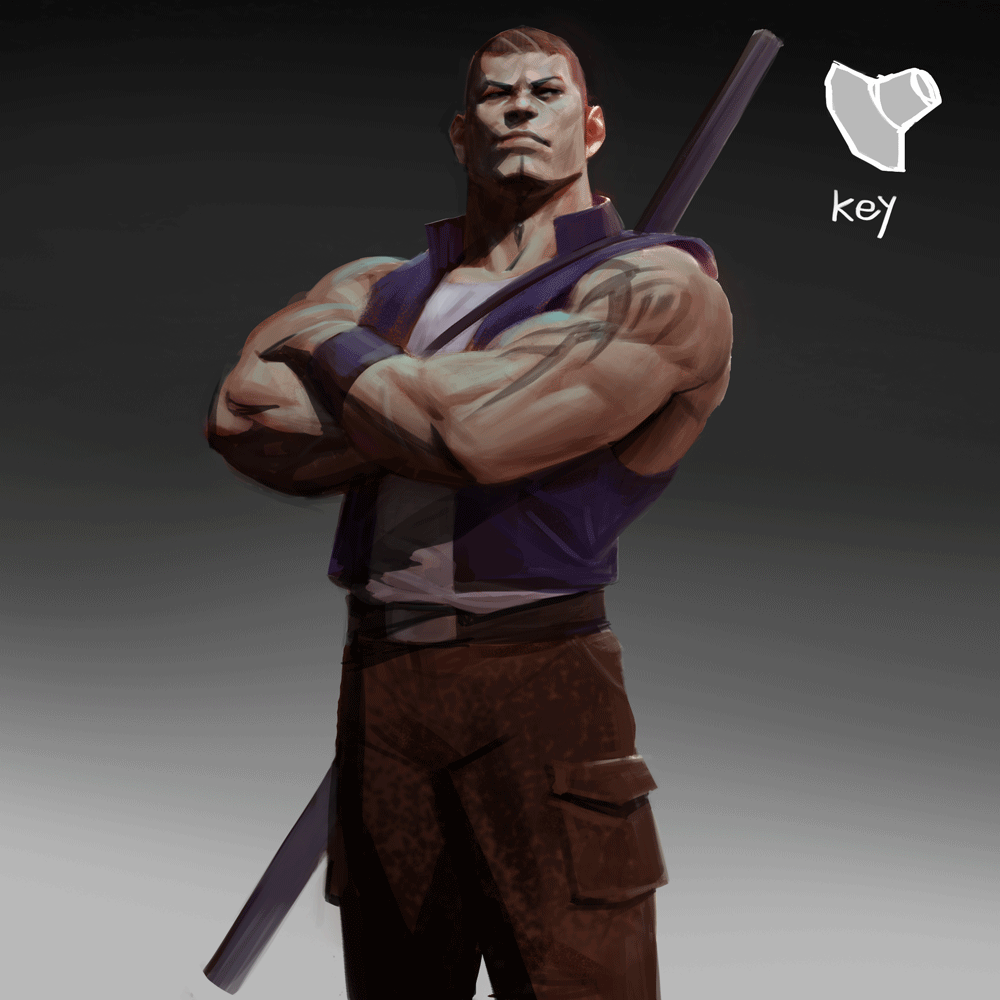
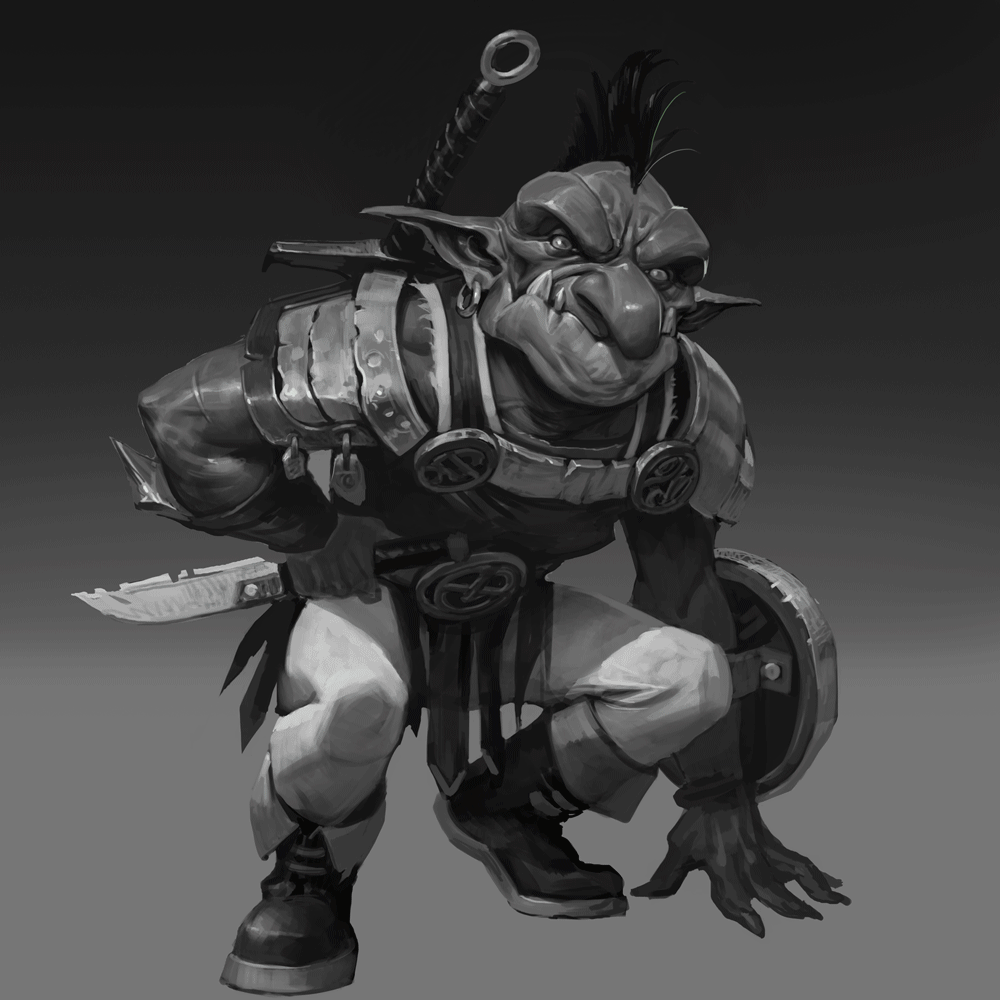
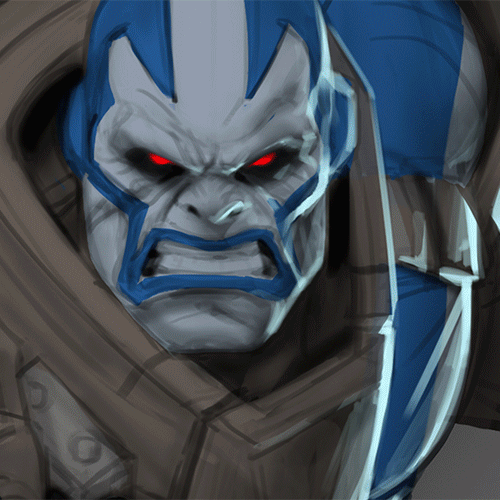
*These are sample images for better understanding.
Highlights
Class Highlights
Character Storytelling and Body Shape Settings That Fit the Concept
Learn how to make a fascinating hero character & express characters in more diverse ways with a three-dimensional narrative, body type stylization, and concept settings.
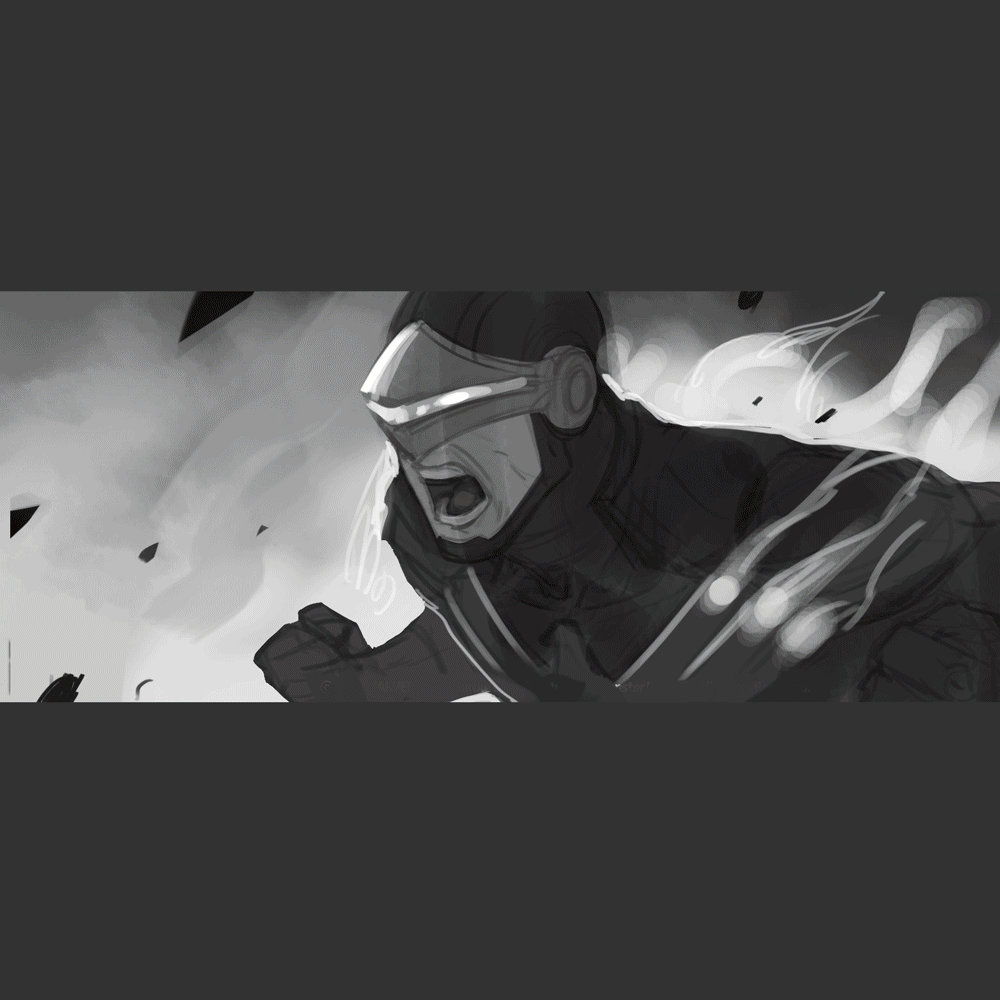
Create Readable Drawings
Through Value and Volume Expression
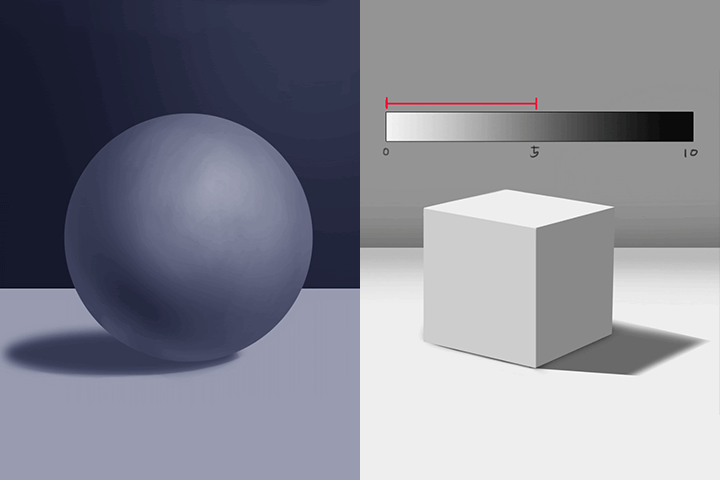
Just like books, there are some images that are easier to read. Understand why you need readability in your paintings, and learn how to approach various objects step-by-step regardless of material through brightness and volume!
How to Reduce Trial & Error and Quickly Respond to Feedback
It is the fate of illustrators to complete an image of a 'certain quality' within a 'certain time frame!' For efficient drawing training, this class will provide character stylization sketch file and PSD files for step-by-step volume layer exercises.
Class Details
You'll Learn
-
 Expressing Various Appearances and Body Types Using Skeletal PointsLearn about the head shape and skeletal frames, as well as various character representations by adjusting the ratio of skeletal points and applying the silhouette shape.
 -
 Using Character Elements in Visual StorytellingLearn the silhouette and gesture elements that bring characters to life. Come up with settings that reflect the character's race, personality, job, or ability.
 -
 Dynamic Gestures that Suit each Superhero CharacterLearn poses that make viewers interested, and take a step-by-step look at the process of developing the character to look more dynamic by adding elements suitable for heroes.
-
 Importance of Value and Understanding LightsUnderstand the value, which is the point that increases the readability of the image, learn how to study value, and understand light by tracing it back in the picture.
 -
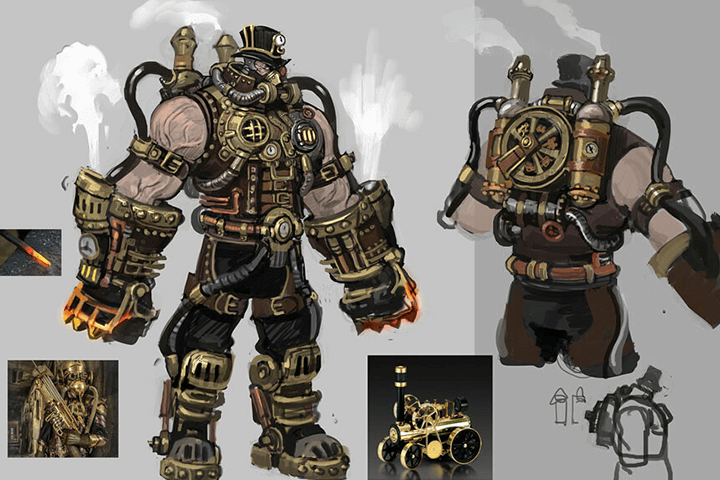
 Volume and Structural Construction To Approach Complex Objects EasilyUnderstand the elements of volume and learn how to approach & express volume of complex objects such as scratched bricks, hair texture, and hero suits through exercises.
 -
 A Step-by-Step Exercise From Illustration Thumbnail to CompletionUnderstand why thumbnails are important, and complete the final illustration through efficient techniques using layers from black and white thumbnail work.
Recommendations
Nixell Cho's Class
Recommended by Experts in the Field
- Unlimited Access
- Best Price
Buy now, get unlimited access.
12/31 (Sat) (UTC-7) Special offer ends soon.
This special offer ends soon.
Buy now and save!
Curriculum
Curriculum
In-depth Look
SECTION 01. Orientation: "Must-Haves" of Game Illustrators
01. Class Curriculum and Key Points
- About the artist
- Introducing the key points of the class
SECTION 02. Elements for Attractive Characters: Silhouette
02. Key Element For Character Illustrations: Visual Storytelling
- Concept of visual storytelling
- Visual storytelling of a character (appearance, gesture)
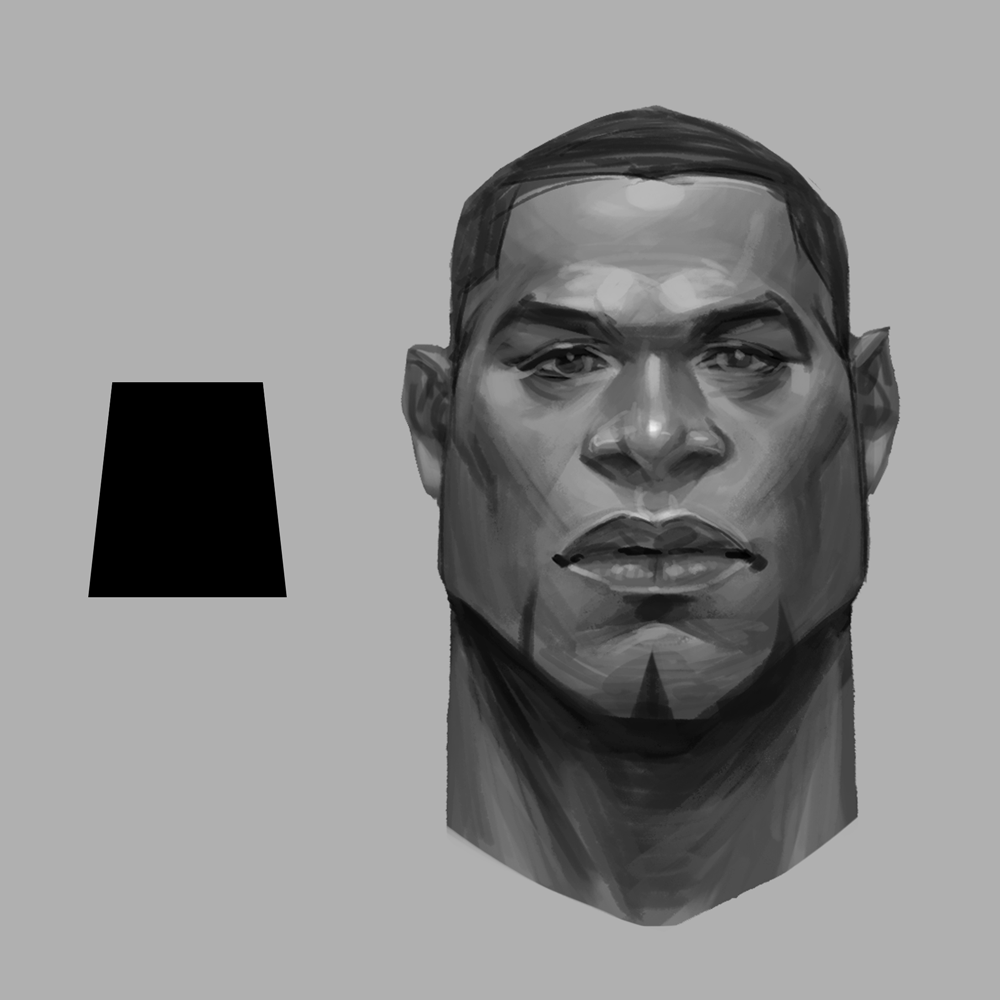
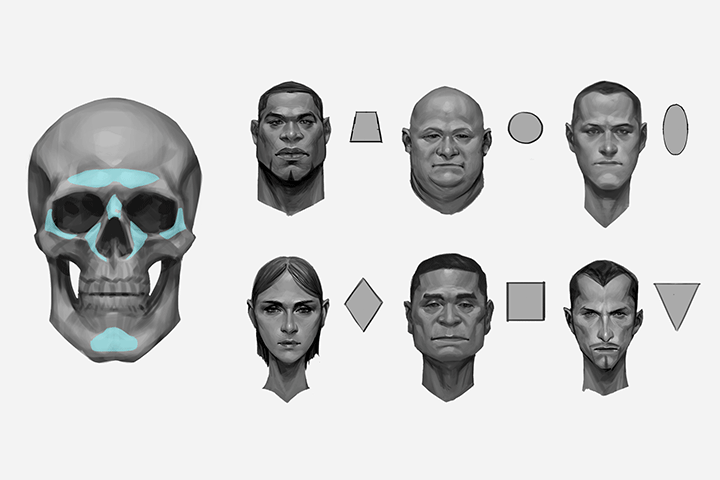
03. Expressing Various Characters through Skeletal Frame Changes 1
- How to draw a face using the default proportions
- Understanding the 'landmarks' of skulls that make face structure
- Painting a face using the landmarks
04. Expressing Various Characters through Skeletal Frame Changes 2
- Understanding how facial silhouette is created
- Analyze facial bone by face type and storytelling
- Applying shape to skull landmarks
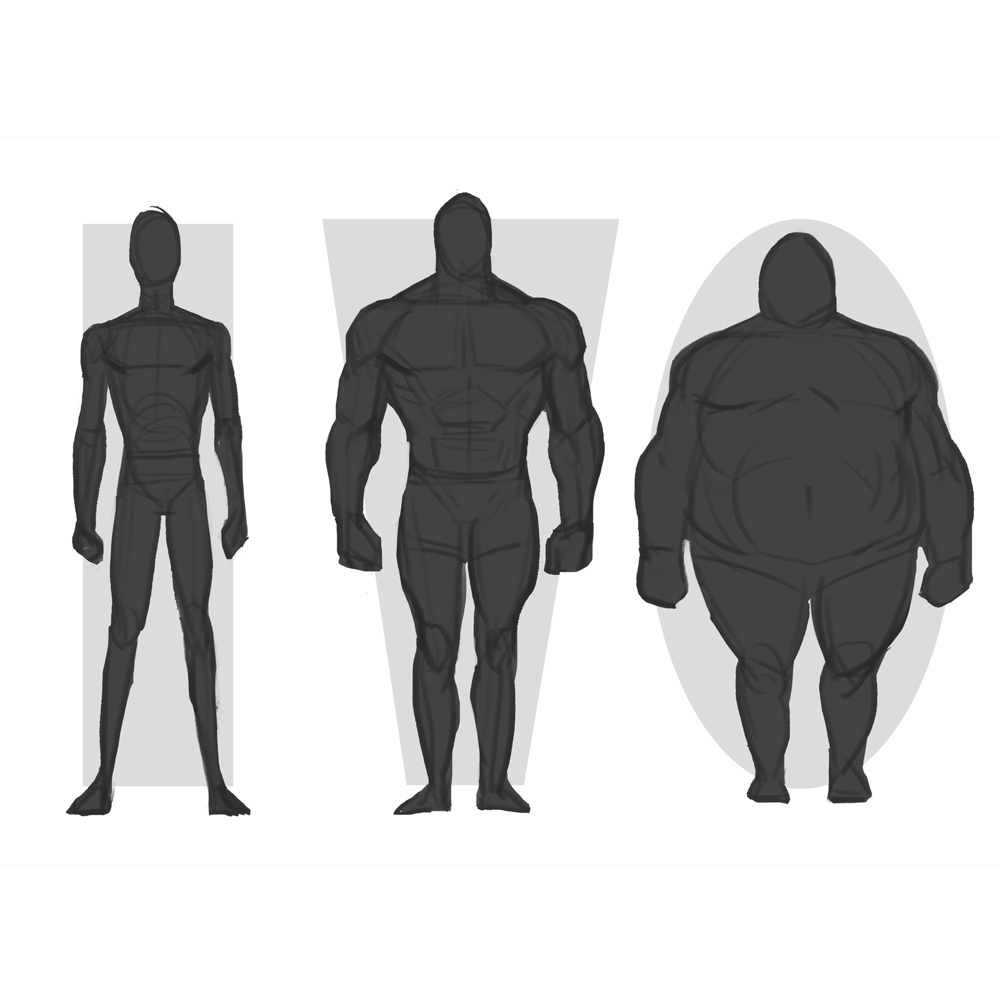
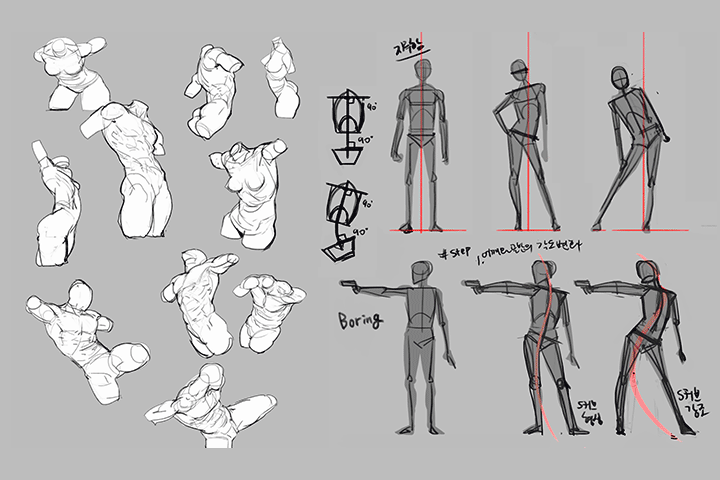
05. Expressing Different Character Body Types
- Understanding the skeletal frame of the human body
- Understanding the order of body shapes
- Learn the language of shape
- Drawing body shapes for a four-member superhero team using their own shapes.
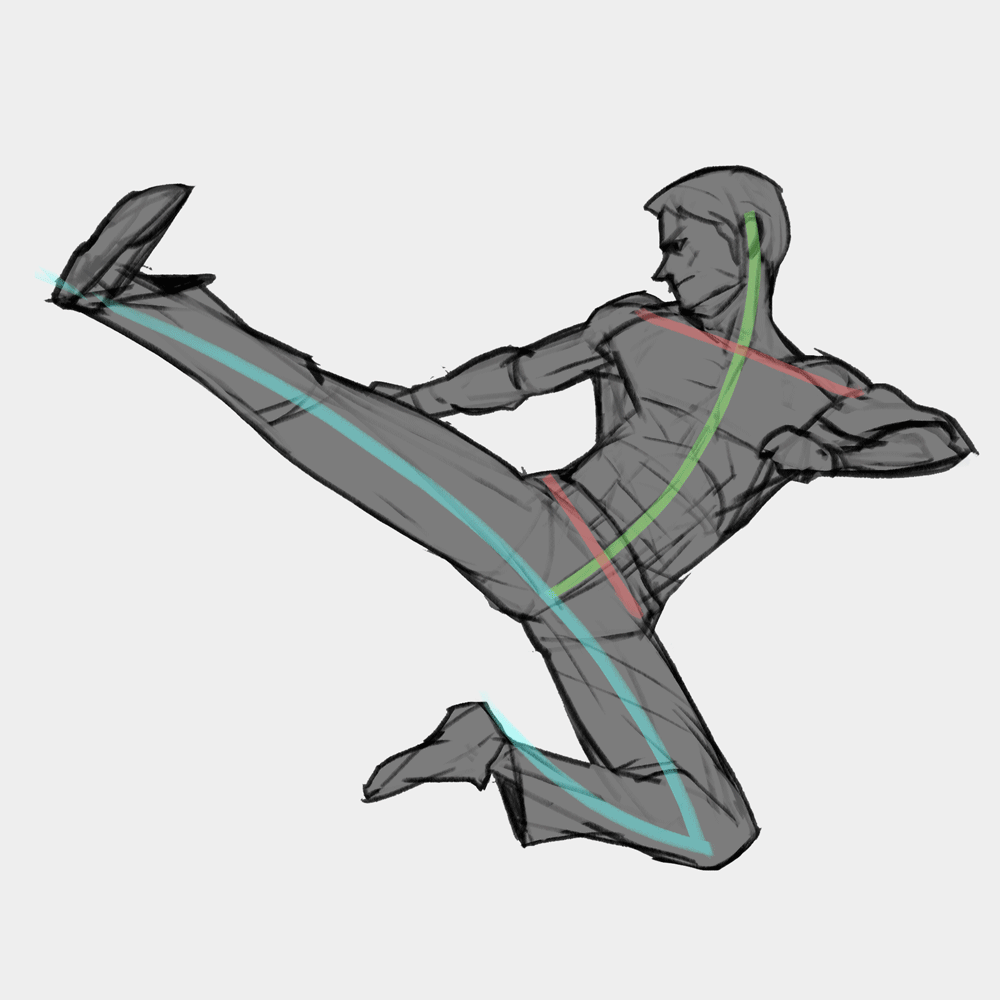
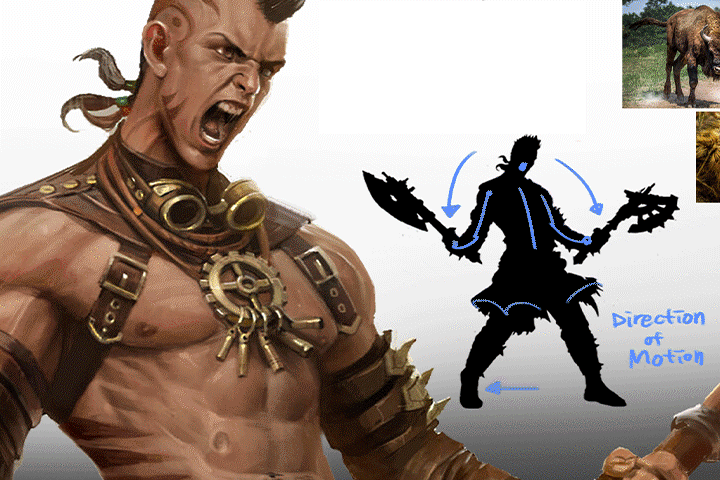
06. Expressing Dynamic Gestures
- Understanding the center of gravity
- Key points of dynamic gesture (shoulder and pelvis)
- Studying postures in 4 steps
- Correcting a stiff posture
SECTION 03. Basic Elements for Illustration
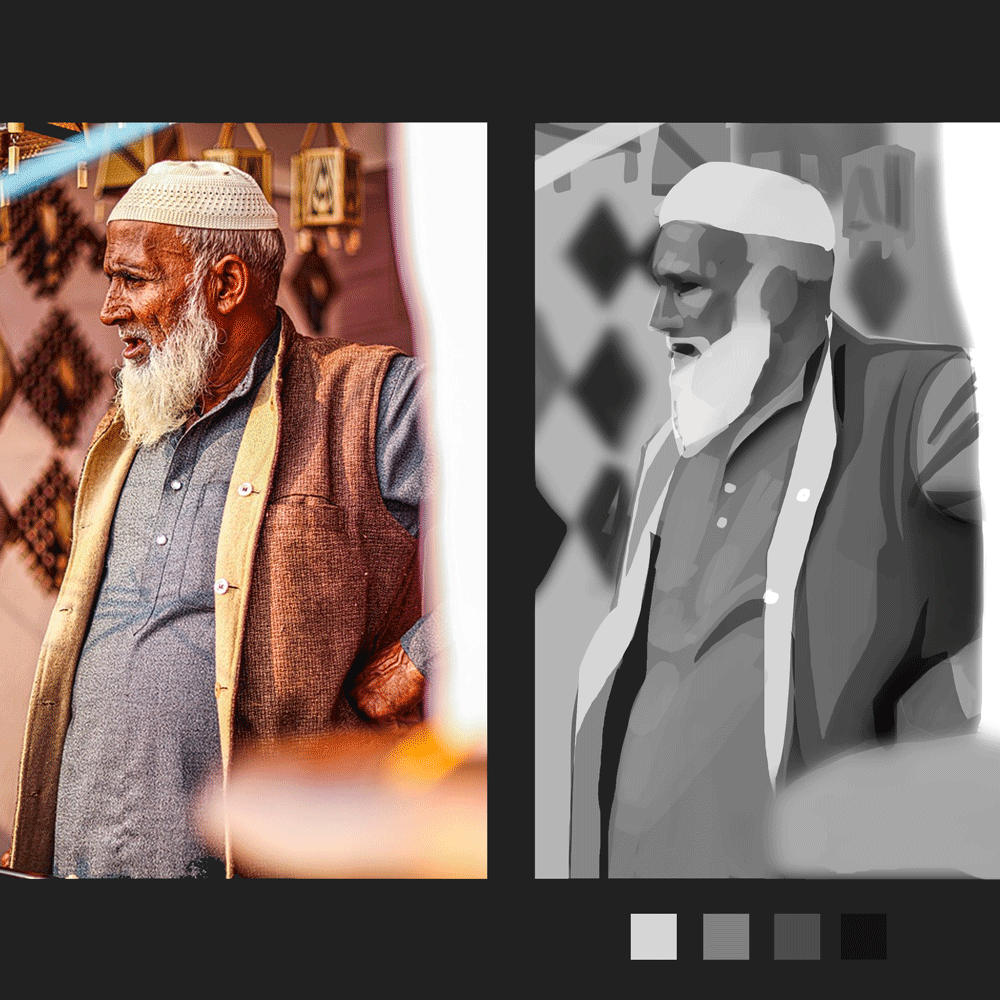
07. Understanding Value: Just like Book Readability, Image Readability is Critical.
- Concept of value and its importance
- Understanding the concept of local value
- How to study value
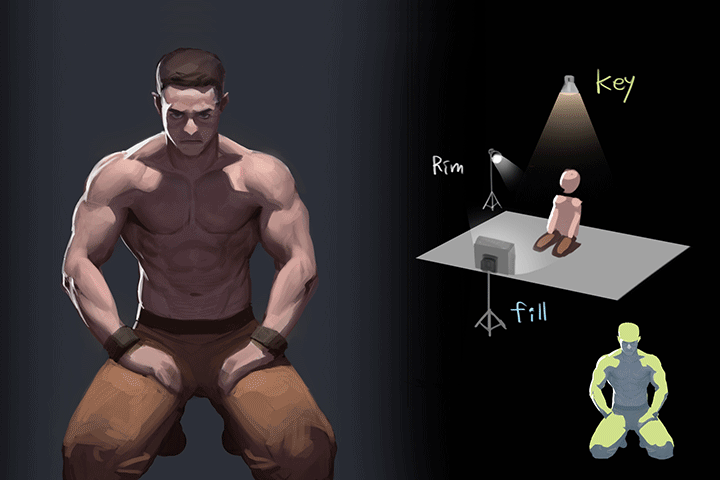
08. About Lights
- Understanding direct light and ambient light
- Understanding 3-point lighting (direct light, ambient light, rim light)
- How to study light (Backtracking in a drawing)
09. Volume 1: Understanding Volume
- The elements that occur when light touches an object
- How to start shading in a simple way
10. Volume 2: How to Add Volume to a Complex Object
- Step 1: Scratched brick
- Step 2: Short and long hair
- Step 3: Muscular hero suit
11. Understanding Material: You Can Freely Express the Material if You Understand Reflection
- Understanding the concept of reflection (specular, diffused, and compound reflection)
- Material identification checklist
- Exercises for material expression by reflectivity
12. Designing Perspective and Composition in a Drawing
- Why composition is important
- Eye-catching focal point elements
- Elements you need for a good composition
SECTION 04. Exercise Based on Basic Theory
13. Steps to Draw a Small but Big Picture: Working with Thumbnails
- Why thumbnail is important
- Deciding posture for the character
- Designing light and value
14. Sketching Stages
- Placing the character within the perspective
- How to sketch from the skeleton frame
15. Setting the Light and Shadow
- Setting the light according to the thumbnail plan
- Expressing the volume
- Using layer feature to add local value
16. Coloring Steps That Breathe Life Into the Illustration
- Using layer feature to color
- How to set the overall mood tone by adding colors
17. Overpainting Depiction
- Adding details to the color change and shape with painting
- Separating layers
18. Expressing Details 1
- Useful features and tips for shape modification
- Depicting the internal structure in detail
19. Expressing Details 2
- Paying attention to the part where your eyes stop
- Using a smaller brush to finish
- Increase completeness by balancing density
- Expressing material
SECTION 05. Wrapping Up Both the Drawing and the Chapter
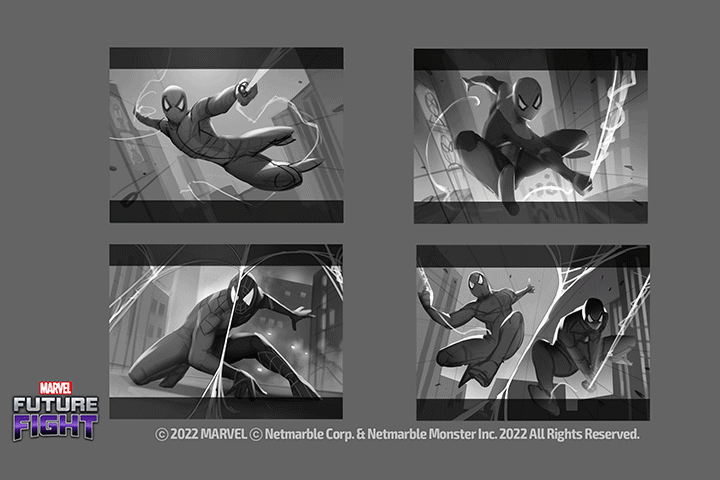
20. Expressing Effects
- How to express magic effects
- Expressing sparks and debris
- Giving the effect a sense of movement by giving it direction
21. Final Step: Polishing
- Checklist for polishing
- How to monitor the value
- Sharing the polishing filter & related features
22. Conclusion
- Concluding the class
- Two practice recommendations to grow as an artist
Interview
with Illustrator Nixell Cho

Question.01
What are your strengths as an illustrator?
What are your strengths as an illustrator?
I think one of my strengths is the extensive fundamental skills I developed over the years working on numerous characters with different looks. Rather than expressing a single idea, I tried to convey fundamental skills that could be applied in a variety of contexts within a single framework. Also, another strength of mine is how well I can portray characters in stories. In my class, instead of focusing on the outer appearance, I'd like to share the standard method of setting the body shape and pose that match the character.
Question.02
What are the key points of this class?
What are the key points of this class?
The key point of this class is to allow students to work on and create one illustration independently with all the skills they acquired by taking this class. First, we'll discuss the elements that can appeal to and empower the character, then we'll discuss the fundamental skills that form the foundation of the illustration. Finally, I will share the necessary knowledge and know-how by practicing the steps of creating an illustration from the thumbnail stage to sketching-coloring-finishing up and polishing.
Question.03
What distinguishes this class from others?
What distinguishes this class from others?
Because I believe that the readability of the painting is critical, I went into greater detail about the value that determines the readability. The illustration process includes the 'glazing technique,' in which the artist first renders the subject in gray monotone then applies color over it in thin layers. This class will also talk about efficient processes learned through hands-on experience. It also contains tips that can be useful for freelancers and professional artists who need to produce results without ups and downs within a given time.
Required Programs
This course will use Adobe Photoshop CC. Please purchase and install these program(s) for an optimized lecture experience.
*Photoshop CS5 and higher versions can be used to take this course.
*However, using Photoshop is recommended as you might have trouble if you use Procreate or Clip Studio.
*These programs and/or materials will not be provided with the course.
Recommended
Recommended Classes
Like this class?
Then check these out!