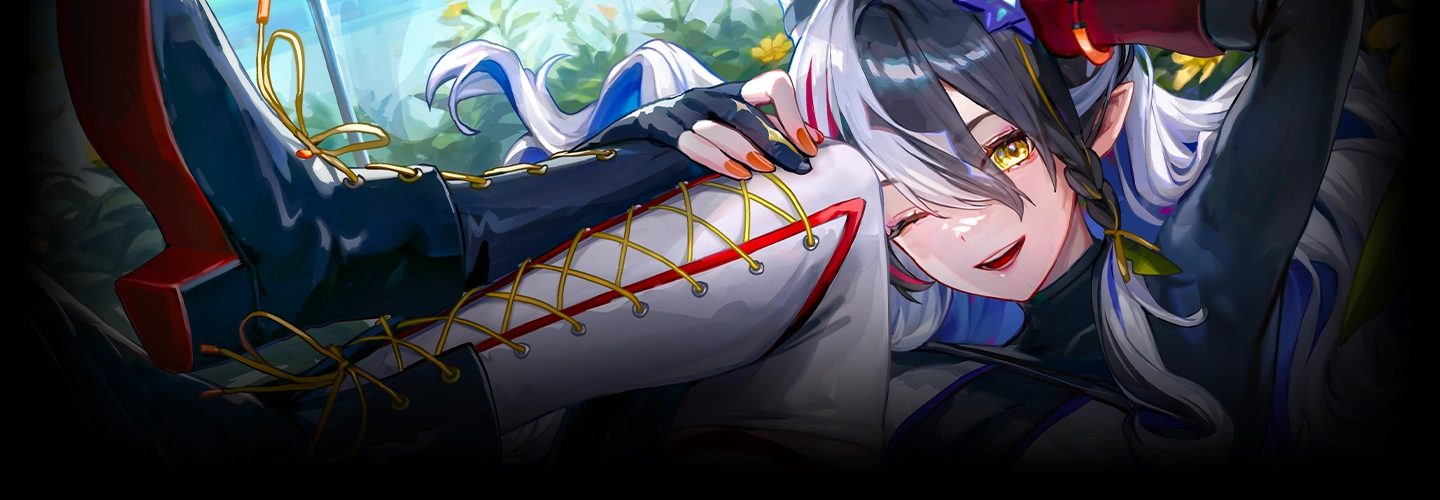
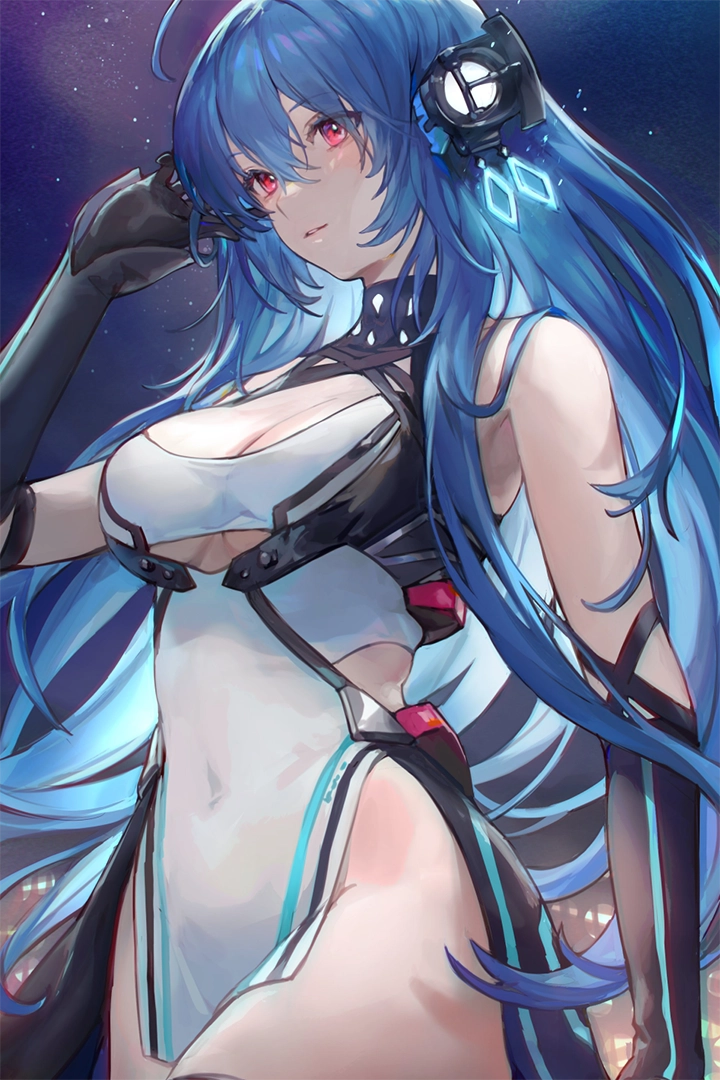
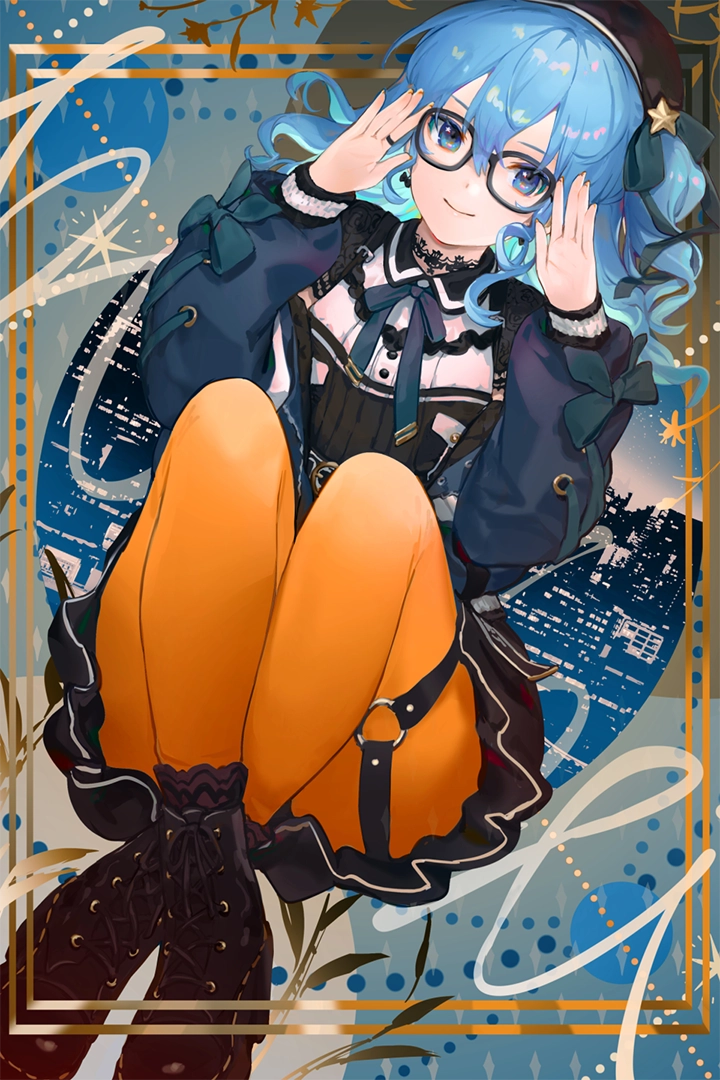
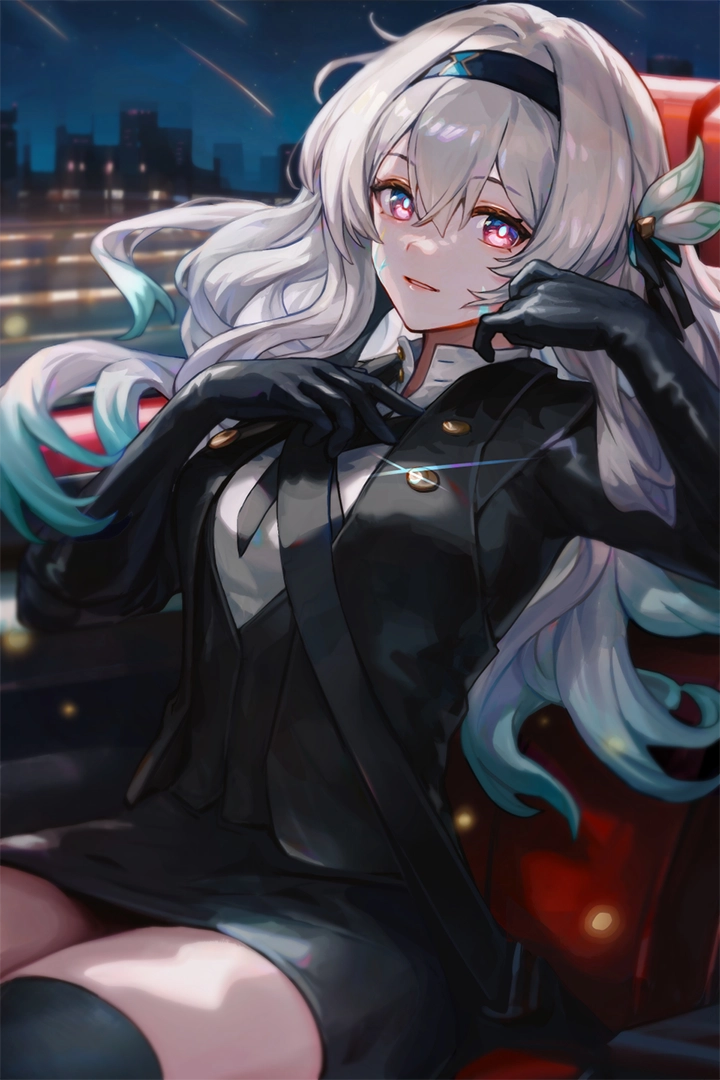
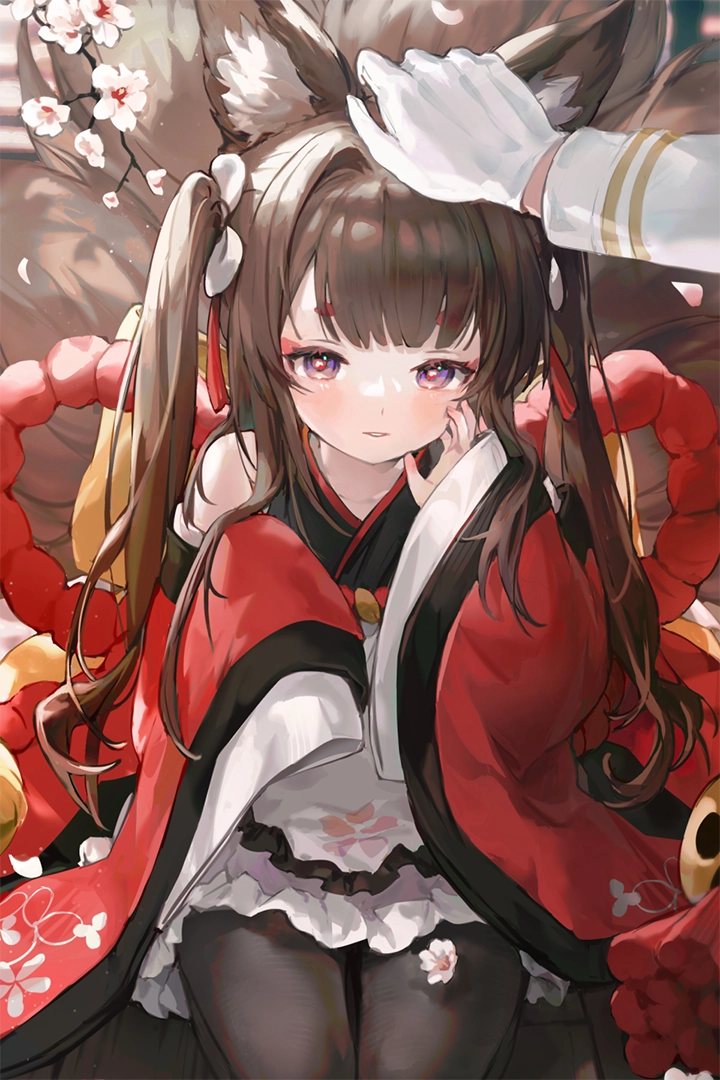
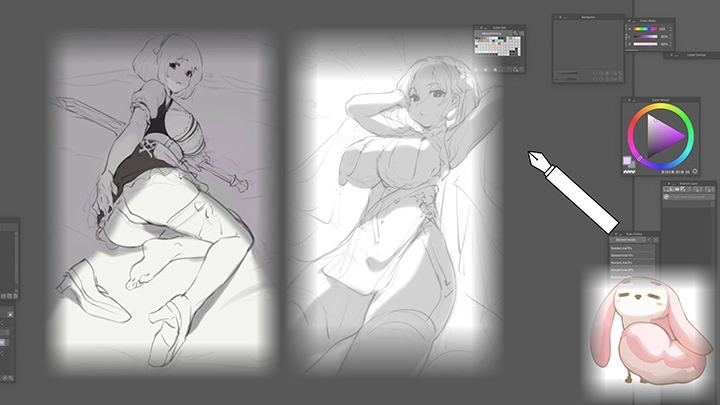
Illustrator,Bibimbub Details

Class Preview
Still Not Sure?
Check Out Bibimbub's Class Preview!
Course Orientation
2. Basic mind mapping introduction to objective overview of the course
Class Perks
Get These Coloso Exclusives
-
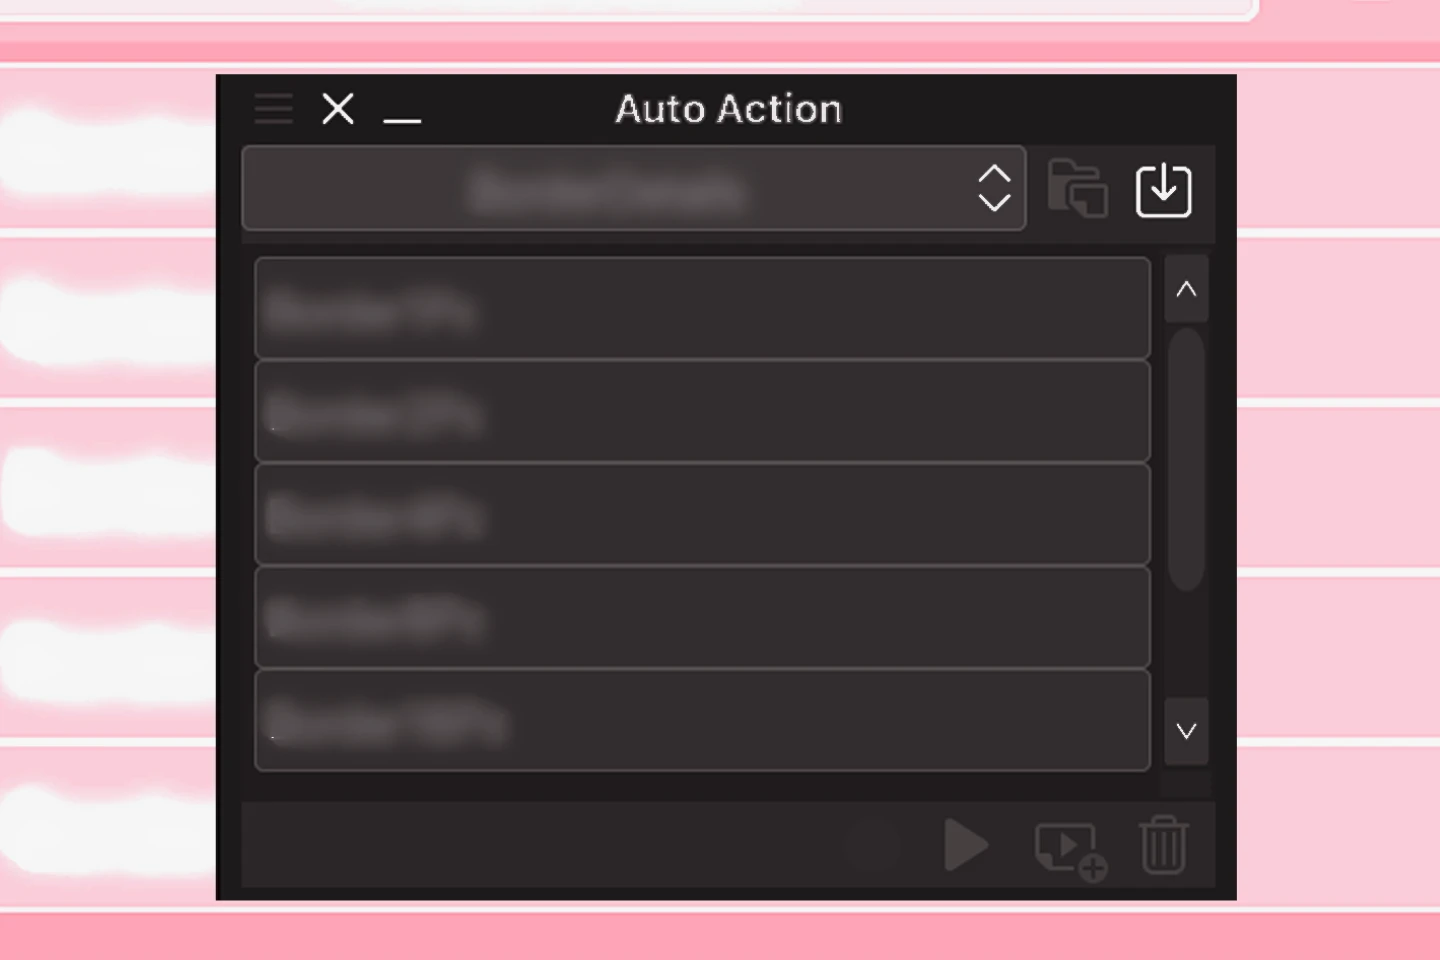
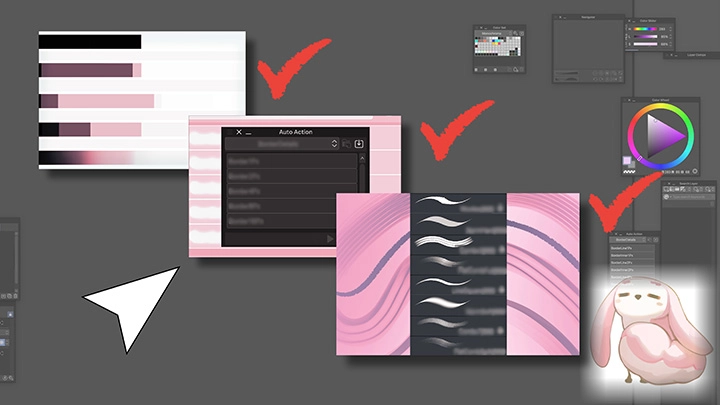
In-Course Created Auto Actions -
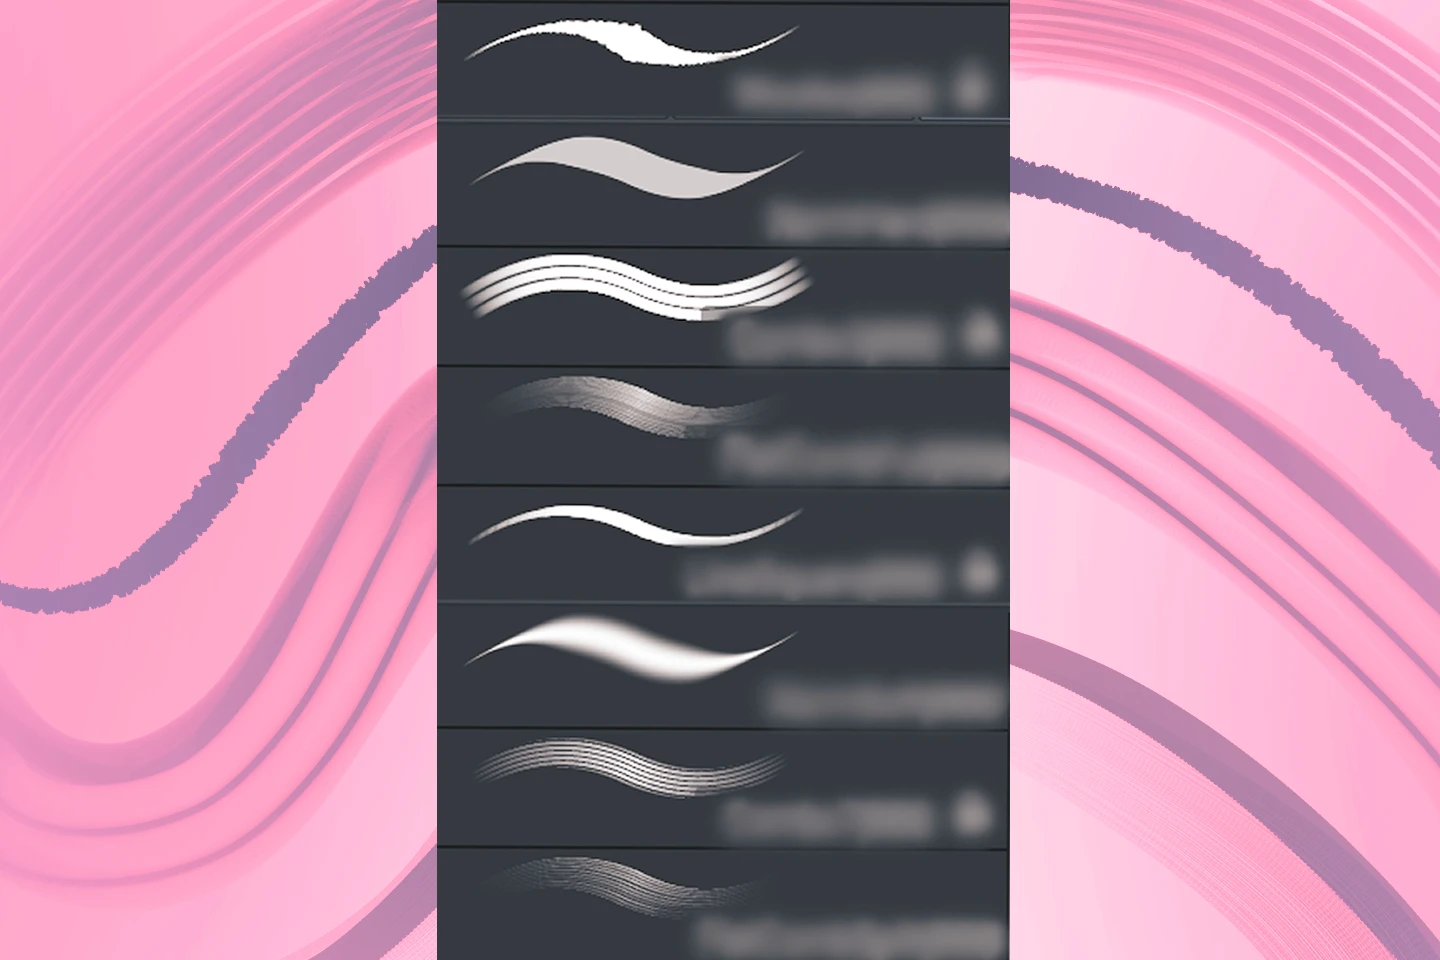
In-Course Created Brushes -
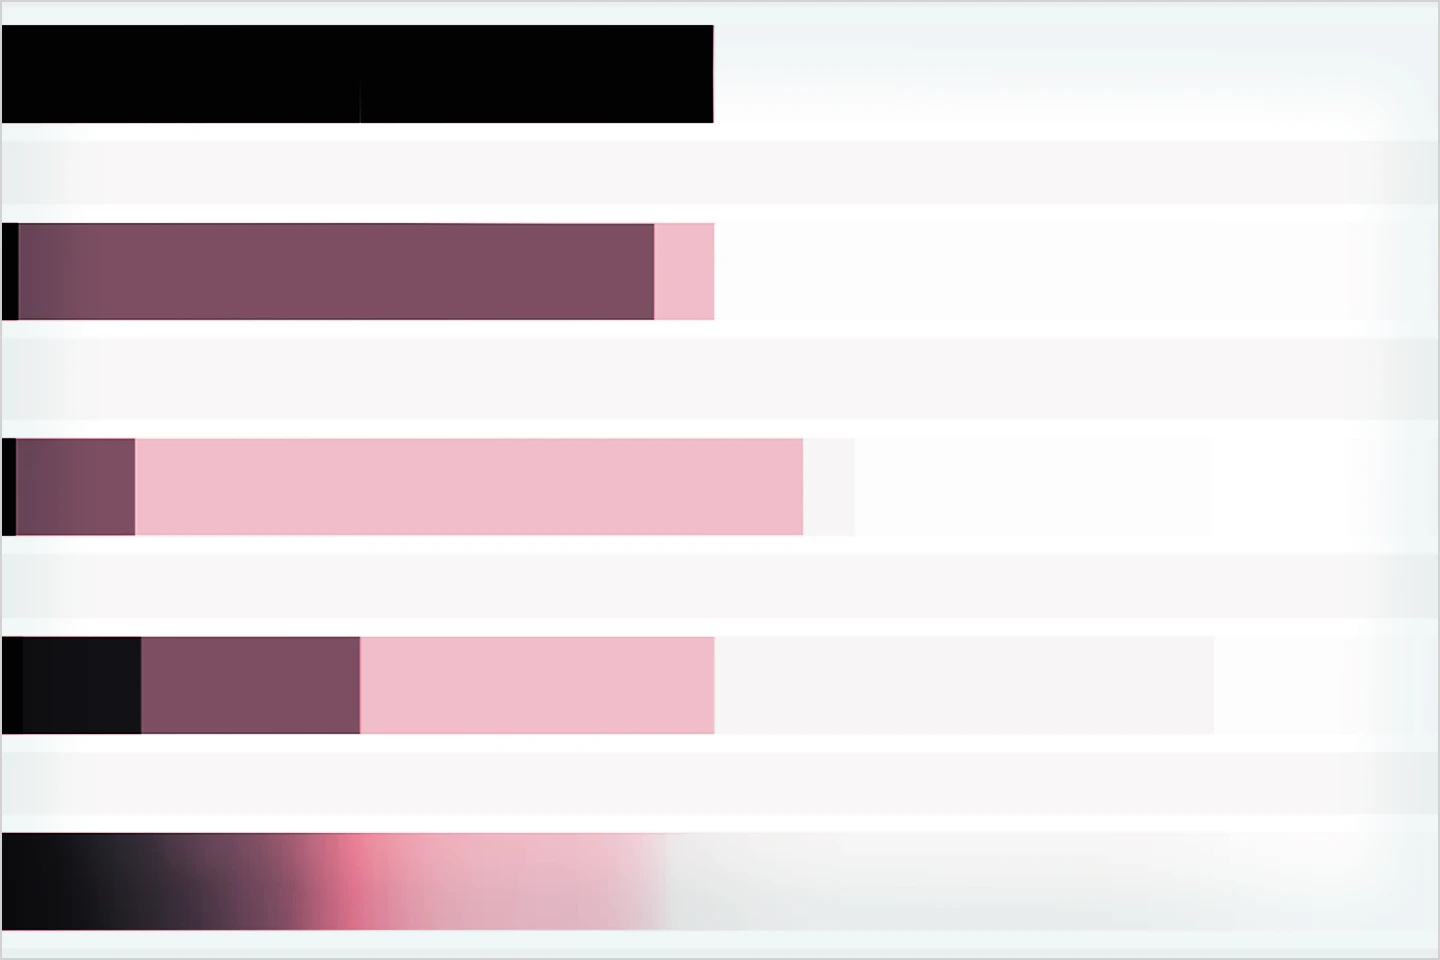
Gradient Map Stripe Template
-
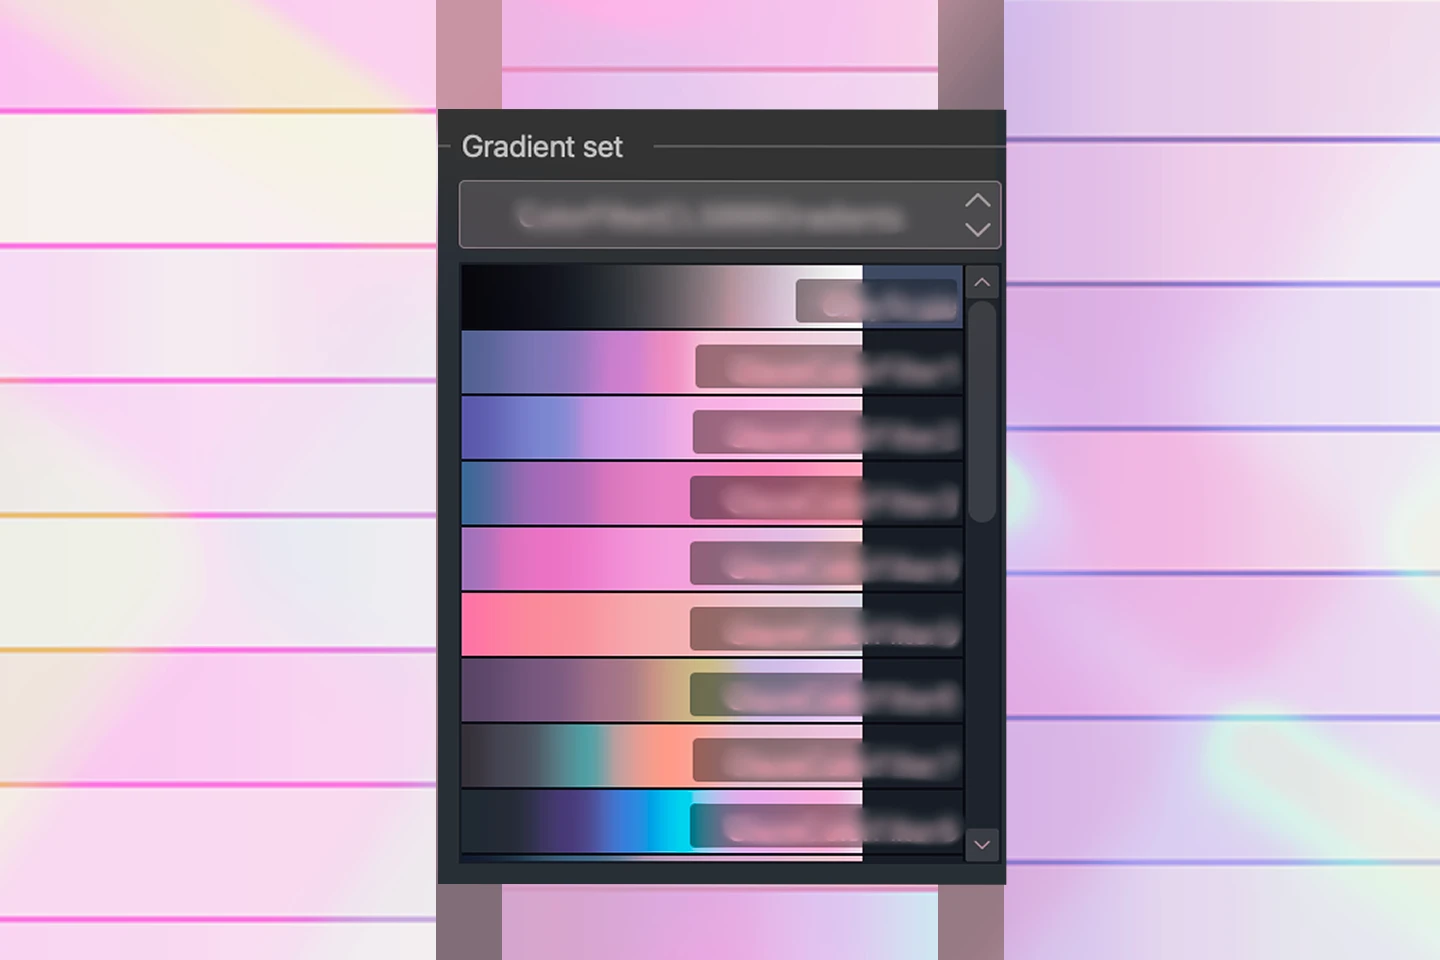
Gradient Set Materials -
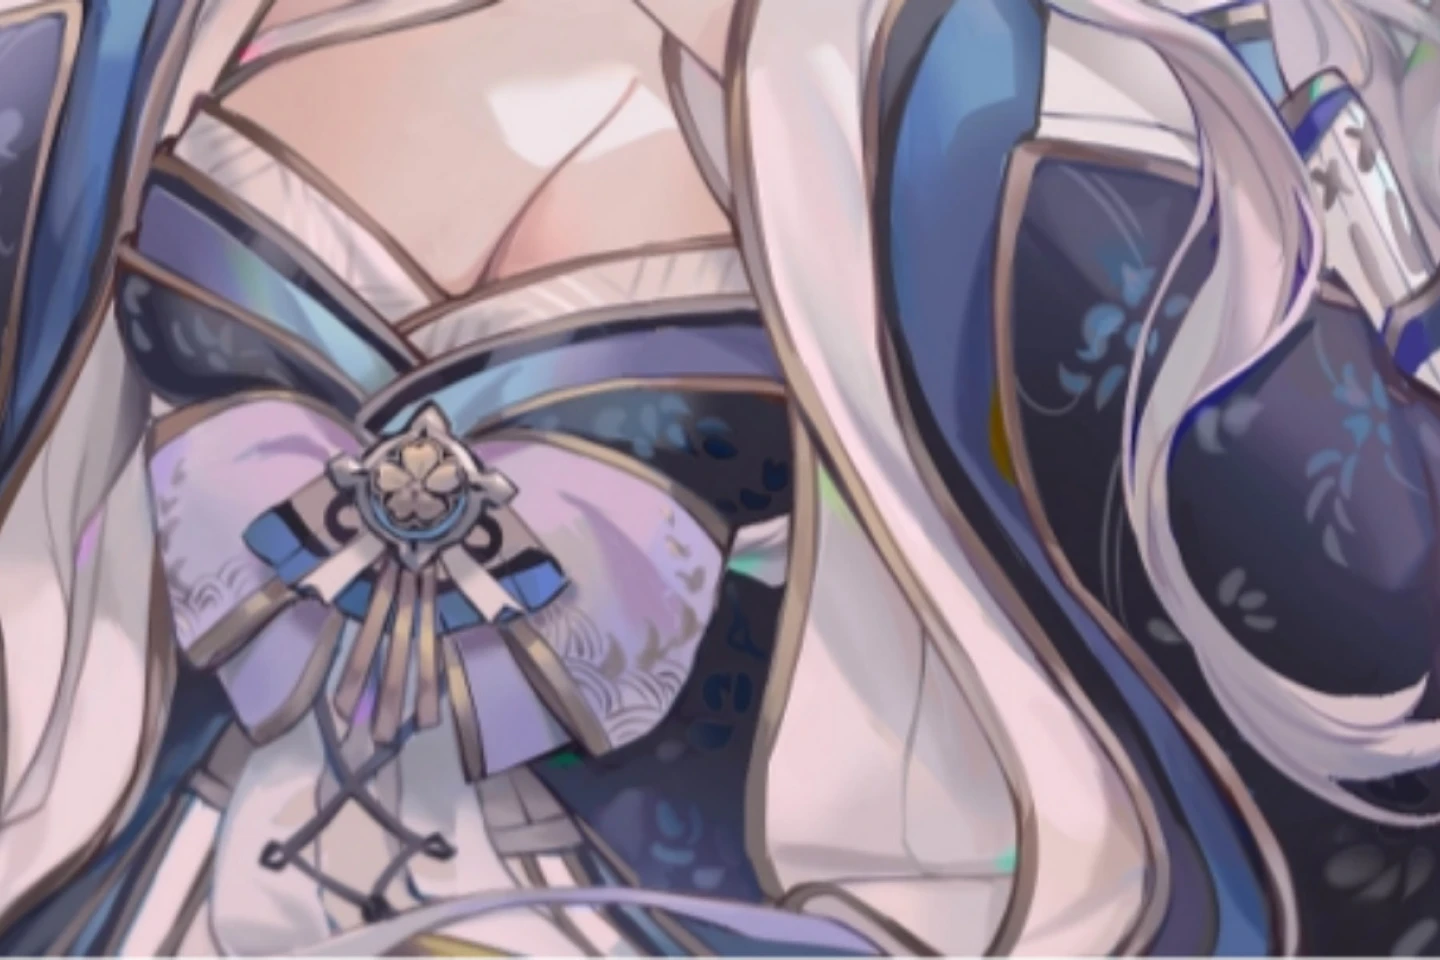
Worksheets For All Exercises, and Rendering -
Shortcut Settings Memo -
Final Illustration Files
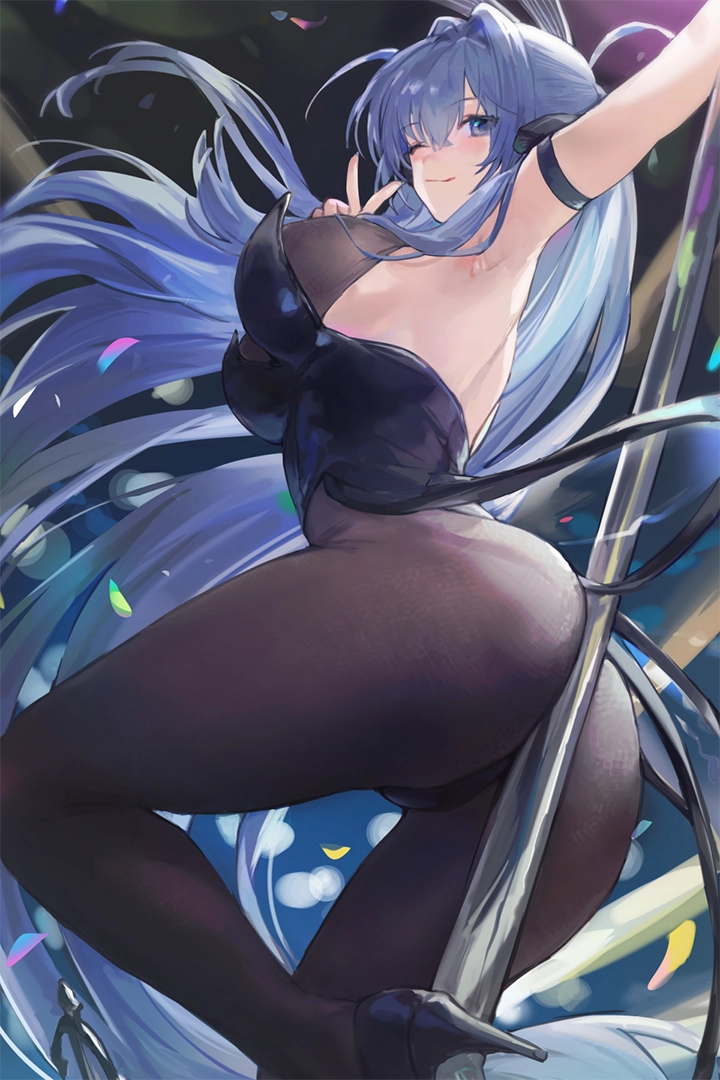
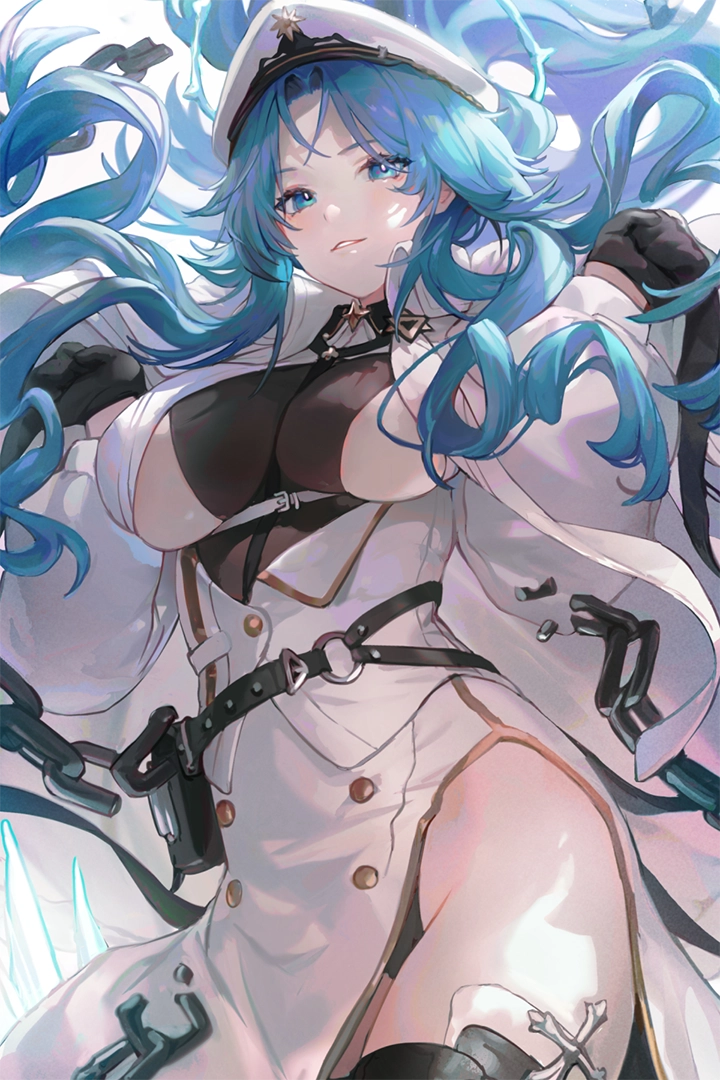
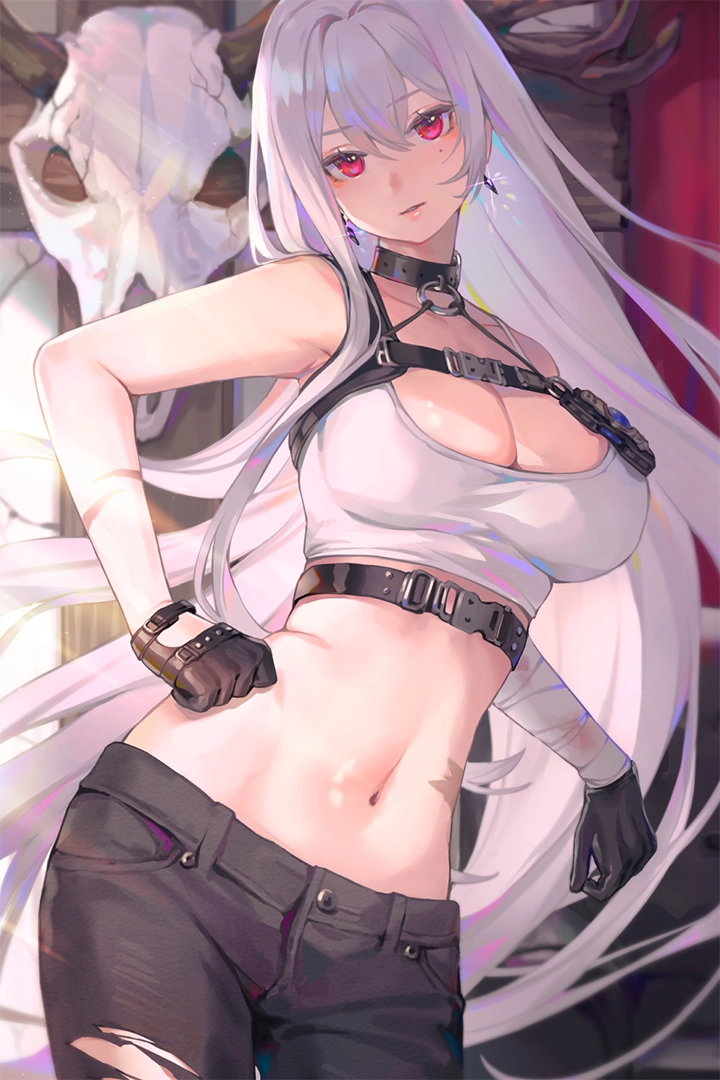
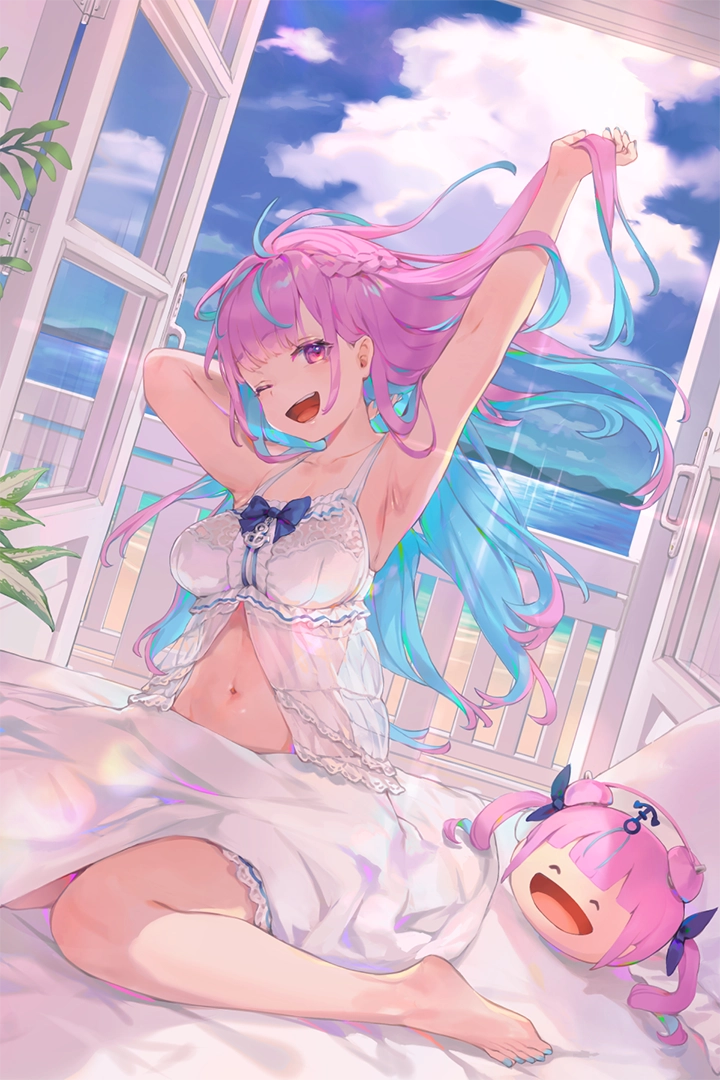
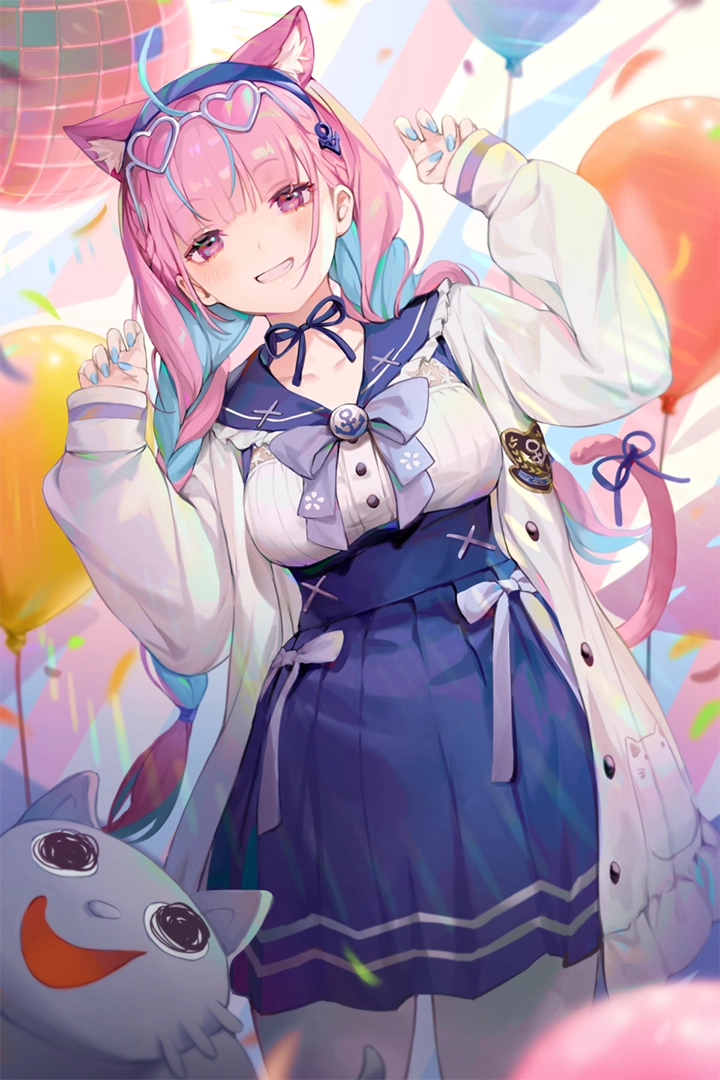
Expert Illustrator Bibimbub's Portfolio
*This portfolio includes fanart
Why Take This Class?
Master the Art of Anime: Unlock Your Creative Potential with 100 Gradient Brushes
Are you passionate about anime and eager to elevate your illustration skills to professional levels? This highly detailed anime illustration class is designed specifically for you. With the unique advantage of almost 100 gradient brushes at your disposal, you'll discover new techniques and creative possibilities that will transform your artwork. Our expert-led course covers everything from basic anatomy and dynamic poses to intricate shading and vibrant coloring. By the end of this class, you'll not only have a deeper understanding of anime art but also a comprehensive toolkit that will set your illustrations apart. Don't miss this opportunity to turn your passion into mastery—enroll now and let your creativity shine!

Get Ready for the Real-World
9 Class Exercises
-
 Brush stroke exercise
 -
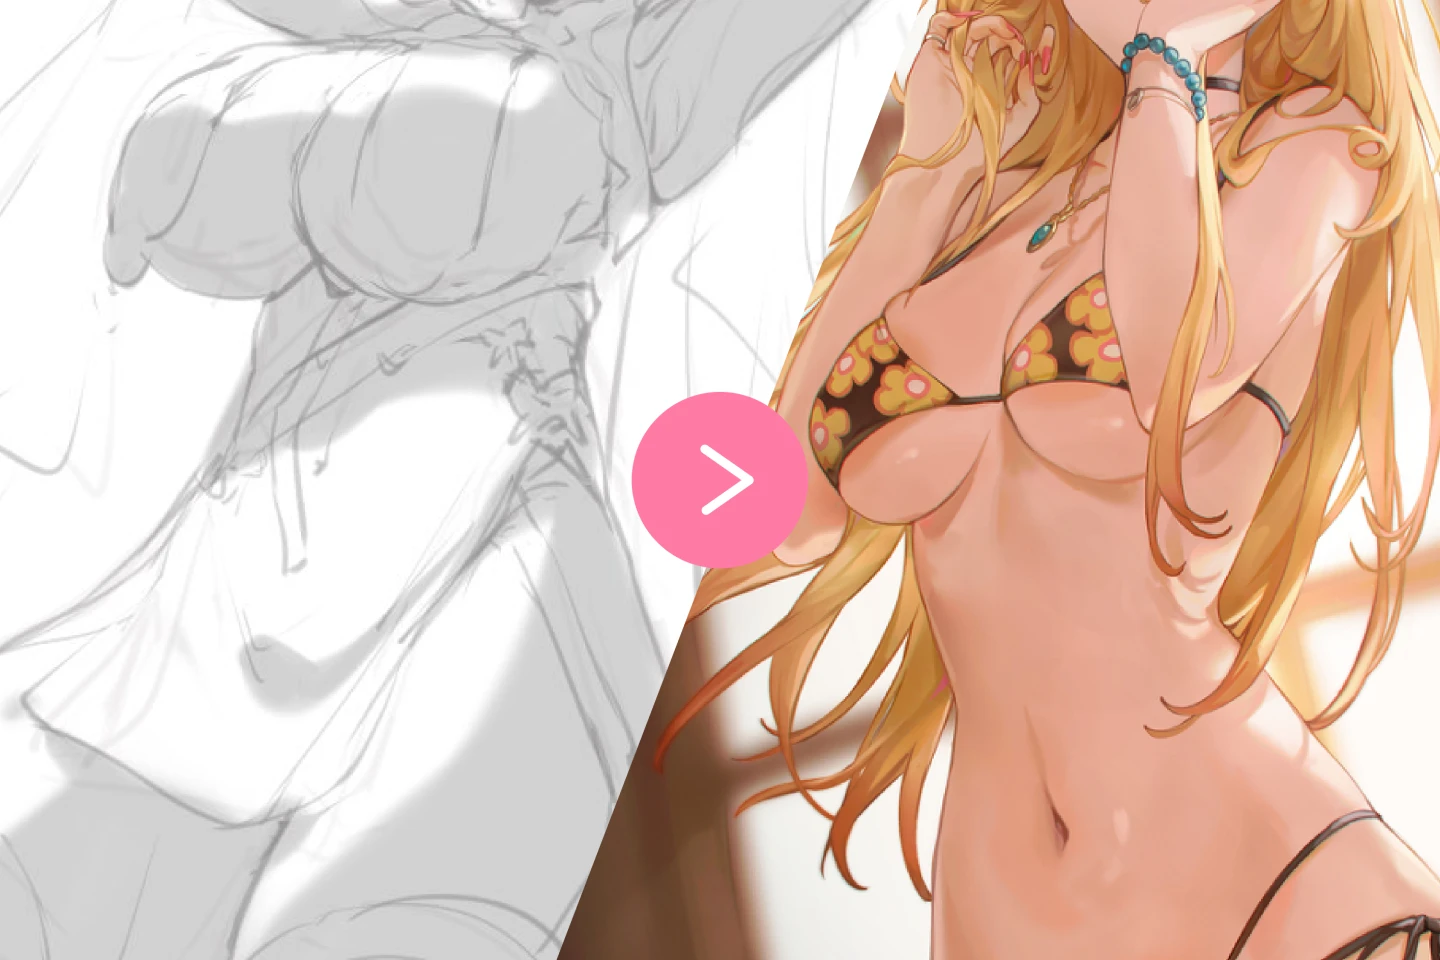 Stylizing general body shapes
 -
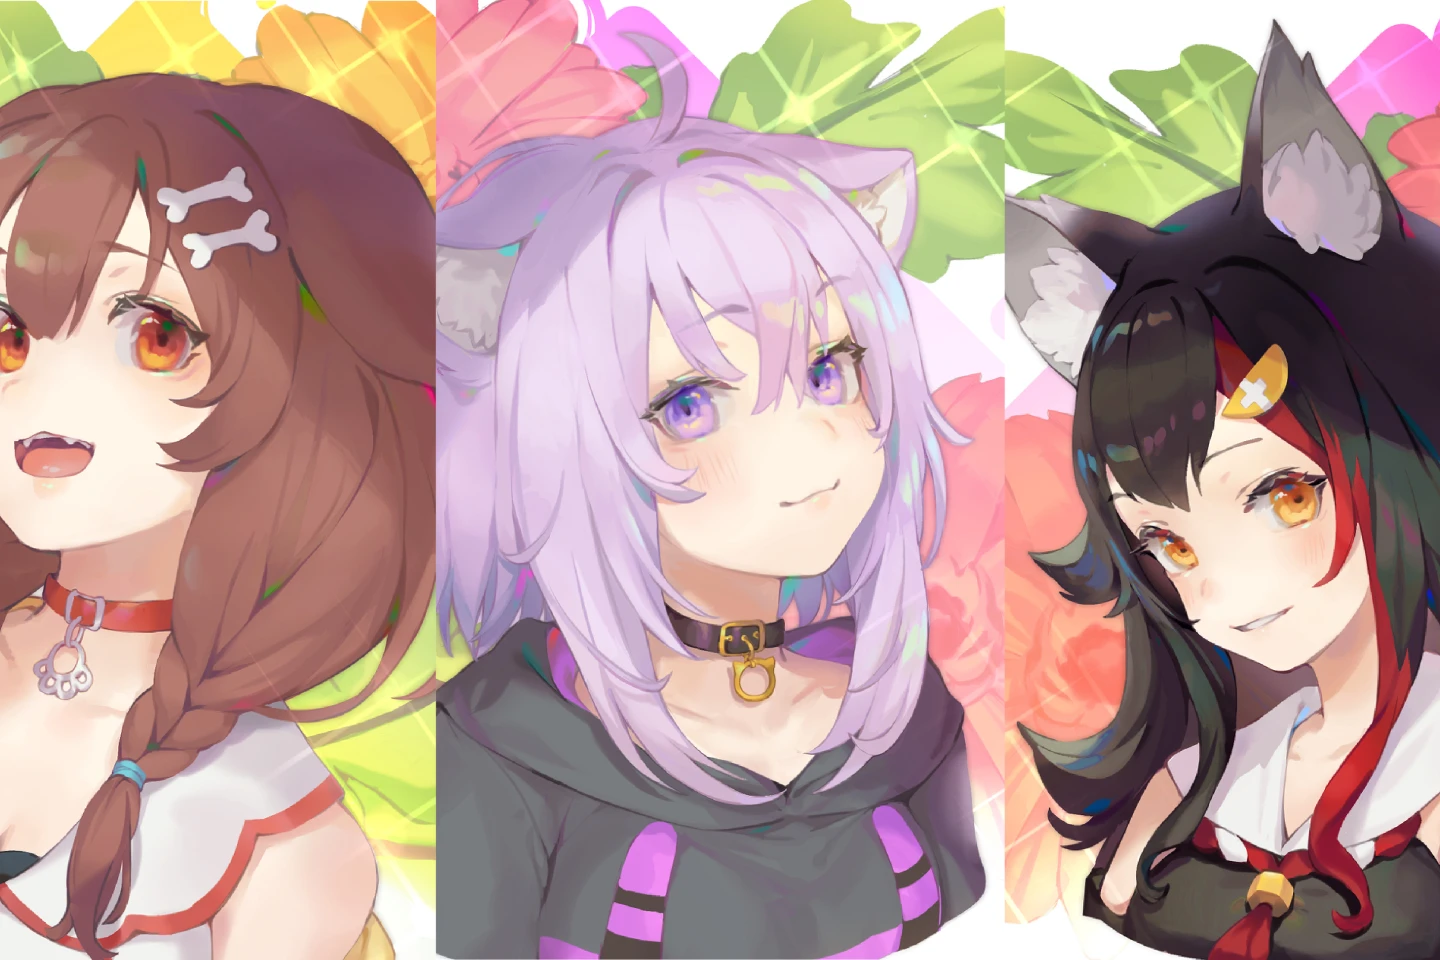 Placing facial features on the head shape
-
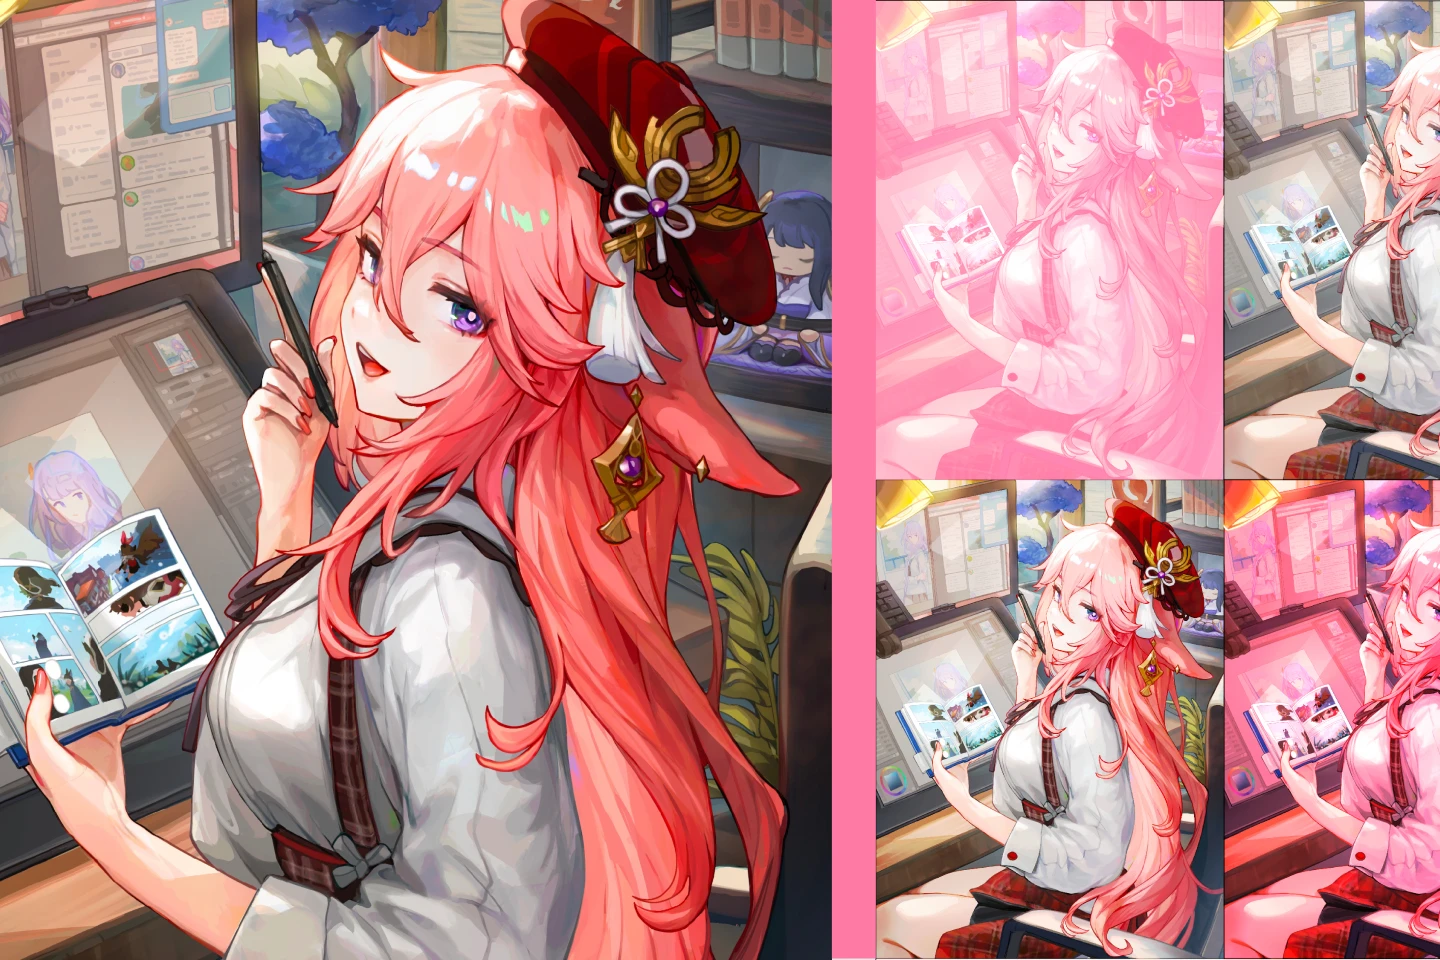 Design brightness adjustment with in-course blending mode shortcuts
 -
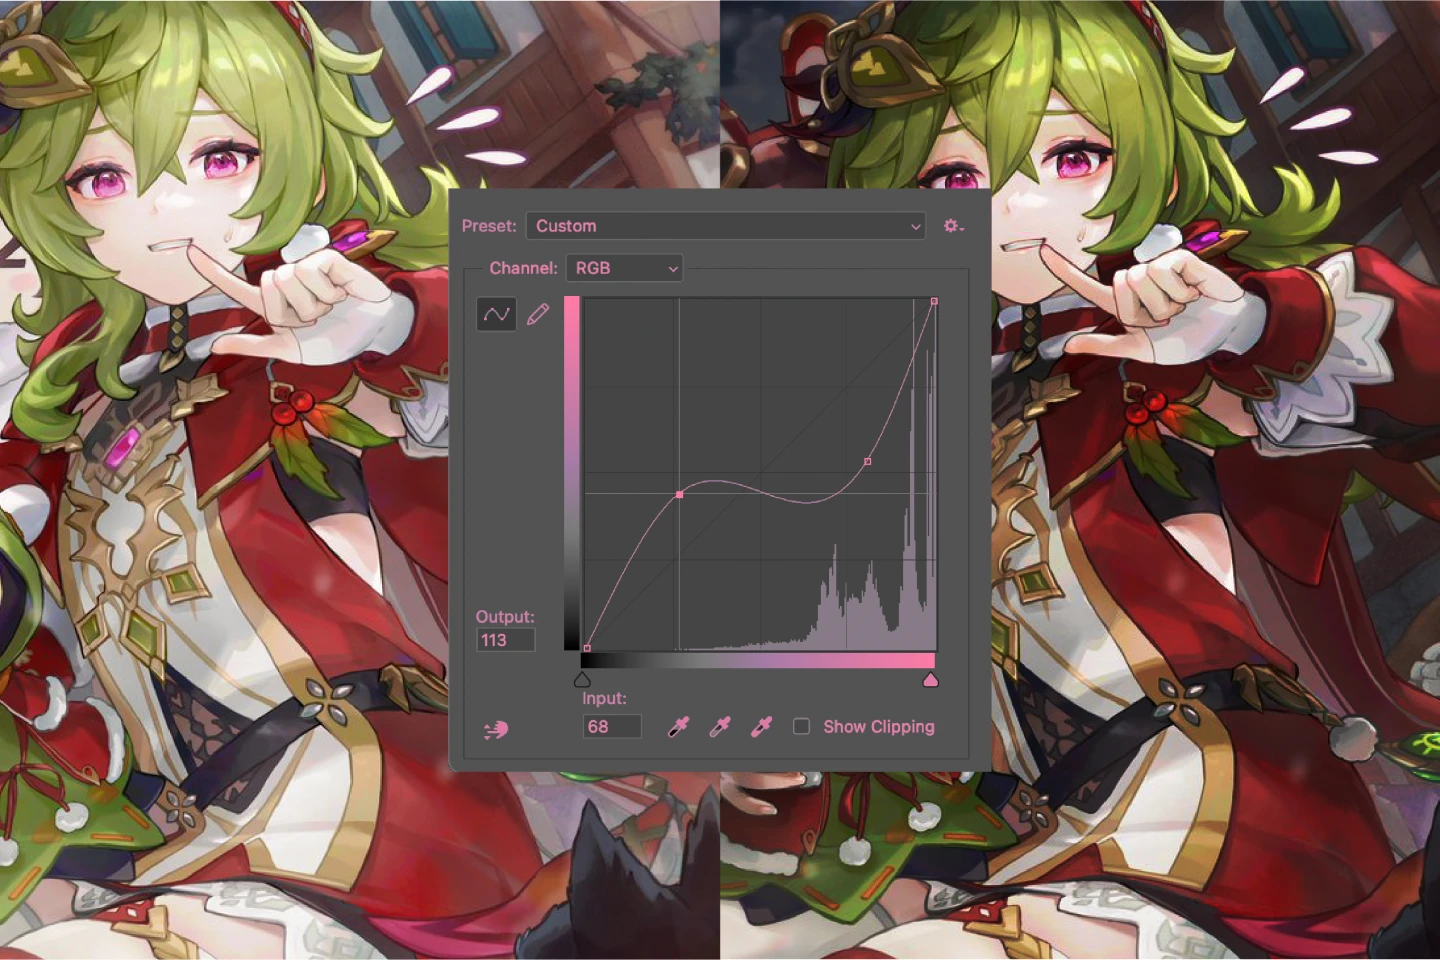 Design brightness adjustment with tone curve adjustment layer
 -
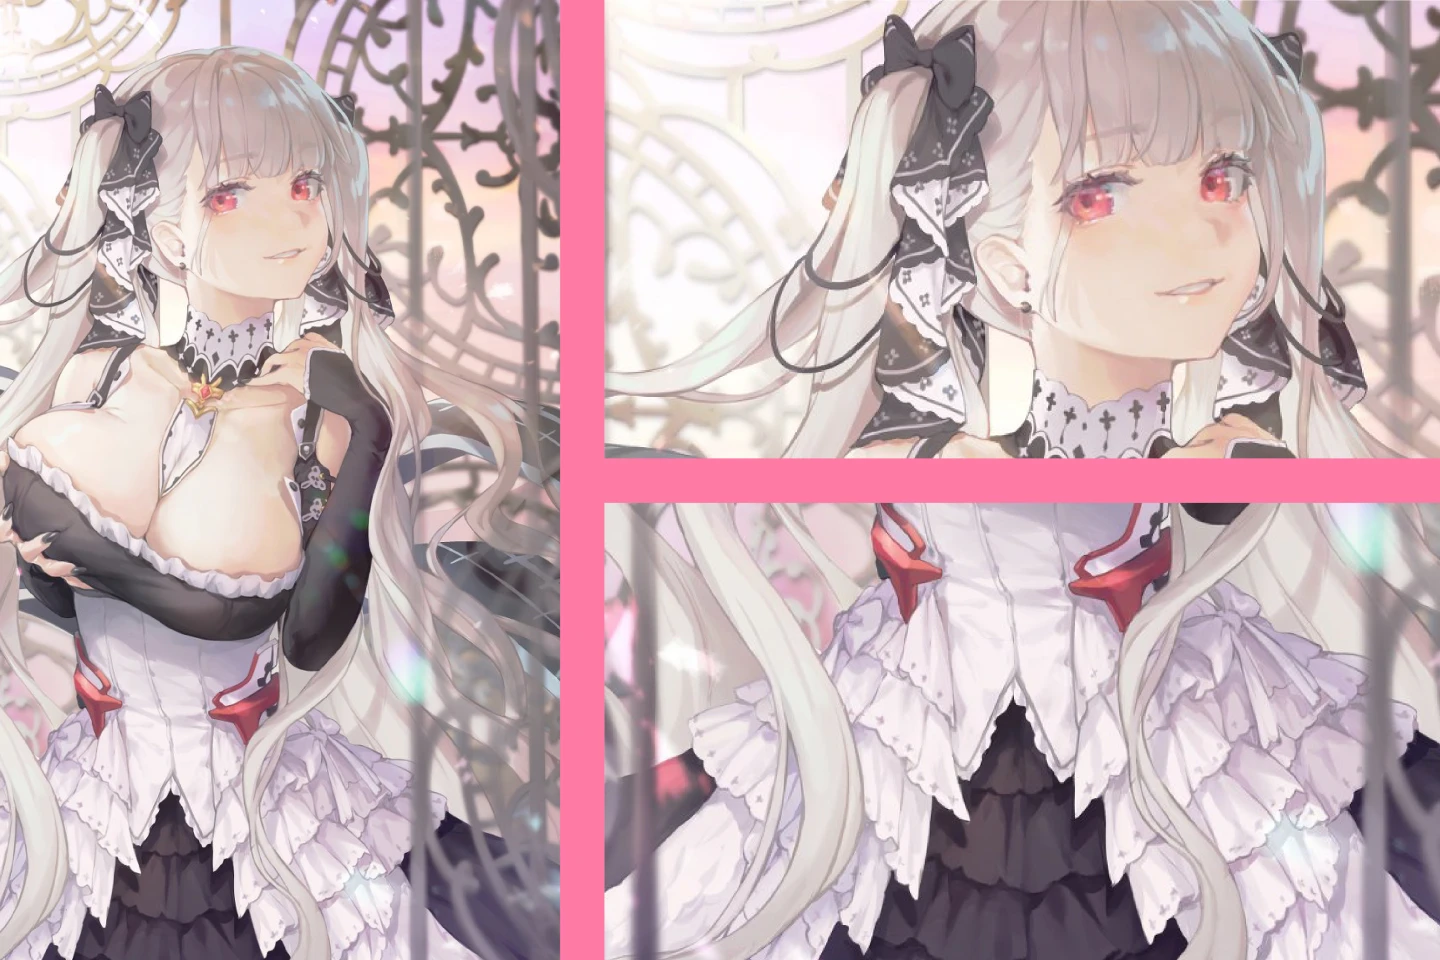 Texture rendering samples
-
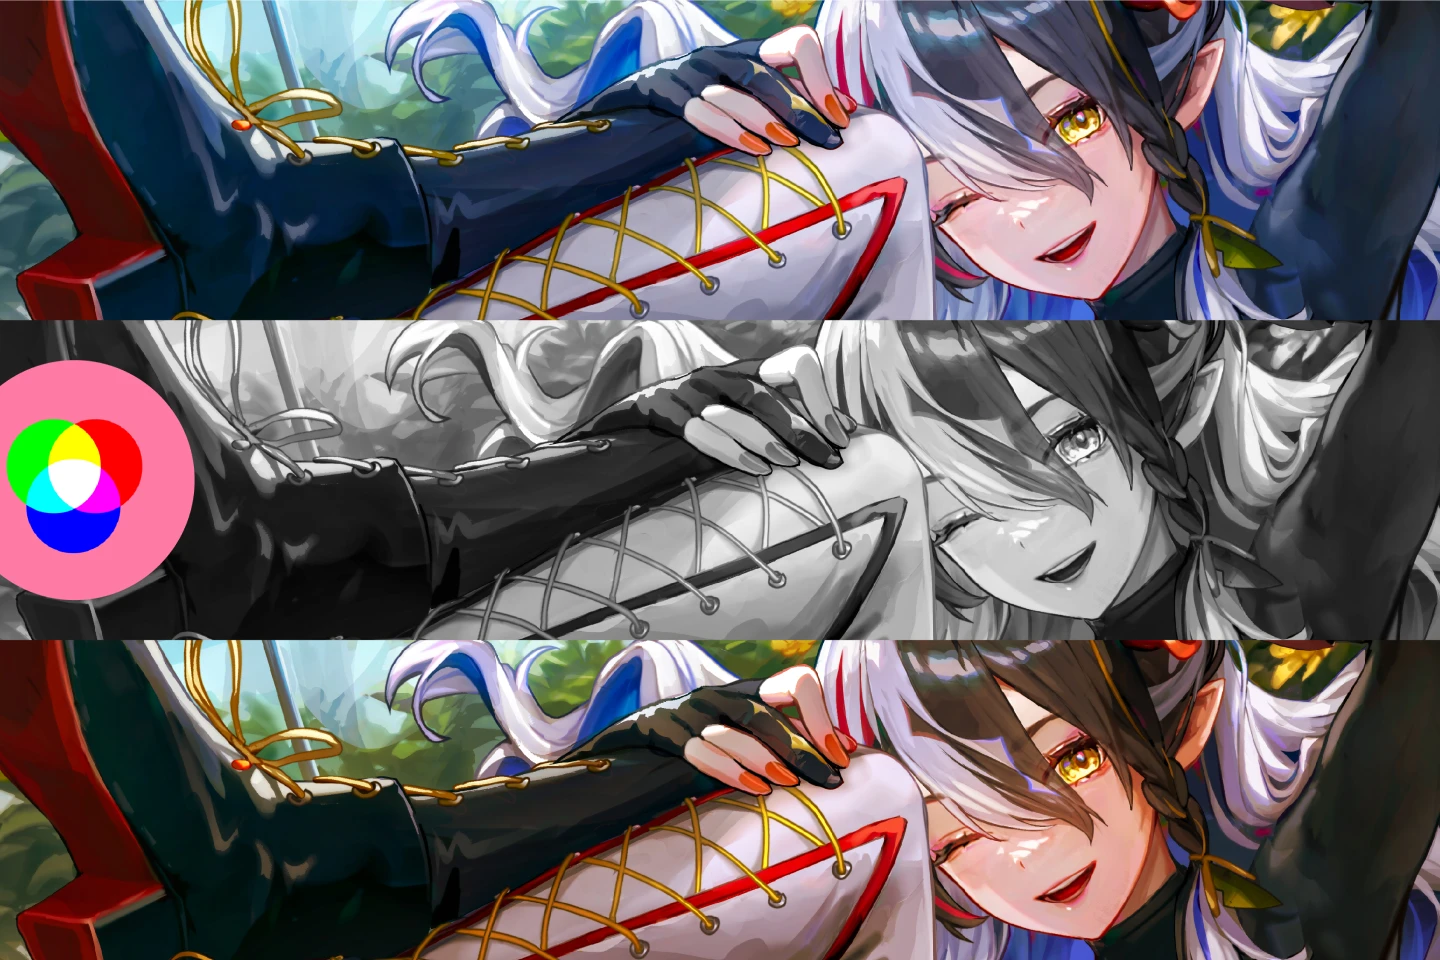 Changing base color for more variation
 -
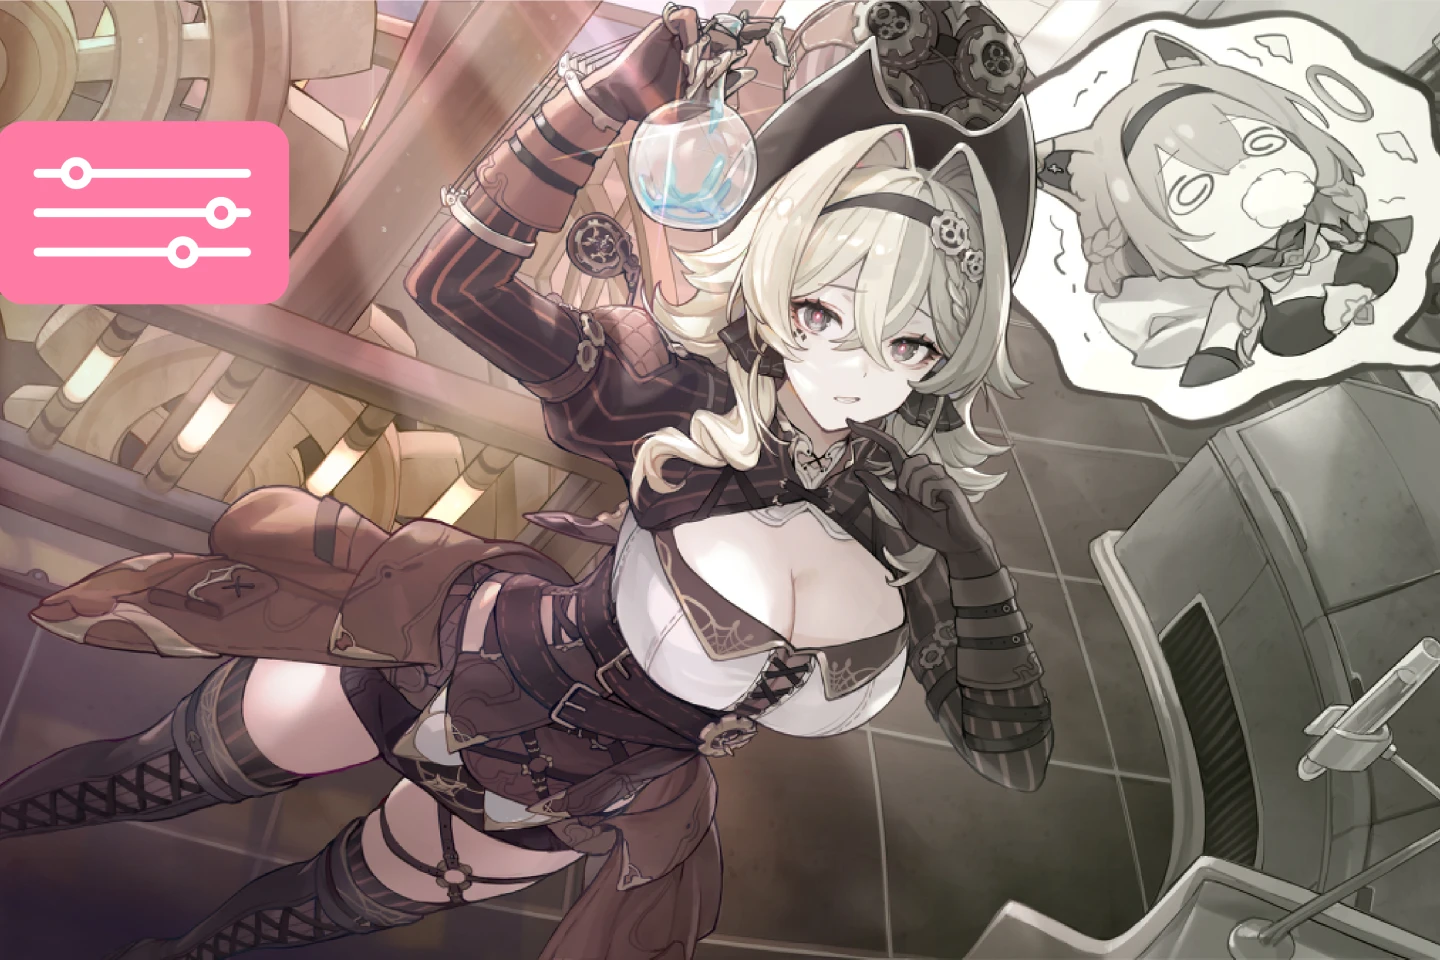 Changing base color back to its original base color
 -
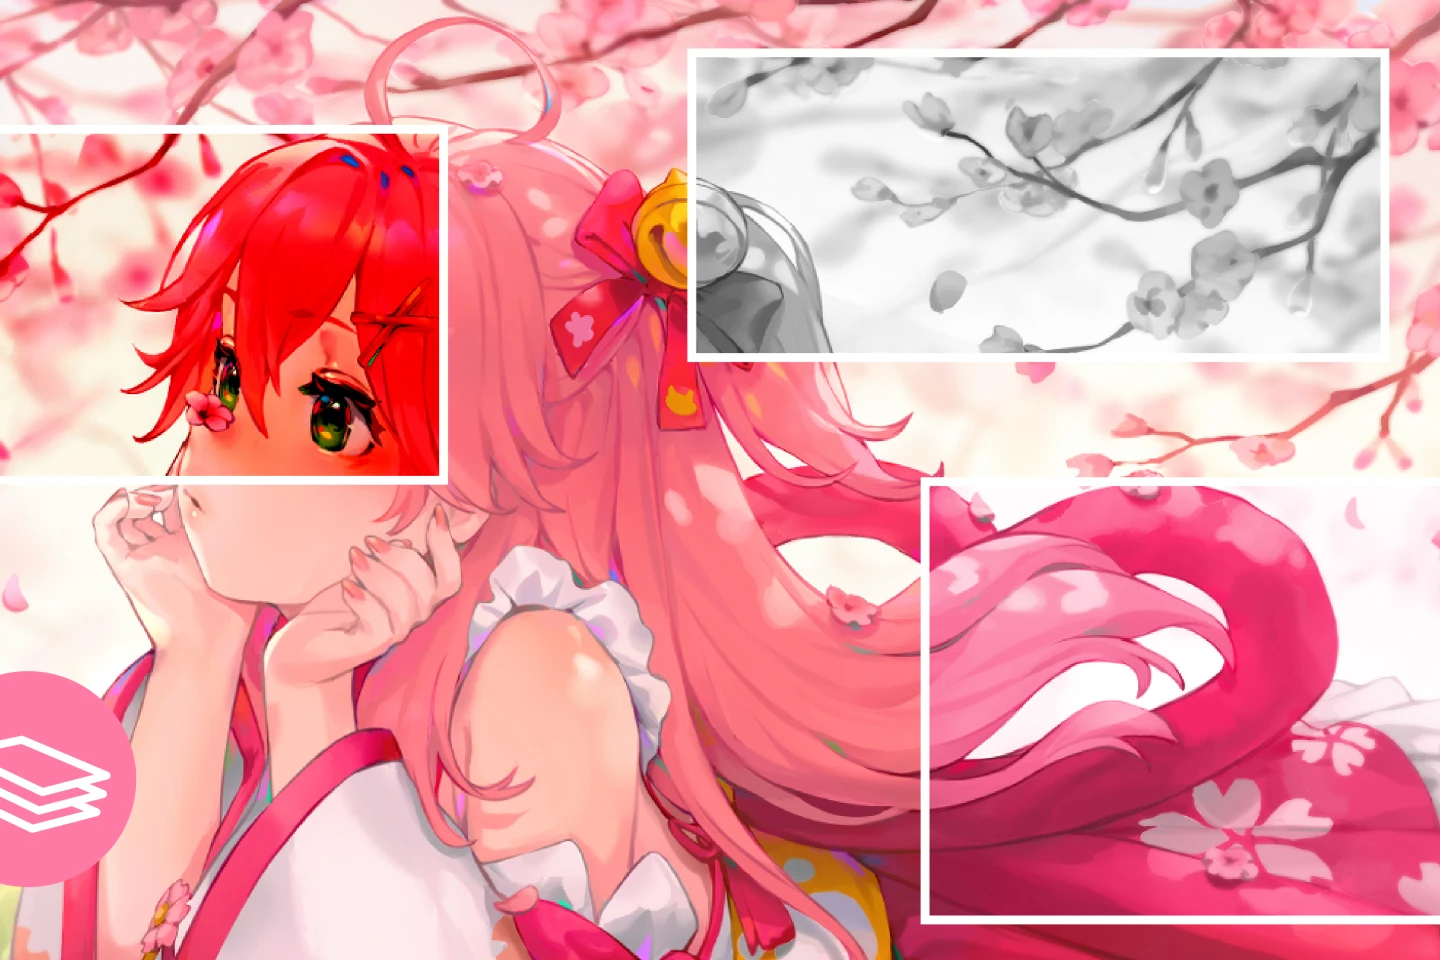 Managing and merging stack of overlapping adjustments layers
Final Products
-
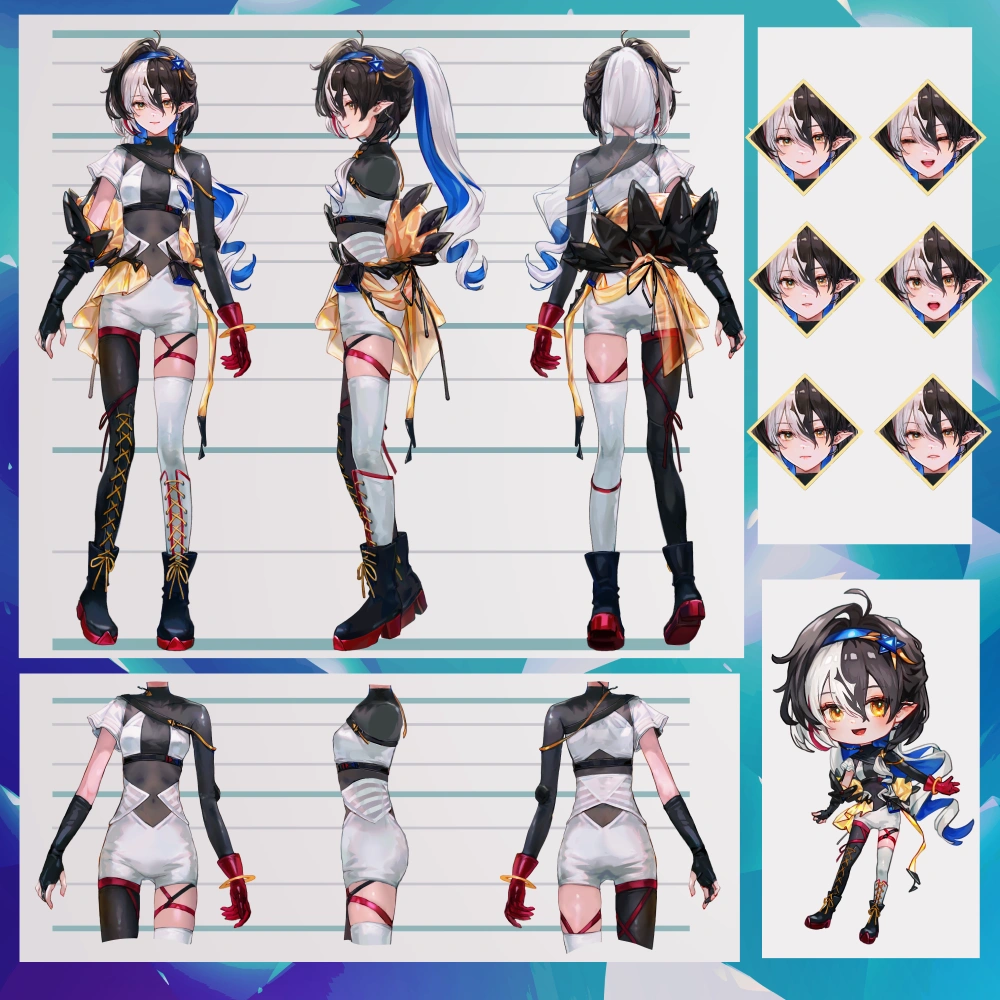 Character Sheets
 -
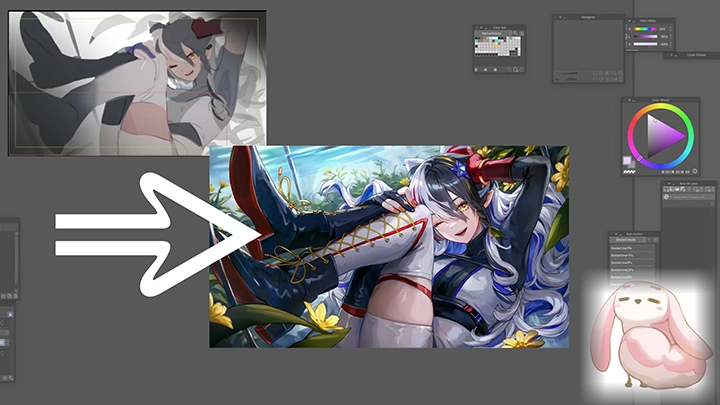
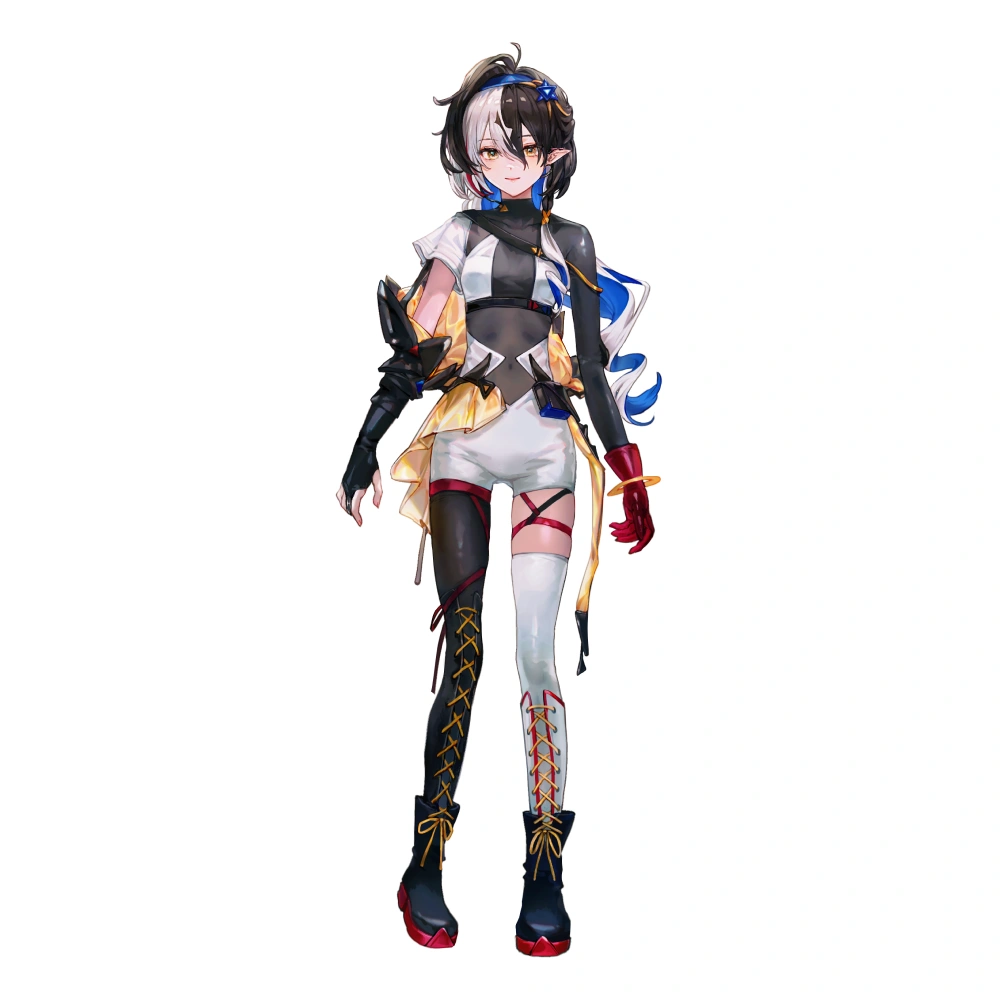 Fully-Rendered Full Body Character
 -
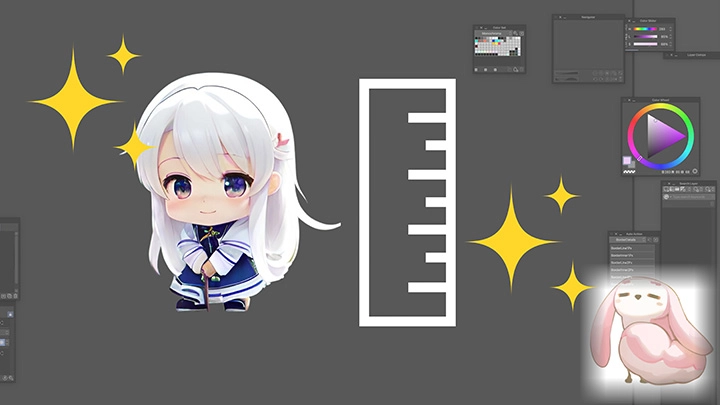
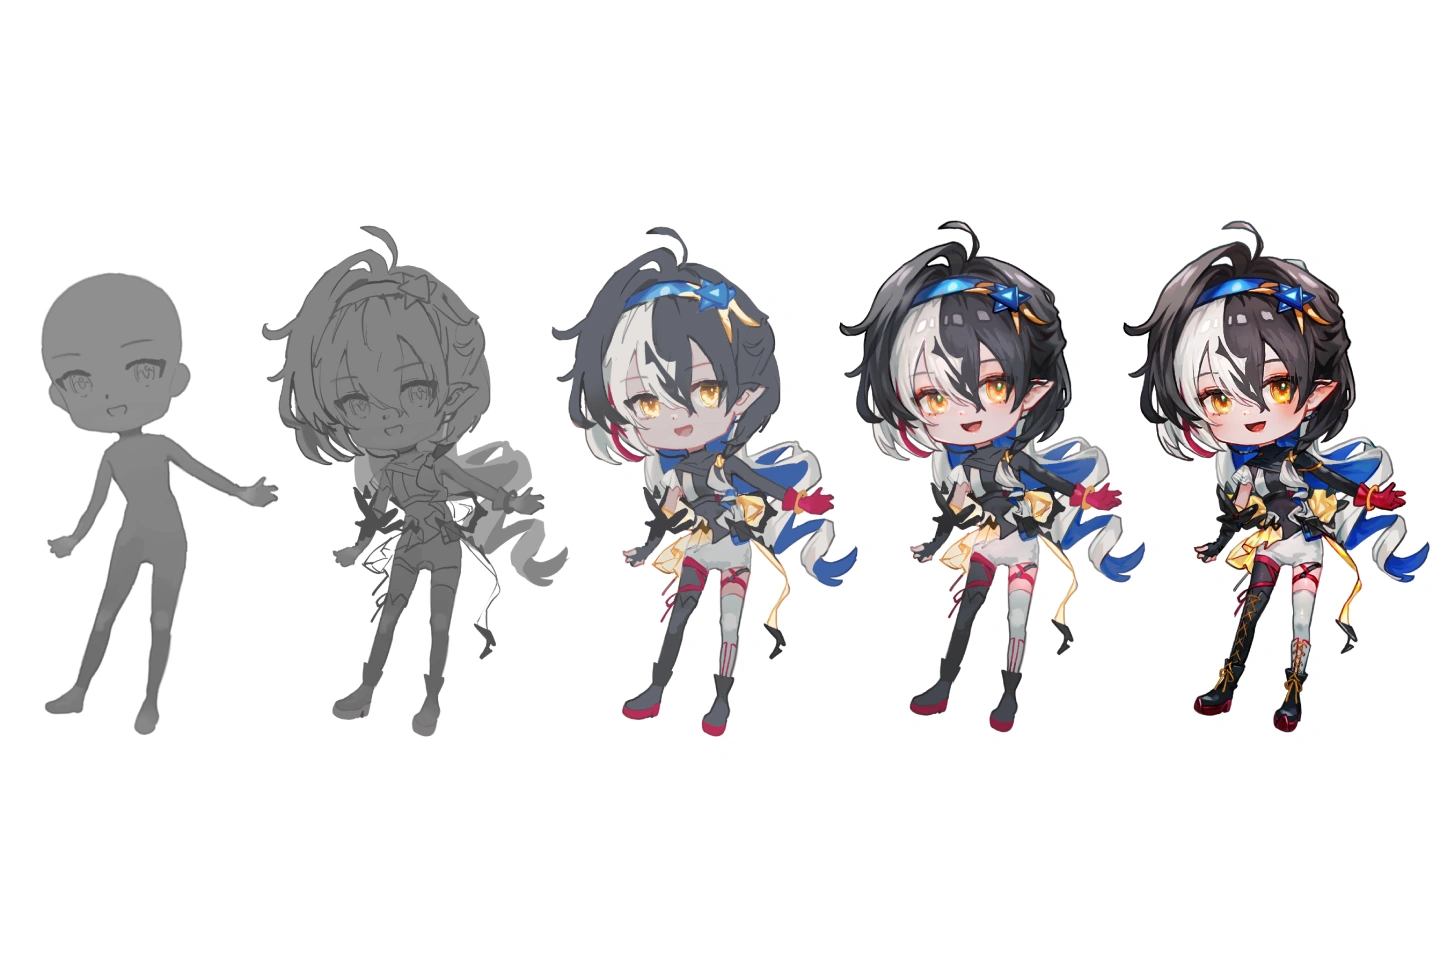
 Chibi Process
-
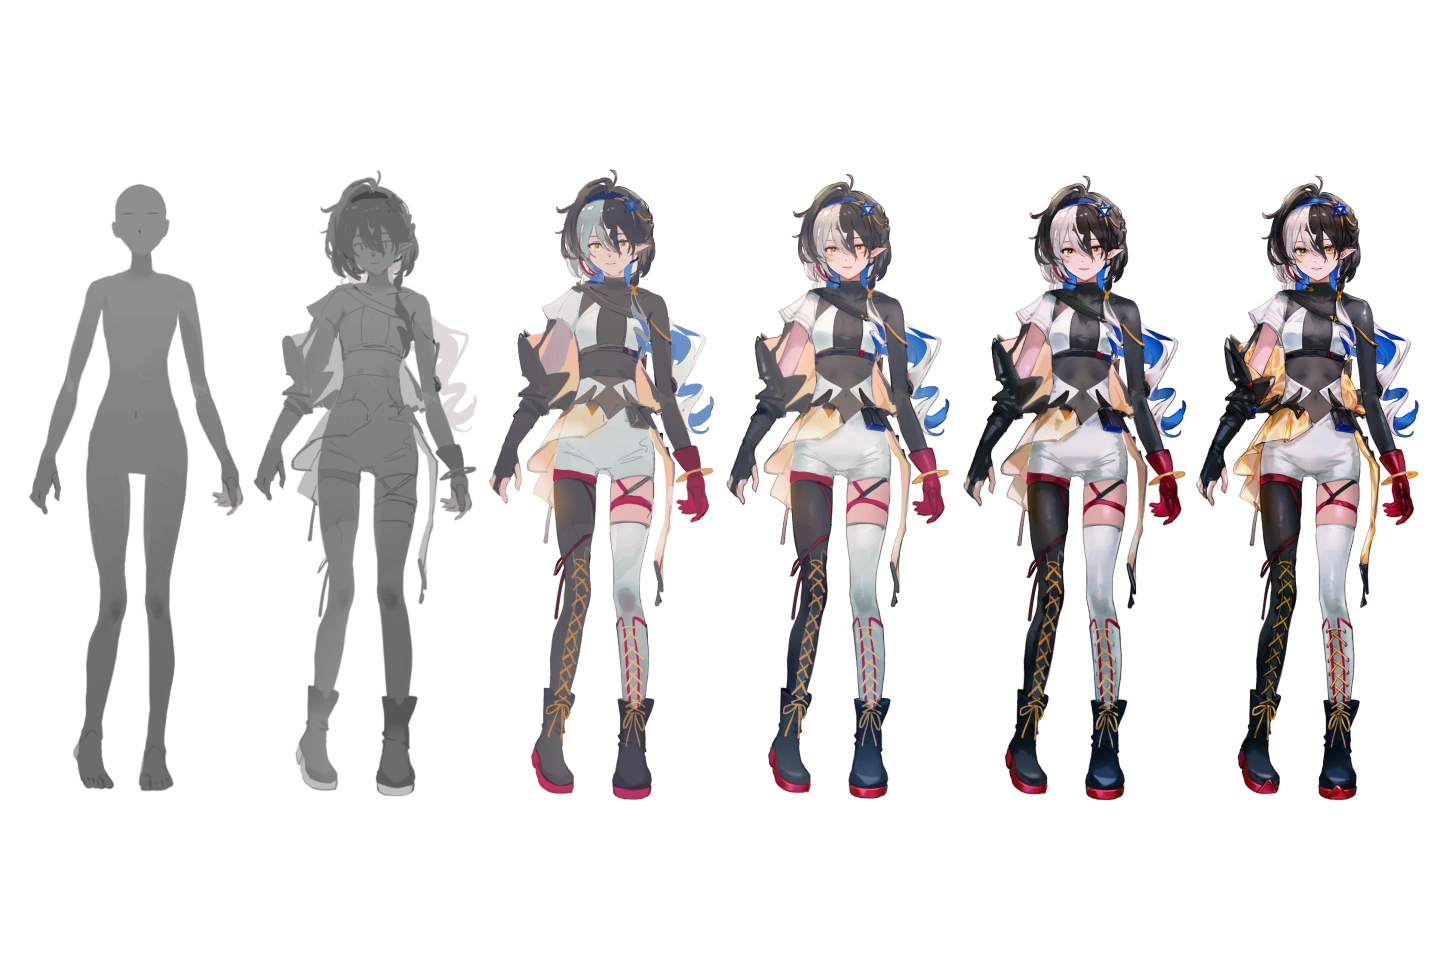 Full Body Character Process.
 -
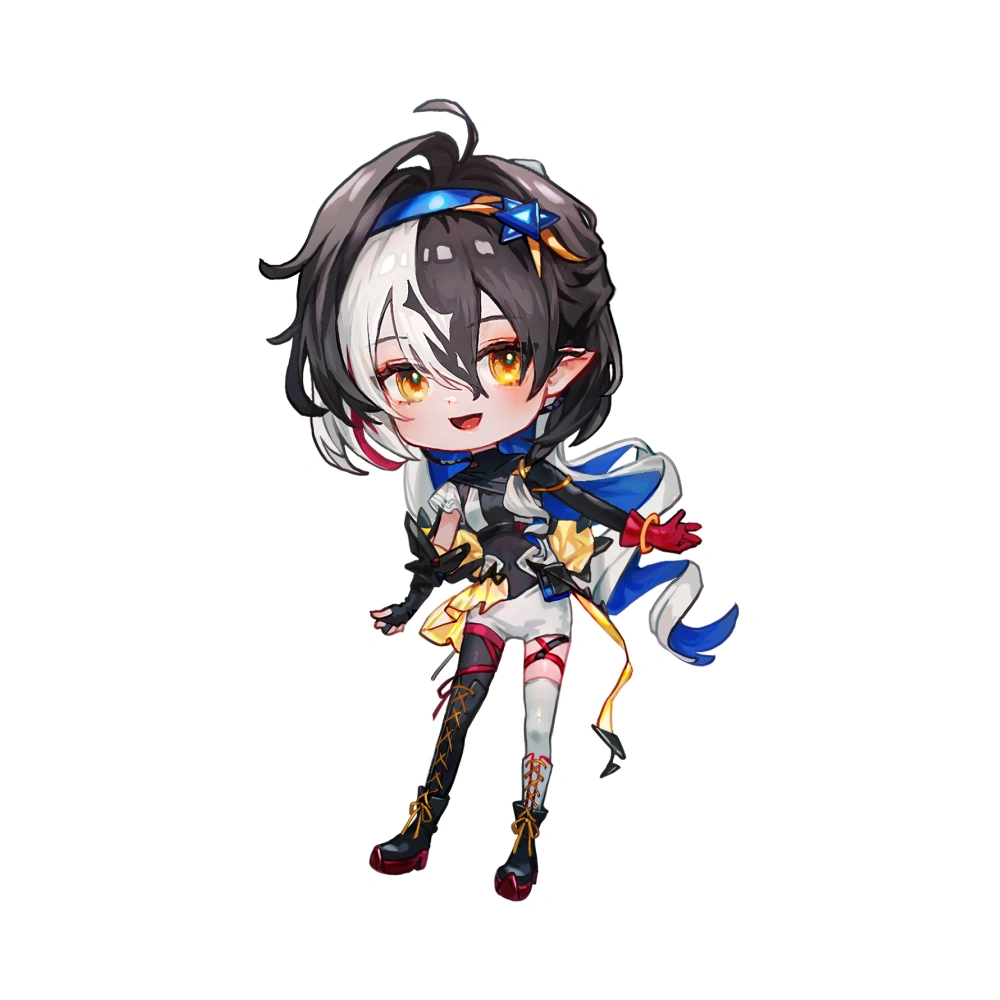
 Character Chibi Version
Illustrator
Bibimbub
Greetings, everyone! I’m Bibimbub, an illustrator who has experienced my own fair share of art-related projects and challenges throughout my career.
With this course, I will guide you through the process of creating character designs, a simplified chibi, and a multi-view character sheet while also offering experimentation and refinement techniques that you may want to apply to your future work.

Illustrator, Bibimbub
[Current]
Freelance Illustrator
Projects & Awards
• Arknights, Azur Lane Illustration Collection & Congratulatory Illustrations [2020-2023]
• Artery Gear Illustrations [2021-2022]
• Honkai Impact 3, Genshin Impact HoYoFair Promotion Illustrations [2022-2023]
• VTuber Designs & L2D Model Arts, Congratulatory and In-Membership Illustrations
Class Highlights
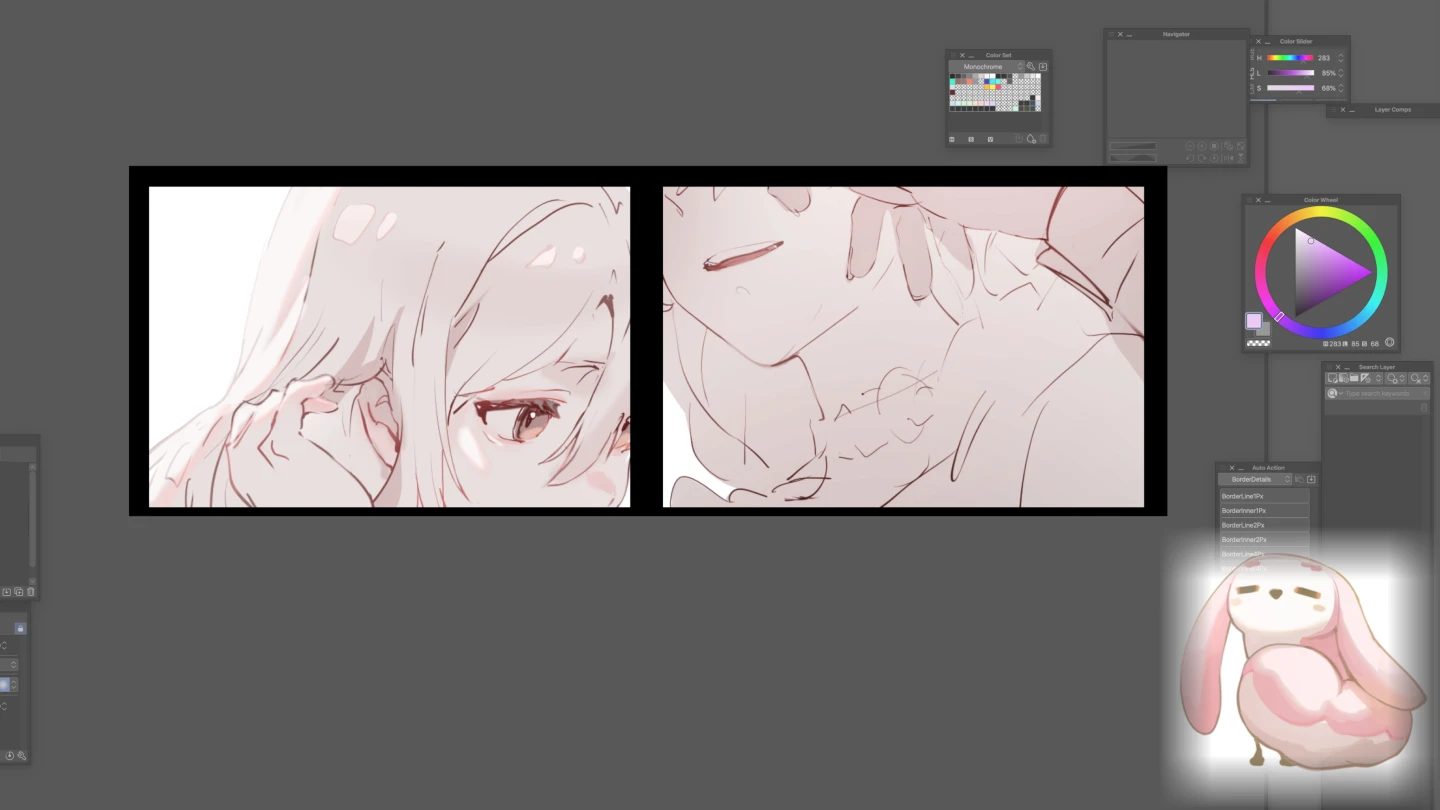
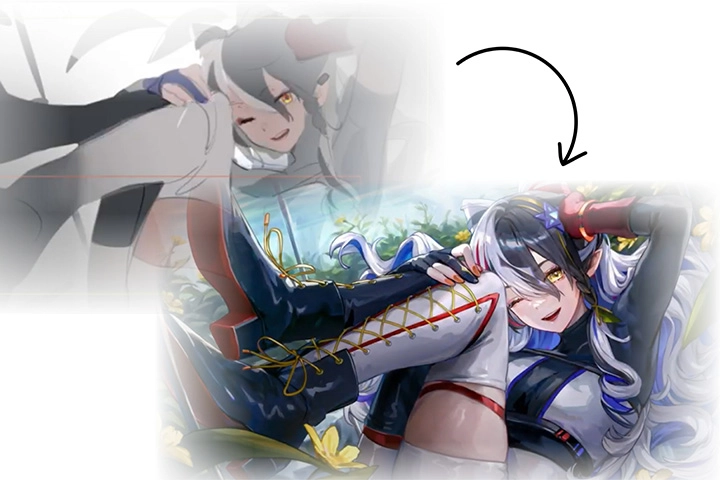
Ways to Approach Rendering and Refining Process
Learn how to efficiently refine and improve the rendering of various details and components that make a character look appealing.
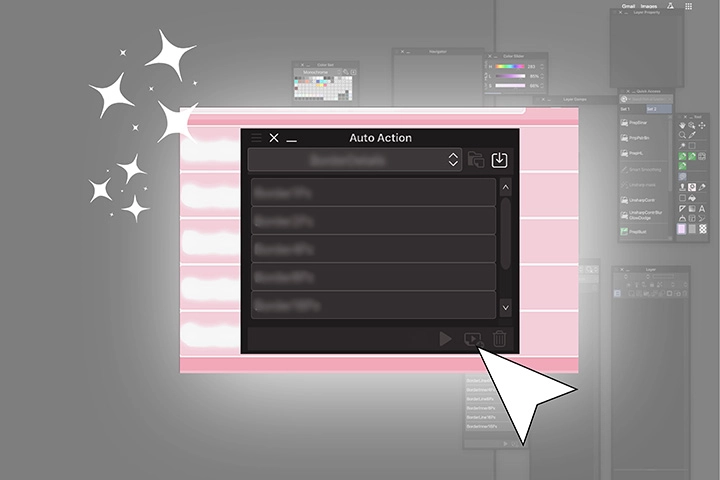
Customized Tools, Shortcuts and Auto Action Step by Steps along the Course
Discover and develop your own set of personalized utilities to optimize your workflow throughout the course.
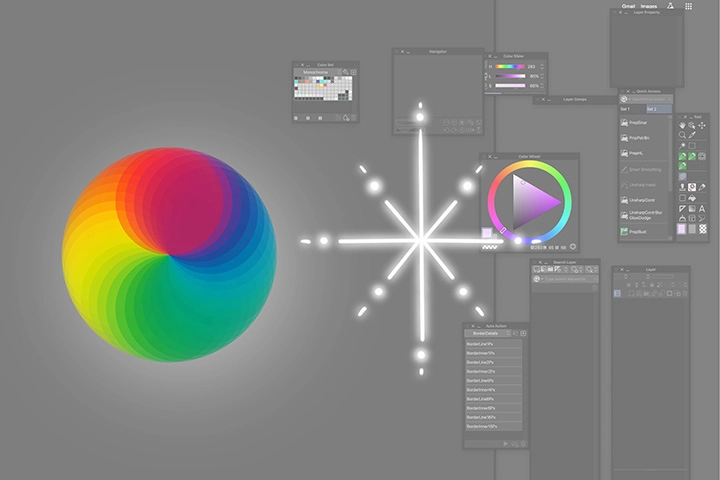
Learning Cues from Colors and Lighting
Gain a deeper understanding of identifying and using cues such as color and lighting to further customize and enhance character designs.
Class Details
You'll Learn
-
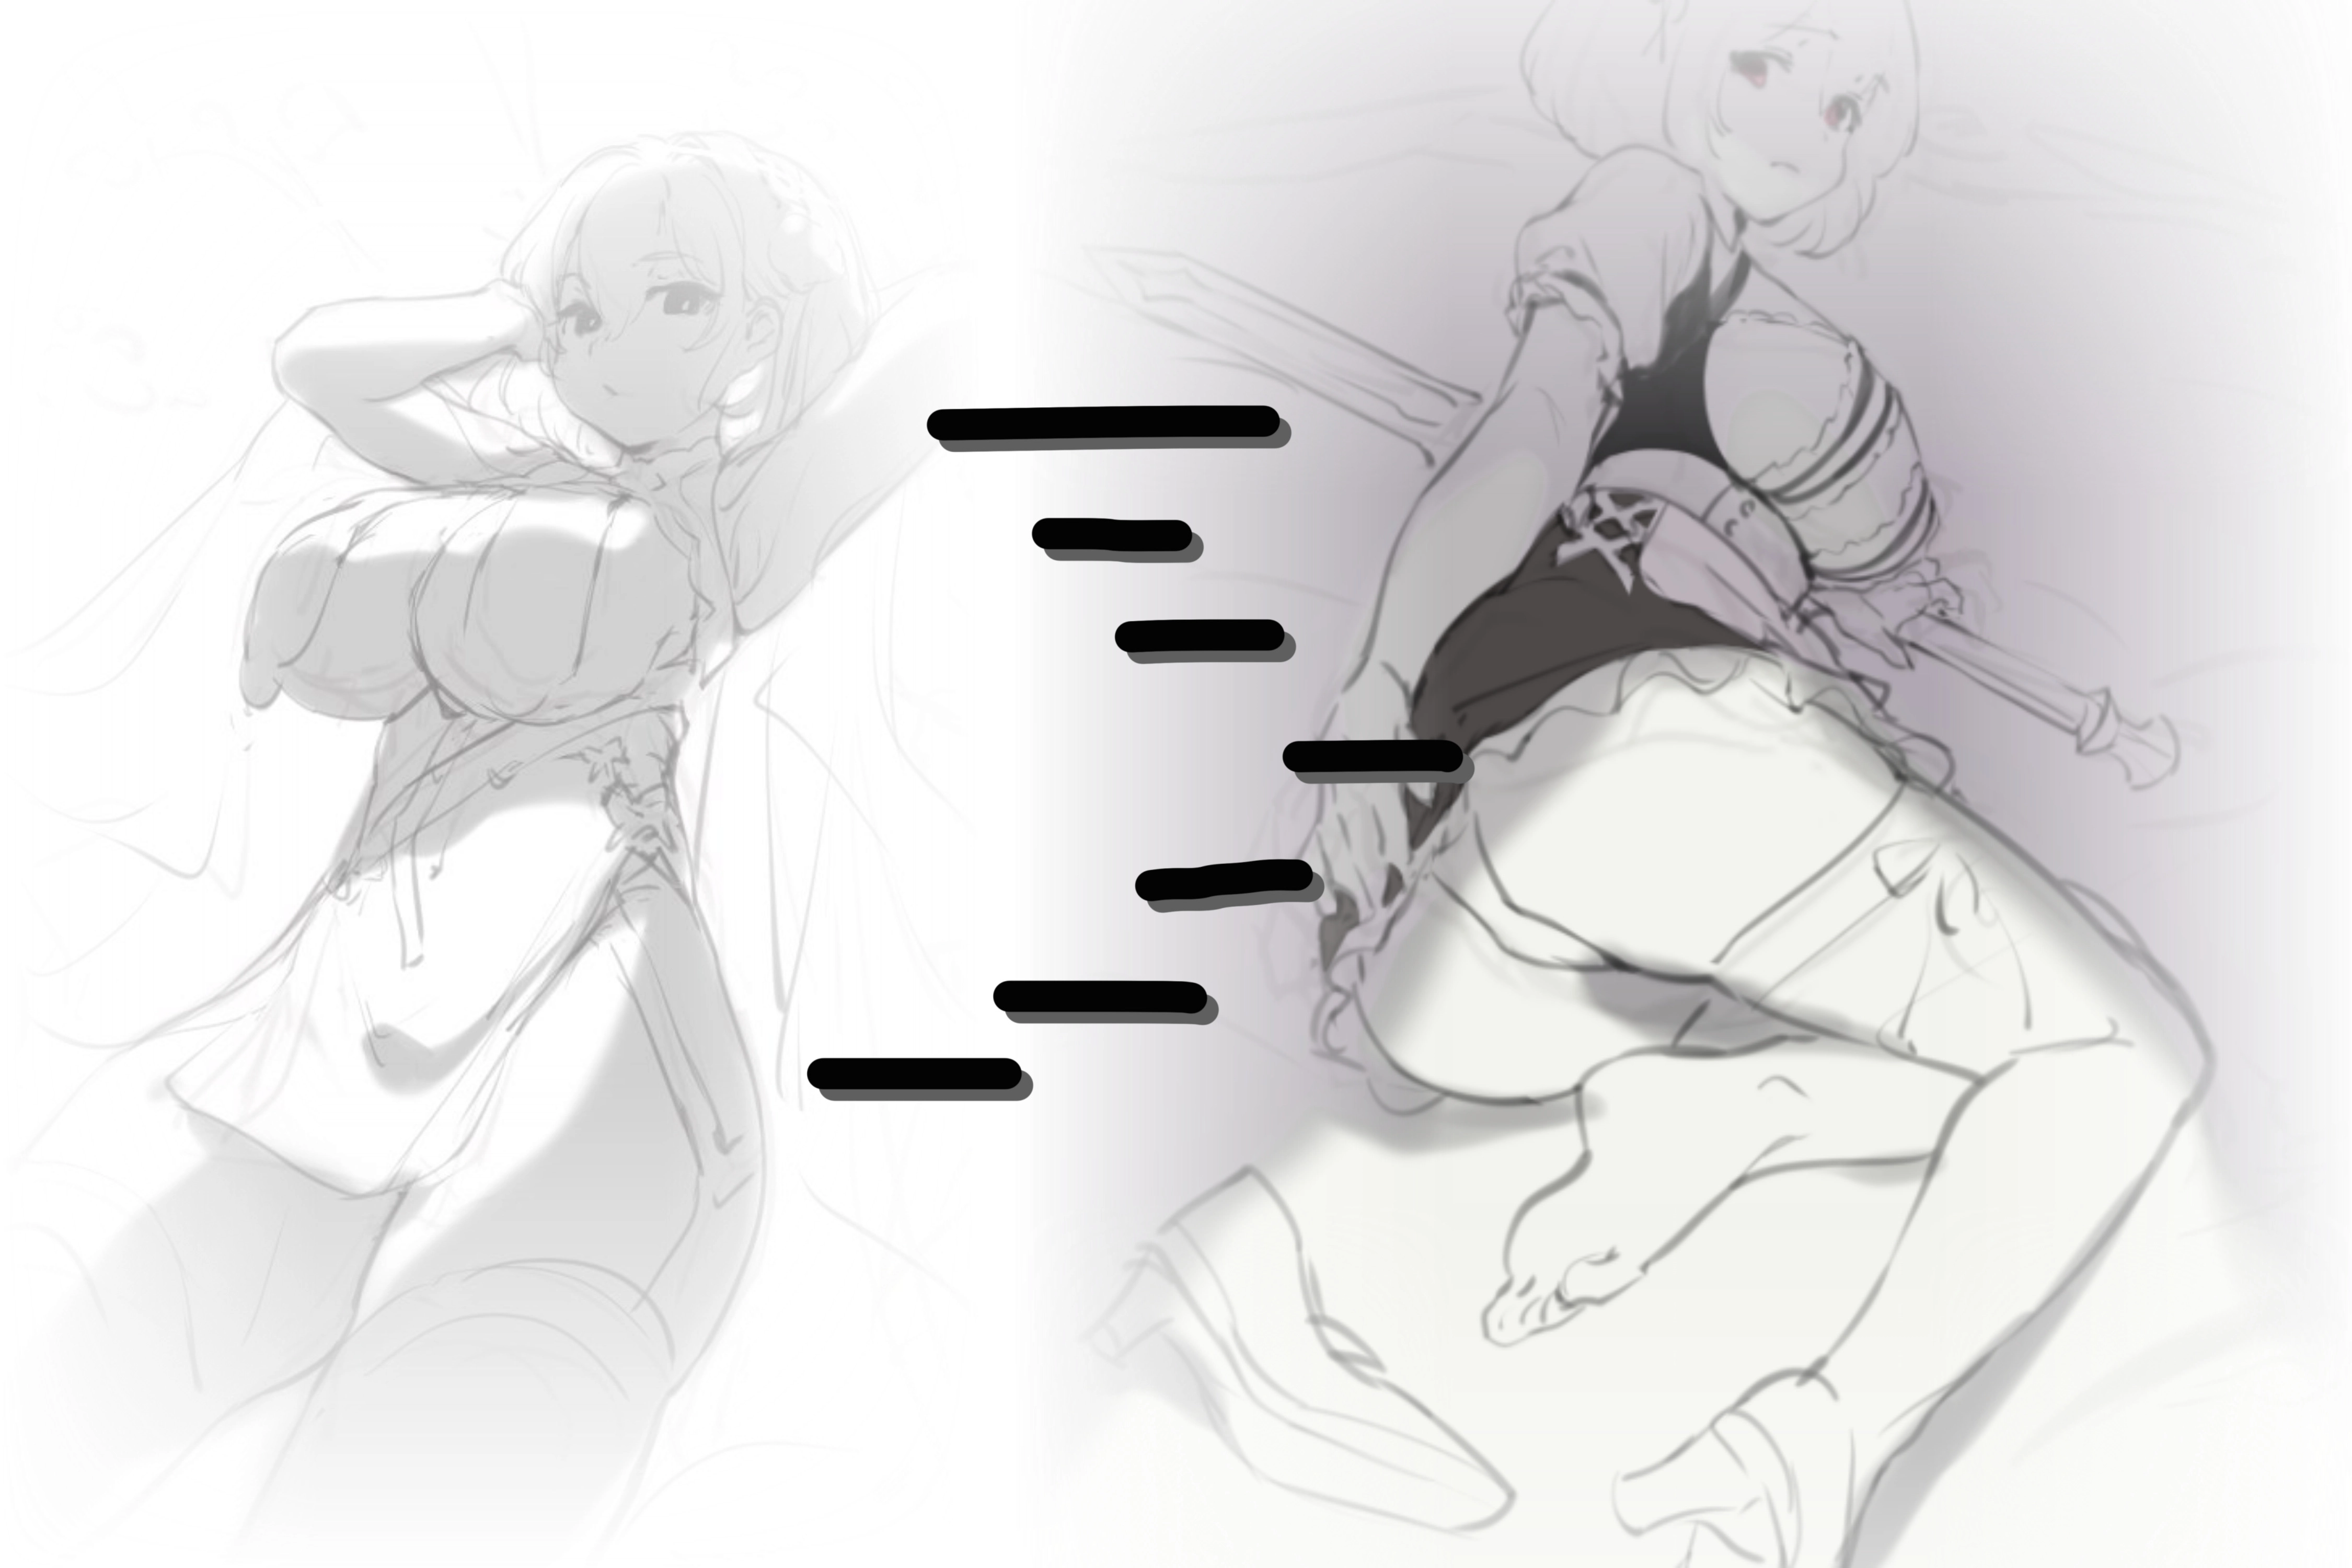
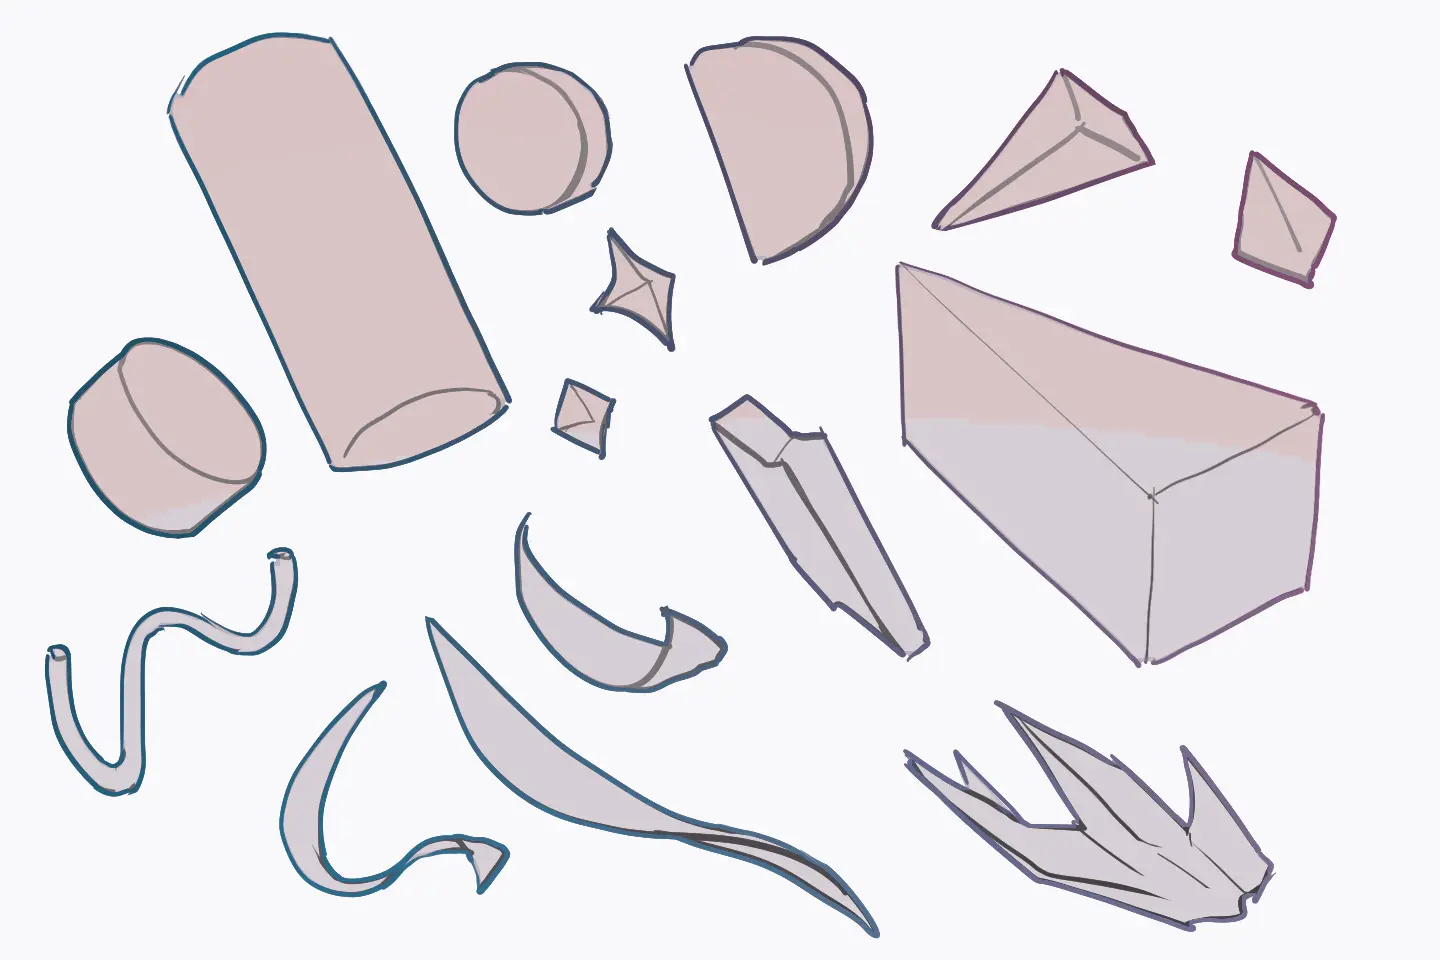 Rendering from Silhouettes to ObjectsApproach character design fundamentals from loose lines and basic shapes. Significantly develop your visual skills throughout the course!
 -
 Visual Cue ExplorationCreate your personal style by exploring your unique visual preferences as other elements come into play.
 -
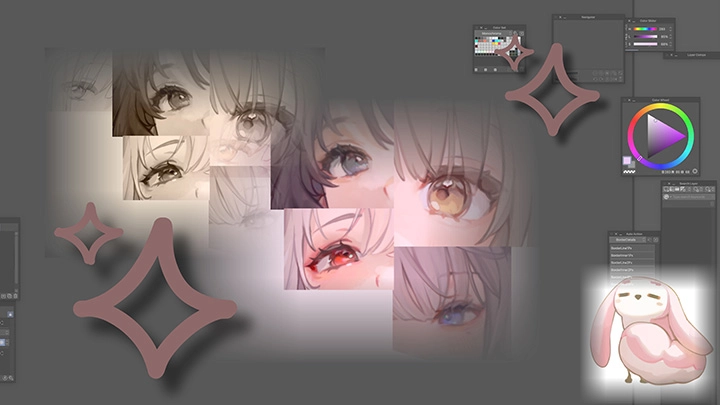
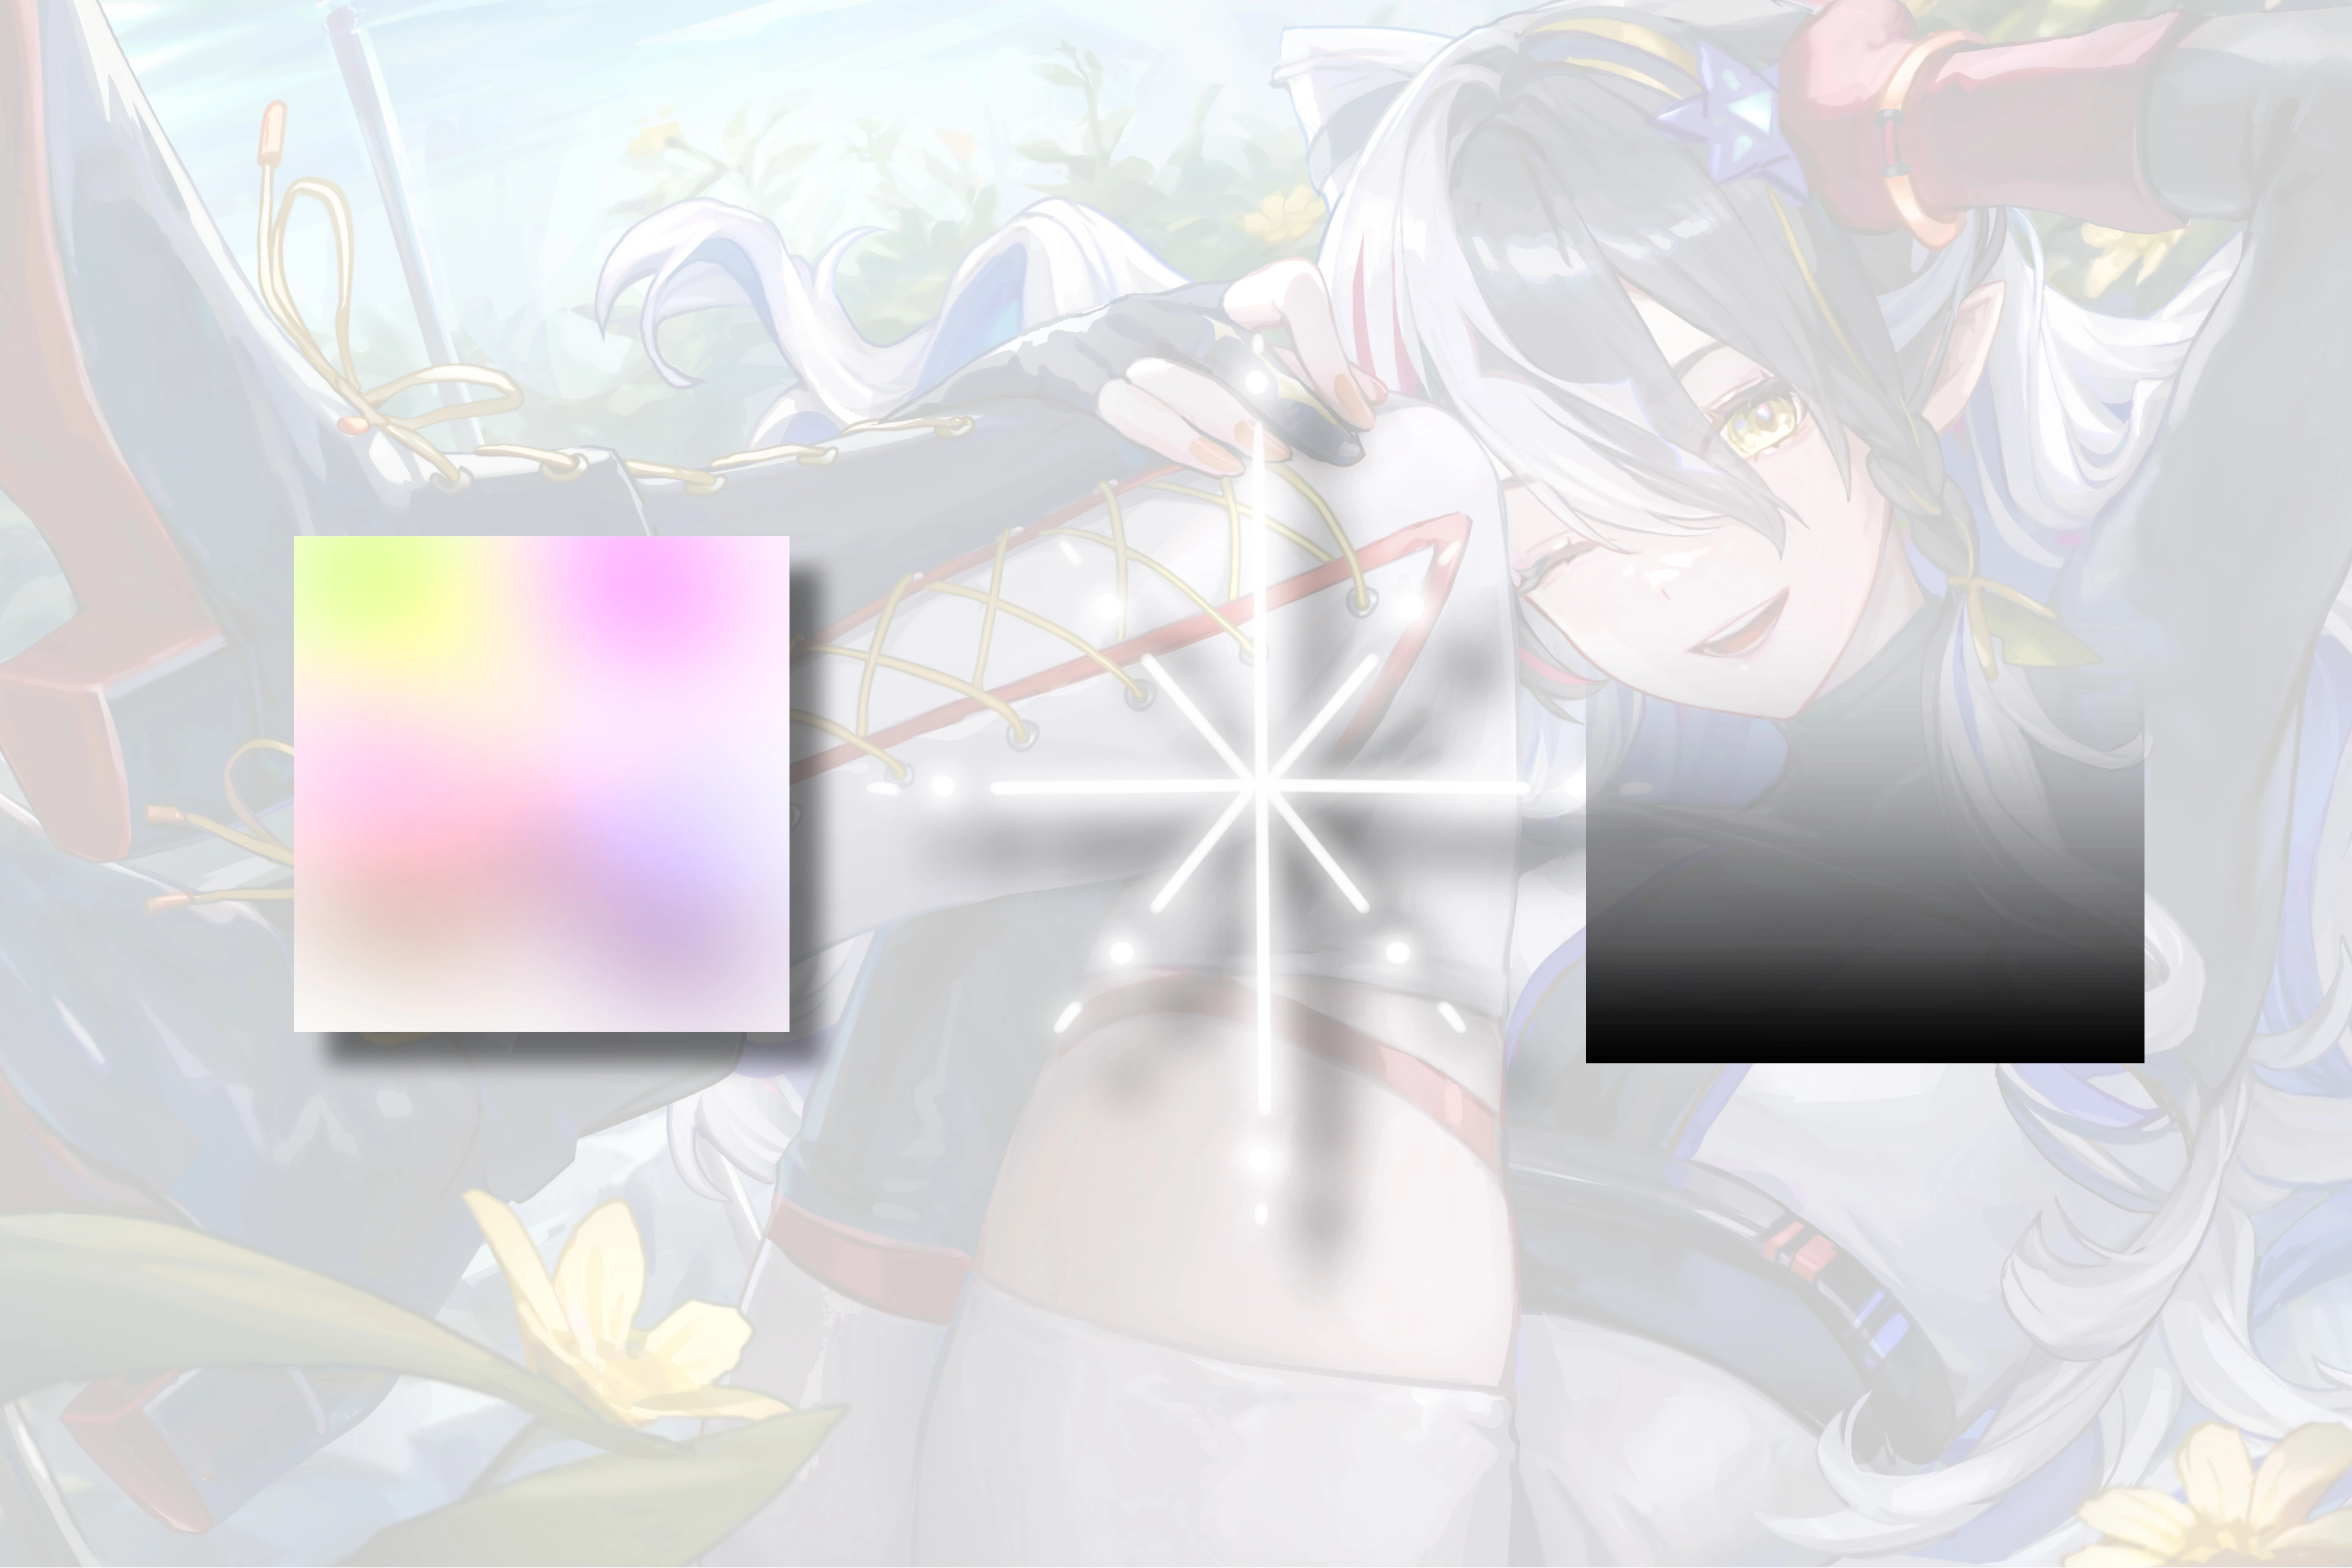 Color, Lighting, and Edge CuesLearn effective methods for using color, lighting, and edge cues to refine character details.
-
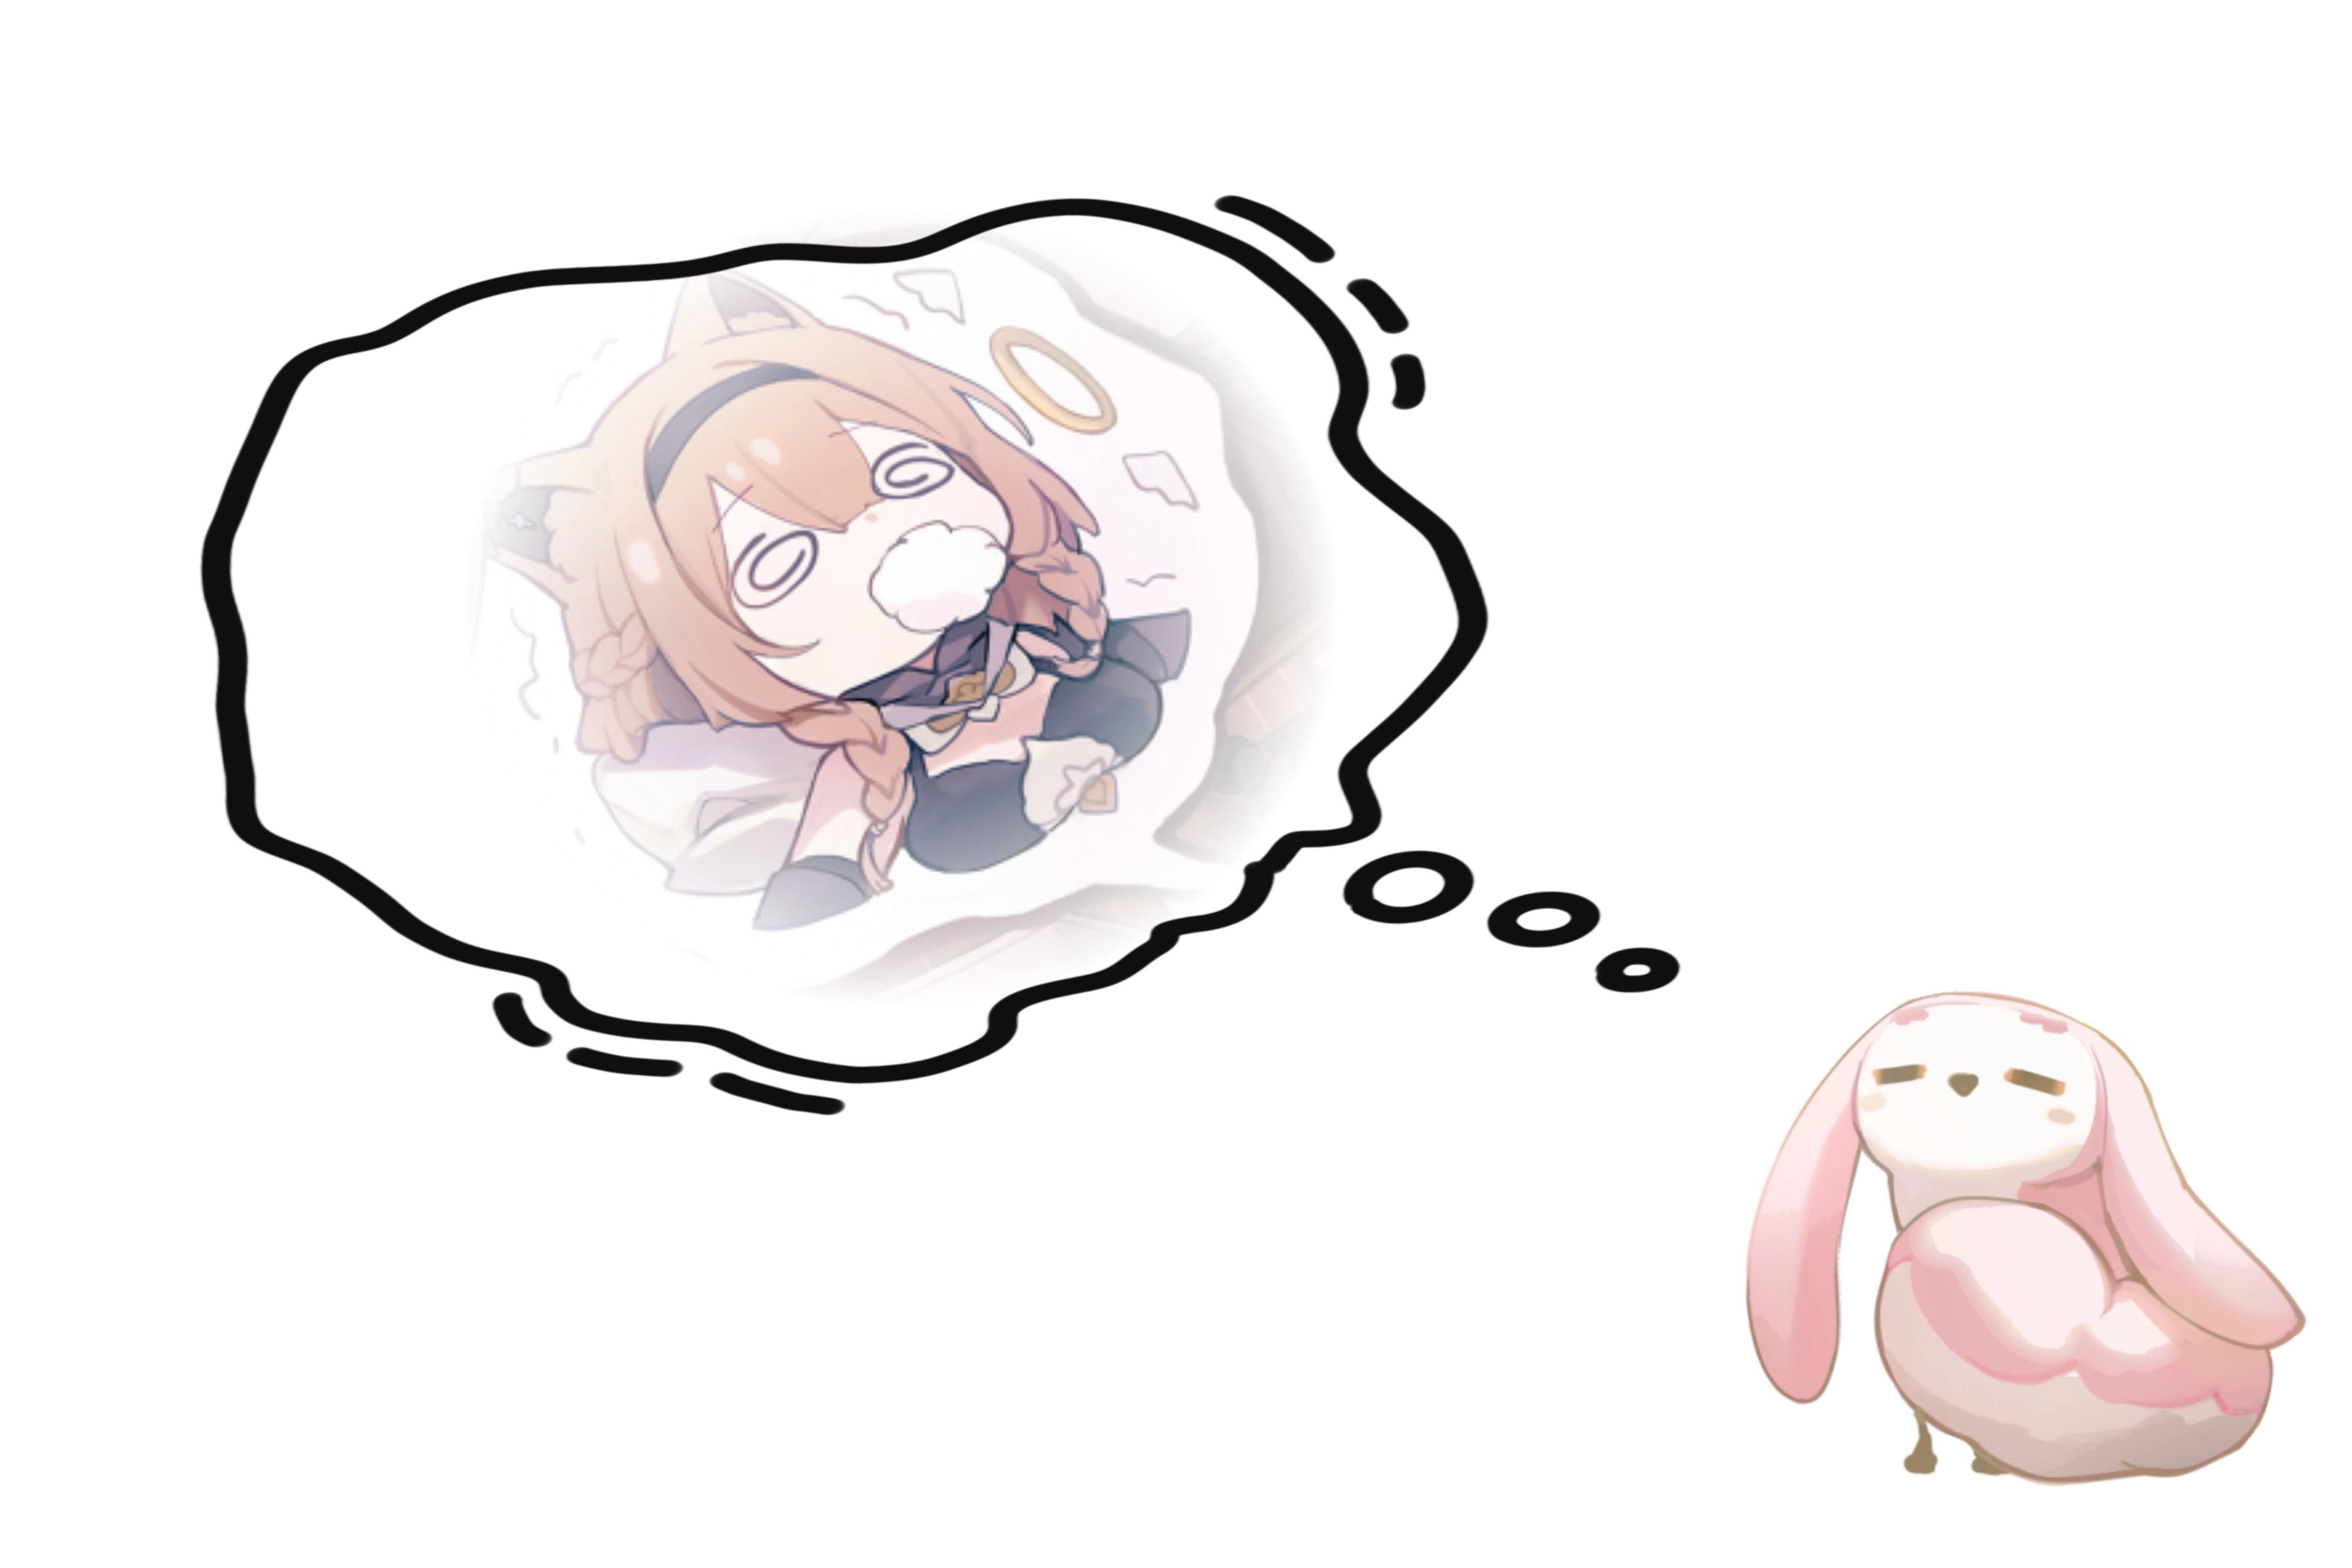 Simplicity in Design: Chibi StylizationBring out the cuteness! Discover methods to simplify character design for chibi stylization.
 -
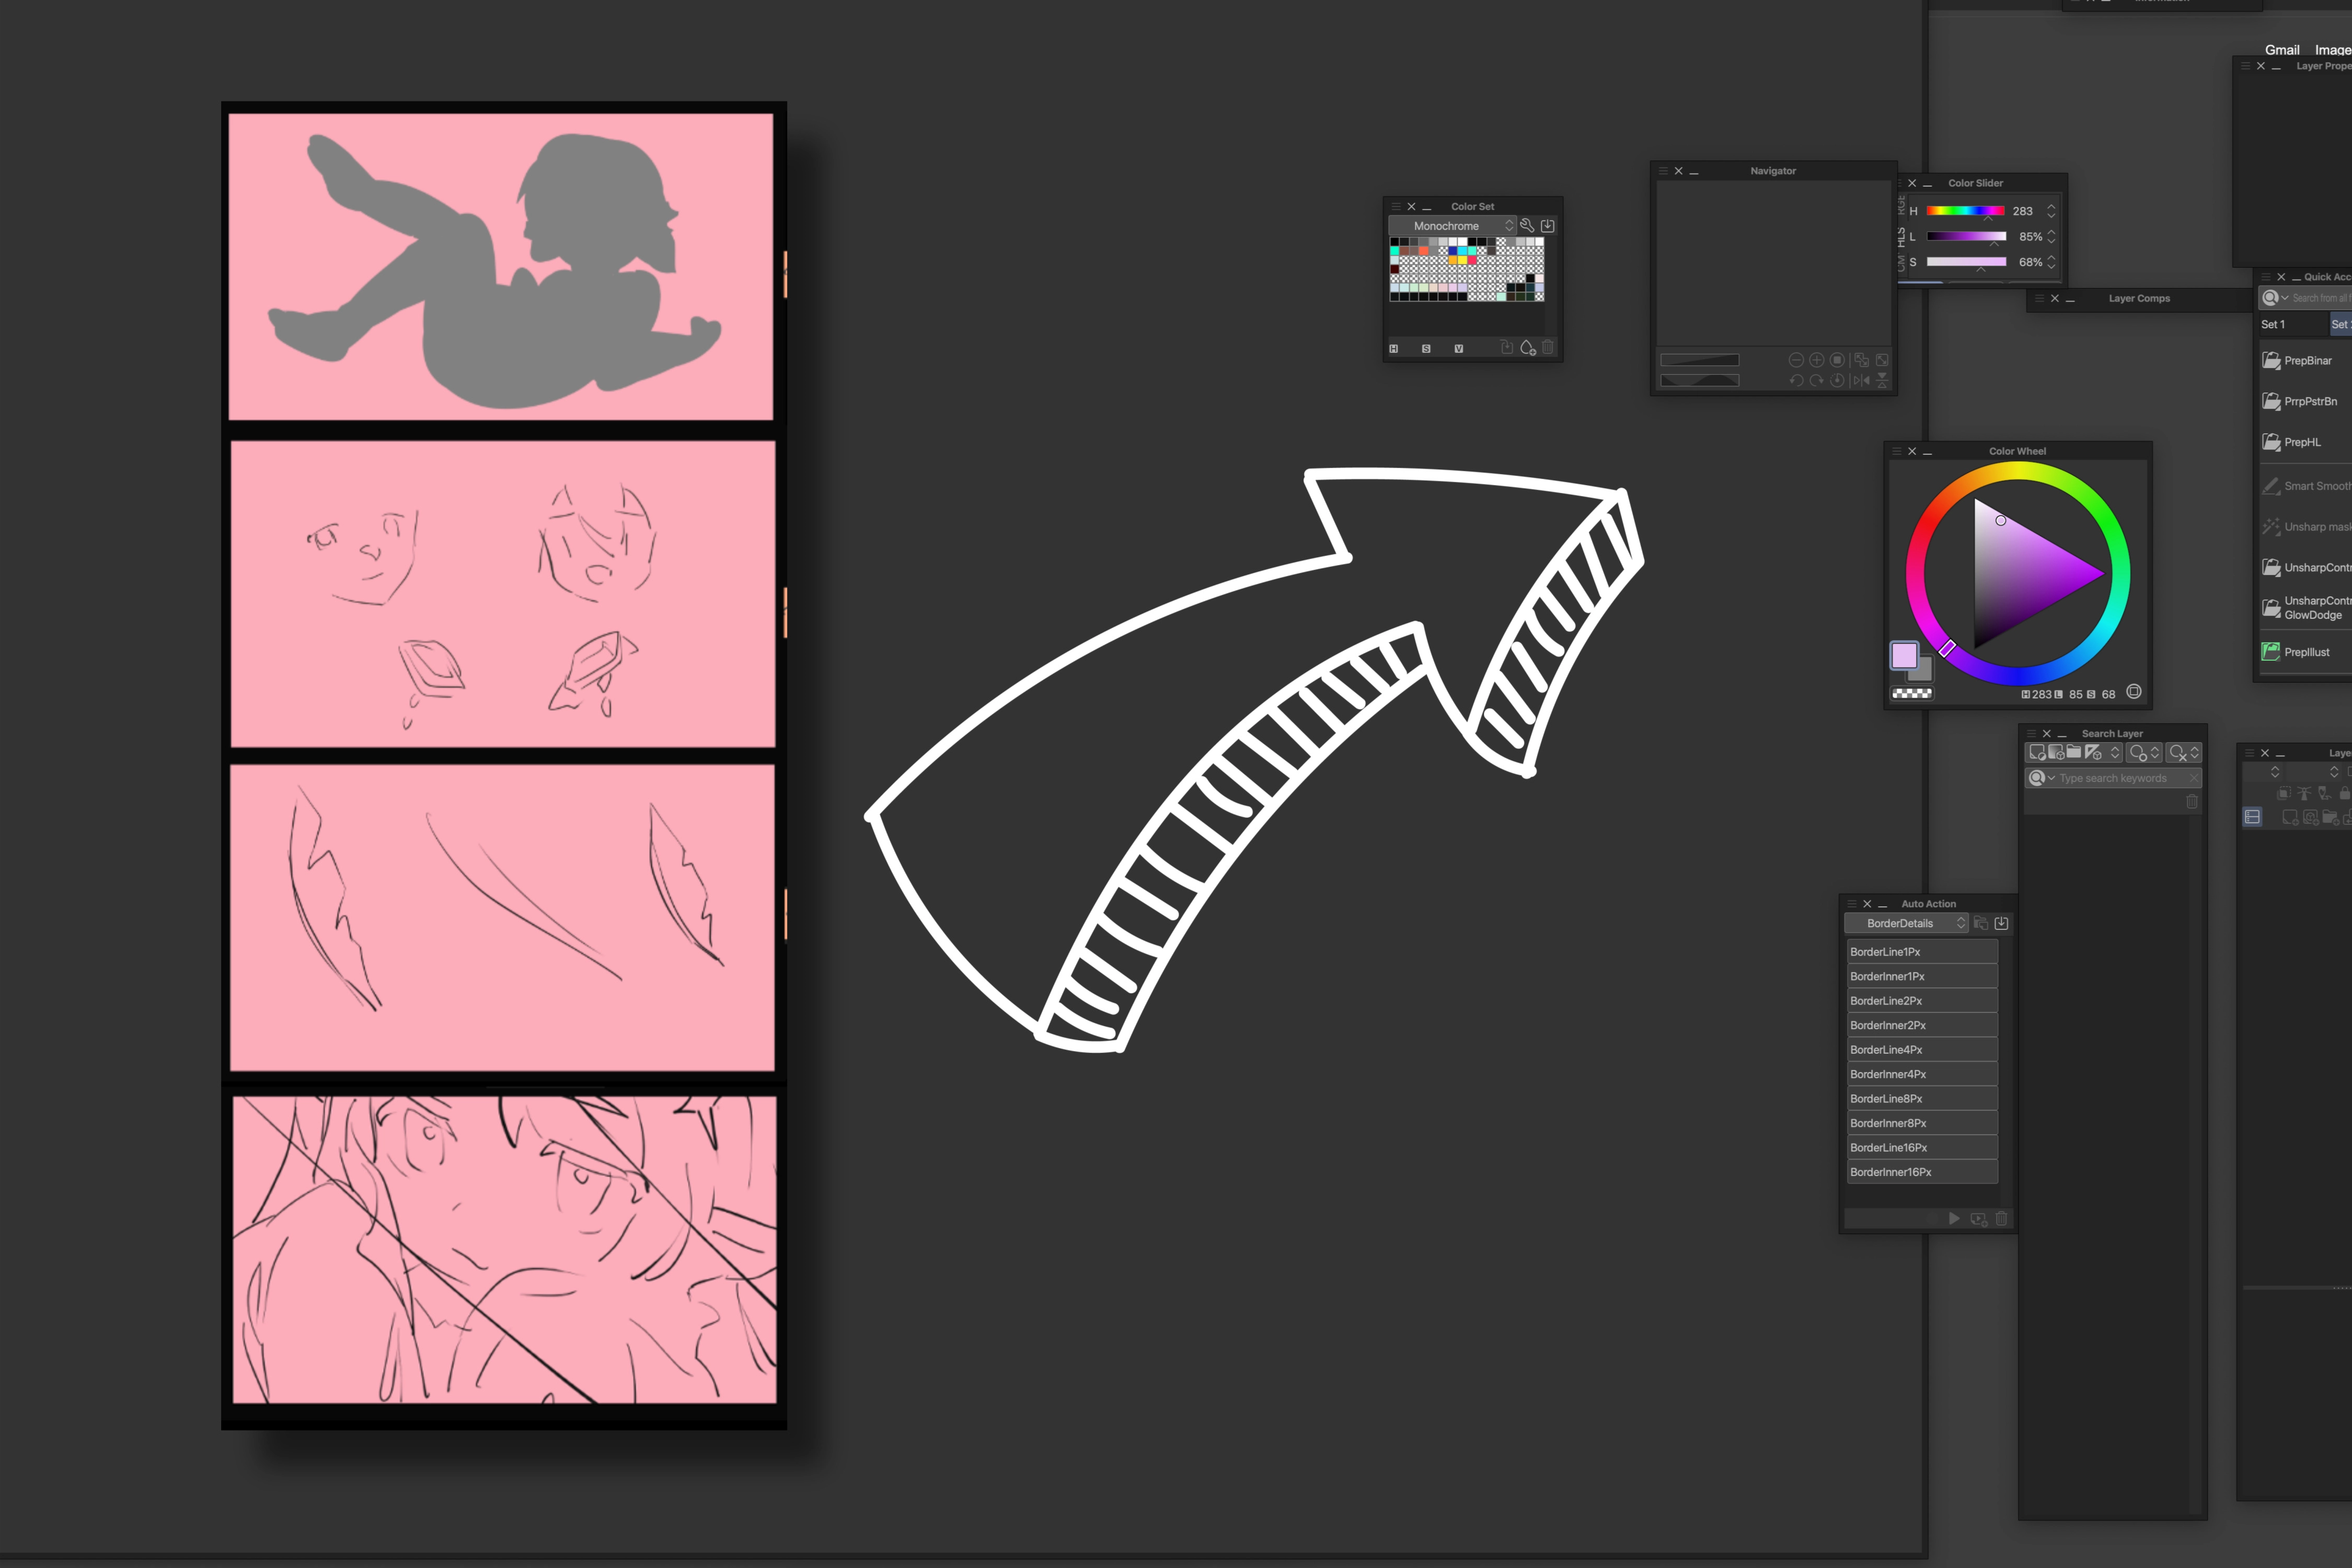 Integration of Design Components: Character Sheet DevelopmentGain a better understanding of incorporating all design components into a multi-view character sheet.
 -
 Tips for Dealing with Mistakes When Operating with LayersTake back control of your layers with quick fixes. Reduce the need to recreate your add-on props from scratch as your workflow progresses.
- Unlimited Access
- Best Price
Buy now, get unlimited access.
12/31 (Sat) (UTC-7) Special offer ends soon.
This special offer ends soon.
Buy now and save!
Interview with
Illustrator Bibimbub

Passion and dedication are essential to maintaining motivation to achieve desired artistic results. In addition, adaptability and flexibility are crucial in adapting to different situations and circumstances. These traits, when combined, can ensure sustainable growth in this industry.
Required Programs
This course will use Clip Studio Paint PRO/EX Ver. 2.2.2 or later.
Please purchase and install these program(s) for an optimized chapter experience.
*These programs and/or materials will not be provided with the chapter.
