[Course]conceptartist,pearsonsweeney Details
Intro
Class Intro
Concept Artist, Pearson Sweeney
"Behind every good character design is a series of intentional & practical decisions!"
The “Why” Behind Story-Driven Character Design
In this class, Pearson teaches the full arc of character concept art for video games, guiding you from foundational design principles to a finished, portfolio-ready concept.

What makes this course stand out is its emphasis on workflow and intentionality. Pearson doesn’t just show you what to do, he explains why each decision matters, walking you through ideation, shape and gesture exploration, and rendering fundamentals.
This class gives you a flexible, repeatable process you can rely on, plus the confidence to create characters that are both imaginative and believable. With a focus on clarity, purpose, and storytelling, you’ll build the skills to design characters that are not only visually appealing but also narratively grounded.
This class gives you a flexible, repeatable process you can rely on, plus the confidence to create characters that are both imaginative and believable. With a focus on clarity, purpose, and storytelling, you’ll build the skills to design characters that are not only visually appealing but also narratively grounded.
Class Preview
Still Not Sure?
Check Out Pearson Sweeney's Class Preview!
Chapter 08.
Creating Two Tone Thumbnails
1. A second approach to generate early thumbnails
Class Perks
Special Gift from Pearson Sweeney
-
 Slides & Class Exercises Pack- 6 slide decks covering key learning points for each class topic (Design, Gesture, Storytelling, etc.)
- Annotated example breakdowns and visual callouts
- 8+ directed drawing exercises including: shape practice, stylization drills, gesture warmups, and design prompts -
 Pose, Silhouette & Shape Practice Sheets- Printable and digital practice worksheets covering: gesture drawing, character posing, shape language, and silhouette fill-ins
- Bonus: Stylization study sheets (realism to stylized comparison) -
 Character Design Brief Templates- Worldbuilding and character prompt templates
- Includes: design checklist, archetype guide, and mini “design journal” to track student ideas
- Helps students practice designing from written prompts like a professional concept artist
-
 Working PSD Files from Class Demos- Full-resolution PSDs from each recorded demo
- Layered files showing linework, color passes, material breakdowns, and notes
- Includes thumbnail sketches and alternate design passes -
 Final Presentation Templates- Character sheet layout template used for final presentation (front pose, detail shots, notes)
- Bonus version for social media/portfolio sharing
- Includes sample final sheet with callouts and label examples -
 Reference Boards & Inspiration Pack- Curated references used throughout the course: silhouettes, fashion, lighting, gesture, and facial expressions
- Bonus: Moodboards from your personal library to show creative thinking process
Recommendation
Who should take this class?
Aspiring Concept Artists & Beginners
Who are new to character design who want a structured, approachable introduction to design fundamentals, storytelling, and workflow.
Art Students & Self-Taught Artists
Looking to strengthen their character ideation process and build a repeatable design workflow that aligns with industry expectations.
Artists Seeking Portfolio Pieces
Who want to level up their concept art with professional presentation skills, photobashing techniques, and workflow efficiency for game-ready character design.
Concept Artist Pearson Sweeney's Portfolio
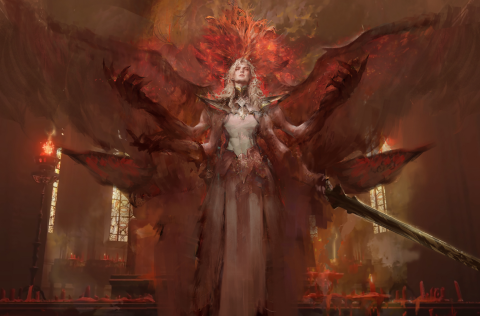
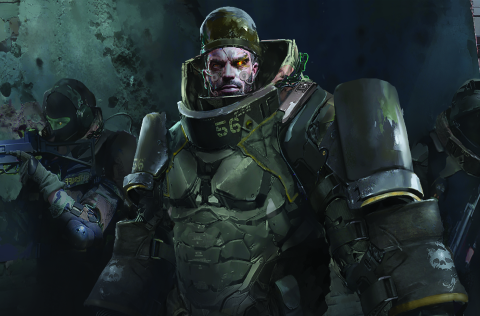
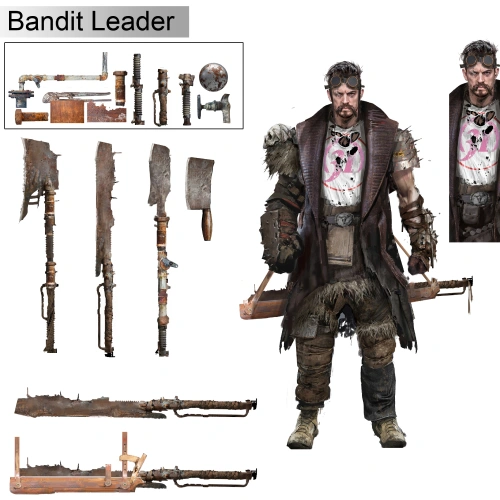
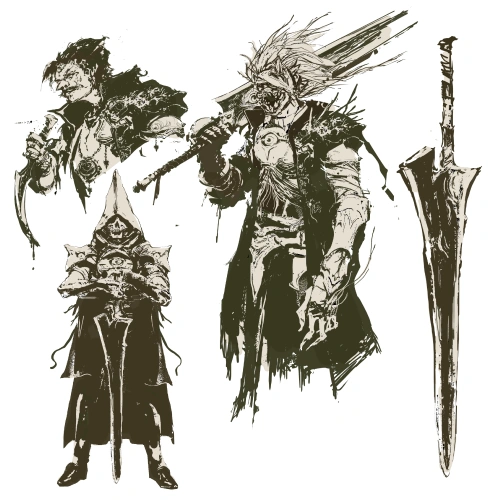
* This Portfolio includes fanart.

Why Take This Class?
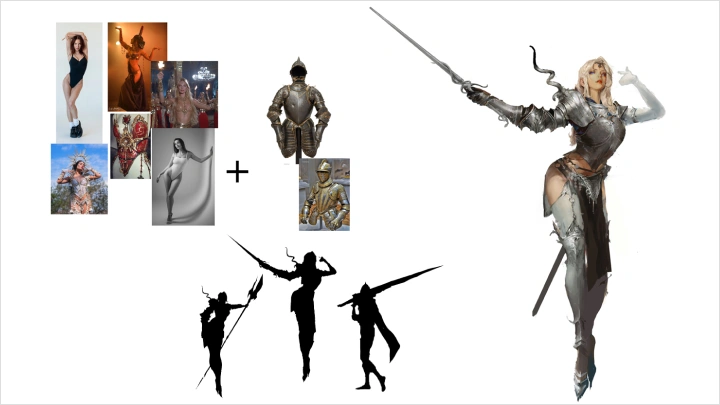
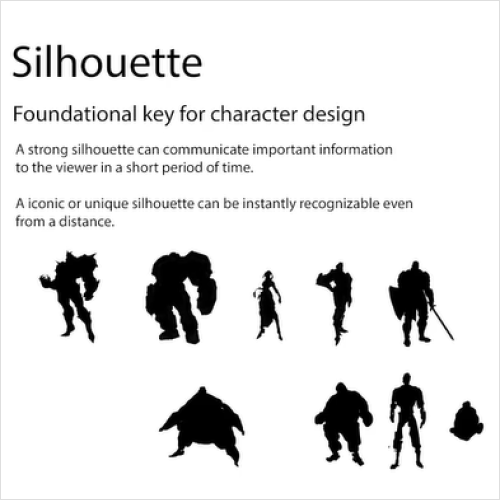
Shape, Silhouette, and the Systems Behind Strong Design
If you've ever felt unsure where to start with character design, or what next steps to take, this class gives you the structure to move forward with clarity. Pearson breaks down the process into essential, manageable steps, from using silhouette and gesture to shape a character’s presence, to exploring visual ideas through sketch-based workflows.
You’ll learn how to develop designs that communicate story and personality through form, on top of the details. With focused exercises on shape language, design variation, and rendering fundamentals, you’ll gain a toolkit that helps you not only improve your technique, but make confident, intentional choices at every stage of the process.

12 Class Exercises
-
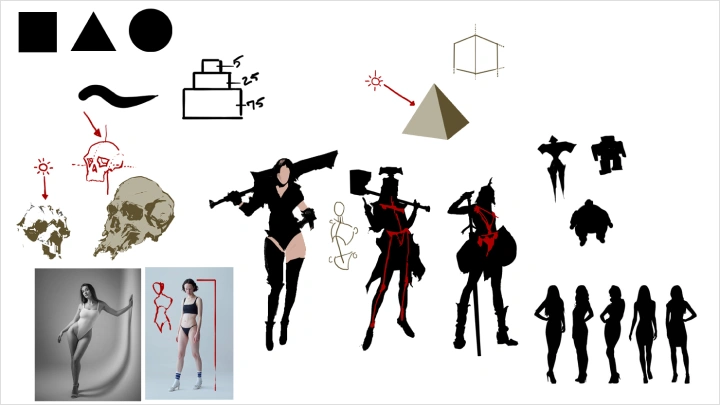
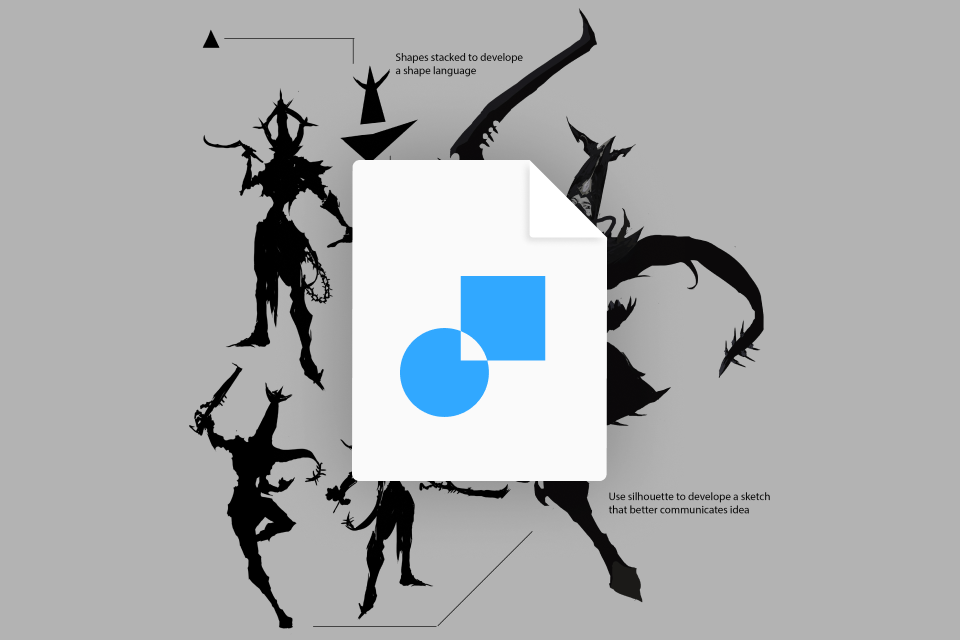
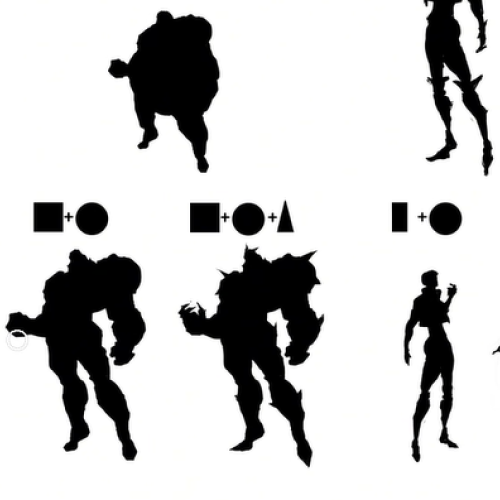 Breaking Down Forms into Basic Geometry
 -
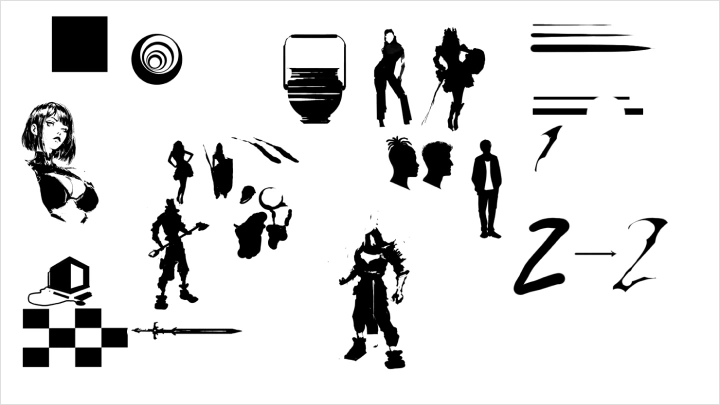
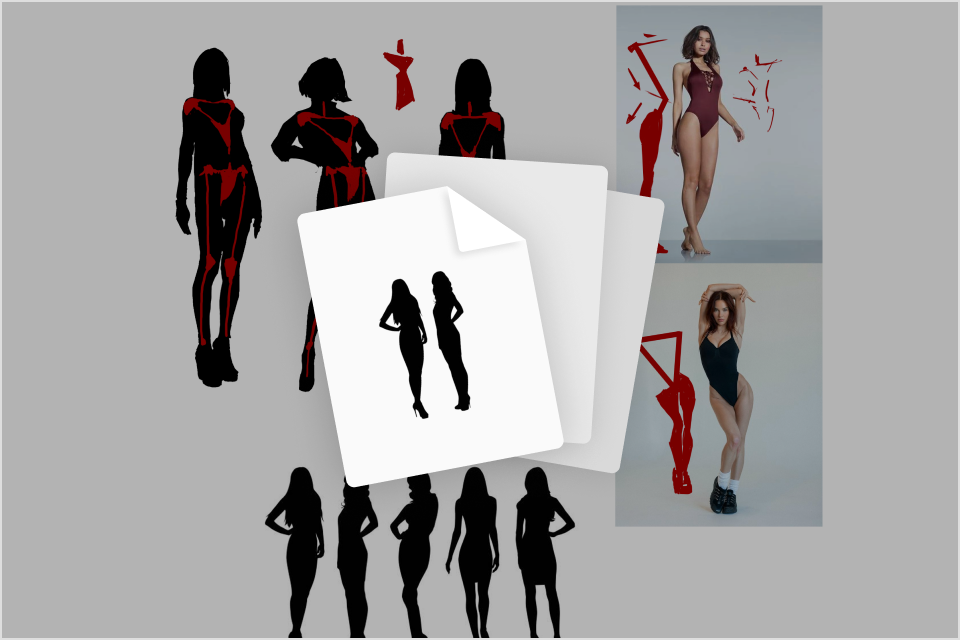
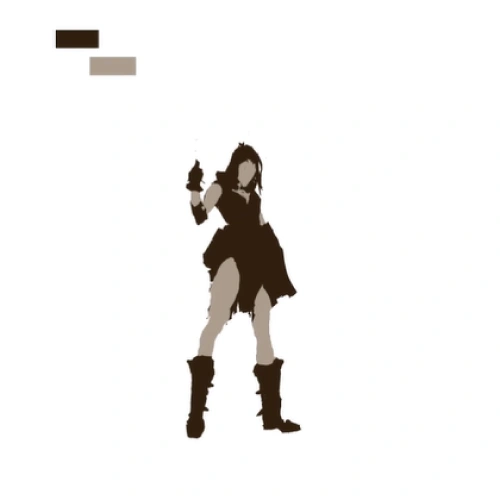
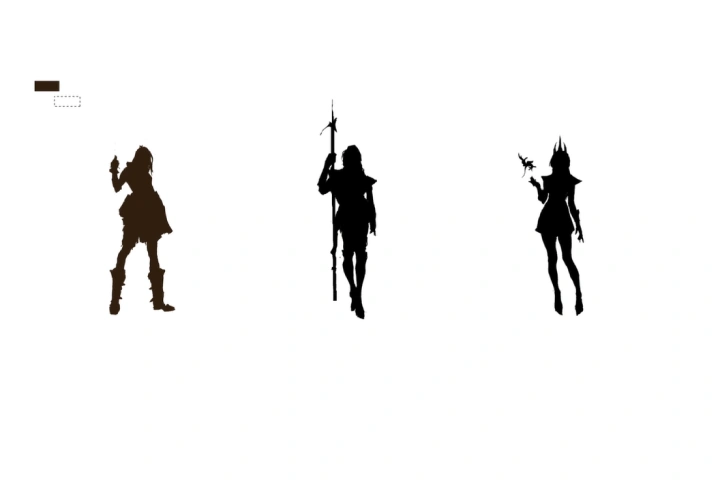
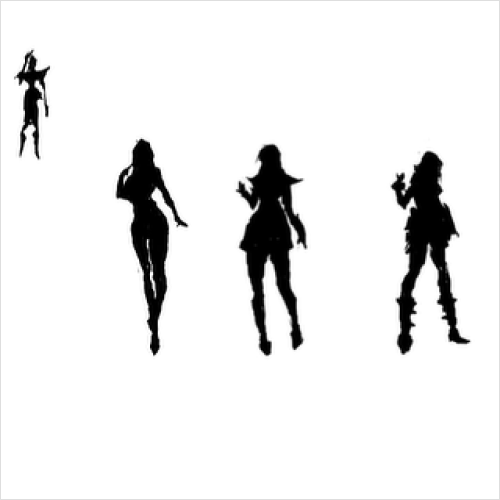
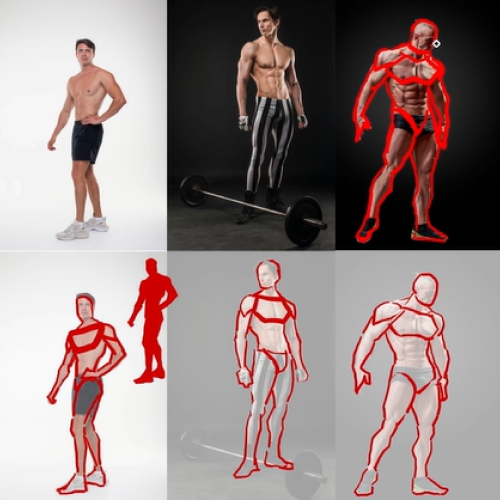 Sketching the Human Form as a Silhouette
 -
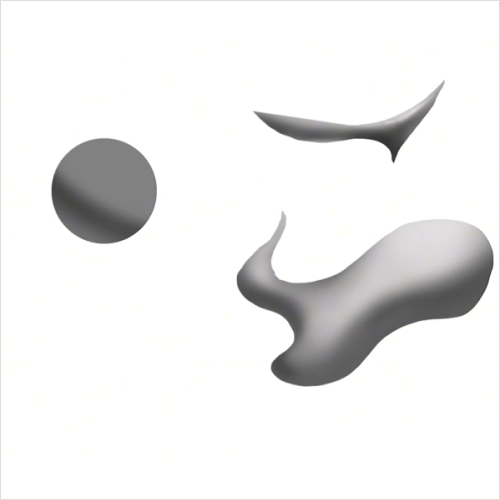
 Carving Shape Practice Using White and Black
-
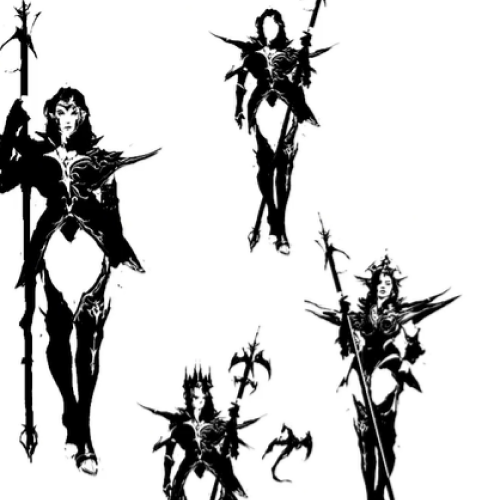
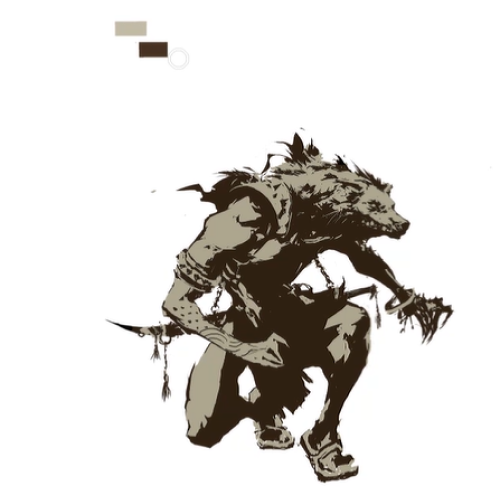 Sketching Over Sihouette Using Two Tones
 -
 Sketching Details Using Two Tones Instead of Lines
 -
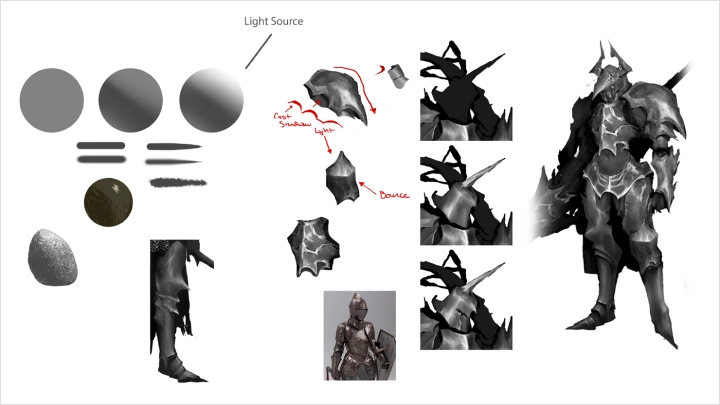
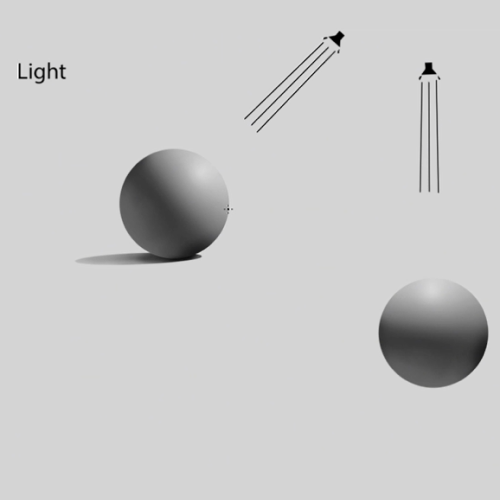 Basic Lighting Exercise Using Simple Forms
-
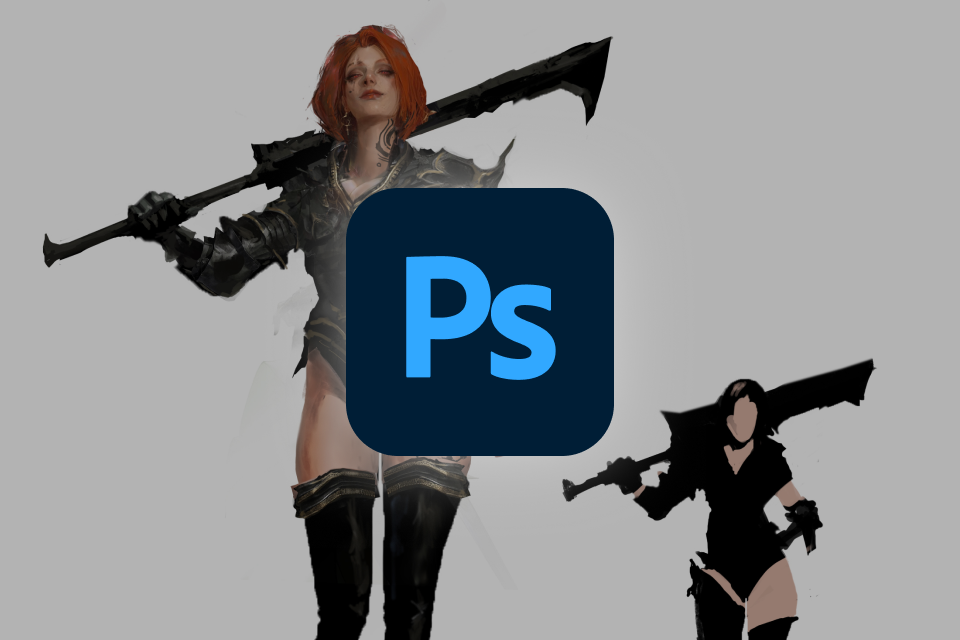
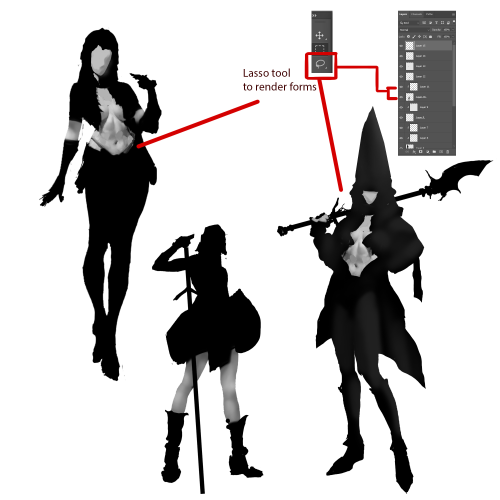 Using Separate Photoshop Techniques to Render the Basic Forms
 -
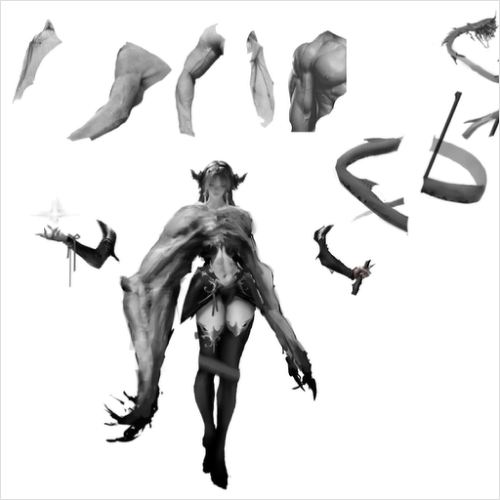
 Rendering Complex Forms and Shapes That Are Stacked on Top of Each Other
 -
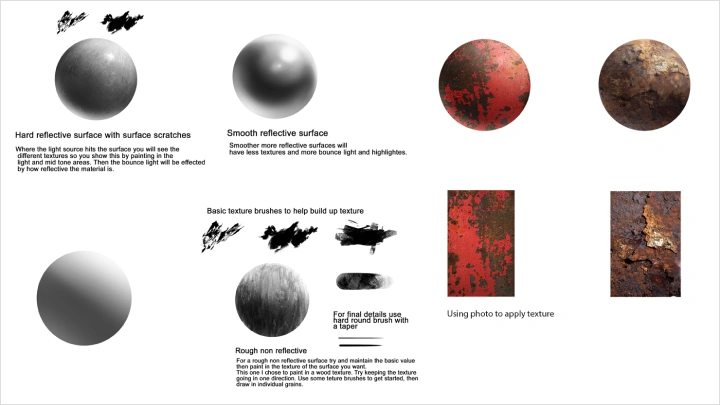
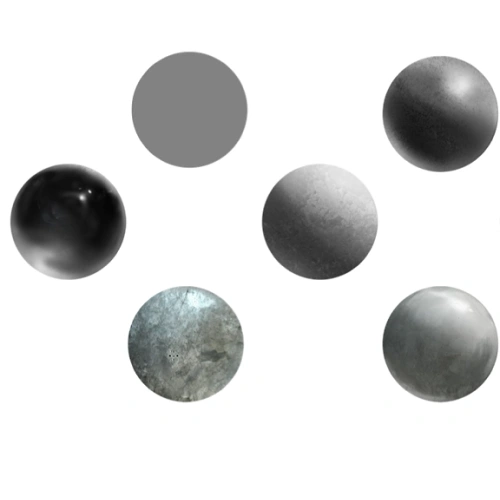
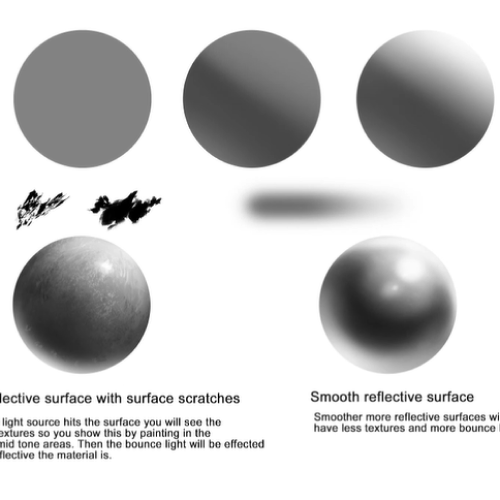 Applying Different Textures to a Sphere
-
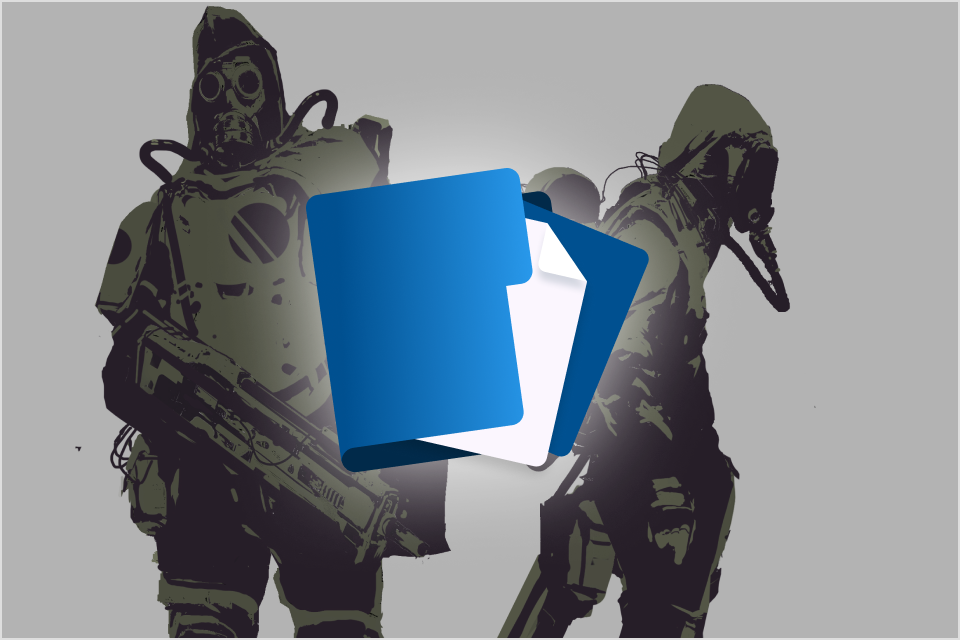
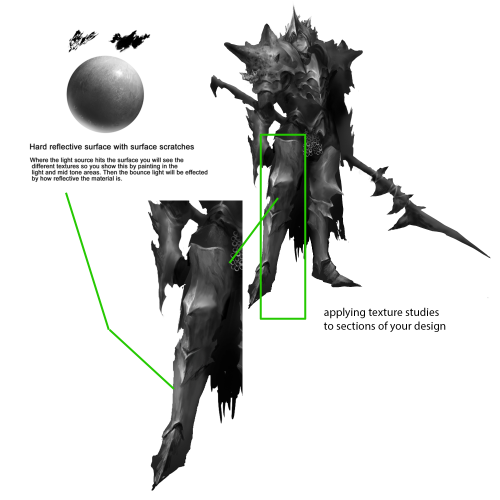 Applying Textures from Spheres to Different Parts of Armor or Character Design
 -
 Photobashing Textures to Basic Spheres
 -
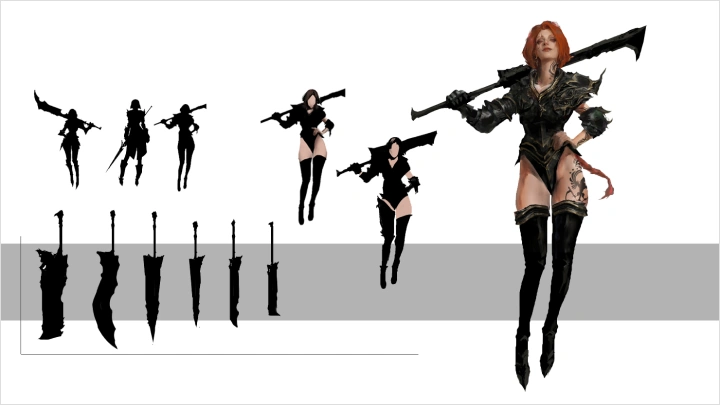
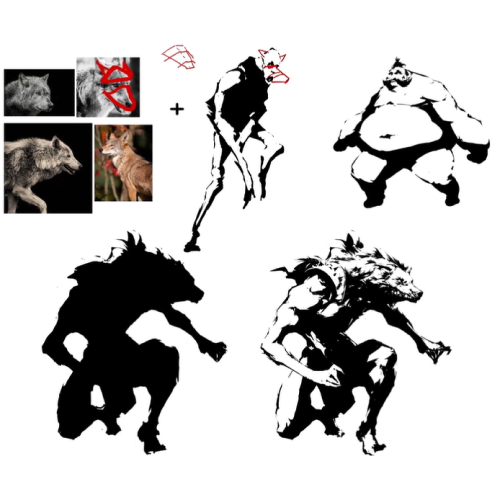
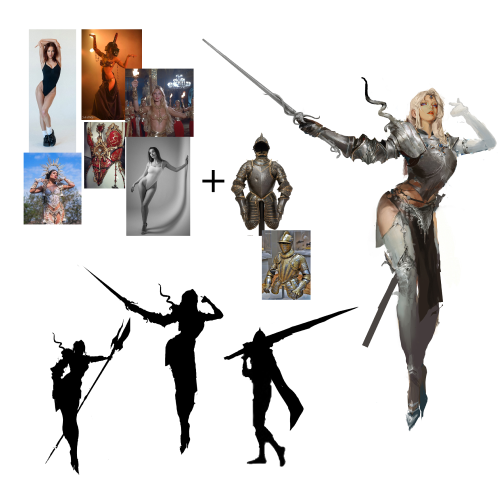 Taking a Silhouette and Going Through the Full Process
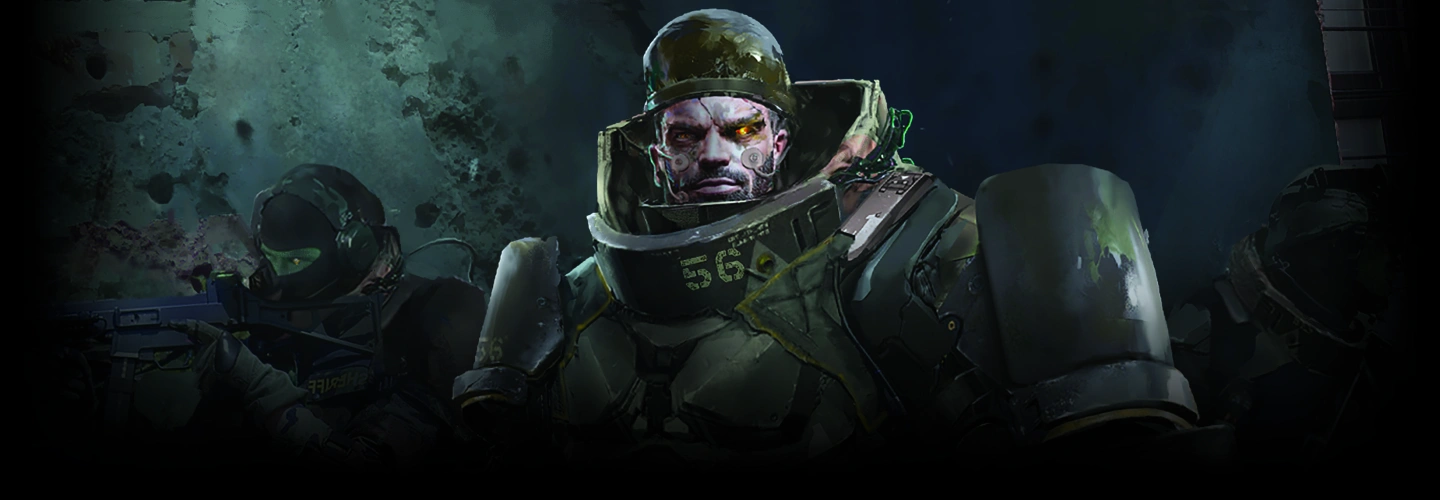
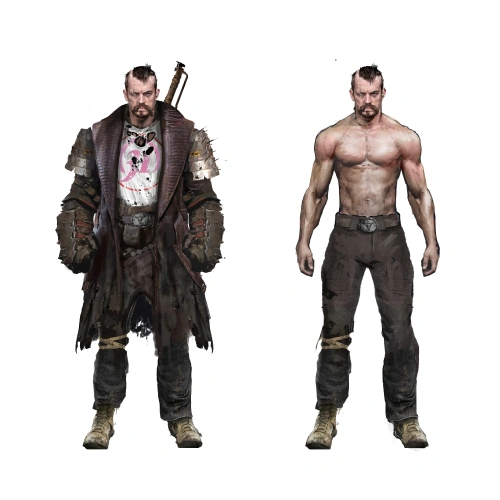
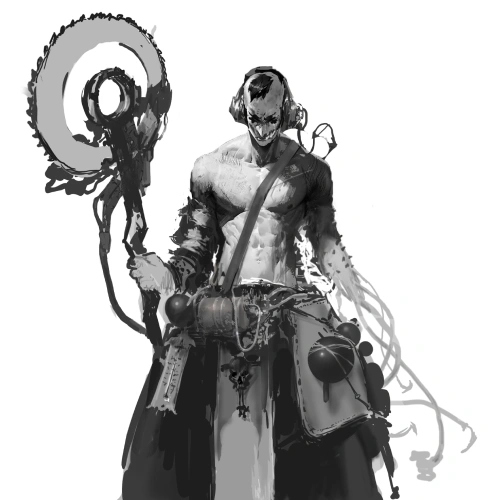
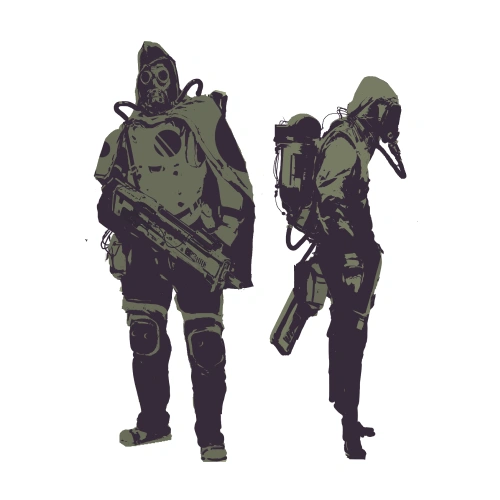
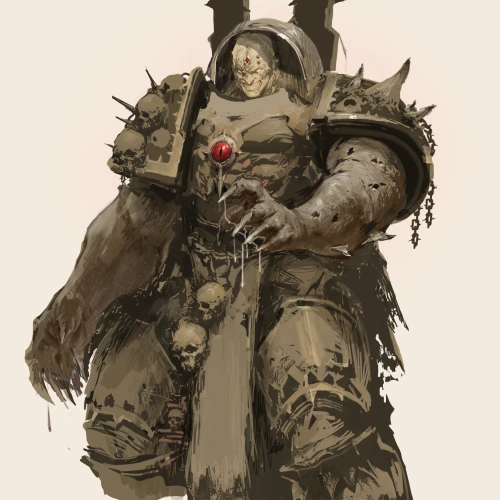
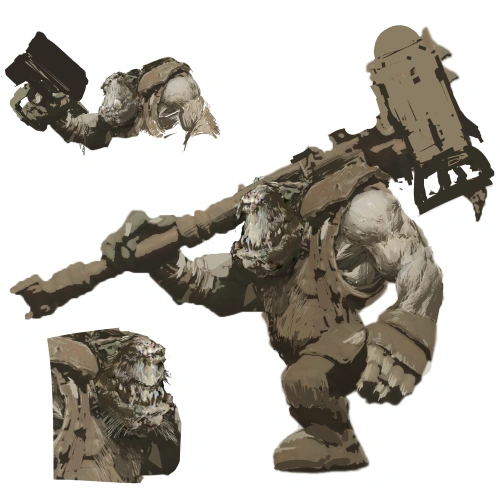
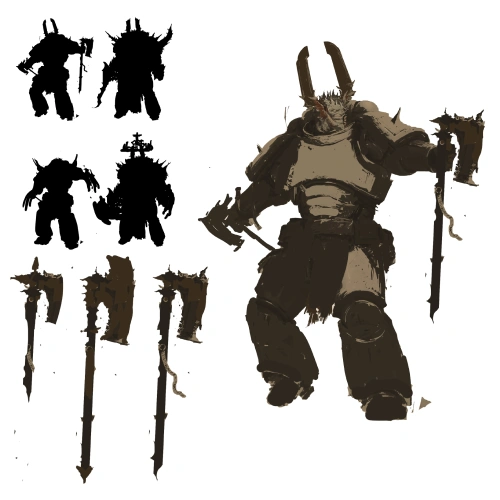
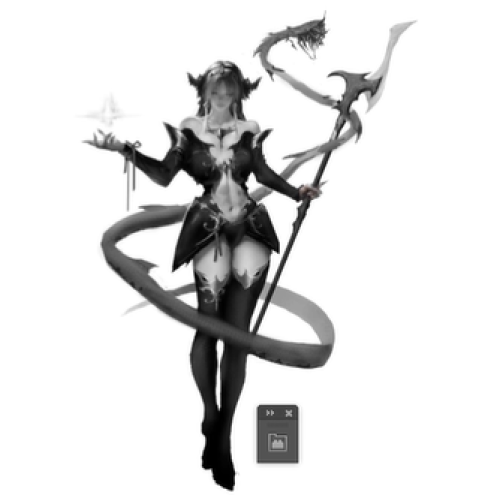
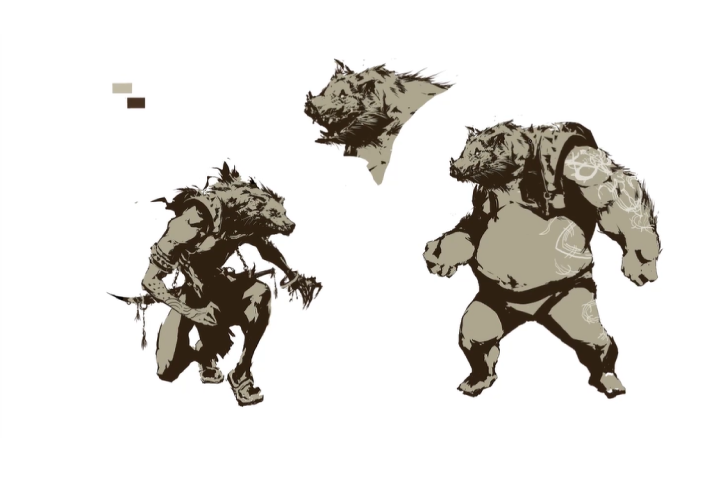
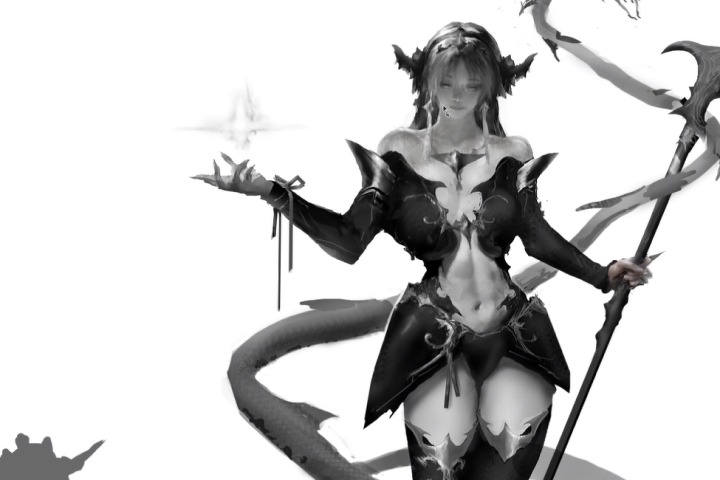
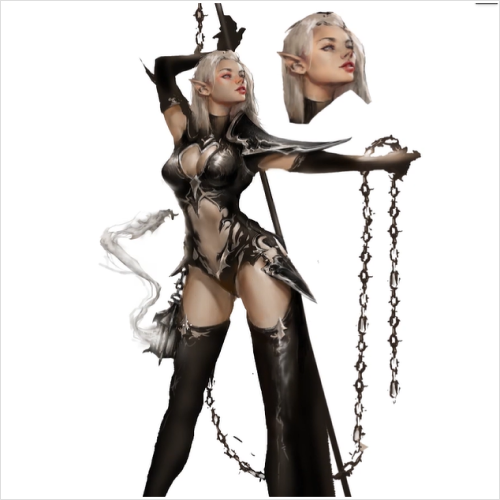
Final Product Examples
-
 First Character
 -
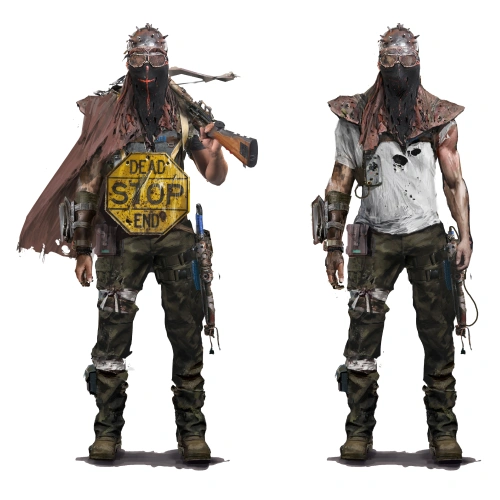
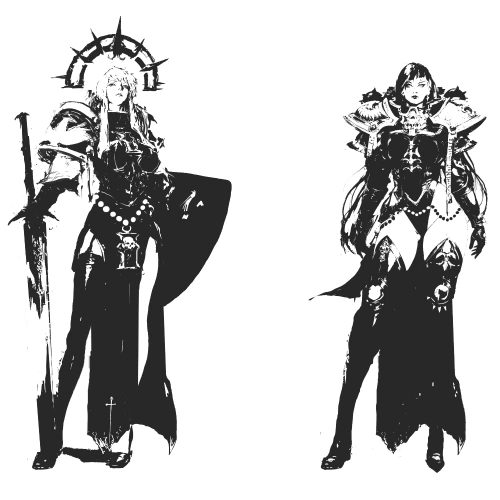
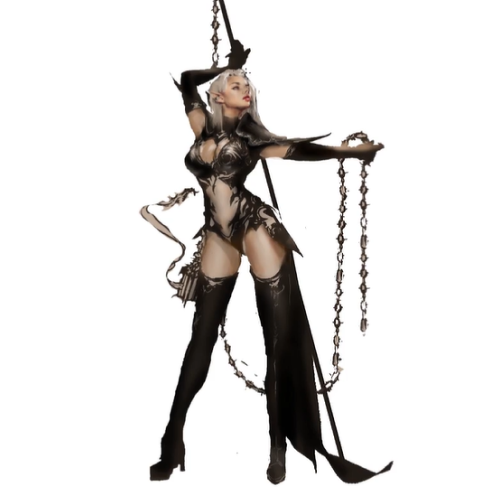
 Second Character
 -
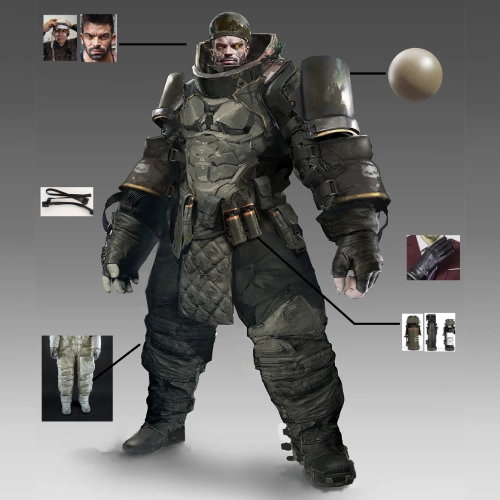
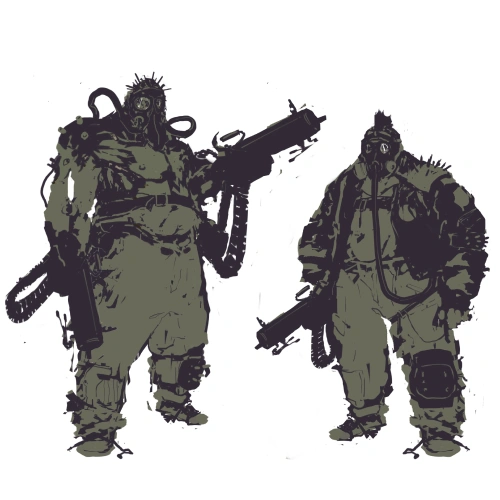
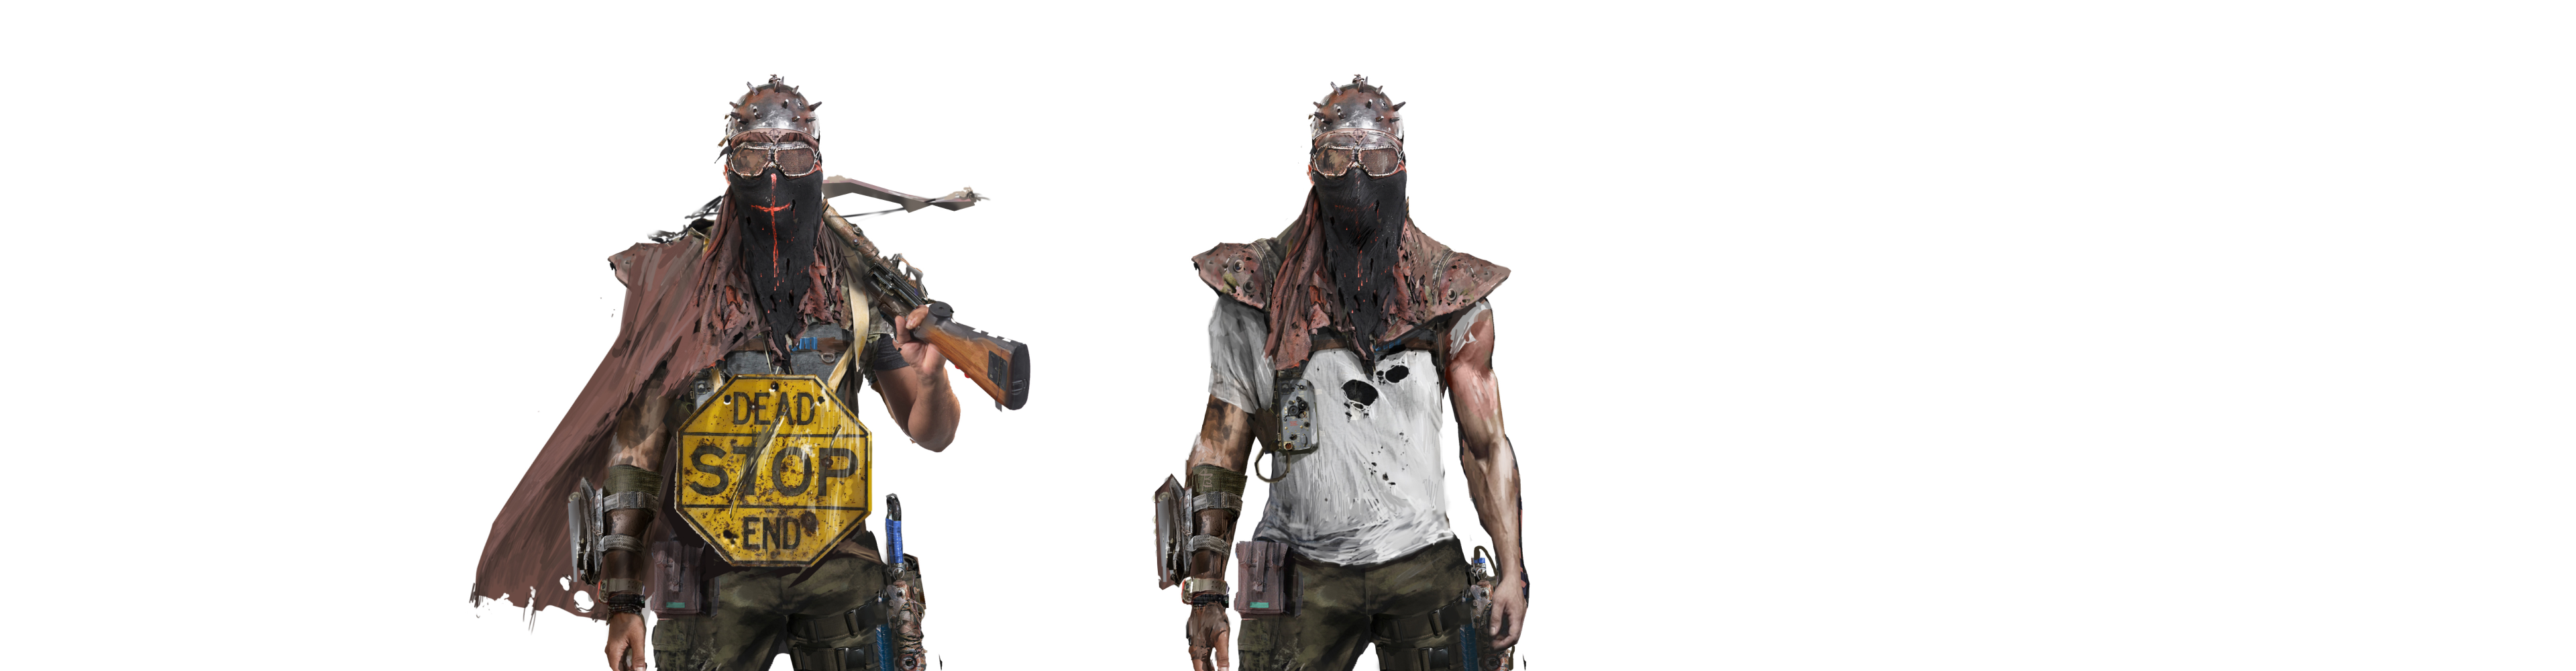
 Side-Kick
*The above images are sample images for a better understanding.
Instructor
Concept Artist
Pearson Sweeney
Hi, I’m Pearson Sweeney. I work as a Concept artist based in Austin, Texas, focused on character design. My passion is creating characters that feel grounded in the worlds they live in, with designs that are both functional and story-driven.
I care deeply about the why behind every creative decision. In both my work and teaching, I aim to break down complex ideas into simple, repeatable workflows so artists can design with clarity and confidence.

Concept Artist,
Pearson Sweeney
[Current]
- Freelance Concept Artist & Educator
- Freelance, Self-Employed
- Specializing in character design, visual development, and storytelling for animation, film, and games.
- Passionate about mentoring emerging artists through workshops and online courses.
[Previous]
- Concept Artist & Visual Development Artist For Netease
- Freelance for various Studios Including West studios
- Collaborated with industry-leading studios on diverse projects, contributing to the development of compelling characters and narratives.
Projects & Awards
Voyage LA Magazine
An in-depth interview highlighting Pearson Sweeney's creative process, artistic influences, and the evolution of his style as a concept artist.
Highlights
Class Highlights
Character Design Must Haves
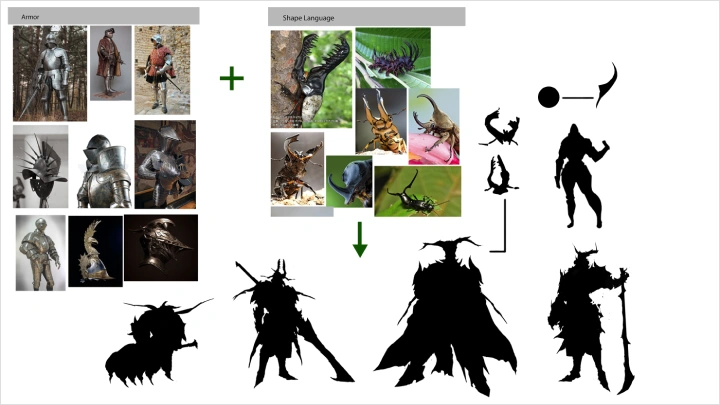
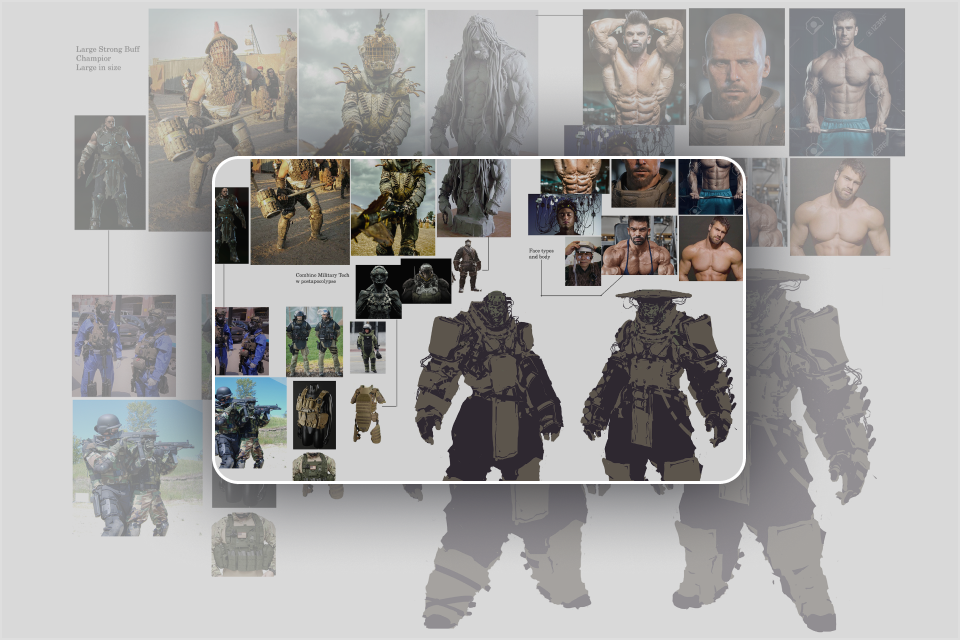
This class teaches the basic fundamentals required to develop strong character designs. You’ll learn how to think like a concept artist by breaking down what makes a design effective, from shape language and silhouettes to storytelling through form. With a strong focus on reference analysis, gesture, and archetypes, this section builds a solid base for creating characters that are both visually clear and narratively compelling.
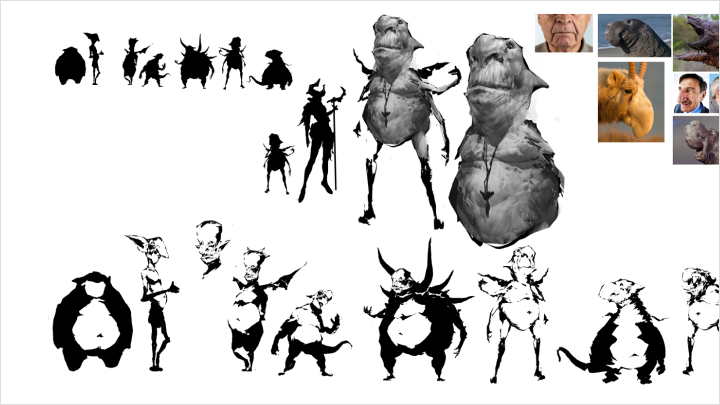
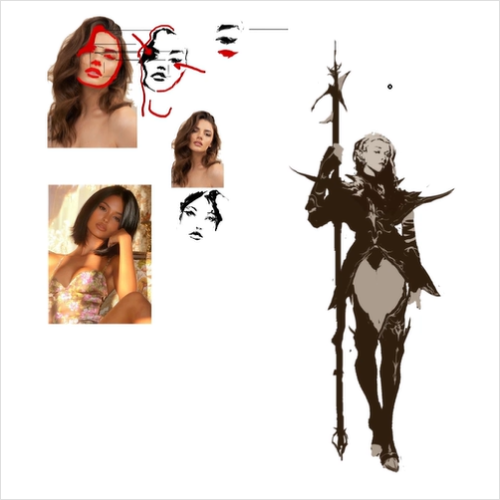
Idea Exploration & Execution Through Workflow
You will develop structured workflows that help you explore ideas and build more interesting, thoughtful designs. Rather than settling on the first idea, you’ll be guided through exercises in shape-based thumbnailing, multi-pass sketch refinement, and ideation strategies that allow you to push past surface-level concepts. This process helps you create more intentional, varied, and memorable characters.
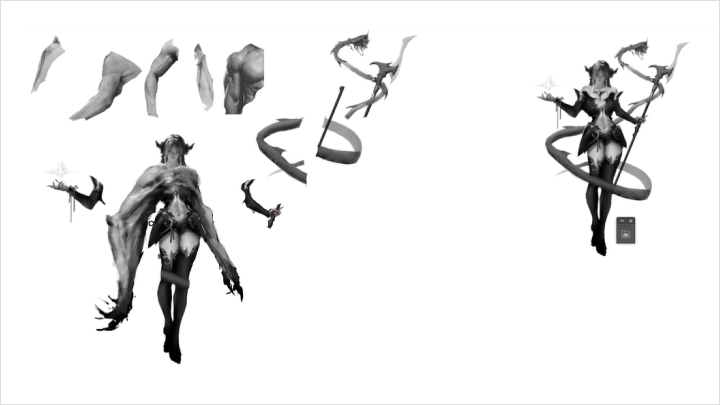
From Sketch to Final Concept
You’ll build practical skills to take a character from initial sketch to a fully rendered final concept. Following a clear, step-by-step structure, you’ll gain experience in value control, edge clarity, material rendering, and photobashing. By the end, you’ll not only have a polished piece for your portfolio, but also a repeatable workflow for future projects.
Class Details
You'll Learn
-
 Design Foundations for CharactersLearn how to think like a concept artist. We’ll break down what makes a strong character design, how to analyze references, and how to design with storytelling in mind.
 -
 Shapes & GestureExplore how gesture, silhouette, and shape language can define personality, movement, and mood. We’ll focus on the stylization of shapes while staying grounded in design logic.
 -
 Character Ideation & StorytellingTurn written directions into concept ideas by exploring archetypes, personality, and backstory. Learn to sketch characters that feel like they belong in a world.
-
 Thumbnails and Design VariationsPush your design thinking through multiple passes and thumbnails. We’ll cover how to explore outfits, forms, and motifs that reinforce the story and vibe of the character.
 -
 Lighting & Rendering FundamentalsFocus on clean, intentional shapes and simple rendering approaches for clarity and appeal. Learn how to prioritize form, material, and visual readability.
 -
 Final Character Concept ArtWrap up your design into polished concept art, ready for a portfolio.
- Unlimited Access
- Best Price
Buy now, get unlimited access.
07/06 (Mon) (UTC-7) Special offer ends soon.
This special offer ends soon.
Buy now and save!
Interview with
Concept Artist, Pearson Sweeney

Question.01
Is there a specific reason why you chose this specific topic/themes?
I chose to focus on character concept art for video games because it's a space where storytelling, design, and creativity come together in really dynamic ways. As a concept artist, I've always been drawn to the challenge of creating characters that not only look compelling but also feel grounded in the world they inhabit. For beginners especially, it can be overwhelming to know where to start. This class breaks things down into approachable steps, starting with design foundations and moving all the way to a final concept. This way students can build confidence and learn how to develop ideas with purpose and clarity.
Question.02
What makes your class different from other classes?
What sets this class apart is its focus on workflow and simplicity. Instead of just showing the “what,” I emphasize the “why” behind every design decision. I walk through the full process, from shape and gesture exploration to rendering fundamentals, so students can learn not just techniques, but a repeatable, flexible workflow. I also put a strong emphasis on ideation and storytelling, which is often skipped in beginner courses. My goal is for students to leave with a toolkit they can apply to any character they design, not just the ones we work on in class.
Question.03
What are some "to-go" or "must-have" tools in your industry, and why?
The obvious must-have is Photoshop or any robust digital painting tool, depending on your setup. But beyond software, one of the most underrated tools is a sketchbook, digital or physical, for quick thumbnails and ideation. It helps keep the creative flow going without getting bogged down in details. For organizing references and inspiration, I rely heavily on Pinterest, which lets me build visual boards for mood, style, and anatomy. And finally, a solid understanding of shapes and silhouettes is maybe the most essential “mental tool” for any character artist; it’s the foundation for readable and memorable design.
Required Programs
This course will use Photoshop, but students can use similar software to follow this class.
Please purchase and install these program(s) for an optimized chapter experience.
*These programs and/or materials will not be provided with the chapter.