[Dictionary]3dstudio,108fanstudio Details
Intro
Class Intro
3D Studio, 108FanStudio
"We'll dive into the full process, from design to rigging, of creating anime-style 3D VTuber models using advanced techniques like the experts!"
Superior Quality 3D Anime Character Creation with Maya, Blender & Unity
Dominate the industry's most standard yet essential 3D VTuber production pipeline!
108FanStudio is ready to share the top-notch modeling skills that will elevate the overall quality of your work. With a comprehensive curriculum exclusively designed for this course, gain a thorough understanding of the methodologies behind the creation of top-quality 3D anime characters.
108FanStudio is ready to share the top-notch modeling skills that will elevate the overall quality of your work. With a comprehensive curriculum exclusively designed for this course, gain a thorough understanding of the methodologies behind the creation of top-quality 3D anime characters.
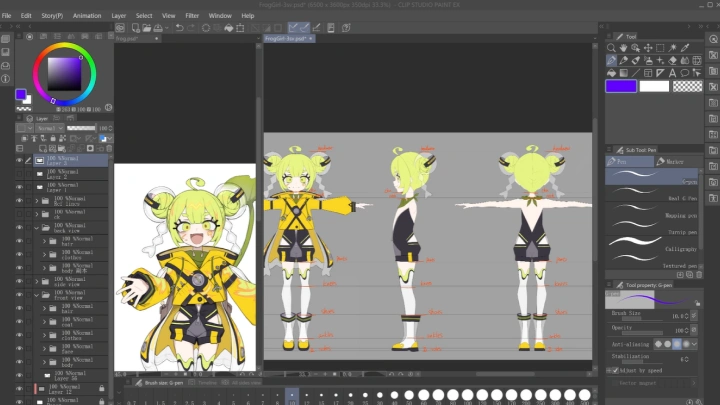
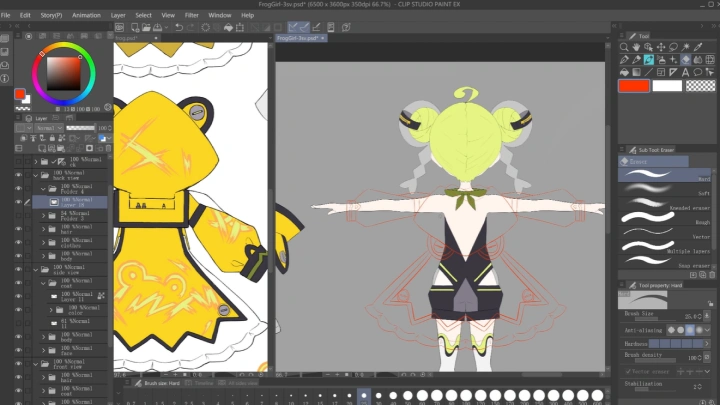
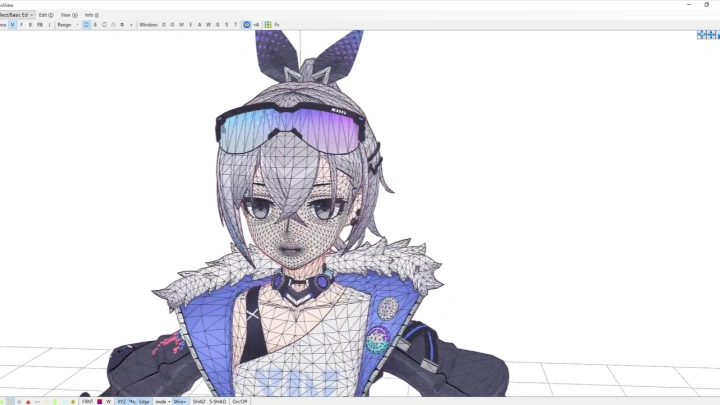
Gain proficiency by adapting and creating trendy 3D VTuber models through Maya, Blender, Unity, and other industry-standard softwares. This course, which fully covers all aspects of 3D anime VTuber creation, facilitates the development of cutting-edge expertise in modeling details, texturing, skinning, and a wide array of techniques.
Class Preview
Still Not Sure?
Check Out 108FanStudio's Class Preview!
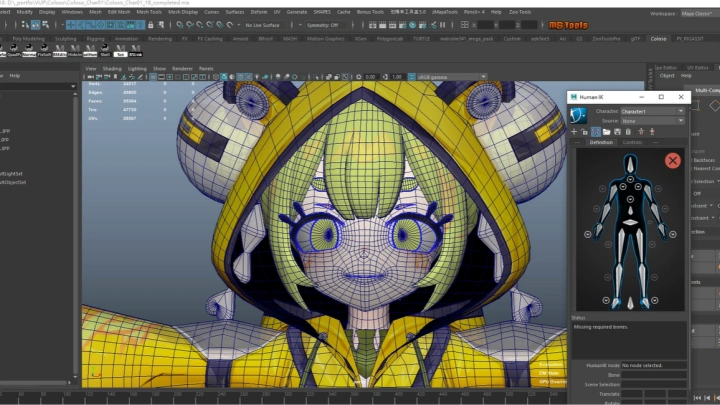
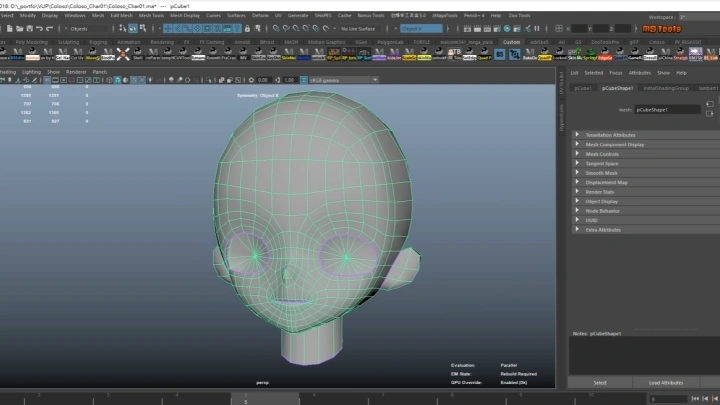
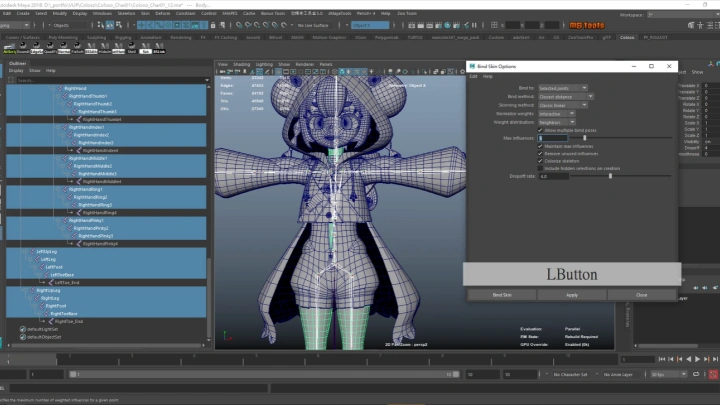
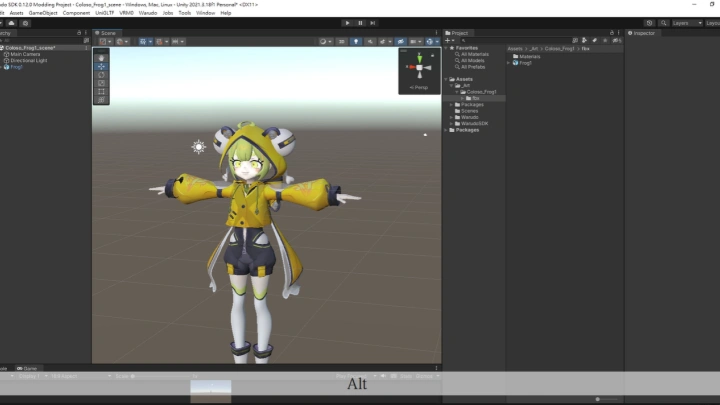
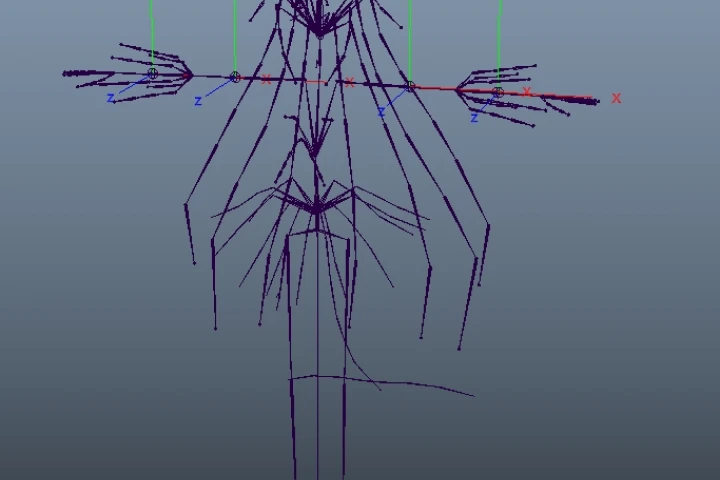
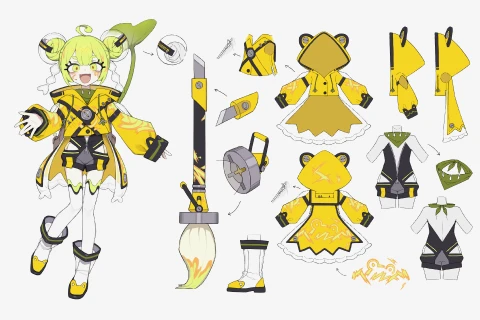
Chapter 37: Creating the Rig of the Body
1. Joint placement, joint orientation, naming convention, mirror joints, etc.
Class Perks
Special Gift from 108FanStudio
-
Maya Plugins for Productiviy & Quality -
Substance Painter Brushes for Anime Texturing -
Substance Painter Plugin
Class Material Details
-
 Intro to Over 50 Plugins & Scripts- 50+ free plugins from the Dev's website provided
- Scripts made by 108FanStudio for a better workflow
- .mel, .py files -
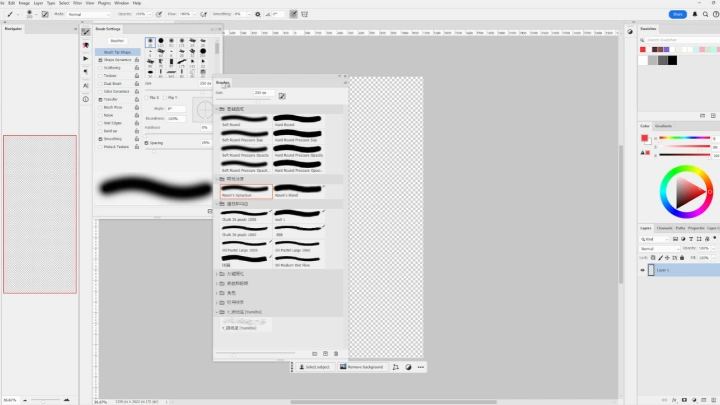
 Substance Painter Brushes Made by 108FanStudio- 18 Custom Made Brushes
 -
 For Exporting SP Layers to PS- 1 Plugin zip file
- List of subsidiary tools (PDF)
Recommendation
Who Should Take This Class?
3D Modeling Enthusiasts
Seeking to transition into a professional career
Artists Interested in 3D Vtuber Creation
Regardless of any skill level
Maya, Blender, and Unity Users
Interested in acquiring advanced know-hows
Expert 3D VTuber Studio
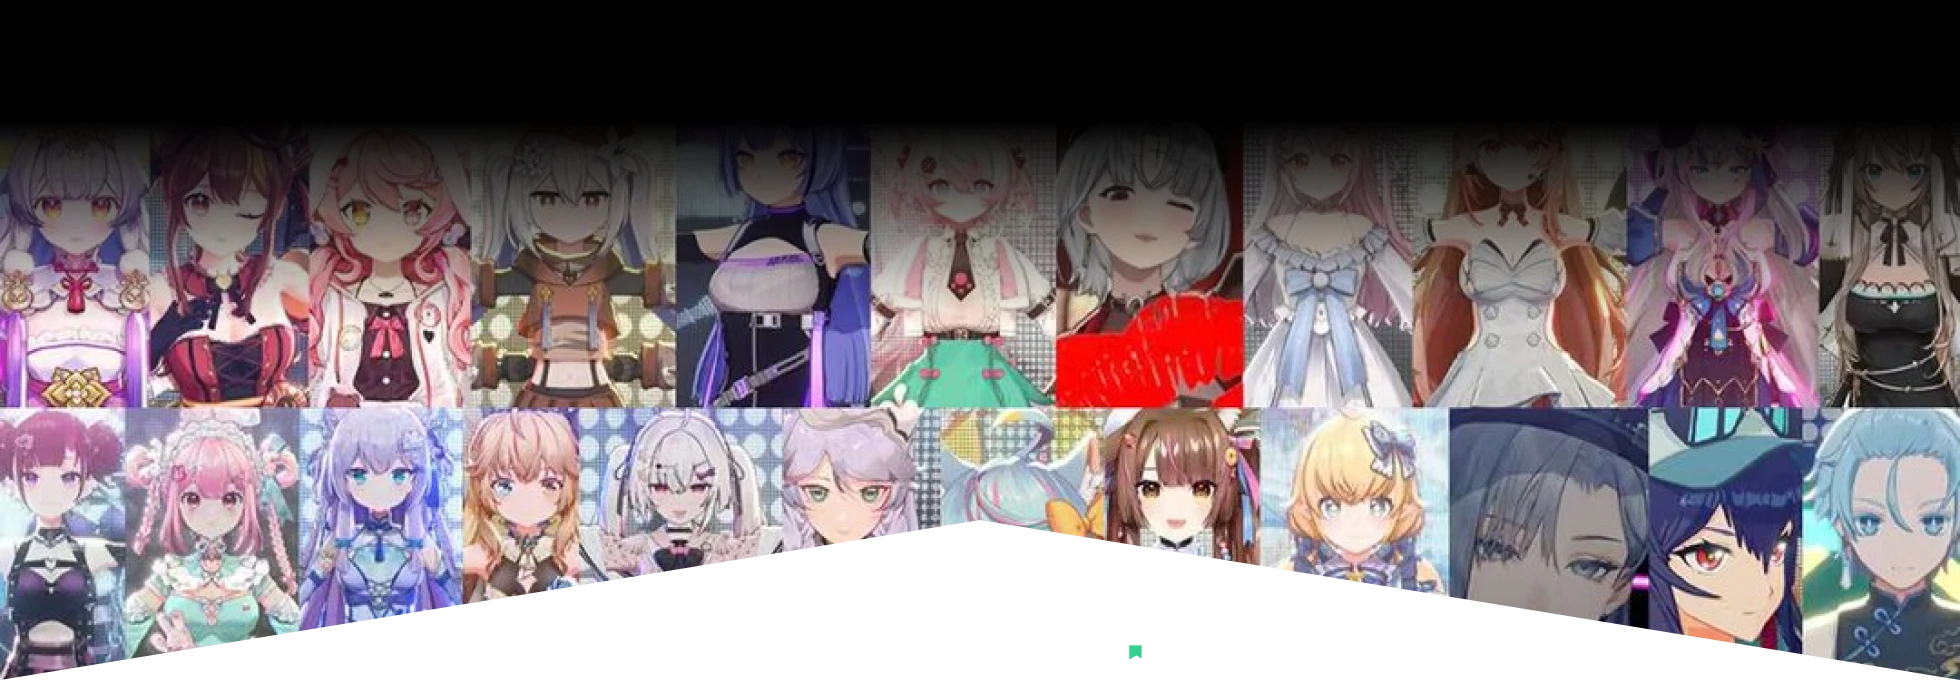
108FanStudio's Portfolio

* This Portfolio includes fanart and client work.
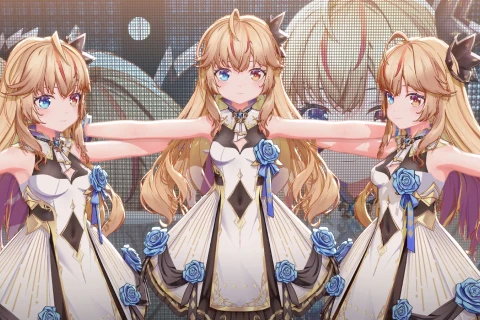
Everything About Professional 3D VTuber Studio Production
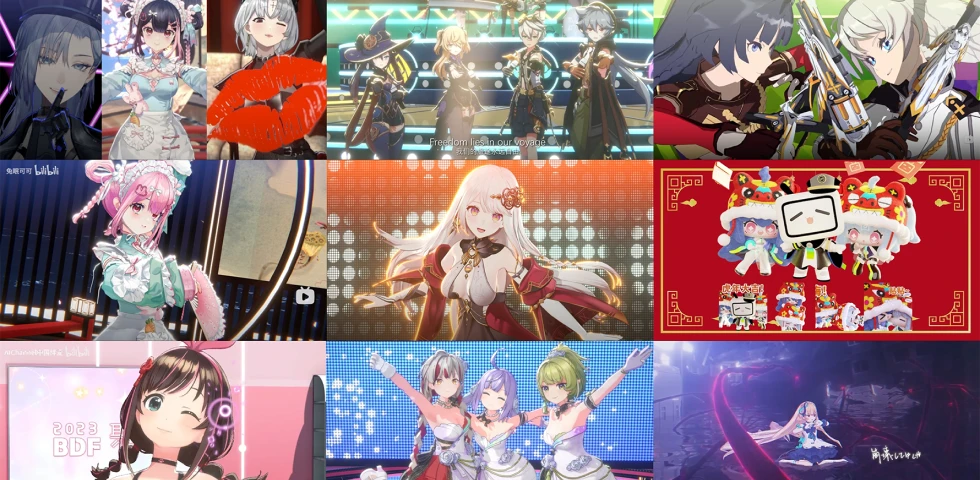
Gain access to the secrets of success from the studio behind five VTubers with over 1M followers, also known for their stunning Arknights PV and miHoYo’s MV!
108FanStudio will guide you through the industry’s top-quality 3D VTuber creation process.
Catch a glimpse of these first-class VTuber production designs — it's now your time to shine! Kuri, Rizum, and Myer from 108FanStudio have come together to present the ultimate all-in-one 3D modeling course for artists of all levels. Accelerate your workflow by working with Maya and Unity, and maximize your results with ease.
Get Ready for the Real-World
9 Class Exercises
-
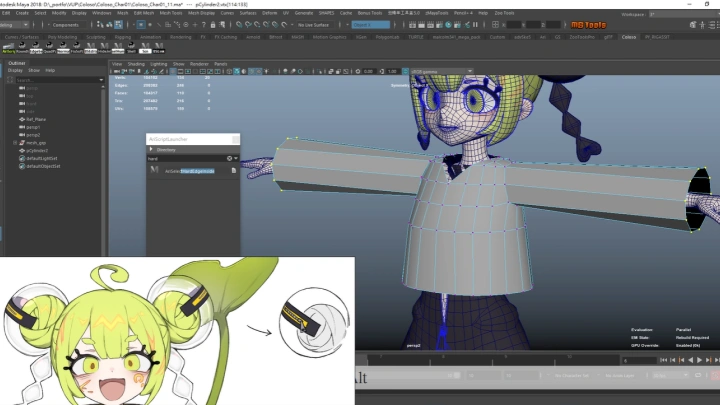
 Basic Modeling Exercise
 -
 Standard and Professional Topology
 -
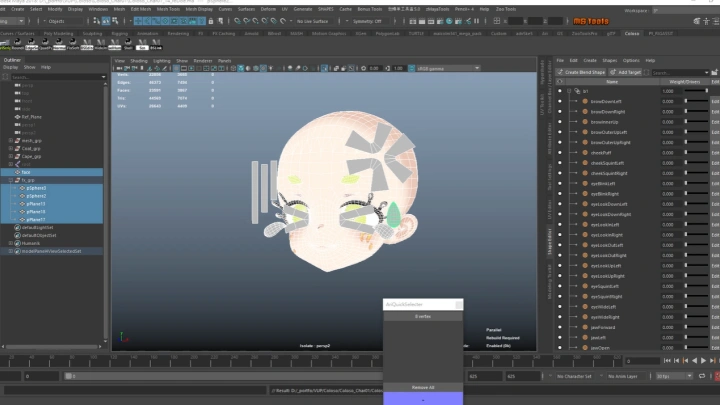
 Blendshaping
-
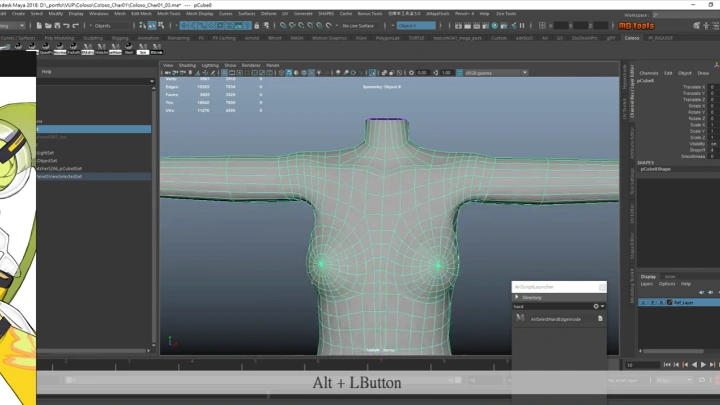
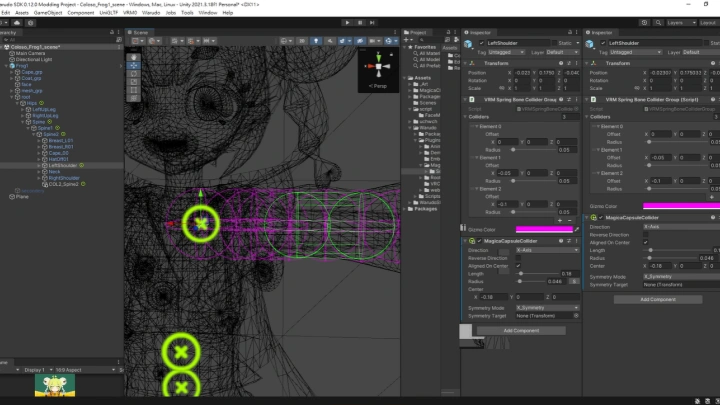
 Rigging Made Simple
 -
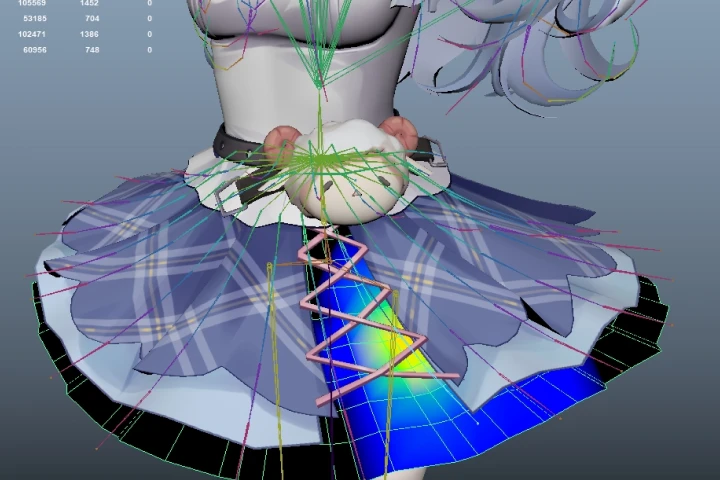 Skinning Joints
 -
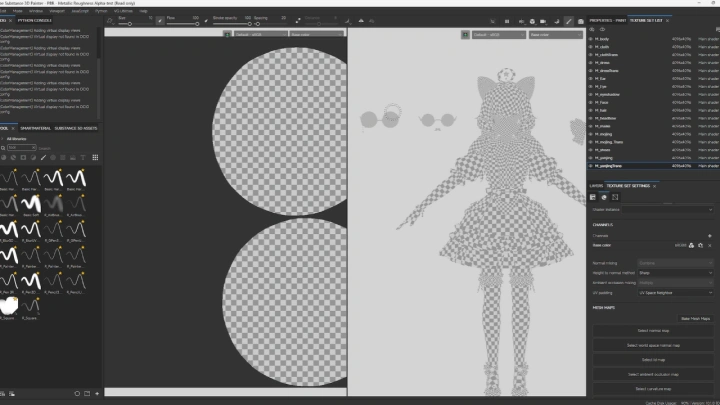
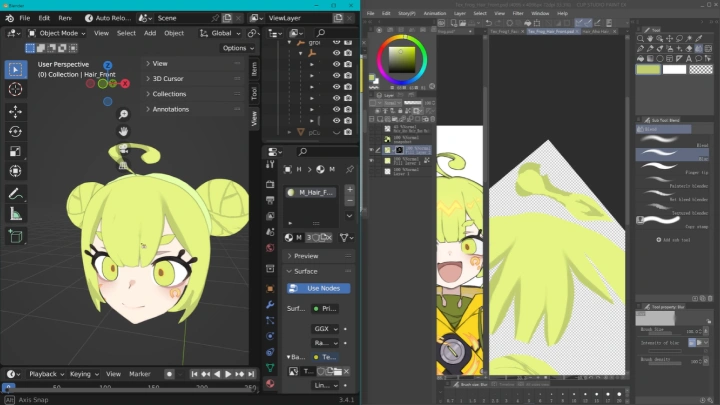
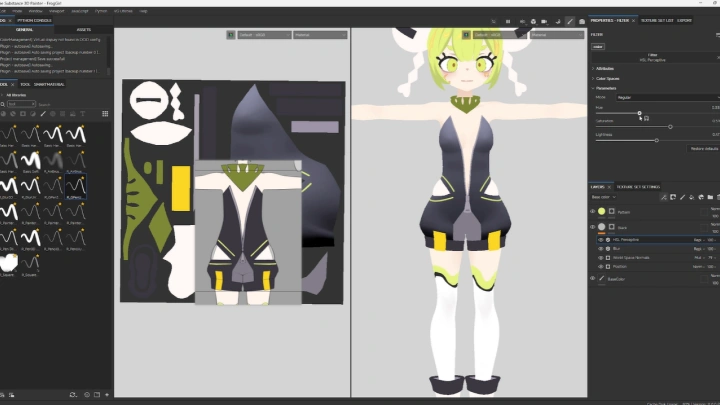
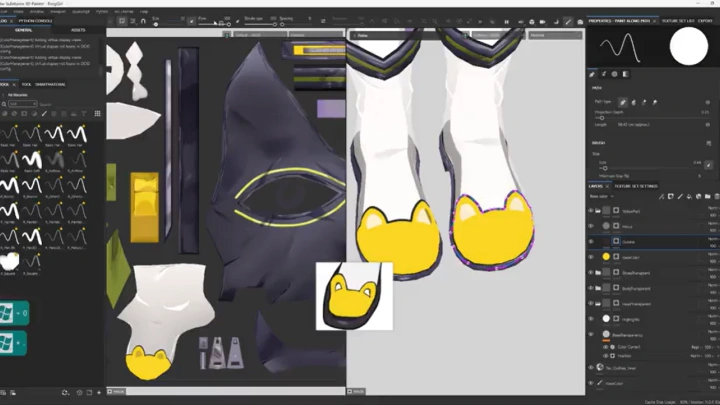
 Texturing Practices
-
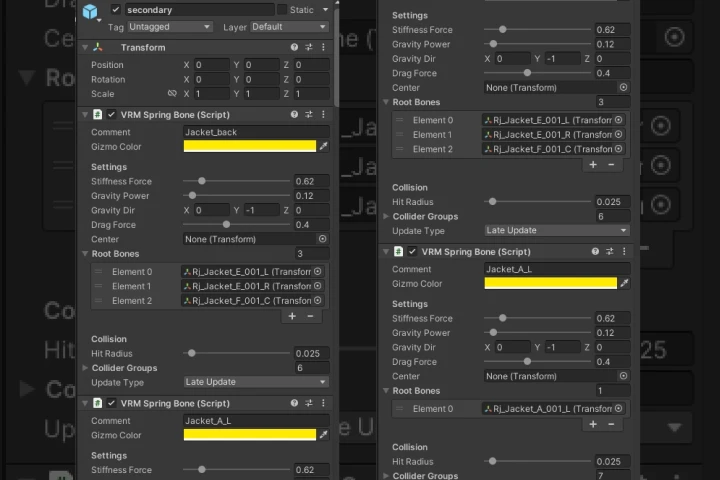 VRM Basic Flow
 -
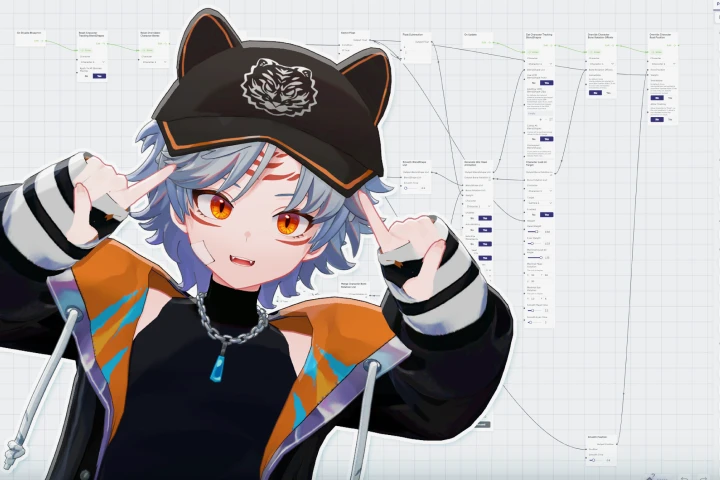 Use of Warudo
 -
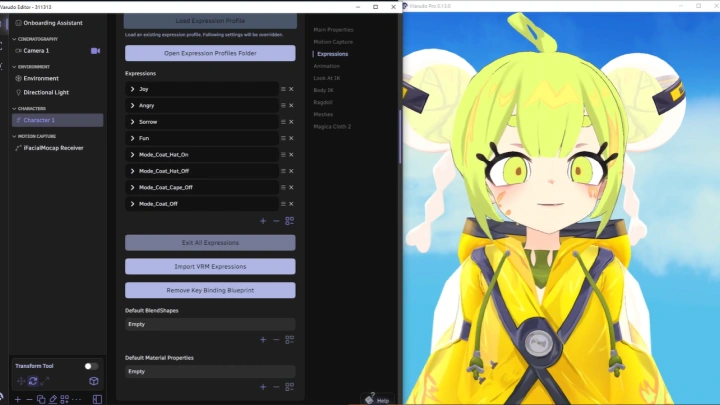
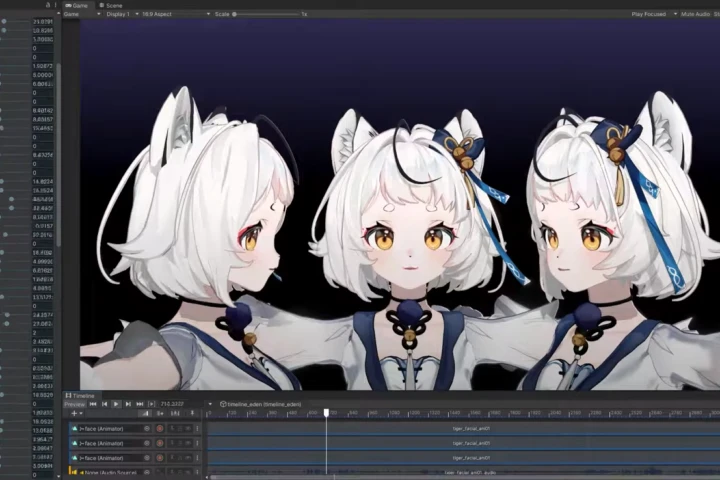 ARkit Facial Capture
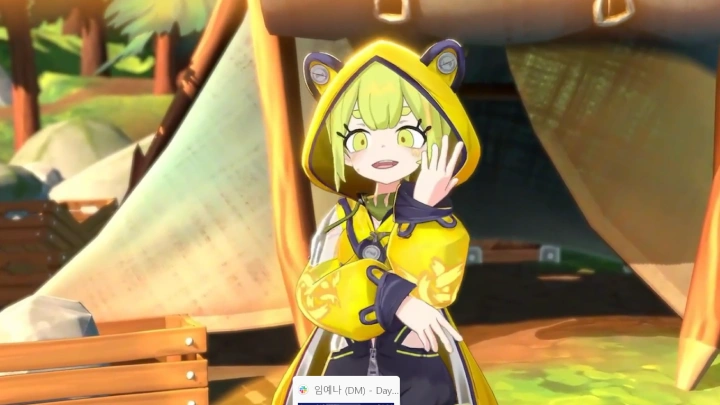
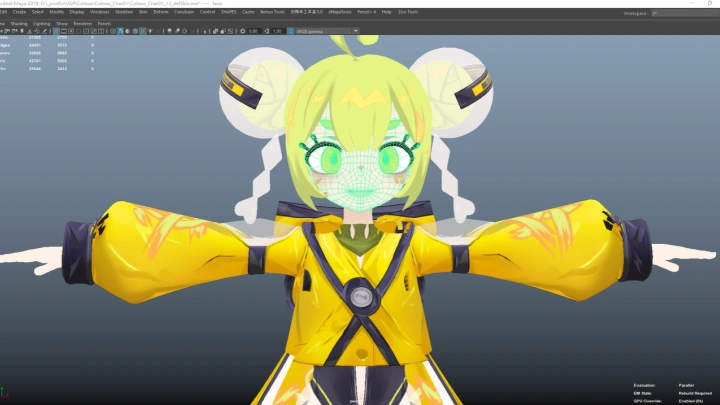
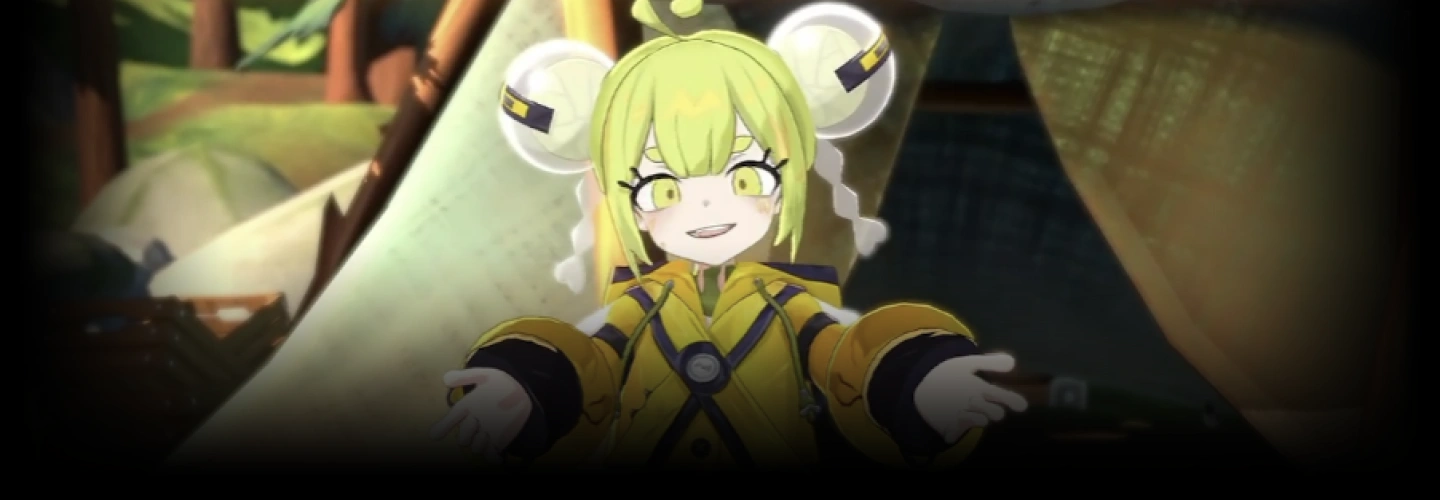
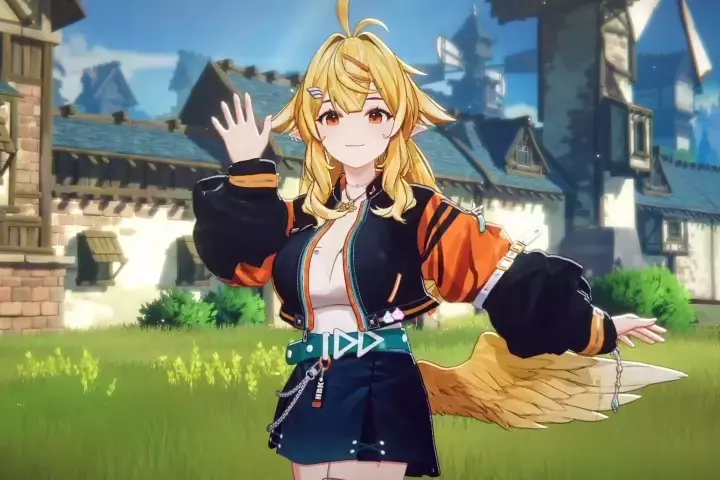
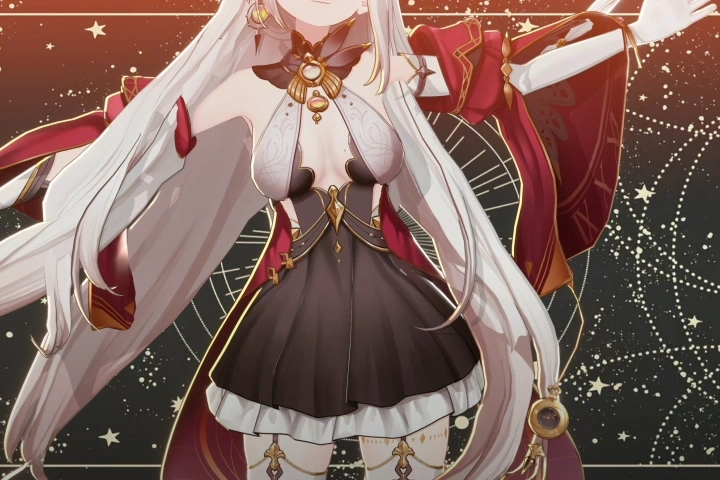
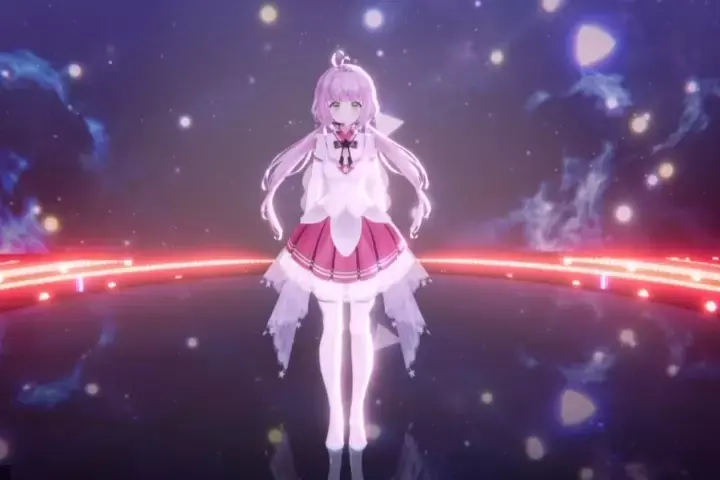
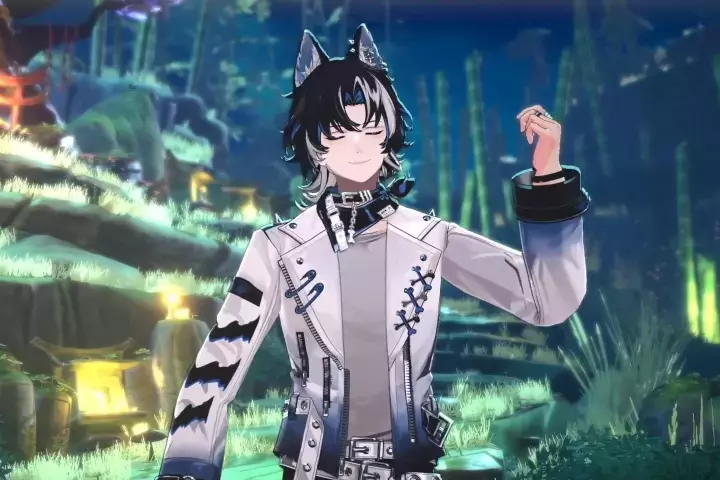
Final Product
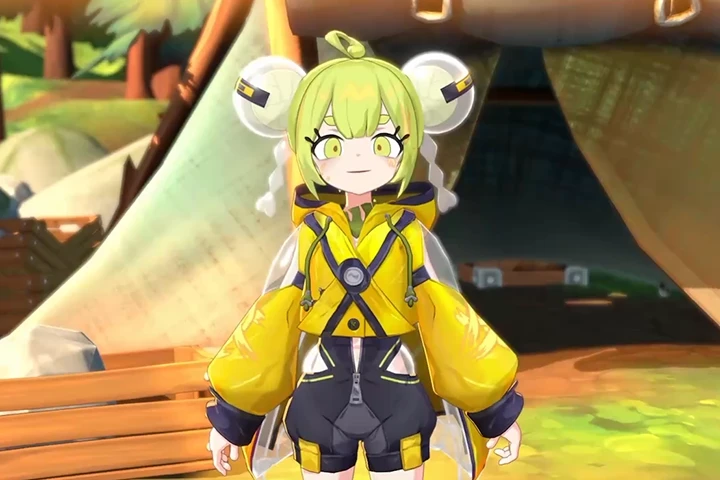
Fully Textured & Rigged AAA Quality 3D Anime Character
Highlights
Class Highlights
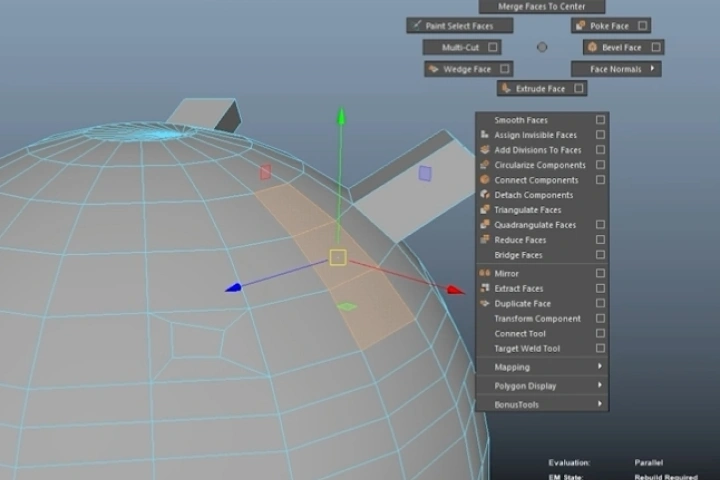
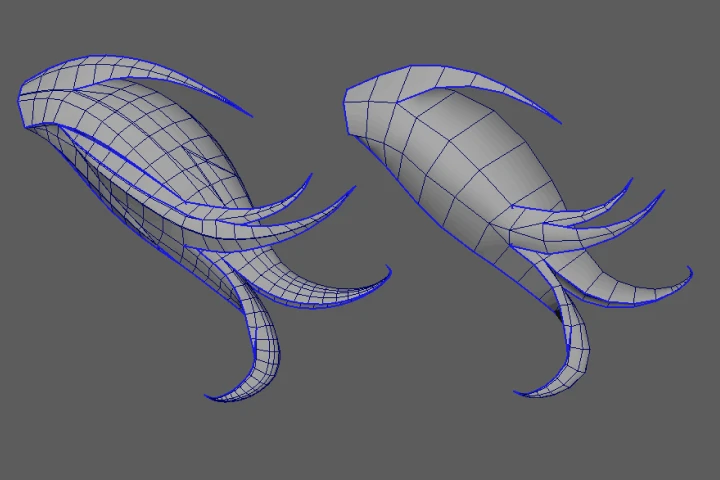
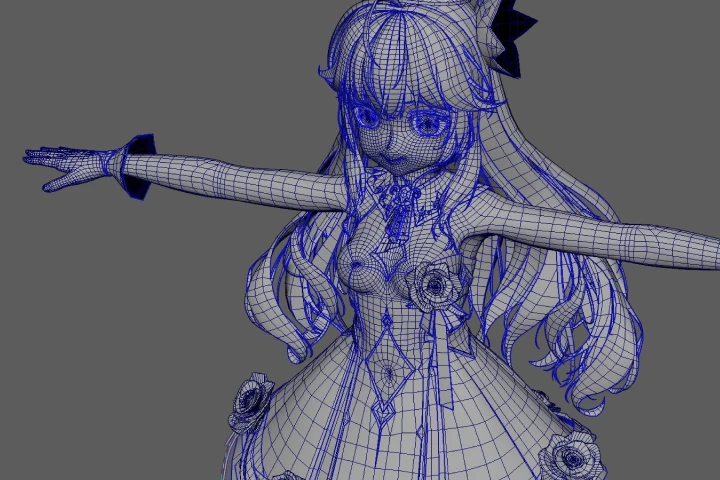
Professional Topology
Learn about topology, edge flow, density, and more — specialties that professional 3D modelers most notably consider when modeling! Understand what makes the difference in your work that could give a little kick.
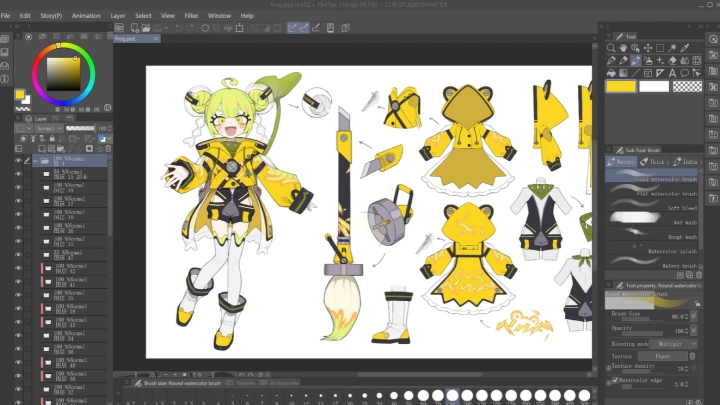
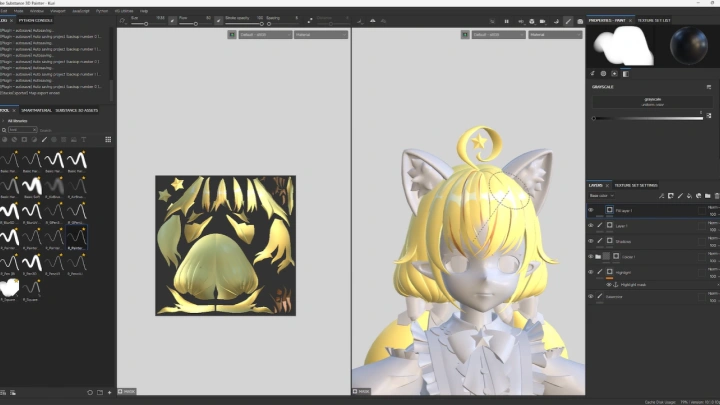
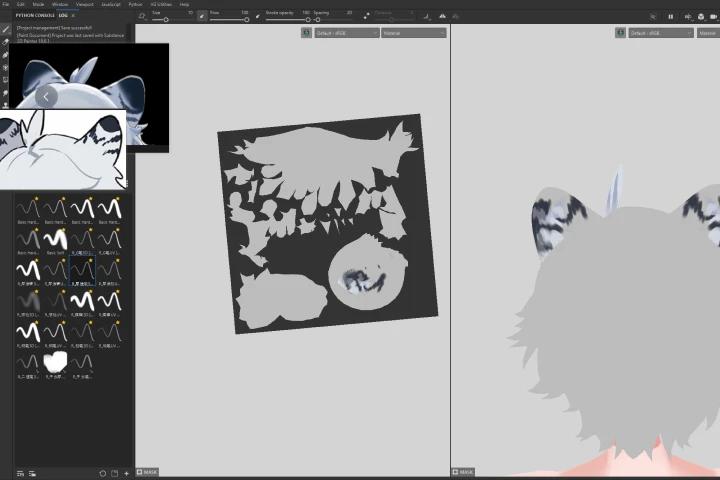
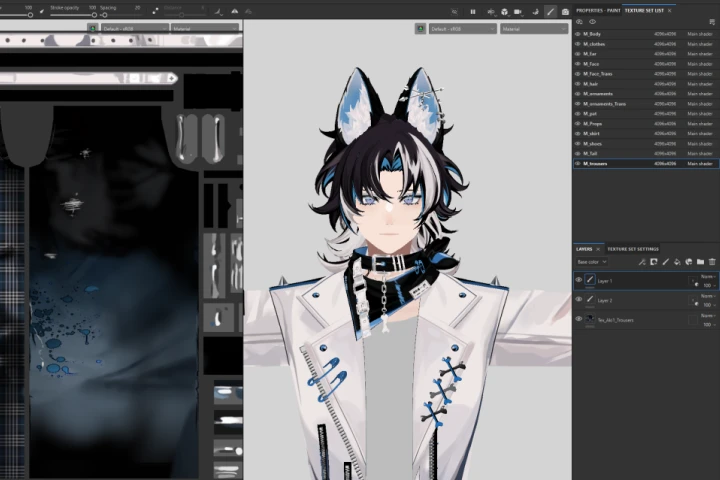
Stylized Texturing Skills
Understand the effectiveness of hand-painting textures and how to bridge between different software to create perfect, optimal results. See your work from various perspectives.
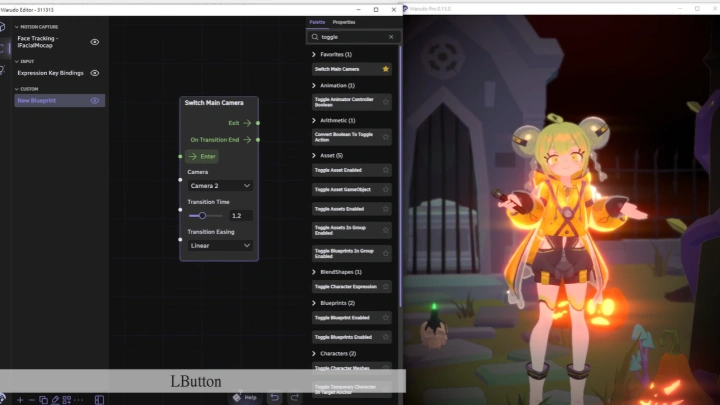
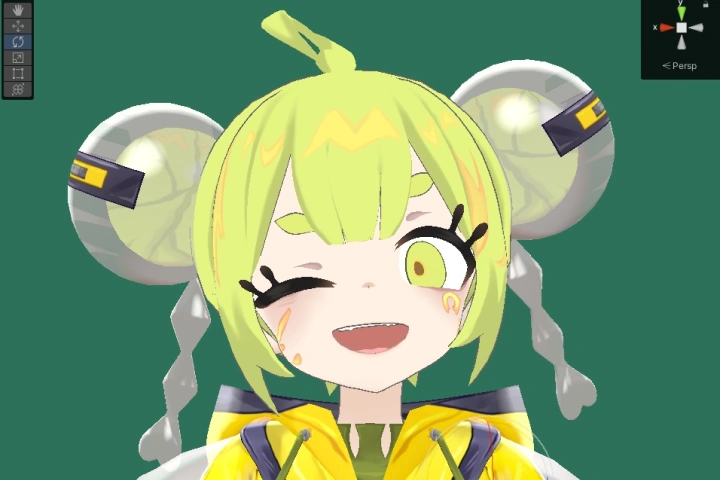
Face Tracking Solutions on Unity
Discover how to set up a character's face tracking on Unity, using motion data gathered from clients. Express exactly what you are aiming for straight into your work.
Roadmap
The Ultimate Guidelines to AAA Studio-Quality 3D Anime Style Characters
Instructor
3D VTuber Studio
108FanStudio
Hello! This is 108FanStudio, and we are pleased to introduce our three elite instructors: Kuri (three views), Rizum (texture), and Myer (3D model)!
As a 3D studio, we've been focusing on VTuber modeling for various 3D streaming events. Having worked on more than 5 VTubers with over a million followers in China, such as VirtuaReal (Nijisanji x Bilibili), XY Production, PSP Live, and many more — our studio has established our own ways of production and is providing designs with quality beyond compare.
Also, we have been closely collaborating with international VTuber agencies such as VShojo, Phase Connect, PlayAsia, M. Entertainment, Meridian Project, THE BOX, Mythic, and others. We're honored to have worked on an Arknights promotional video and a miHoyo music video featuring their talents as well. Through this class, explore your strengths in VTuber creations and take steps toward becoming a renowned artist!


3D VTuber Studio,
108FanStudio
[Current]
3D Studio
Projects & Awards
Clients Include:
miHoYo
Arknights
VirtuaReal
XY Production
psplive
Virtual Union
Chaoslive
Meta Mythos
Fantas1A
Yagimall
Nebula Beat
Phase Connect
Vshojo
PlayAsia and etc.
Class Details
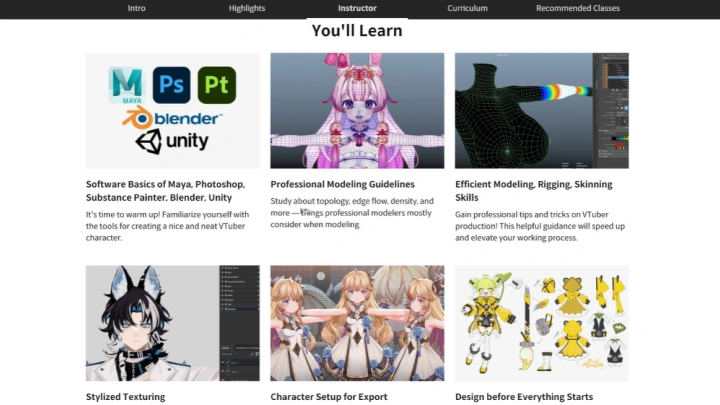
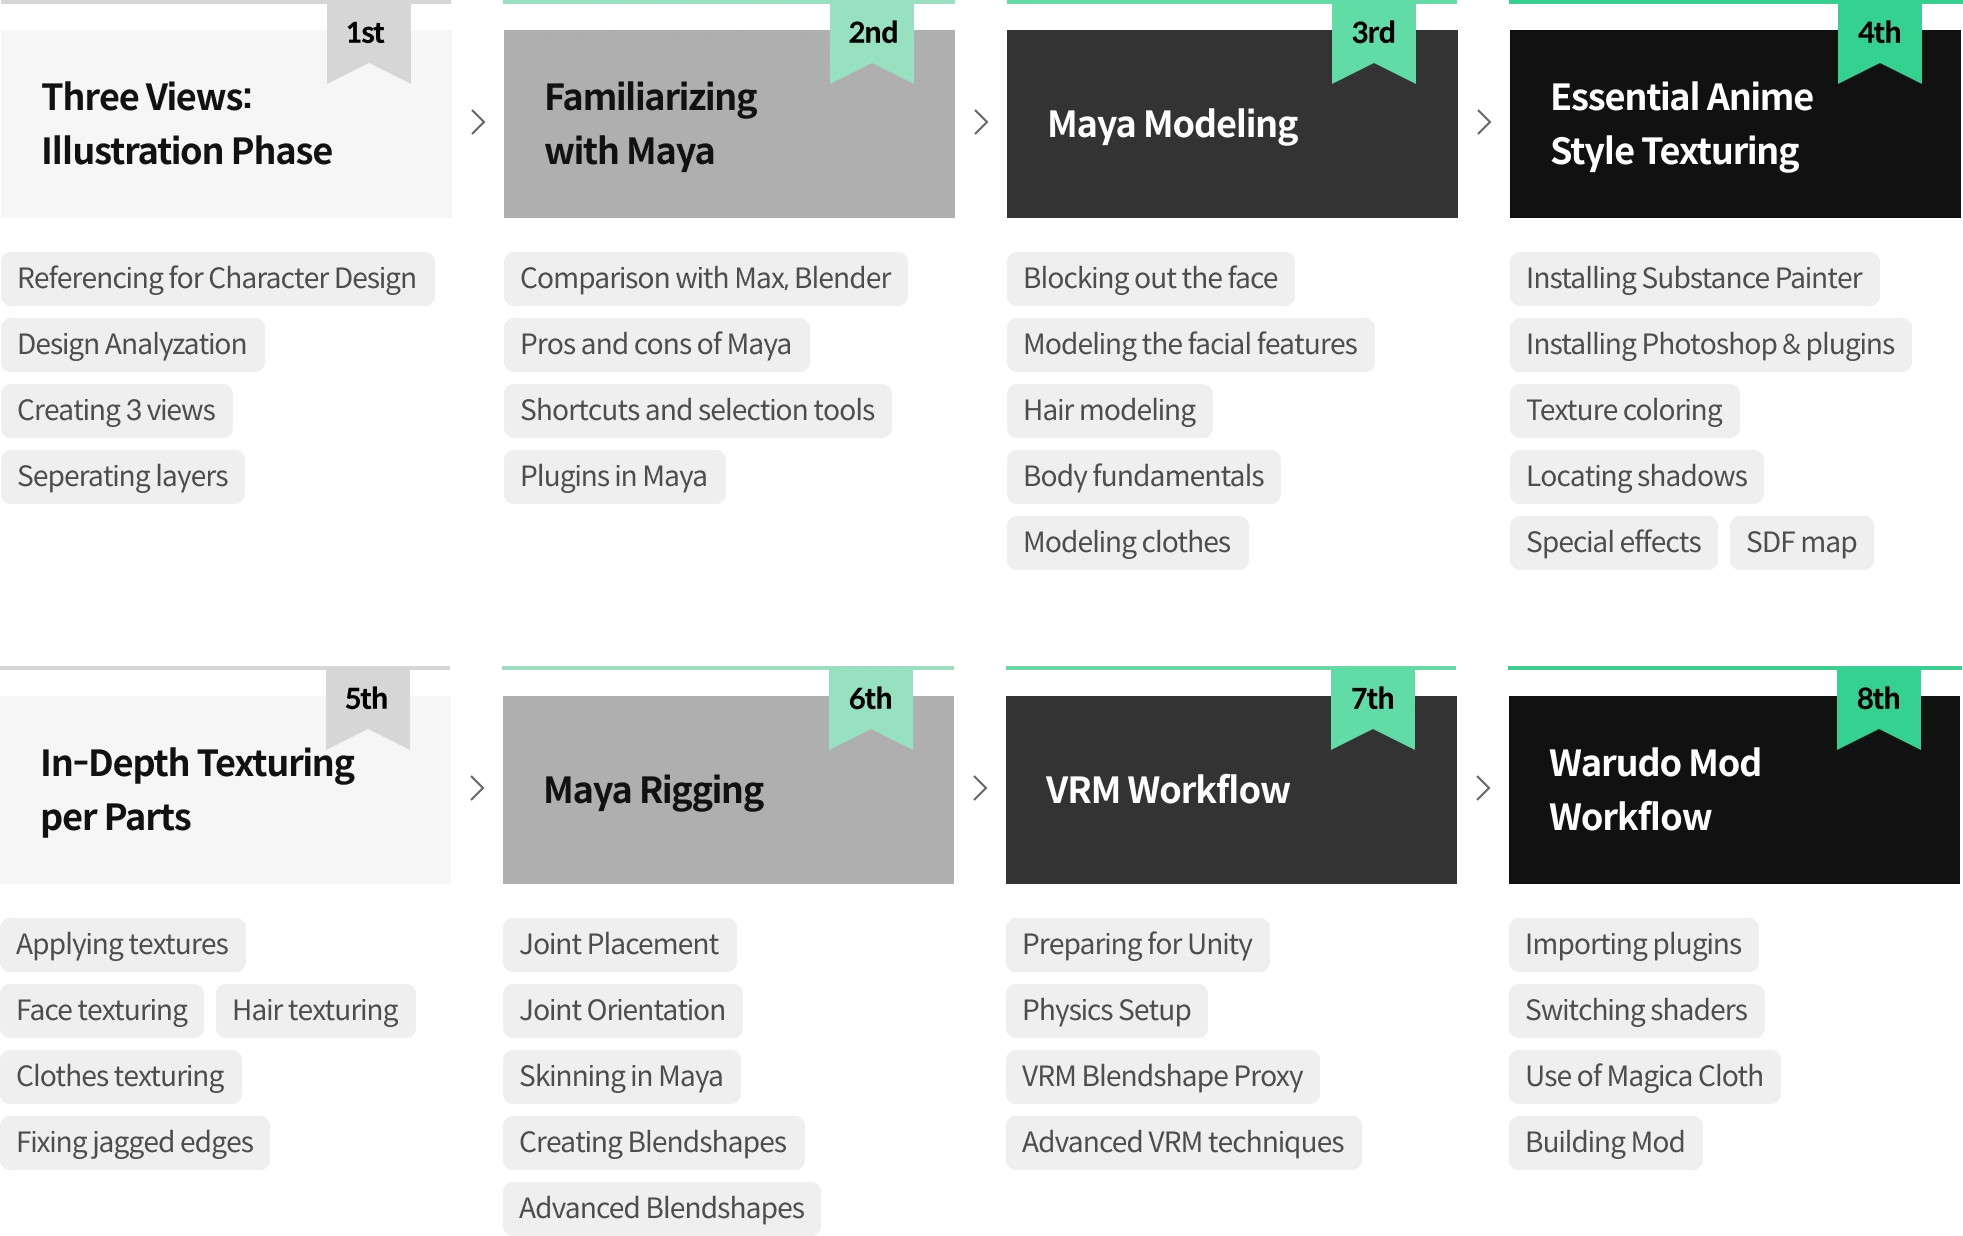
You'll Learn
-
 Software Basics of Maya, Photoshop, Substance Painter, Blender, UnityIt's time to warm up! Familiarize yourself with the tools for creating a nice and neat VTuber character.
 -
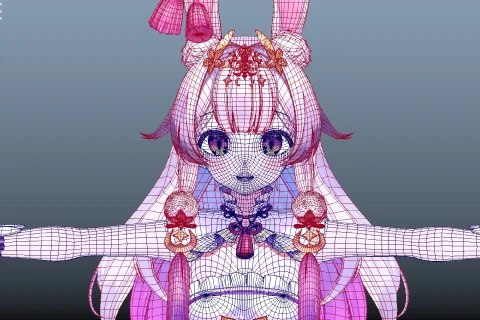 Professional Modeling GuidelinesStudy about topology, edge flow, density, and more — things professional modelers mostly consider when modeling.
 -
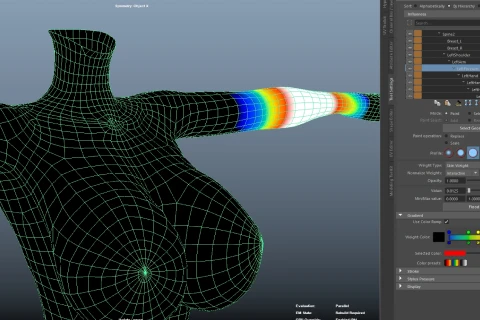 Efficient Modeling, Rigging, Skinning SkillsGain professional tips and tricks on VTuber production! This helpful guidance will speed up and elevate your working process.
-
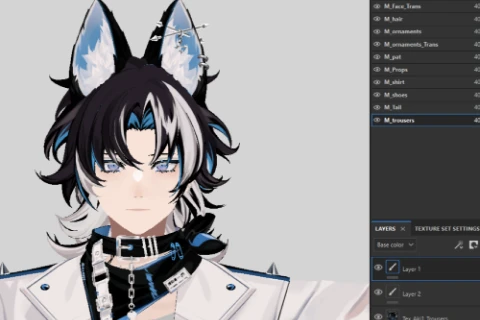 Stylized TexturingExplore with hand-painting textures and learn how to bridge between different software to create optimal results.
 -
 Character Setup for ExportMaster setting up the characters in Unity and Warudo; exporting them for final delivery to the client.
 -
 Design before Everything StartsPrepare yourself with efficient artist habits — this will definitely help you on your way to your professional career path!
- Unlimited Access
- Best Price
Buy now, get unlimited access.
08/03 (Mon) (UTC-7) Special offer ends soon.
This special offer ends soon.
Buy now and save!
Interview with
3D VTuber Studio, 108FanStudio

Question.01
What makes your class different from other classes?
Our class provides a more comprehensive understanding of how the 3D models used by VTubers are made while providing professional advice on the modeling standard gathered from our working relationships with industry clients
Question.02
Could you please share how you started your journey in the industry?
Kuri: At first, we were just a group chat formed by like-minded friends doing things we liked together. Many people had different reasons for joining the industry, such as me, who only came into contact with 3D models because I wanted to learn painting (using 3D-assisted drawing). After learning, I realized I needed to learn more, so I continued. Afterward, I turned this group chat into a company, and more people joined our "big family." In short, everyone is a group of people with dreams and innovation.
Question.03
Is there anything else you would like to share with your students?
For anime character modeling, most people start with basic knowledge of software tools and then trace the image. Sometimes, a lack of foundation in topology, industrial practice, and proper workflow will cause limitations to improve. We'd like to provide a problem-solving mindset with a solid modeling foundation and awareness for better deformation. We'll also try to focus on speeding up the proper workflow with some hidden tricks and tools, so that the delivery will not only be approved by individuals but also professional clients.
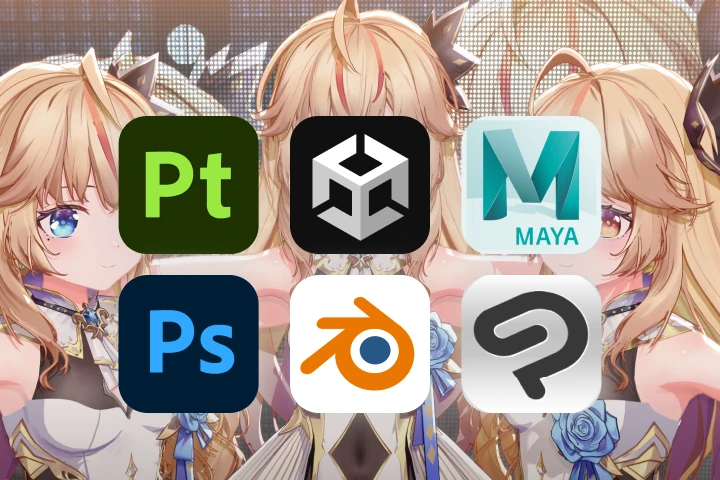
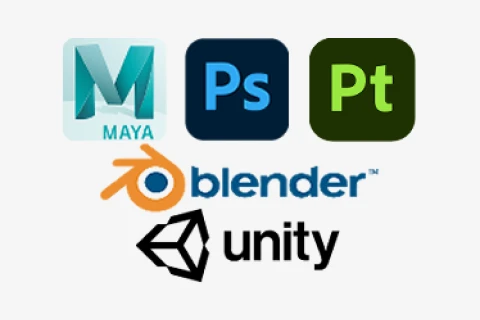
Required Programs
This course will use
- Maya
- Unity
- Substance Painter
- Photoshop
- Blender
- Clip Studio Paint
Please purchase and install these program(s) for an optimized chapter experience.
*These programs and/or materials will not be provided with the chapter.