Animator Jonghyun JUNG-BOIX 정종현3 Details
In-Depth Look
- SECTION 01
Grease Pencil Basics
02. Animated Canvas (Animated Stroke)- Apply the same methods as a fixed canvas but to a moving one
- SECTION 02
Background Setup
04. Grease Pencil Surface Mode 1: Background Sketch and Painting- The first steps in modeling (creating shapes and learning about Edit Mode) - Add colors and shaders - Use the Grease Pencil brush to draw on surfaces
05. Grease Pencil Surface Mode 2: Background Surface FX- Add animations to surfaces in Surface Mode - Create effects such as blood splatters and footprints - Create broken wall effects - Create water surface effects
- SECTION 03
Full Grease Pencil Workflow: Acrobatic Action 1
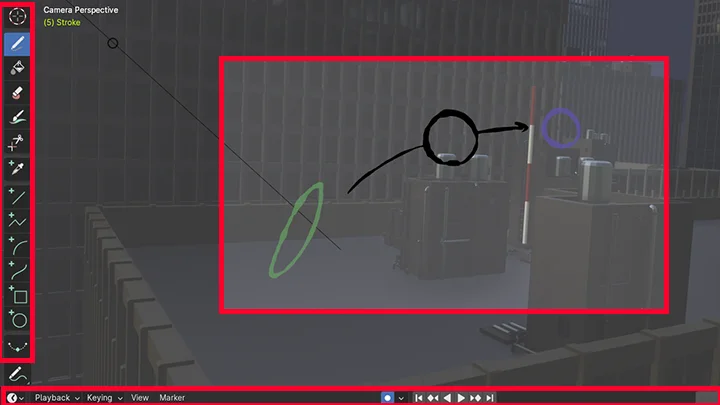
06. Storyboarding and Conceptualizing Scenes- Imagine compelling scenes and action sequences - Set up compositions centered around the camera - Understand the rhythm of a scene using very rough sketches
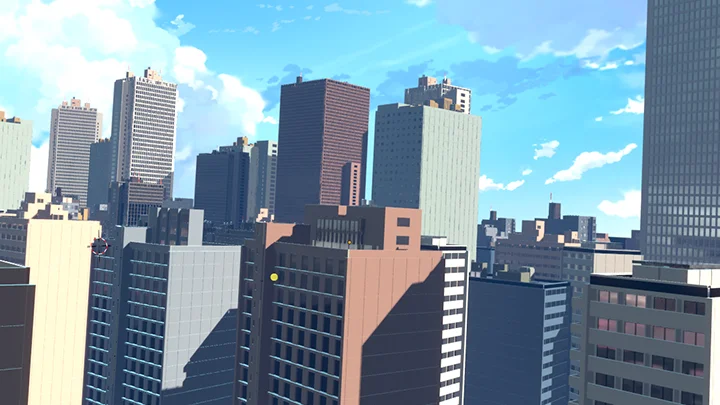
07. Background Setup- Add and position assets - Adjust the light, fog, shaders, and other included elements - Add basic modeling where necessary
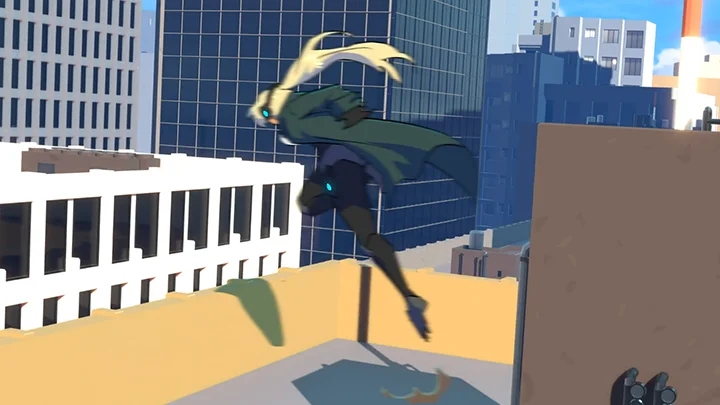
09. Rough Animation- Create and position the Grease Pencil - Set key poses to fit the 3D background - Apply the principles of animation to inbetweens
10. Clean-Up, Color, and Shading (Shadow, Rim Light, Etc.)- Clean up your lines on a new layer - Use the Fill tool and Fill brush to color the animation - Apply shading techniques such as shadows and highlights - Upgrade the animation using rim lighting
11. Real-Time Effects and Camera Adjustments- Set up the Grease Pencil for 2D effects - Draw effects to fit the background and characters - Use various adjustment effects for simple compositing - Add effects like camera shake and motion blur
- SECTION 04
Section 4. Blender 3D Character Movement: Acrobatic Action 2
13. Utilizing the Advantages and Disadvantages of 3D- The advantages of 3D compared to 2D - The disadvantages of 3D compared to 2D - Learn how to best utilize 3D characters - Make use of subtle movements
14. Animation 1: Blocking (Rough Stage)- Set up IK/FK depending on the situation - Set keyframes in steps, like in 2D - Establish key poses with impressive silhouettes
15. Animation 2: Spline (Smoothing Stage)- Switch to spline - Easily create breakdowns using the Breakdowner tool
16. Animation 3: Polish (Detailing Stage)- Enhance the quality by adjusting breakdowns - Work on facial animation - Work on hair animation - Add subtle movements
17. 2D-Style Step Animation- Use the Breakdowner in step mode - Add inbetween while maintaining a 2D feel - Export as steps in the output
18. Golden Tips for 3D Animation- Ease in and Ease out - Overlap - Desynchronize
19. Adding 2D Effects - Set up the Grease Pencil for 2D effects - Draw effects that fit the space with the 3D character
- SECTION 05
Applied Scene 1: 2D Multi-Character Action
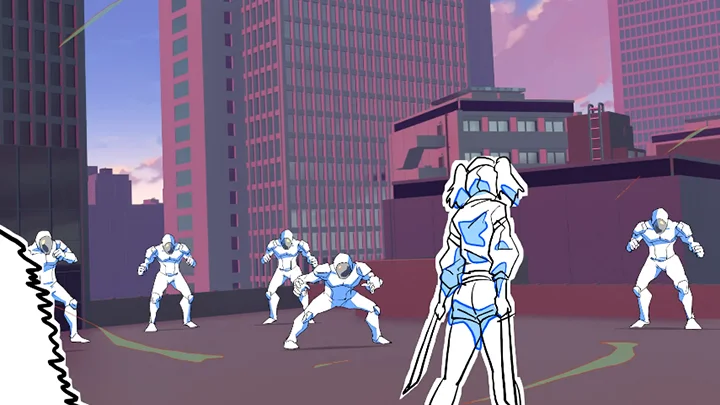
21. Copying Characters with Grease Pencil- Use Grease Pencil to create extra patterns - Copy extra characters and place them accordingly
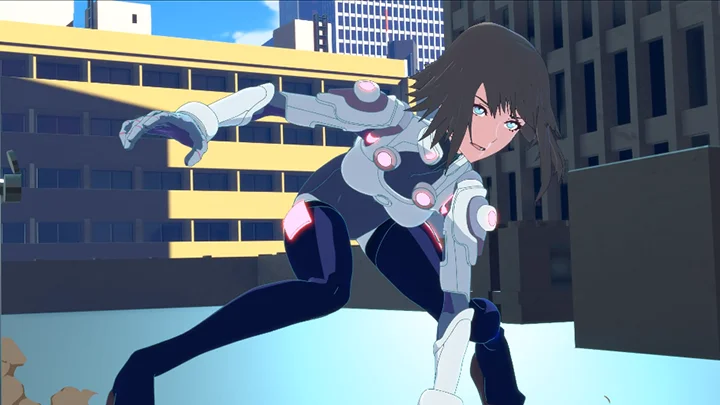
22. Main Character Animation- Setting up Grease Pencil layers for a Japanese-style animation - Rough LO animation - Clean-up and shading of concept art
23. Adding 2D Effects- Set up effect layers - Draw effects like dust and lightning - Add animation notes and additional elements
- SECTION 06
Applied Scene 2: 2D Aerial/Flying Action
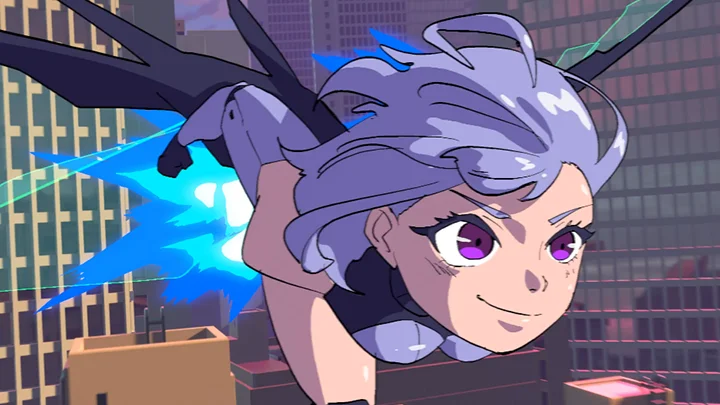
25. Rough Layouts That Blend Well with the Background- Understand the depth and composition of the background - Draw rough key poses
26. Main Character Animation- Tie down animation - Clean-up, color, and shading - Shading transparent wings - Create reflected images on glass backgrounds
27. 2D FX (Missiles, Lasers, etc.)- Impact frames - Booster effects for characters - Effects to give the impression of wind and speed
- SECTION 07
Applied Scene 3: 3D Water Background Action
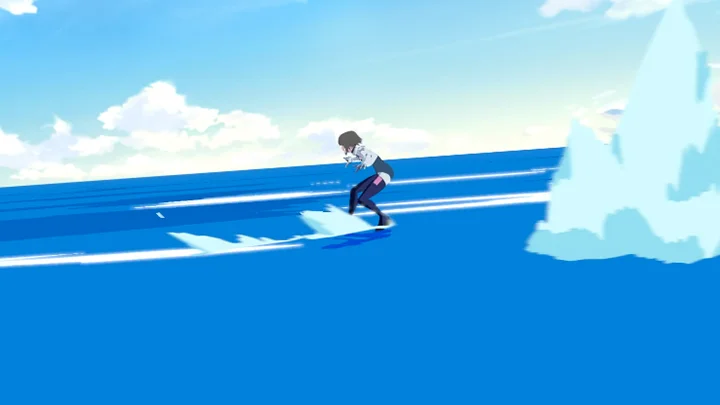
29. Rough Sketch Focused on Rhythm and Timing- Use simple rough sketches to decide the rhythm - Set up impressive key poses
30. Main Character Animation- Apply mid-poses with tips in mind - Choose where FK/IK switches should happen - Animate facial expressions and hair
31. 2D FX (Water Surfaces, Splashes, etc.)- Effects for contact points between characters and the background - Missile effects - Add effects like camera shake and blur
- SECTION 08
Applied Scene 4: 3D Gunfight Action
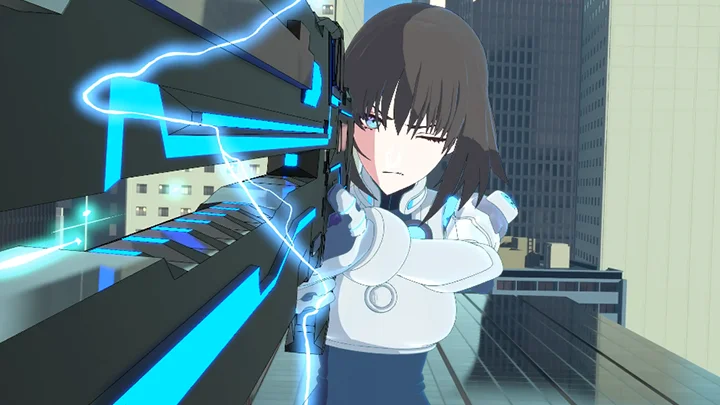
33. Blocking for Establishing Impressive Key Poses- Consider the shooting direction when setting key poses - Implement the movement for the firing impact - Add hair animation to match the shaking motion
34. Polishing for Smooth Transitions Between Key Poses- Create transitions between each key pose - Add details to give weight to the final pose - Make small adjustments like tilting the pelvis
35. 2D FX (Muzzle Flash, Impact, etc.)- Muzzle flashes and reflective effects on characters - Lightning and firing effects for a railgun - Use glow to make the effects stand out
- SECTION 09
Simple 2D and 3D Hybrid Application, Exclusive to Blender’s Grease Pencil
37. 3D Blocking and Camera Work- Adjust the rough position of the character - Set up the camera layout to match the character’s movement - Work on blocking the key poses
38. Finishing Step Animation Merged with 2D- Create the poses between key poses in step mode - Smoothly add inbetweens as steps - Leave spaces for 2D elements
39. Enhancing Liveliness with Partial 2D Integration- Set up Grease Pencil - Add animations to the spaces left for 2D
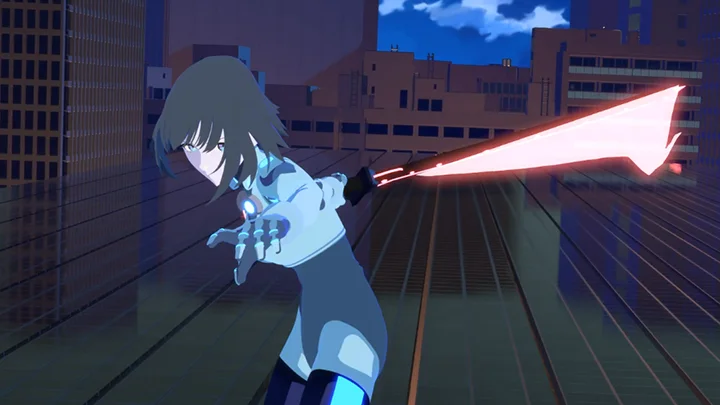
40. Effects and Final Touches- Impact frames - Smears and sword trails - Improve quality by adding post-effects - Final adjustments like camera shake