Details
引言

現在提供繁體中文版本,就在 Coloso!
向韓國頂尖創意大師學習
-
 從基礎到專業級的插畫大師班
 -
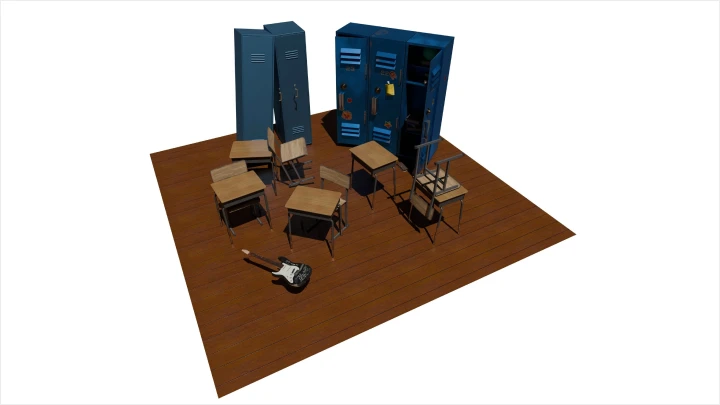
 使用 Blender 解鎖輕鬆的 3D 工作流程
 -
 豐富的筆記和 15 個練習檔案提升技能
課程介紹
插畫家 DABAEK
「想從畫裡傳達的內容太多,卻不知道該從哪裡開始嗎?現在,就來畫畫看超強氣勢的作品吧!」
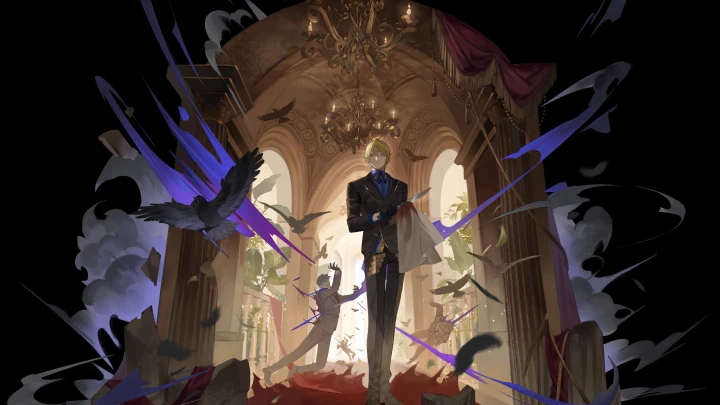
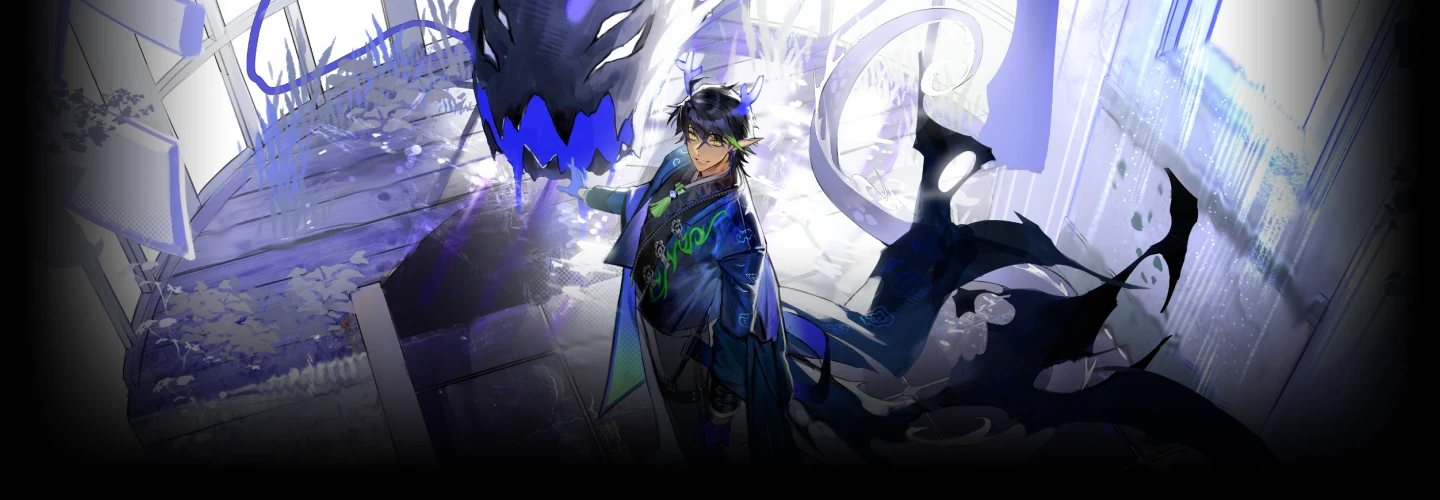
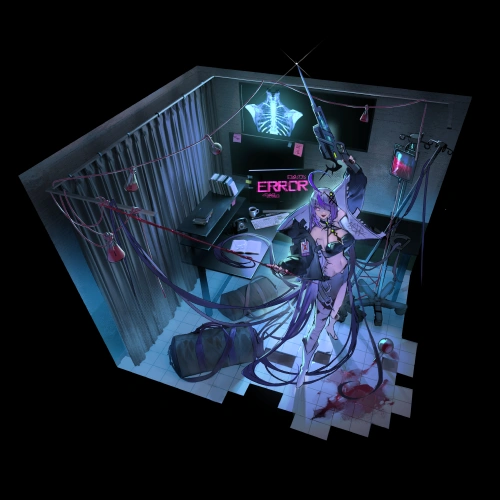
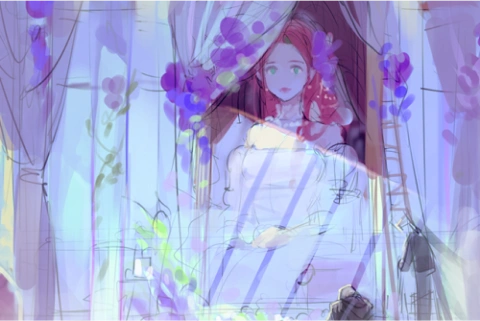
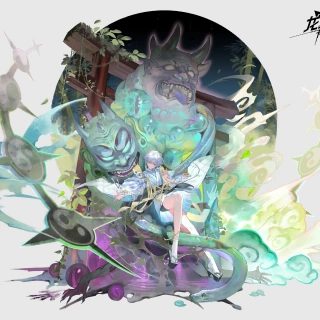
累積修課人數突破 1,000 人!DABAEK 大型角色插畫及 Blender 應用實戰
從角色到背景、物件、特效,
將所有元素濃縮於一張畫面中完成的大型肖像插畫!
是否曾在起步階段就感到不知從何下手,
或是反覆修改卻始終不滿意,陷入無限重來的循環呢?
等待超過一年、以累積修課人數破千證明實力的 Coloso 人氣講師 DABAEK, 帶來全面升級的實戰課程!
等待超過一年、以累積修課人數破千證明實力的 Coloso 人氣講師 DABAEK, 帶來全面升級的實戰課程!
全面掌握提升個人作品集品質的
肖像插畫完整製作流程!
從角色設計、畫面構圖、透視、人物配置、
物件設計、特效表現,到 3D 的實務應用
一次學會。
本課程將深入分享 插畫家量身打造、平時難以自學的 Blender 活用技巧, 以及如何製作具有震撼尺度感的大型肖像插畫。 現在,就在多百的課堂中, 用最簡單、最有趣的方式完整學習吧!
本課程將深入分享 插畫家量身打造、平時難以自學的 Blender 活用技巧, 以及如何製作具有震撼尺度感的大型肖像插畫。 現在,就在多百的課堂中, 用最簡單、最有趣的方式完整學習吧!
課程福利
獲得這些 Coloso 獨家福利
-
 從理論到實際應用11 份課程講義 PDF 檔
 -
 DABAEK 的插畫流程指南18 個原始練習文件(.psd、.clip)
 -
 自學指南,逐步成長3 項實作練習
課程材料詳情
-
 11 份課程講義 PDF 檔和 3 份參考資料- 3 份透視與形式理論 PDF 文件
- 4 份明度與價值理論 PDF 文件
- 1 份插畫實用練習 PDF
- 1 份角色規劃 PDF
- 1 份人像繪圖 PDF
- 1 份最終定稿指南 PDF
- 1 份筆刷與資源推薦 JPG
- 1 份線稿參考 JPG 文件
- 1 份色彩色調與調整濾鏡指南 JPG -
 18 個原始練習文件(.psd、.clip)- 3 份透視與形式理論 PDF 文件
- 4 份明度與價值理論 PDF 文件
- 1 份插畫實用練習 PDF
- 1 份角色規劃 PDF
- 1 份人像繪圖 PDF
- 1 份最終定稿指南 PDF
- 1 張 Brush 與資源推薦 JPG
- 1 張線稿參考 JPG 文件
- 1 張色彩色調與調整濾鏡指南 JPG -
 作業指南和範例文件- 3 項實作練習
推薦
這門課程適合誰?
想提升背景、物件、構圖等整體插畫演出能力的繪圖創作者
想透過 Blender 提升作業效率的 3D 初學者
想掌握大尺度插畫特有細節與品質的準插畫師
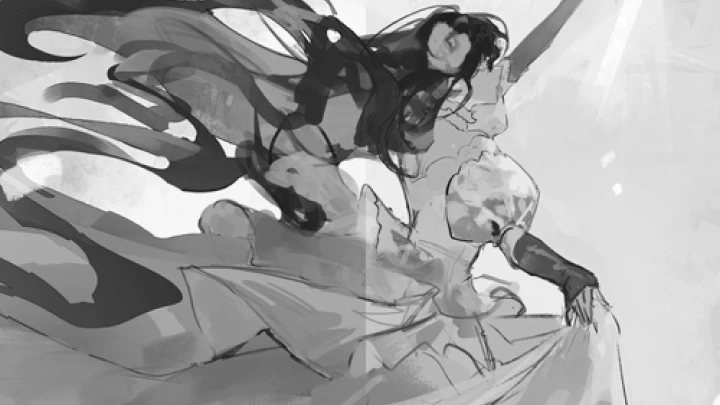
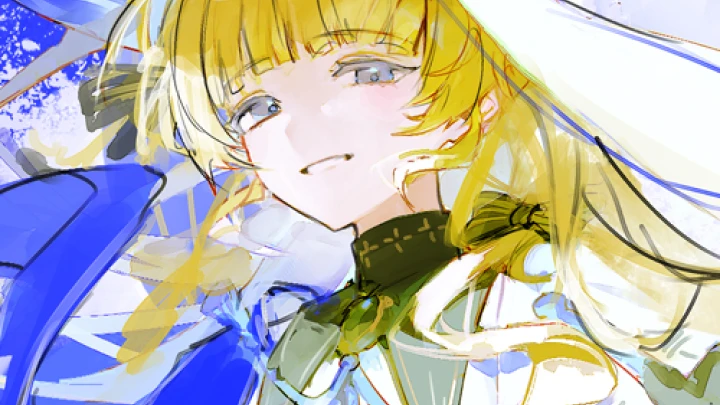
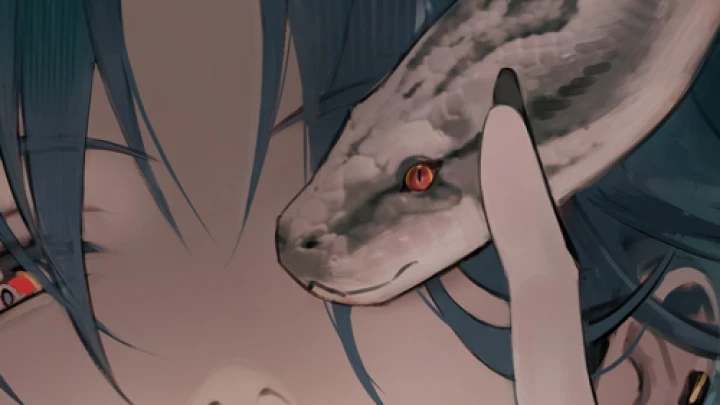
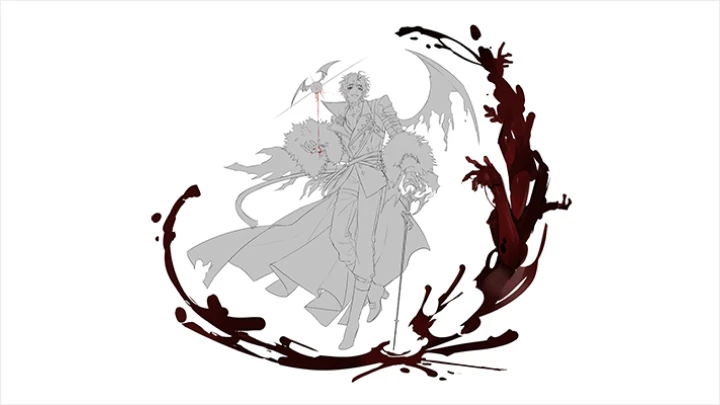
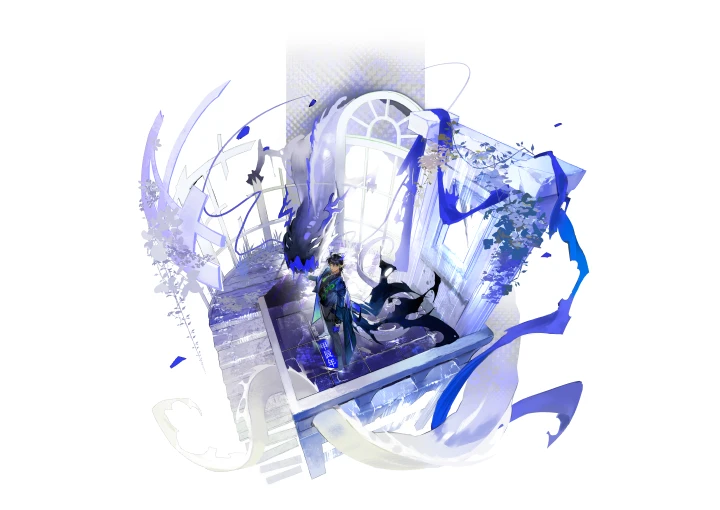
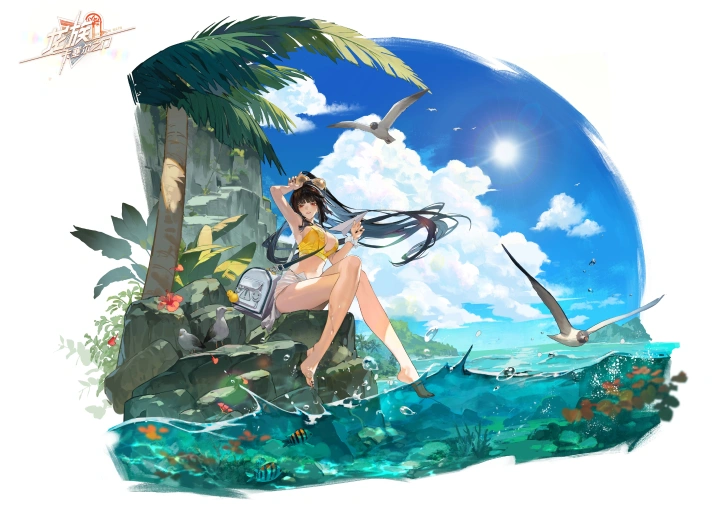
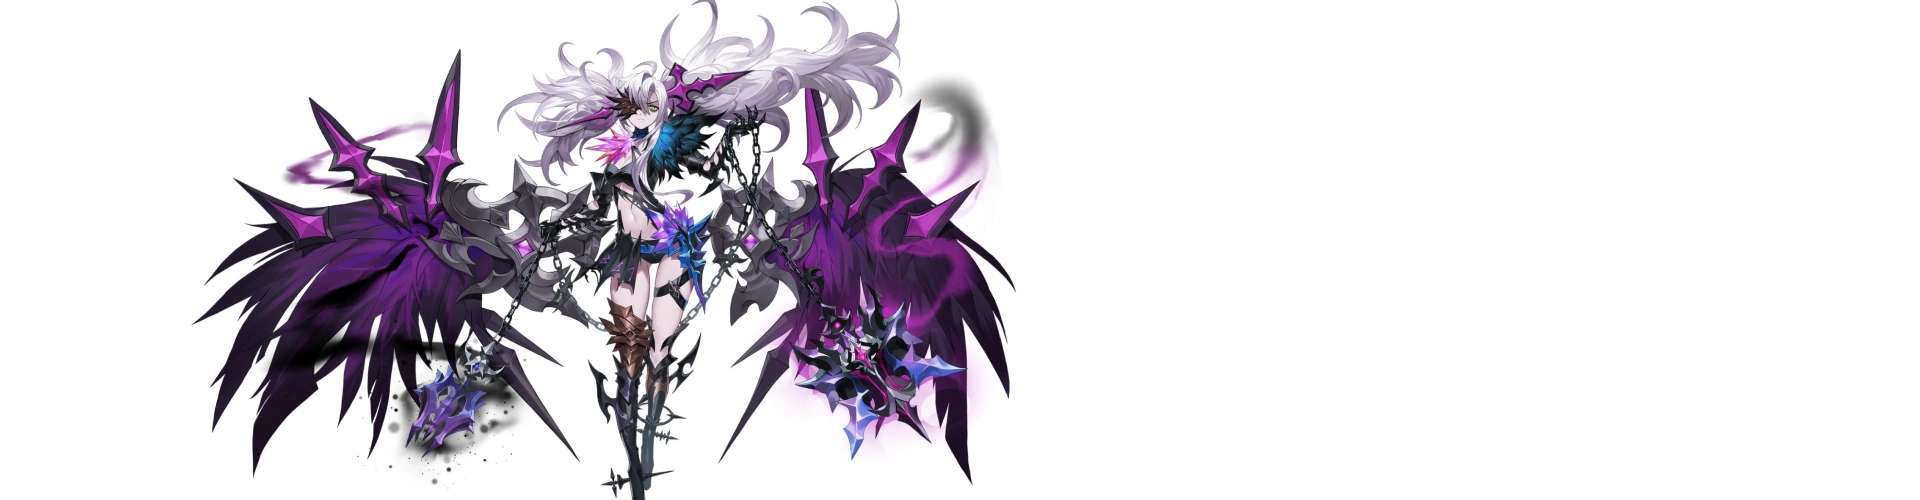
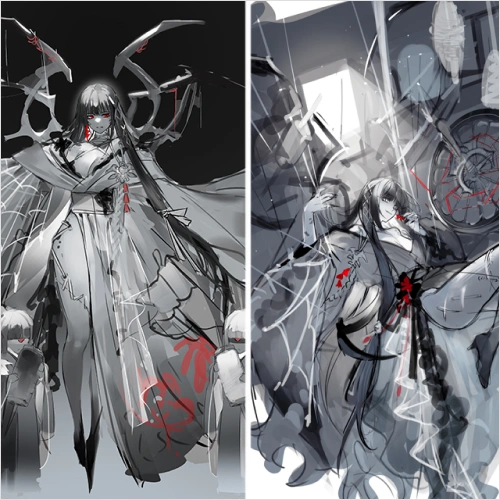
專業插畫家 DABAEK 的作品集
為什麼要上這門課程?
想提升涵蓋背景、物件與構圖的整體插畫演出力?
掌握大型人像插畫中「工作效率優化」這個關鍵核心吧!
面對符合畫面尺度的大量物件與構成元素,透過最佳化的工作流程,一步步完成高完成度作品。現在就為插畫師量身打造,最簡單、最友善的 Blender 3D 活用方法一次傳授給你。
捨棄困難又多餘的功能,只保留插畫創作真正需要的重點!
從建模工具的基礎操作、3D 資產配置方法、必要的算圖影像應用,到線稿提取流程,通通快速掌握。只學關鍵、不走冤枉路,專為大型人像插畫而生的 Blender 指南,就在 Coloso 等你來學習。

為現實世界做好準備
逐步掌握大型人像插畫製作 A to Z
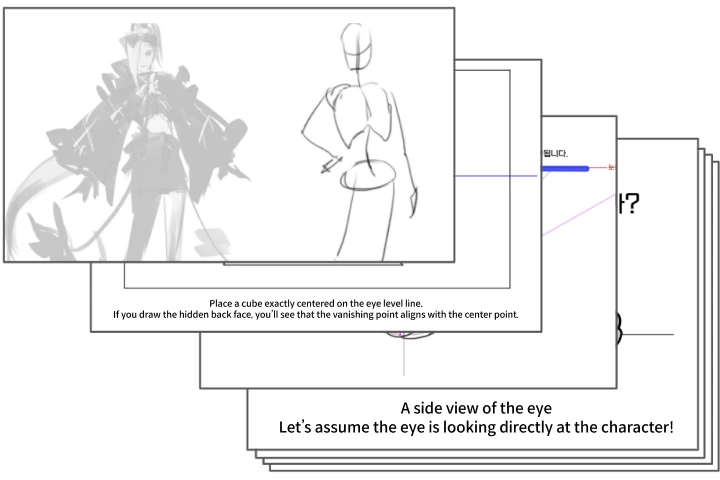
Part 1. 繪畫基礎:透視 × 明度 × 色彩全面掌握
-
 基礎理論學習與應用技巧
 -
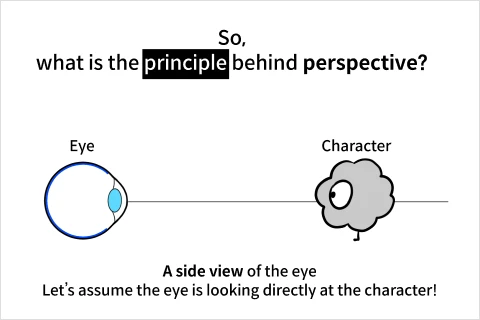
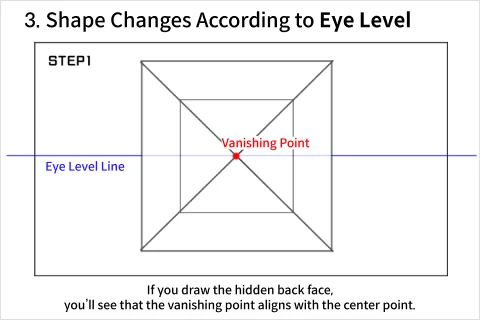 透視基礎術語理解
 -
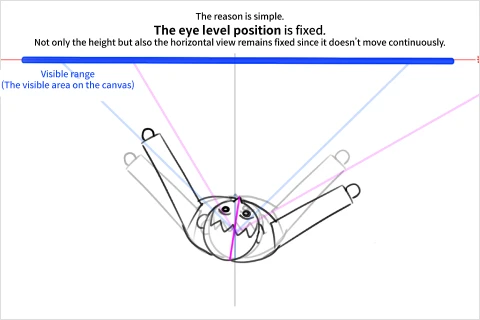 旋轉透視
旋轉透視
-
 亮度和明度的差別
 -
 色彩對比
色彩對比 -
 明度對比
明度對比
Part 2. 人像插畫基礎實作
紋理筆刷應用
-
 照片素材修圖
 -
 Blender 素材修圖
-
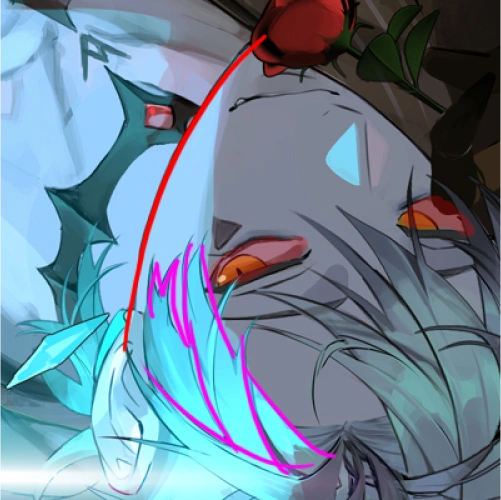
 利用幾何圖形進行特效實作
 -
 常見特效實作練習
Part 3. 蘊含世界觀的角色設計
-
 世界觀設定
世界觀設定 -
 角色道具和背景設定
 -
 正面服裝配置
Part 4. 人像插畫構想稿製作
-
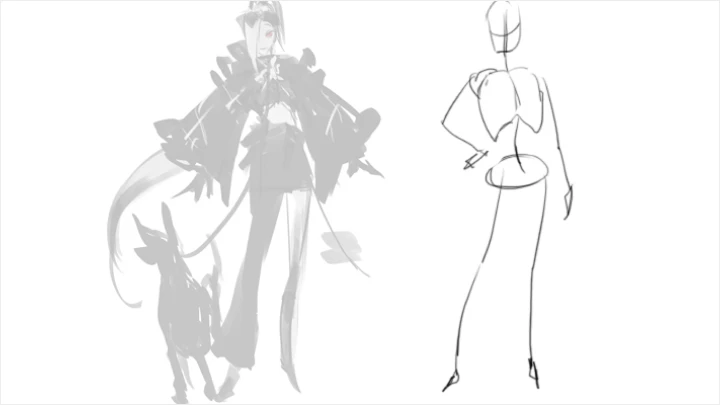
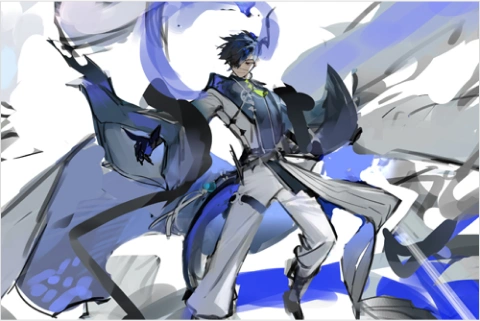
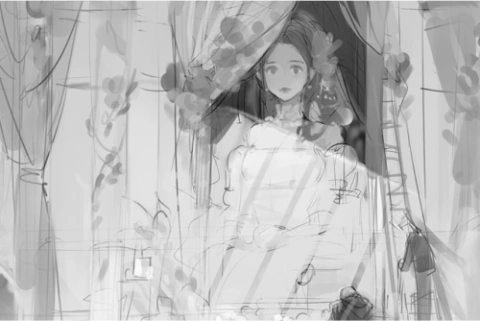
 草稿 01:線條與塊面
 -
 草稿 02:Blender 應用
-
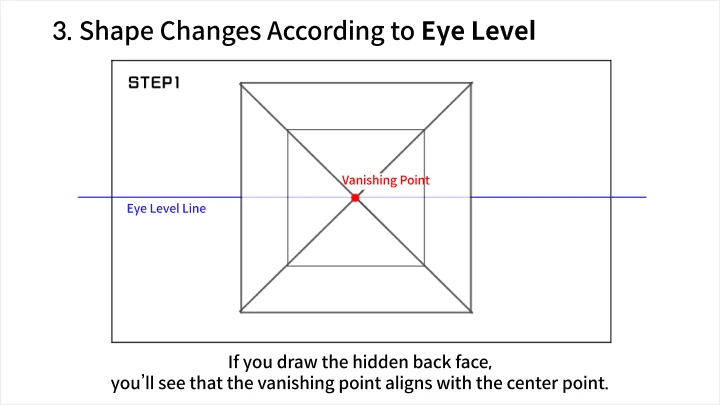
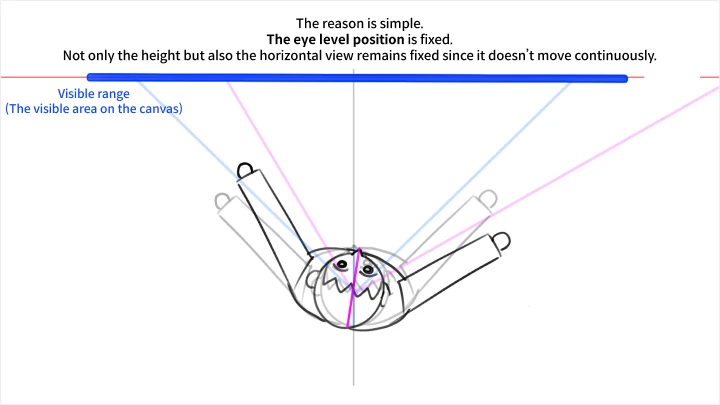
 草稿 03:視線高度變化
 -
 草稿錯誤整理與解析
-
 光源方向設定
 -
 彩色草稿
彩色草稿 -
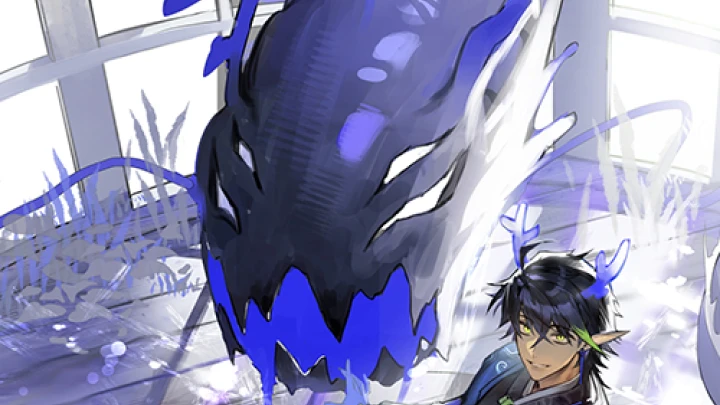
 特效配置
特效配置
Part 5. 最簡單且高效的 Blender 應用實作
-
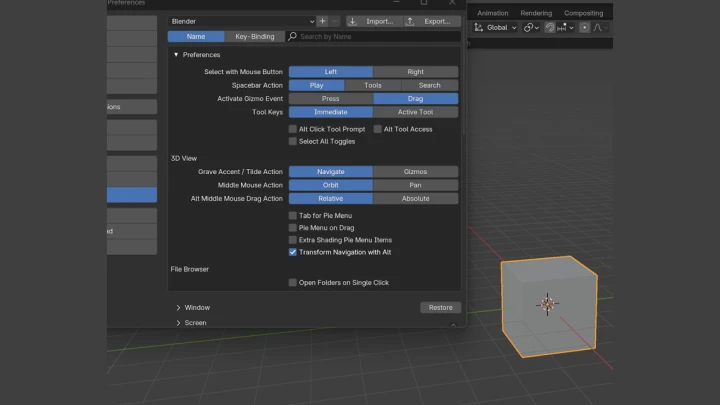
 修改器功能
修改器功能 -
 燈光和攝影機設置
 -
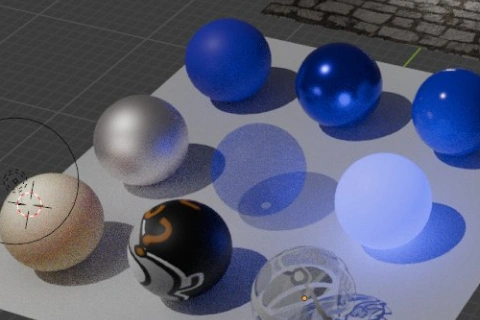 使用插件進行紋理製作
-
 Blender 資產使用方法
 -
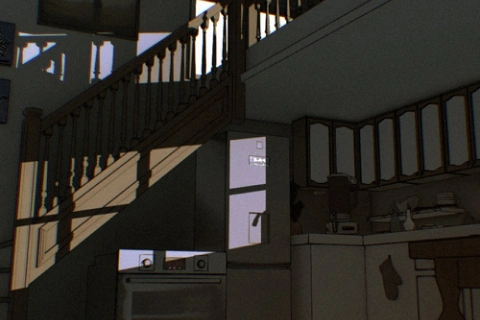
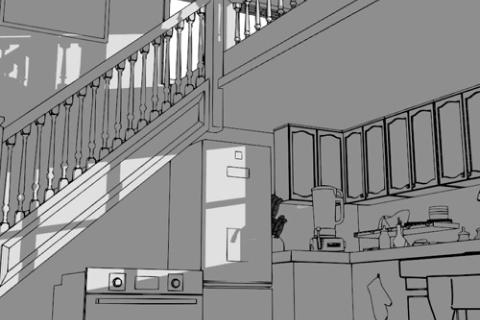
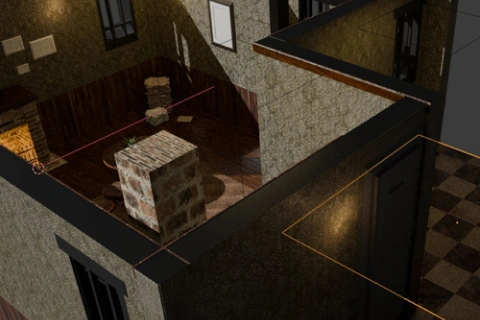 建立虛擬房間
 -
 油性鉛筆使用技巧
Part 6. 人像插畫完整實作
-
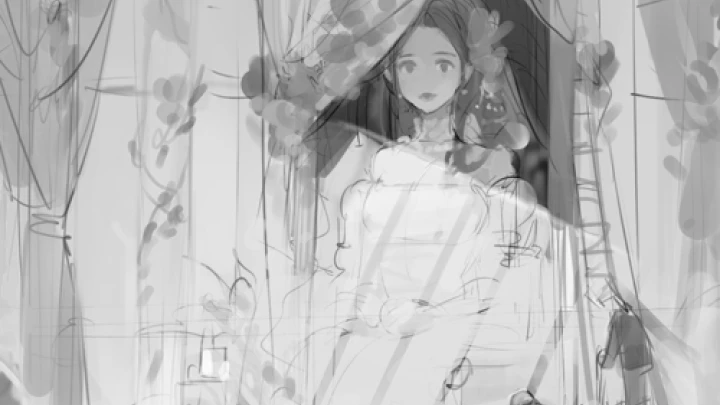
 部件拆分階段
 -
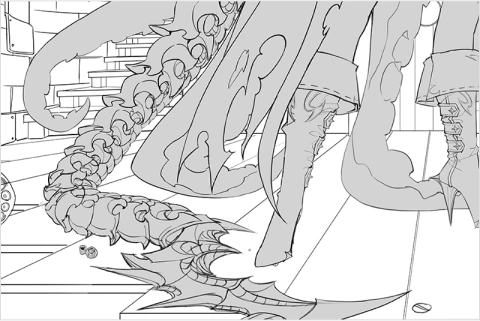 線稿製作
線稿製作 -
 人物與背景的上色整合
-
 Blender 圖像修圖
 -
 後期修飾
後期修飾
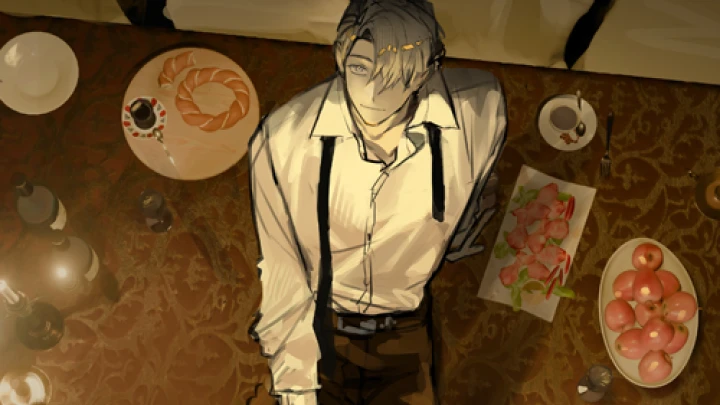
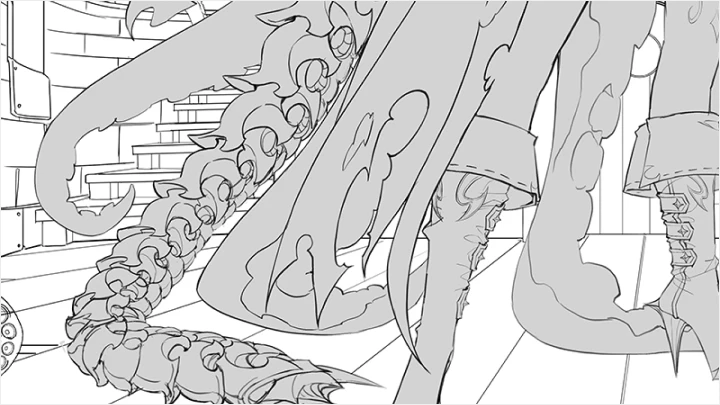
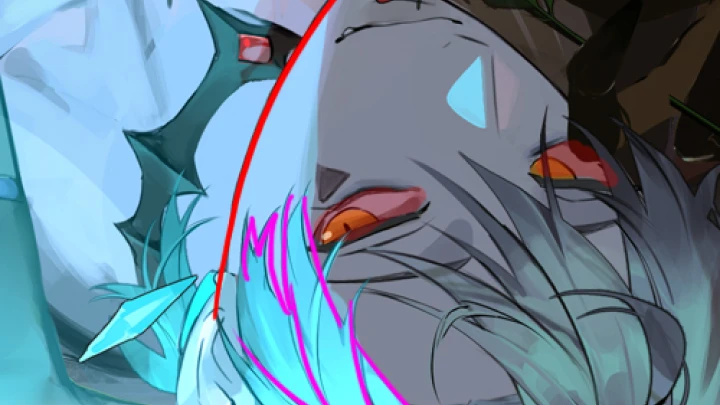
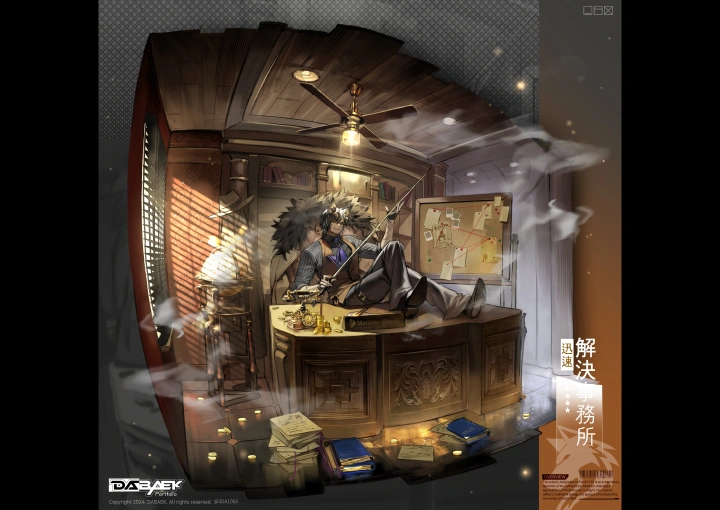
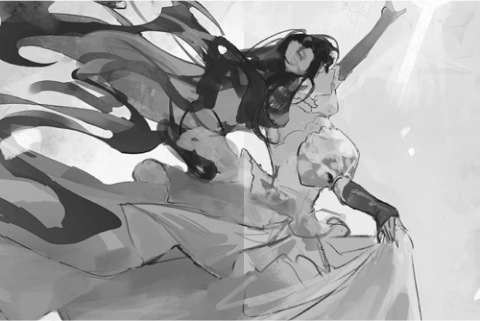
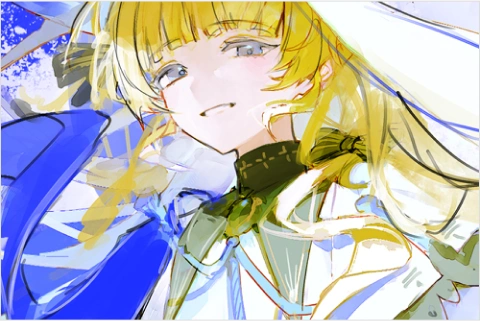
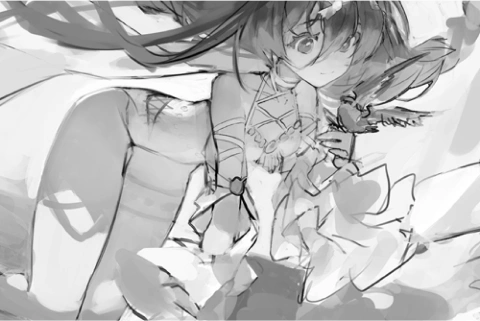
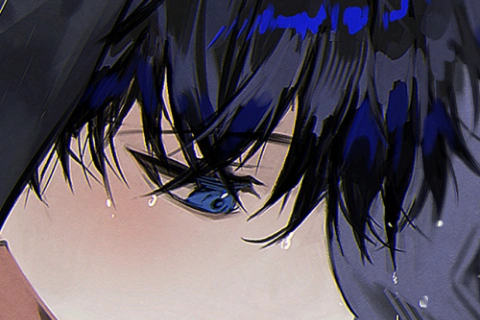
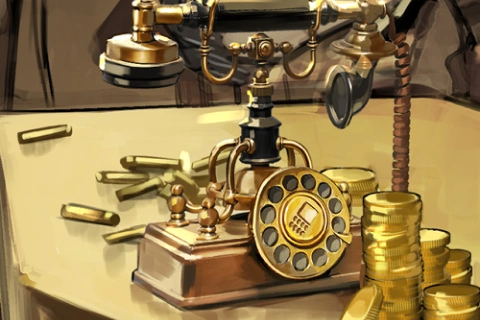
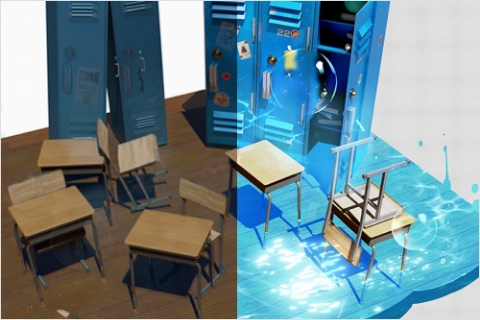
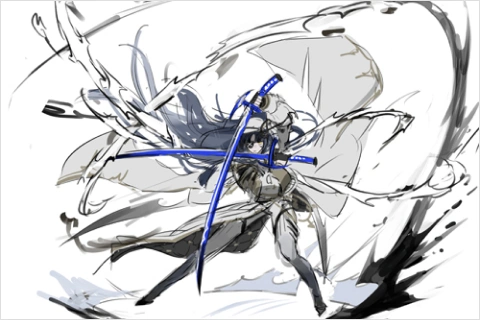
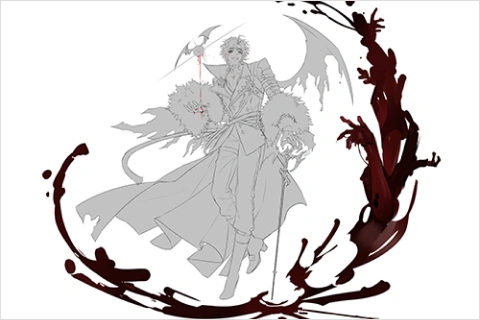
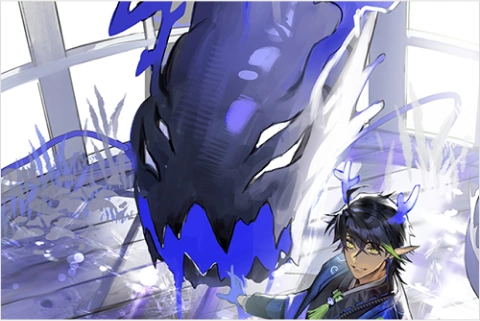
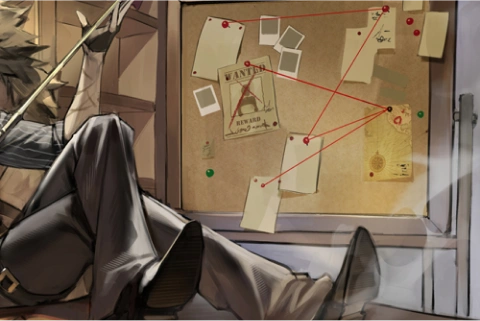
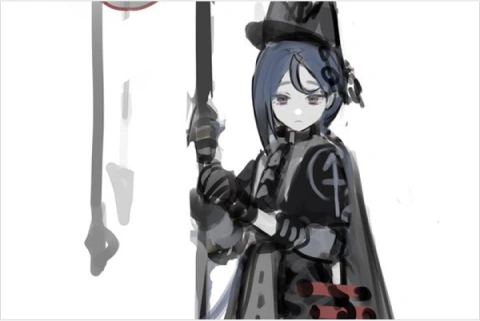
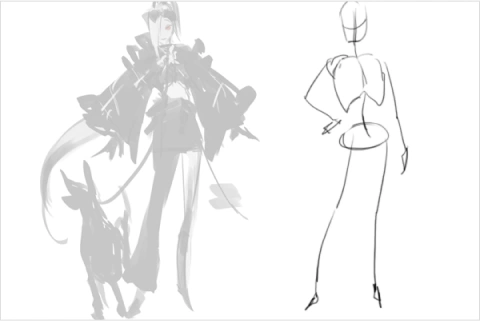
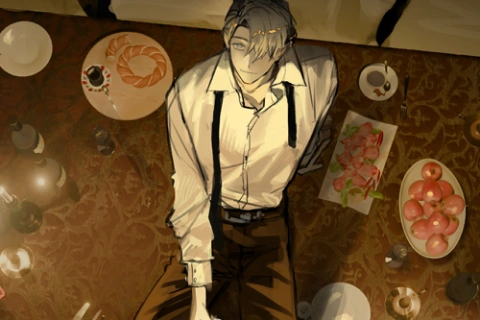
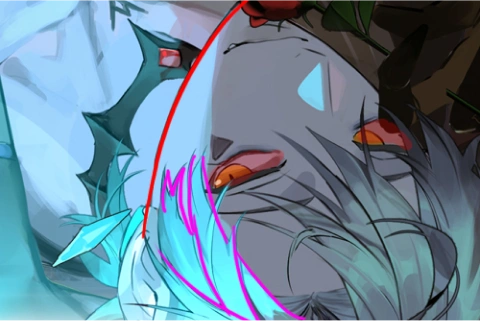
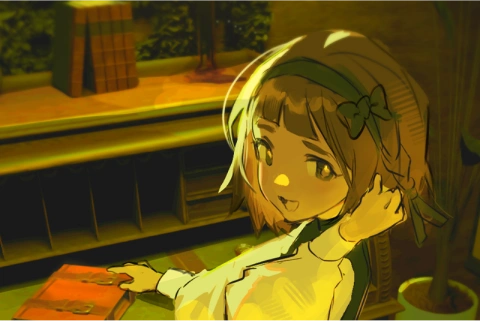
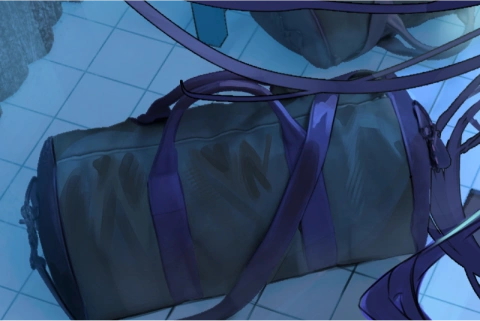
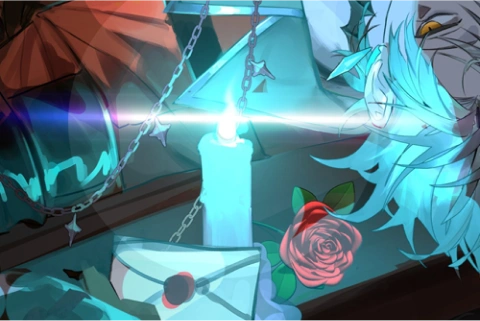
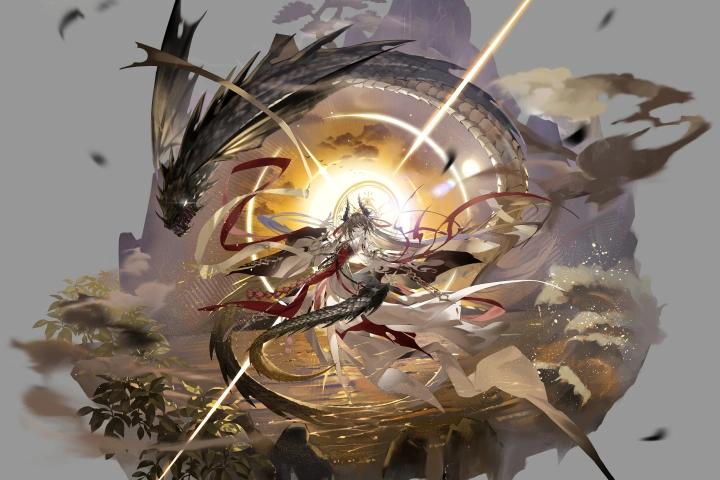
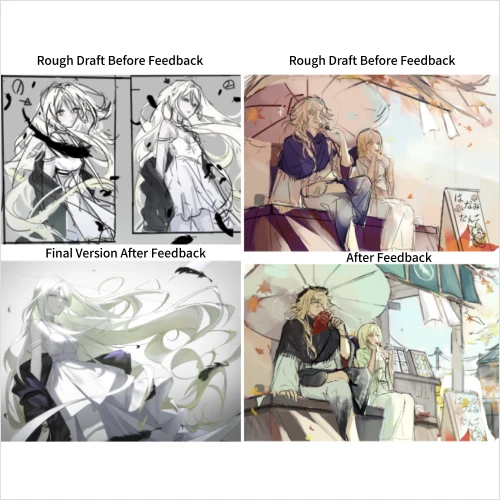
* 以上為範例圖像,僅供課程參考。
插畫家
DABAEK
你好,我是插畫家 DABAEK。曾參與多項封面與遊戲立繪插畫製作,目前也擔任 Propic Academy 的講師。本次課程將延續前一篇著重於插畫構成與構圖演出的內容,進一步為大家帶來《大型插畫的肖像設計與 Blender 秘訣班》。
在這堂課中,我將結合自己參與各種實務專案的經驗,從入門門檻高、容易讓人卻步的 Blender 使用方式,到實際動手時常感到困難的遊戲產業必備肖像插畫,一次完整地與大家分享。讓我們一起創作出規模更華麗、更加吸睛的插畫作品,同時也能更親切、自然地熟悉 3D 工具 Blender。
講師
插畫家 DABAEK
[現職]
自由插畫家和概念藝術家
[經歷]
Propic Academy 講師
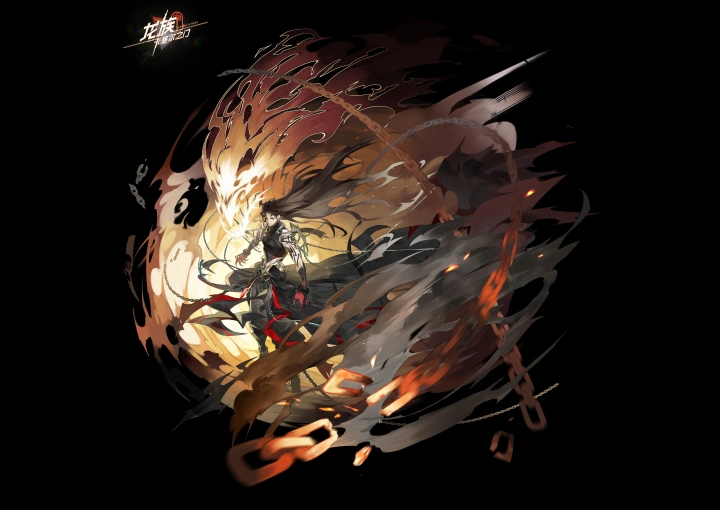
代表作品和獲獎經歷
[參與專案]
《黑色倖存者》插畫
《永恆輪迴》插畫與原畫
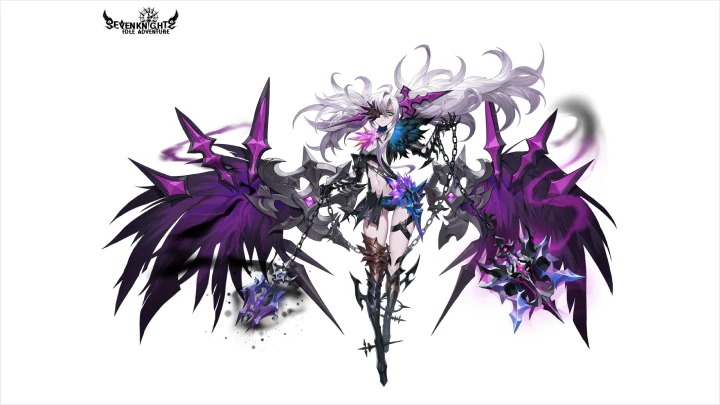
《跑跑薑餅人:烤箱大逃亡》克蘿伊插畫
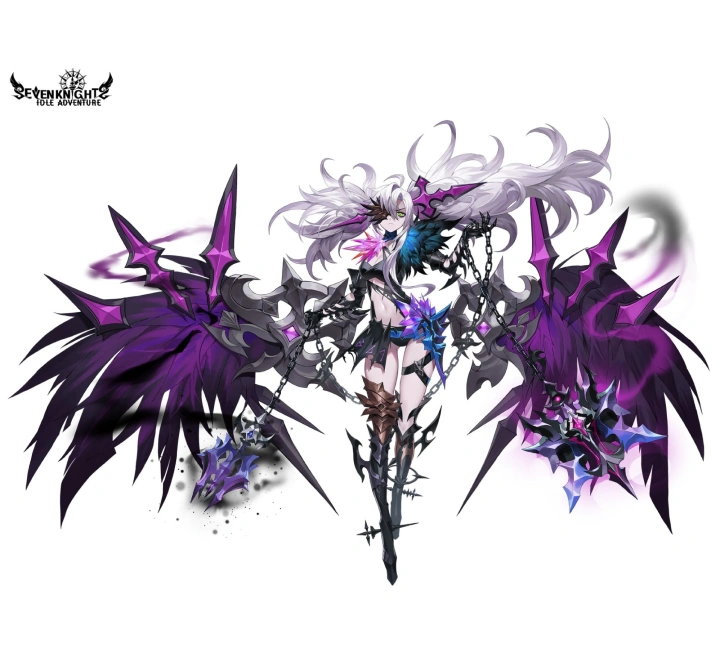
《七騎士》插畫
《七騎士RE:BIRTH》插畫
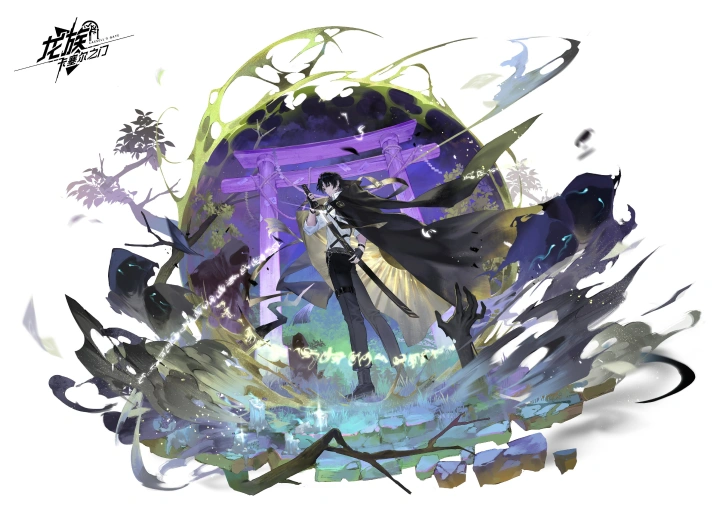
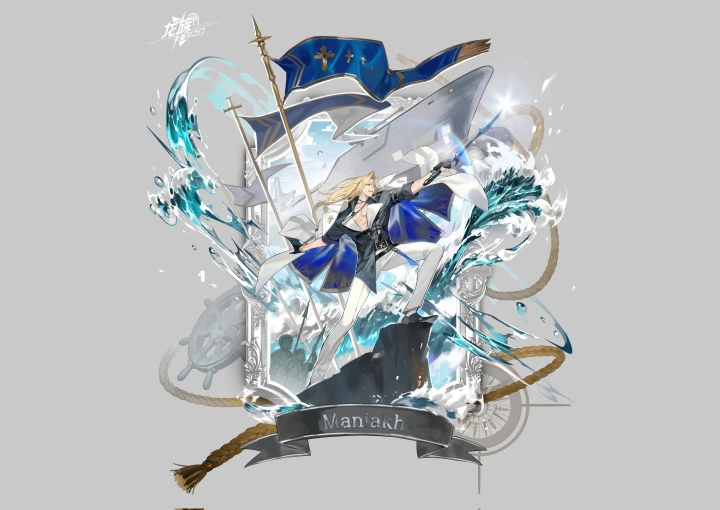
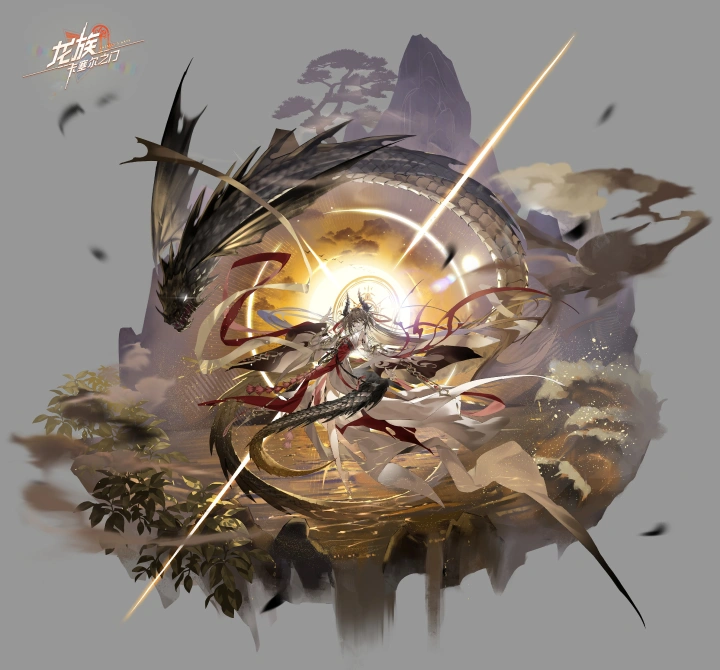
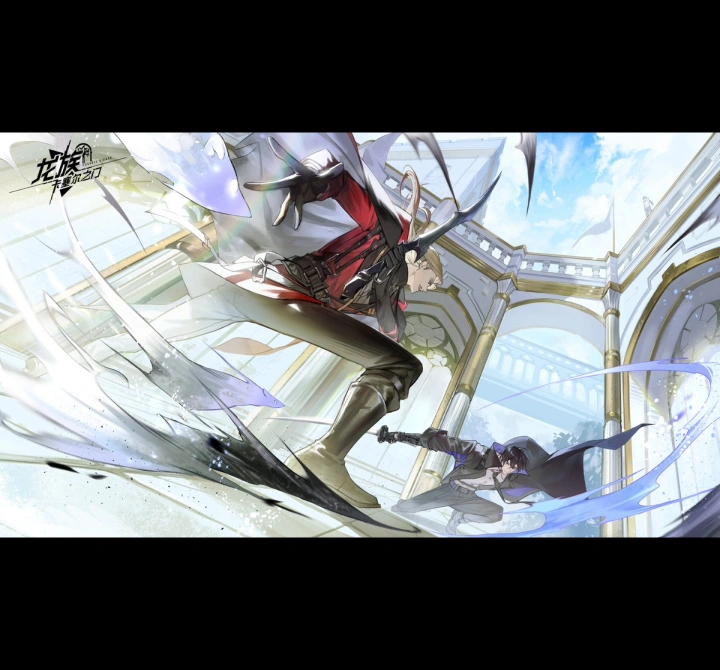
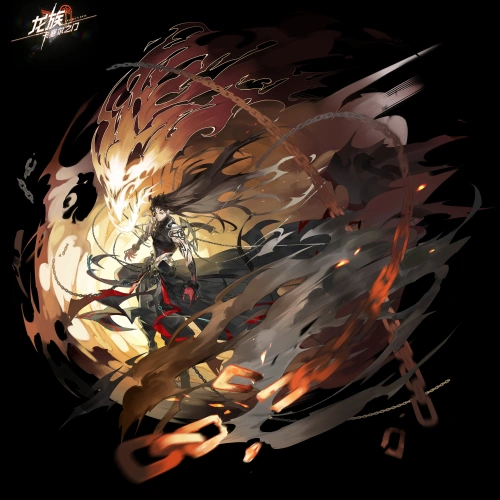
中國《龍族:卡塞爾之門》插畫
《海之痕》有聲書插畫
其他多項未公開插畫與封面作品
學員回饋
來自 DABAEK 學員們的真心推薦
-
 學員 A
學員 A我最喜歡 DABAEK 課程的一點是,學習難度循序漸進,而且在每一個階段,講師都會提供清楚明確的範例與說明,讓學生可以一步步跟著完成。
過去的我總是急於求成,一開始就想把作品做到最好,結果反而留下了許多半途而廢的作品。透過 DABAEK 有系統的作業安排與細緻的指導,即使是像我這樣基礎較弱的學員,也能毫無壓力地跟上課程節奏。
多虧了 DABAEK 的課程,現在的我已經能完成過去連想都不敢想的大規模插畫作品。 -
 學員B
學員B我一直以來都是作畫速度偏慢的創作者,加上對人體解剖學掌握不足,無論做什麼都必須花上別人兩到三倍的時間。過去完成一張全彩插畫,至少需要兩個月……如果中途感到疲憊或靈感枯竭,時間甚至會拖得更久。
上了 DABAEK 的課程之後,我發現自己能更長時間地專注在繪畫上。雖然改變並非立竿見影,但整體工作時間確實有逐漸縮短的感覺。
現在,不論需要花多少時間,我都會抱著這樣的心態完成每一件作品:「把它當成一張完整的插畫來完成——連背景一起。」多虧了 DABAEK 的引導,我才能穩定地一張一張完成作品,一步步累積成果,每次開始新專案時也更加有信心。 -
 學員 C
學員 C在上 DABAEK 的課程之前,我讀過解剖學書籍、人體素描指南,也上過各式各樣的課程,但始終沒有真正理解其中的核心。我不明白肌肉為什麼會以某種方式運動、骨骼為何會連接在特定的位置,也無法理解某些區域的光影是如何形成的。
在 DABAEK 的課程中,即使是最基礎、也是學生最容易感到混亂的概念,他都能用非常淺顯易懂的方式進行說明。一旦理解了這些關鍵觀念,我才終於明白過去那些教學內容真正想要傳達的是什麼。
DABAEK 不僅講解人體解剖學,還涵蓋了如何正確且有效地使用工具、如何修正與調整作品,以及顏色的處理方式,幾乎囊括了完成一張完整插畫所需的所有要素。
這並不是只在上課當下才有幫助的內容。即使在我之後的自學過程中,課程中提到的許多觀念仍然持續發揮作用,對我的創作帶來了非常長遠的幫助。
精彩片段
課程亮點
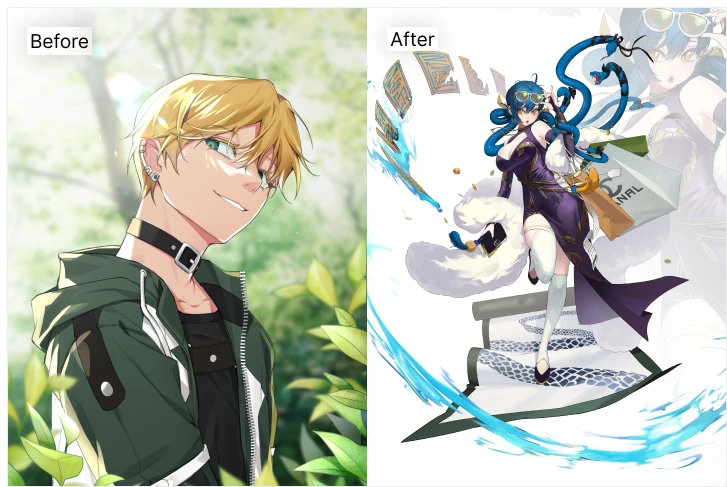
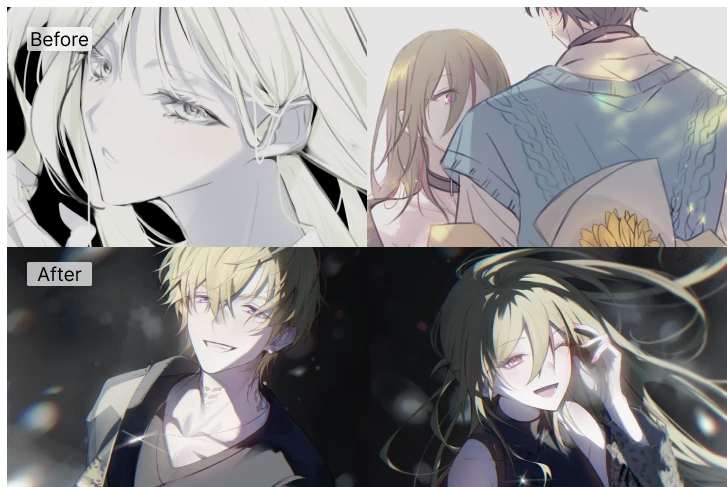
從理論到實作、再到示範!三大階段完整掌握角色肖像插畫
透過「理論-實作-示範」三階段深度學習,系統化掌握角色肖像插畫的完整製作流程。 從透視與色彩理論打底,實際練習修圖、特效表現、色稿製作與 Blender 操作,並在示範環節中,將前面學到的技巧實際應用於完整作品。 由構圖發想、元素配置到整體演出,一步步學會大規模插畫專案的實戰製作流程。
同時提升效率與品質!Blender × 素材 200% 活用技巧
專為插畫師打造的 Blender 與素材整合運用教學。 即使是第一次接觸 Blender,也能從最基礎的 UI 設定開始,循序學會各類資產的實用方式。 課程將分享大幅提升作業效率的 Blender 操作技巧、照片與 3D 素材整合方法,甚至包含霧面繪景應用,讓你真正做到一次學會、長期受用。

實力直線成長!豐富的整理筆記及原始專案完整提供
為了幫助學員快速突破瓶頸,課程提供份量十足的學習資源,像是系統化整理的重點筆記,將過去難以理解的透視、結構、明度與色階等基礎觀念一次打穩;並提供實作範例原檔,讓你能實際對照練習。 此外,還完整收錄廣受好評、協助無數學員建立自學節奏的「30 天挑戰作業指南」,以及對應的作業檔案,全面支援你完成一張張高完成度插畫作品。
課程詳情
你會學到
-
 聚焦肖像插畫!大尺度構圖與演出技巧學習最適合大型肖像插畫的 DABAEK 角色插畫構圖與演出心法。從基礎理論到實作練習,循序掌握專為大畫面設計的構圖邏輯與配置方式,不只停留在概念層面,而是聚焦於「大型插畫」所需的核心思維與實戰流程。
 -
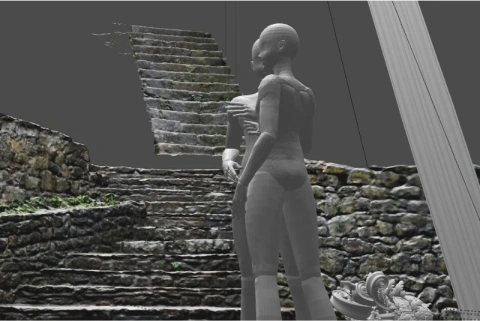
 插畫師的 3D 祕密武器:Blender 入門指南即使是 3D 完全新手,也能輕鬆上手的 Blender 教學!只使用基礎功能與現成資產,實際製作可直接用於插畫的渲染素材。從基本設定、資源運用,到不同渲染圖在插畫中的角色定位,幫助你找到最適合自己的 3D 輔助流程。
 -
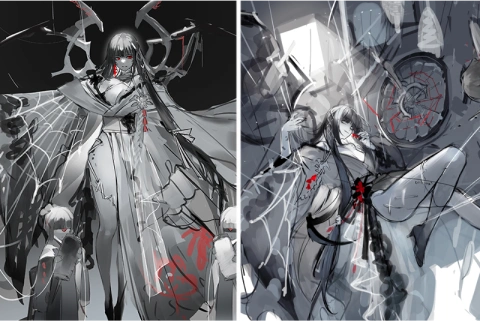
 肖像插畫必修!特效演出與表現實作為肖像插畫注入吸睛亮點,學會實用又華麗的特效表現技巧。透過簡單幾何形狀建立特效基礎,實際繪製並調整各種常見屬性,練習如何在大型插畫中運用特效,讓畫面更具層次與視覺張力。
-
 完成遊戲立繪的關鍵:角色部件拆分技巧專為遊戲角色製作的部件拆分教學!了解不同於一般插畫的拆分順序與思維,掌握常見拆分部位、細分程度,以及實作時的注意事項,學會能直接套用到自身專案的實用拆分流程。
 -
 順暢無阻的大型插畫製作流程依照作品用途,理解立繪與肖像插畫在尺度與使用情境上的差異。釐清過往令人卻步的大尺度插畫流程,建立清楚的製作邏輯與整體視角,最終能獨立完成結構簡潔、完成度高的作品。
 -
 重新校正方向的錯誤筆記DABAEK 親自整理的「錯誤筆記」,一次解決卡關問題!彙整學員在創作中最常提問、最容易出錯的環節,以及完稿前必檢的重點項目,幫助你在每一次創作中不再迷失方向。
訪談
插畫家 DABAEK

Question.01
您在工作中最大的優勢是什麼?
我能同時活用 Photoshop、Clip Studio,甚至 Blender 進行多元創作。由於長期以肖像插畫為核心創作方向,不僅對特效表現有深入理解,也熟悉背景與角色之間的整體關係,能將這些經驗完整地分享給學員。
Question.02
您提到的這些優勢,是如何融入本次課程的課綱設計中?
本次課程在前段的理論章節中,將先學習透視與色彩相關基礎;接著進入實作階段,實際操作各種修圖技巧與特效演出。在以肖像構圖為前提下進行色彩草稿的同時,也會精選插畫師實際工作中最常用的 Blender 基礎功能,讓即使是初學者也能輕鬆上手。最後的示範章節,將整合前面所學的技巧與內容,完整完成一張插畫作品。
Question.03
這堂課的企劃理念與獨特賣點是什麼?
與一般的 Blender 課程不同,本課程將重點放在「如何將 3D 工具實際融入肖像插畫創作流程」。學員不僅能學到 3D 圖像或照片素材如何經過修飾後自然地結合進插畫中,也能理解在遊戲製作中常見、但與虛擬角色不同的「角色分件」是如何規劃與運用的。
Question.04
給學員們的話。
從一開始到現在,我的教學核心始終放在「親切」與「有趣」。希望能和大家一起,用輕鬆的方式面對原本看似困難、陌生的 Blender,以及在遊戲中常見、卻實際動手時容易感到迷惘的肖像插畫創作。期待這堂課能成為一段拉近距離、一起前進的創作時光。
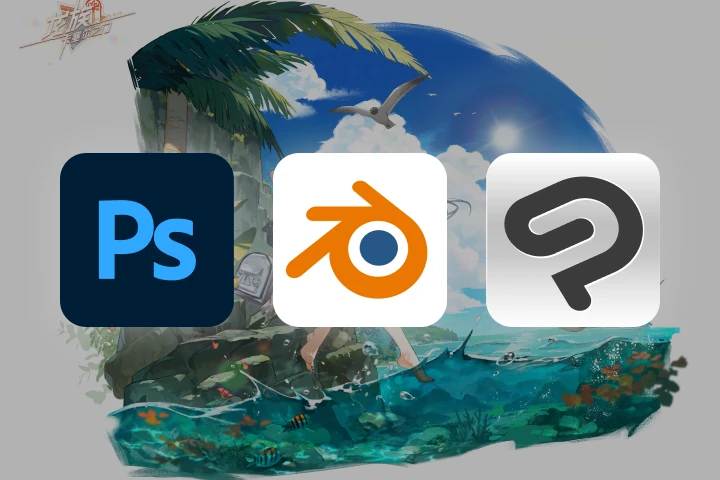
所需軟體
本課程將使用 Adobe Photoshop 2025、 Blender 4.2.6 LTS 和 ClipStudio EX 4.0.3。
請購買並安裝上述軟體以獲得最佳的課程體驗。
* 支援的版本:Adobe Photoshop 2021 或更高版本、 Blender 3.0 或更高版本、Clip Studio EX/PRO(任一)/ 2.2 或更高版本
* 本課程不提供課程所需的軟體及材料。。