illustrator,rojo3_로호3KR Details
Intro

Now in Your Language, Only on Coloso!
Learn from Korea's Top Master Creatives
-
 Minimal Tools, Maximum Style
 -
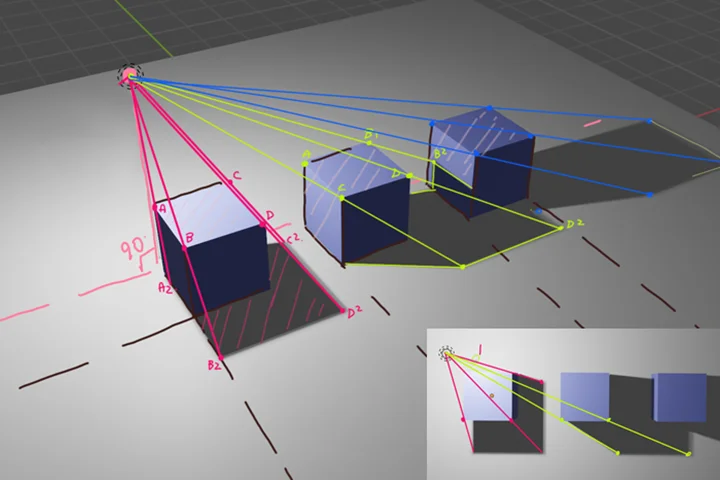
 Dynamic Perspective & Light
 -
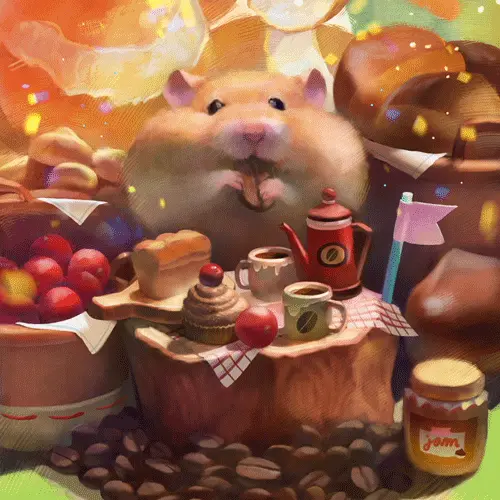
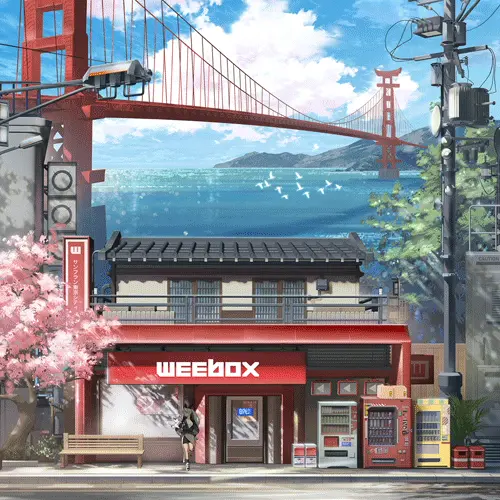
 Build Portfolio-Ready Scenes
Class Intro
Illustrator, Rojo
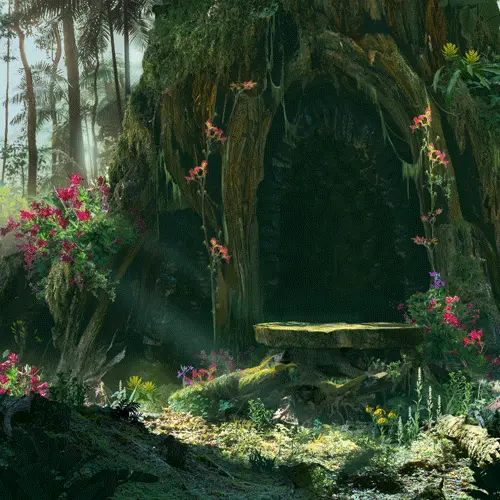
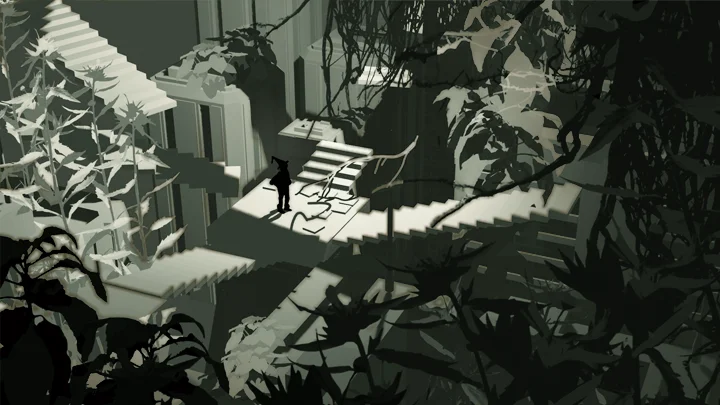
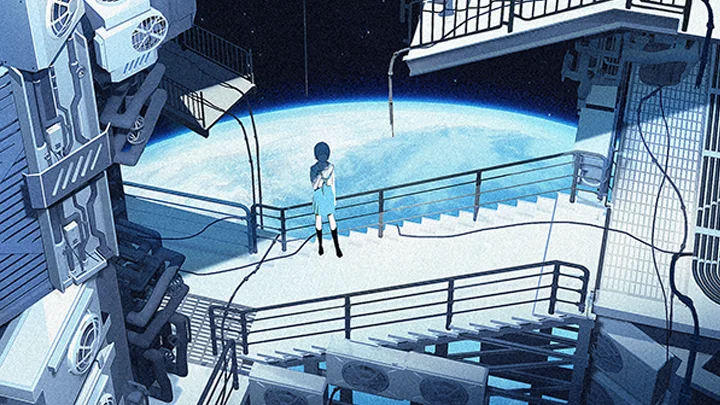
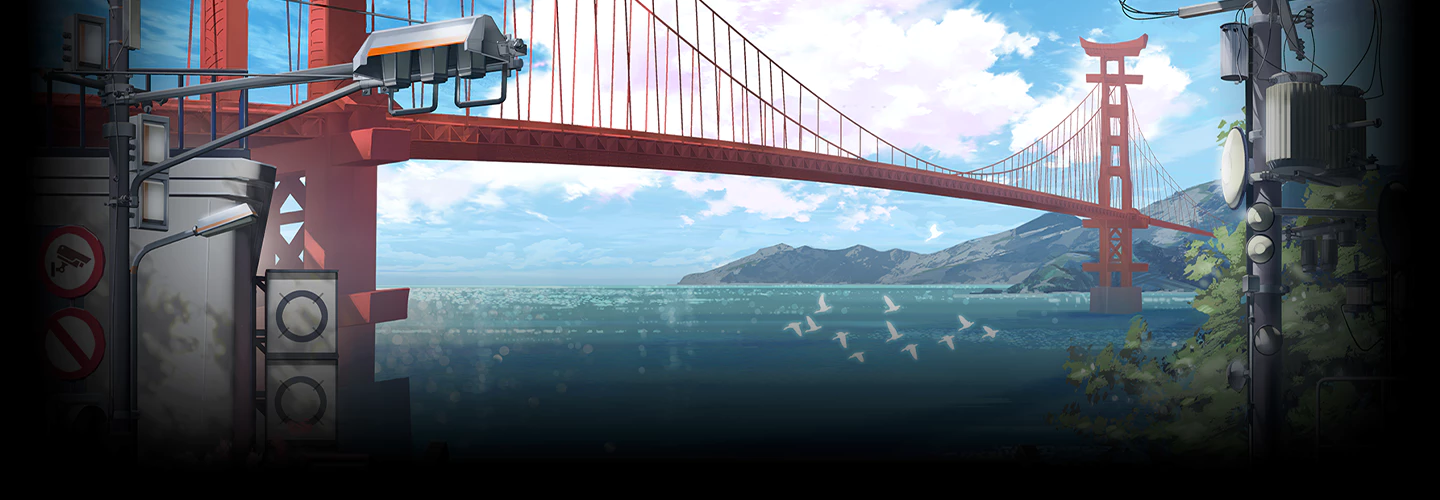
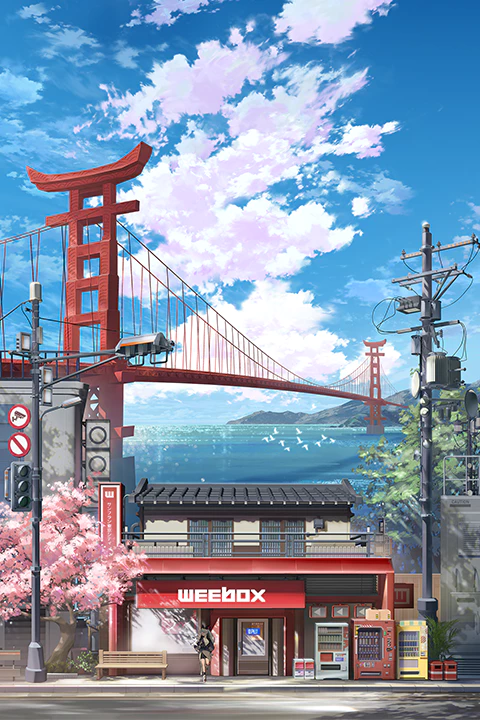
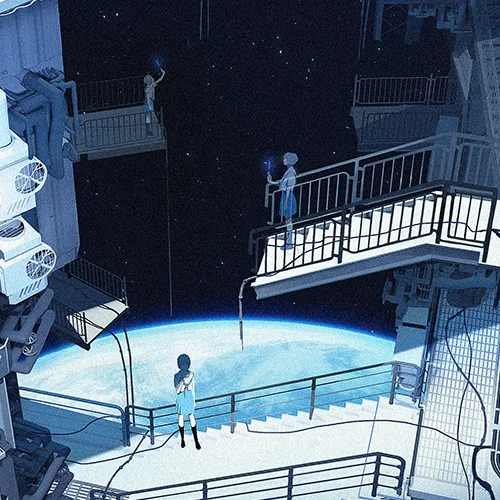
Enhance your background drawings using the free 3D tool Blender to achieve more accurate perspective and spatial depth.
Turn Beginner Drawings into Professional Art with Blender
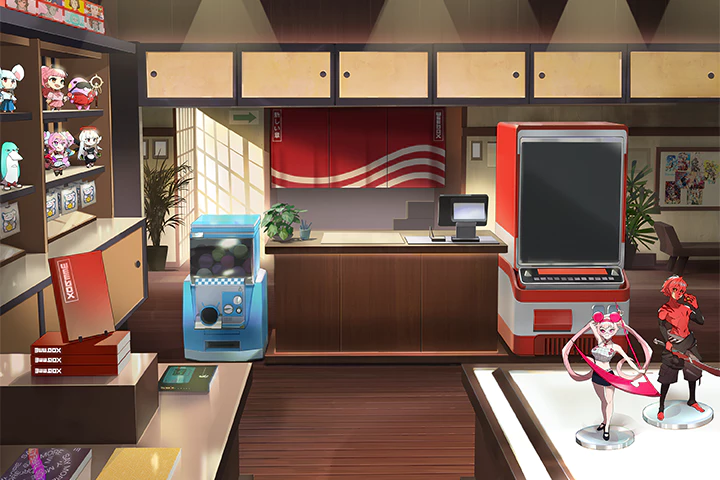
Do your illustrations seem to lack something, even if you're using the same backgrounds and image resources of props as top illustrators? Learn to use the free 3D tool Blender so you can emphasize the 3D look and depth of your work to the maximum. Discover how to use resources to draw more vibrant-looking backgrounds, giving your illustrations the exact 3D look they need.
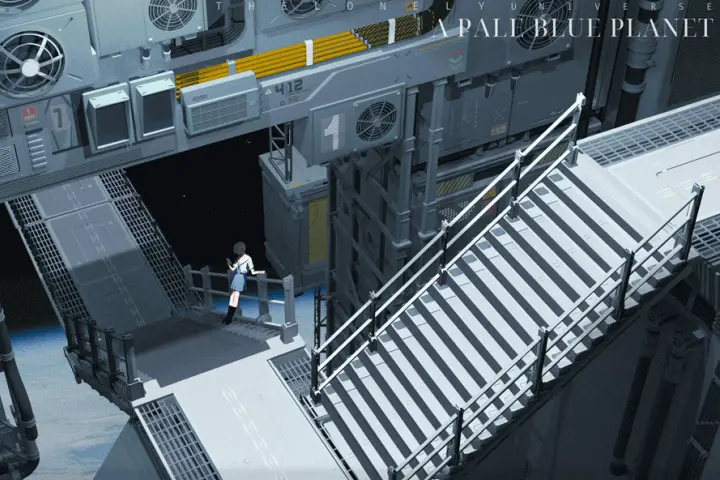
Grab the rare opportunity to learn using Blender in ways tailored to illustrators! Learn only the essential skills, such as drawing backgrounds in different sizes and retouching and post-correcting illustrations in your own style, as well as arranging and combining characters with backgrounds for a more natural look. Join Rojo as she guides you through ways to draw like a pro while ensuring harmonious composition and higher work efficiency.
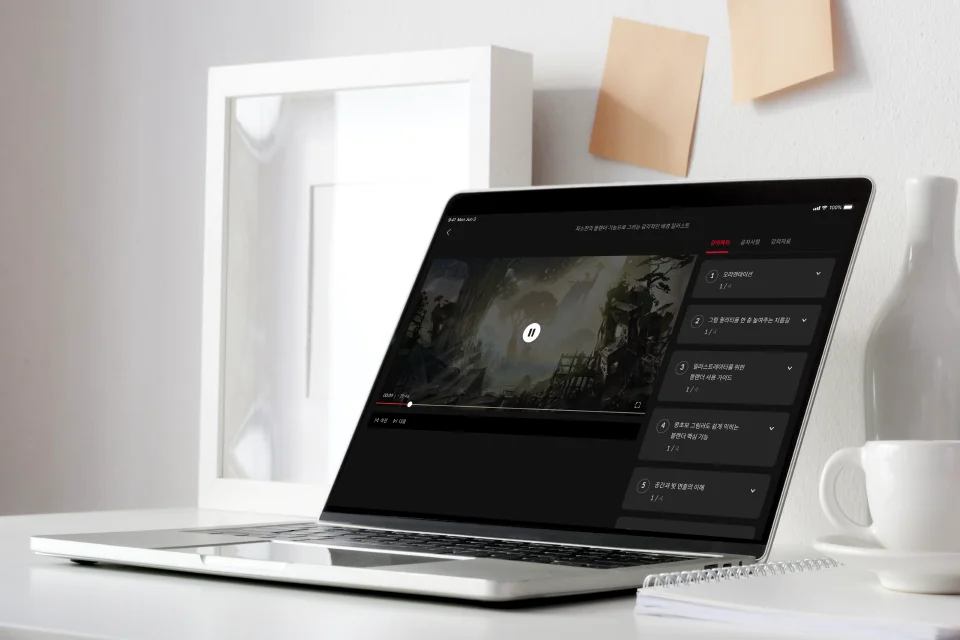
Class Preview
Still Not Sure?
Check Out Rojo's Class Preview!
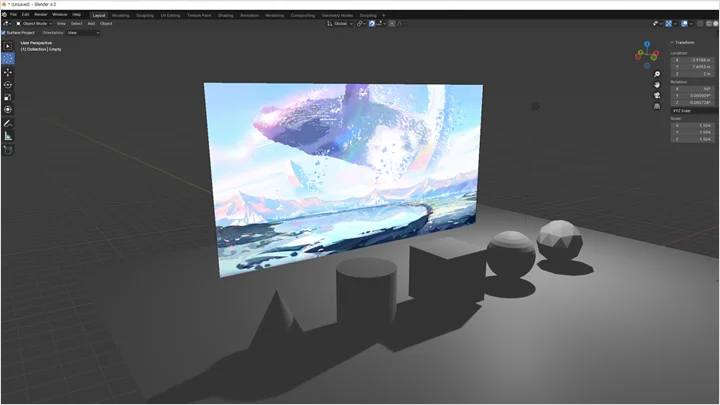
08. Turning a Blender Scene into an Illustration 02
1. Organizing blender resources
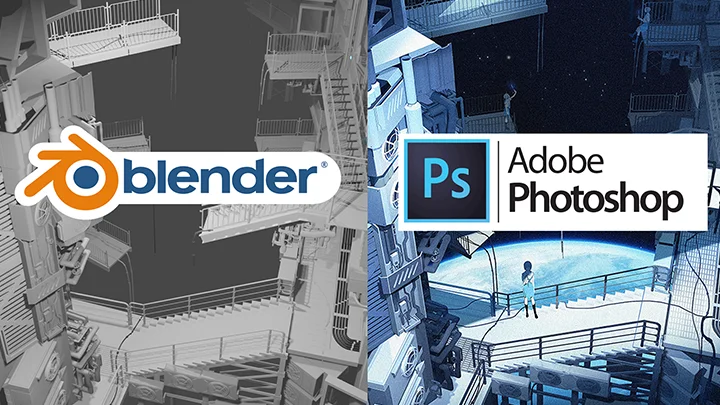
2. Workflow for painting tools
3. Organizing resources on Clip Studio and masking tips
2. Workflow for painting tools
3. Organizing resources on Clip Studio and masking tips
Class Perks
Special Gift from Rojo
-
 Unlimited Access to 20 Chapterson drawing stylish illustrations on Blender
 -
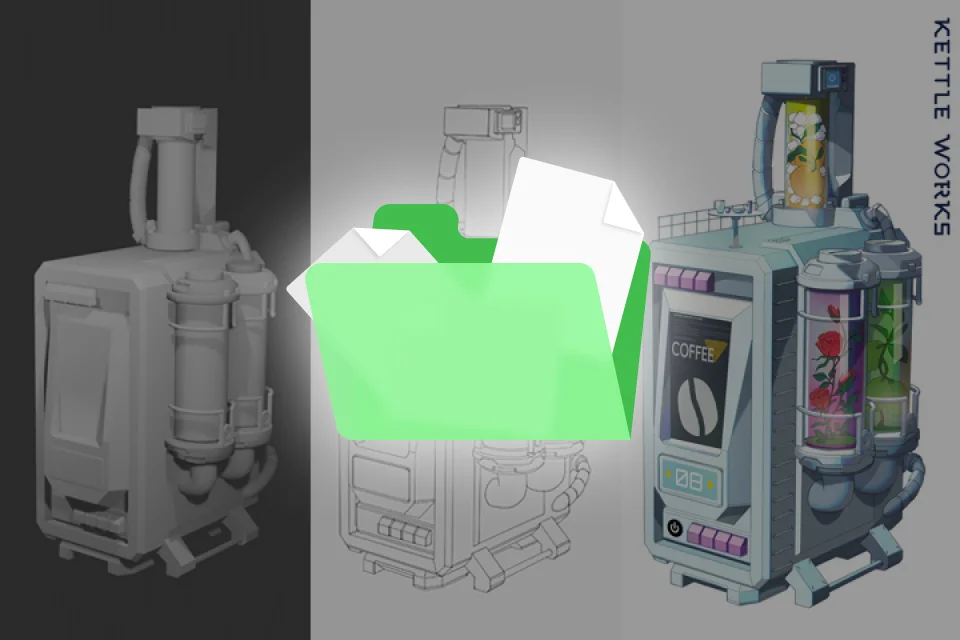
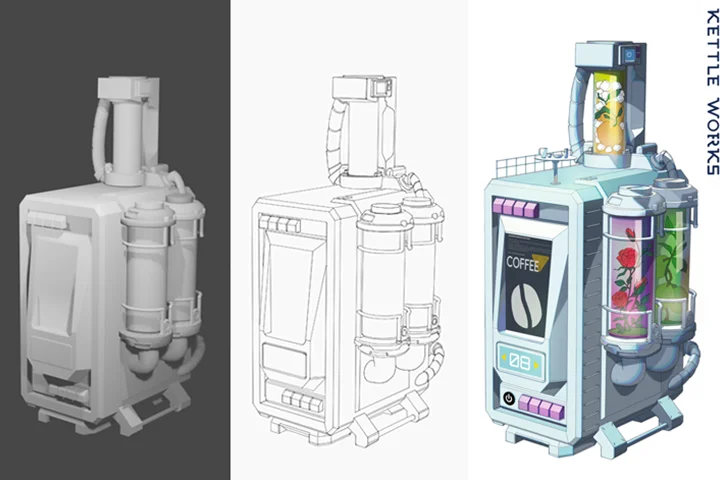
 Tips for Optimizing the Illustration Creation Processfrom making props to photobashing
 -
 Blender Files to Master Modeling on Your Ownthrough practice & repetition
-
 PNG Files of Textures, Images and Other Useful Resourcesto achieve higher quality in less time
 -
 Exercises on Creating Background Illustrations of Varying Conceptsto learn advanced Blender skills and broaden your creative horizon
 -
 Original PSD Files for the Final Workto explore Rojo's work process in depth
Class Material Details
-
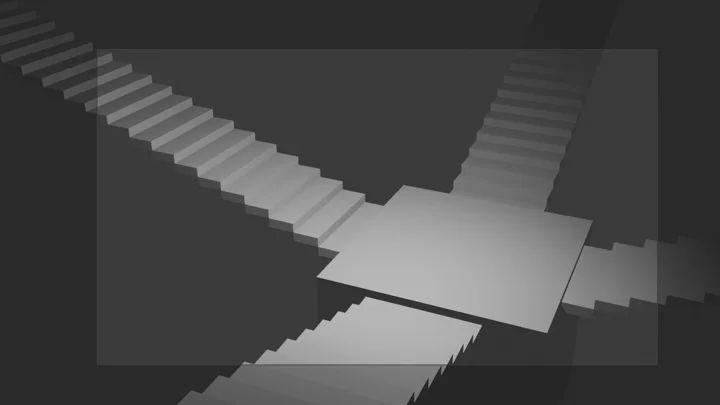
 Models for Practice & Quick Application (blend)- Stair blocks for practice
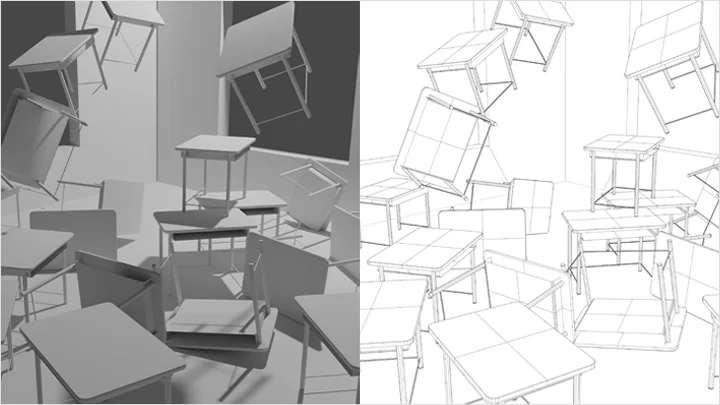
- Chair prop
- Cup prop
- Desk prop
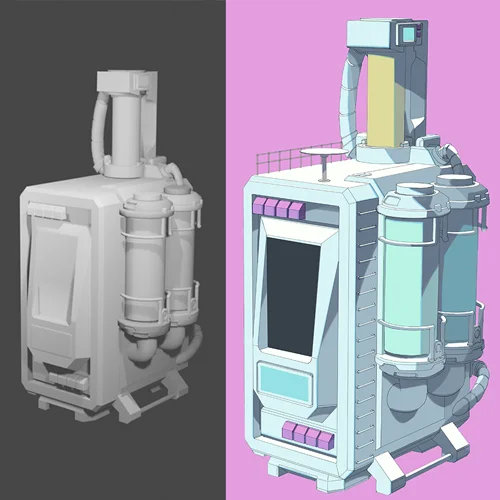
- Middle & foreground model of an abandoned building
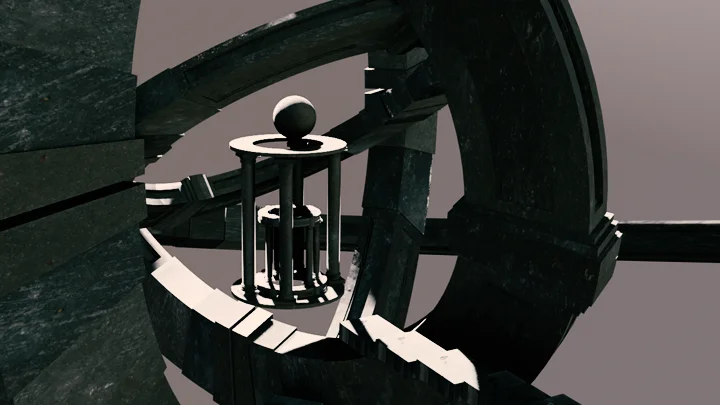
- Model of an ancient temple
- Model of a large-scale city -
 Practical Textures and Image Resources to Reduce Your Search Time (PNG)- Resources for abandoned buildings
- Plant resources
- Texture resources -
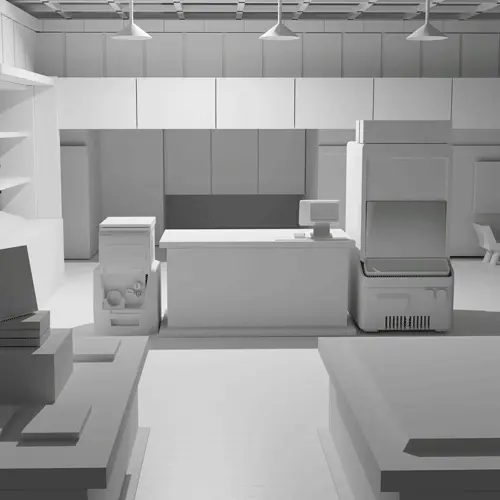
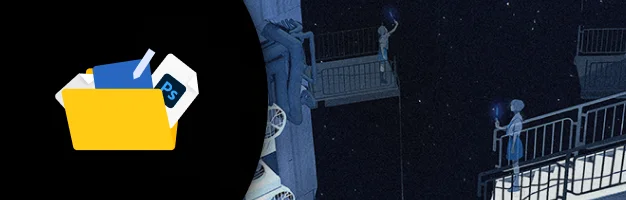 Original Files for Class Exercises (PSD)- Room with simple objects
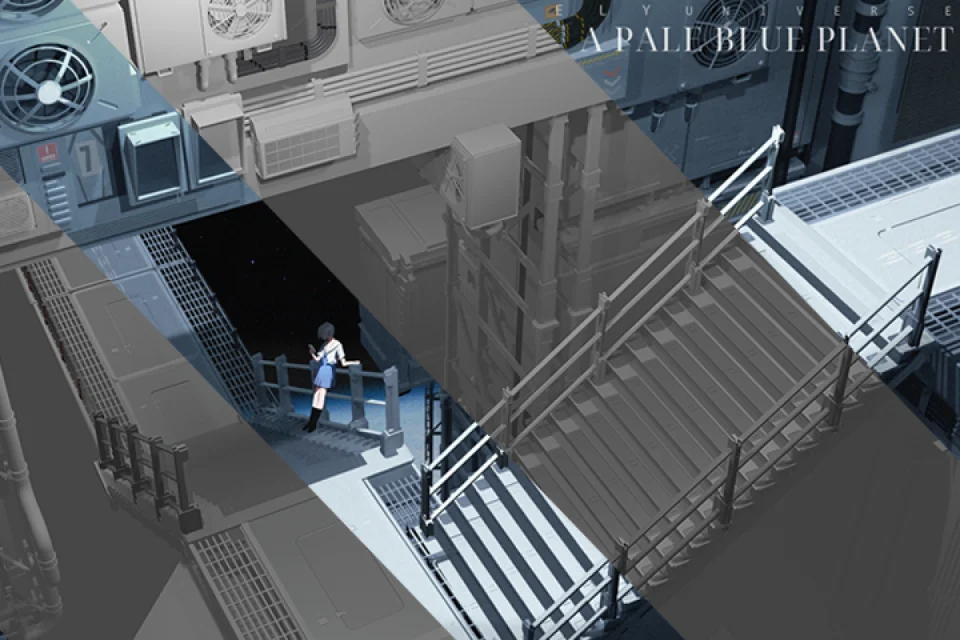
- Practice file with a background and a character
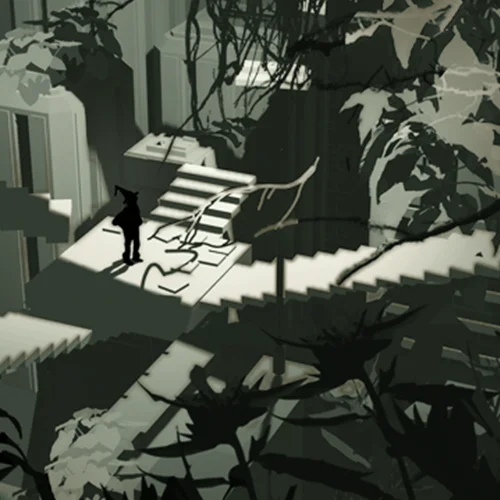
- Background illustration featuring ruins and buildings
- Large-scale background illustration
Recommendation
Who Should Take This Class?
"I can draw characters, but I'm hopeless with backgrounds."
Illustrators who want to create the desired scene as they want
"I'm tired of drawing the same elements again and again."
Freelancers and webtoon artists who want to improve both efficiency and quality
"I heard Blender is good, but I don't know how to use it."
2D illustrators new to 3D programs
Class Series
What Are the Differences Between Part 1, 2, and 3?
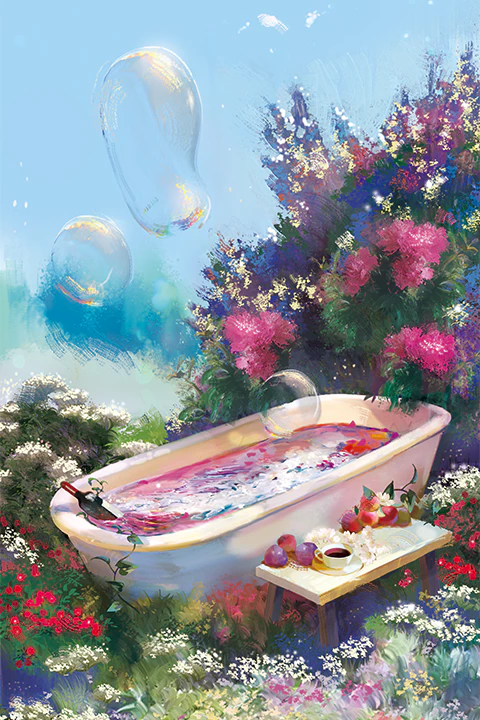
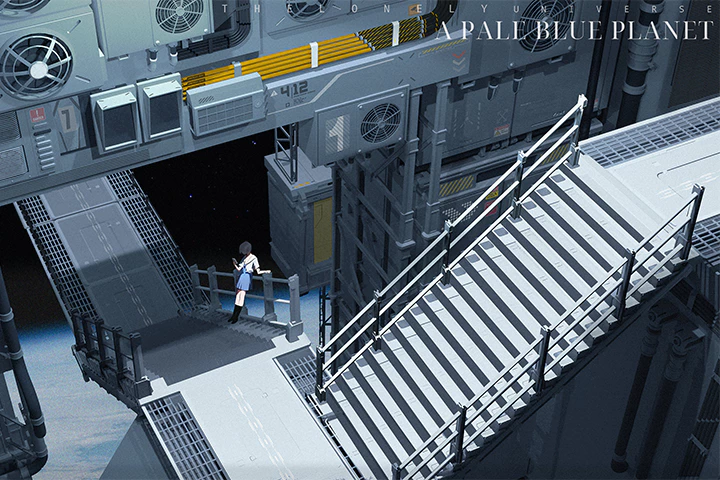
Expert Illustrator Rojo's Portfolio
Why Take This Class?
Is your head full of incredible ideas, but you just can't find the right perspective and depth to materialize them with? Join the background master Rojo as she guides you through quick, easy ways to draw backgrounds full of depth in Blender, as well as lighting, coloring and retouching skills for creating illustrations that grab the attention of your potential clients.
Stop spending all your time trying to remember every term and tool related to Blender. This class focuses only on the features that best improve your drawings' quality, allowing you to level up your skills more easily and quickly. Learn the know-how of Rojo, a professional instructor and illustrator with years of experience, in this Blender illustration class exclusively available on Coloso.
Get Ready for the Real-World
Take Your Illustration to Another Dimension with Blender
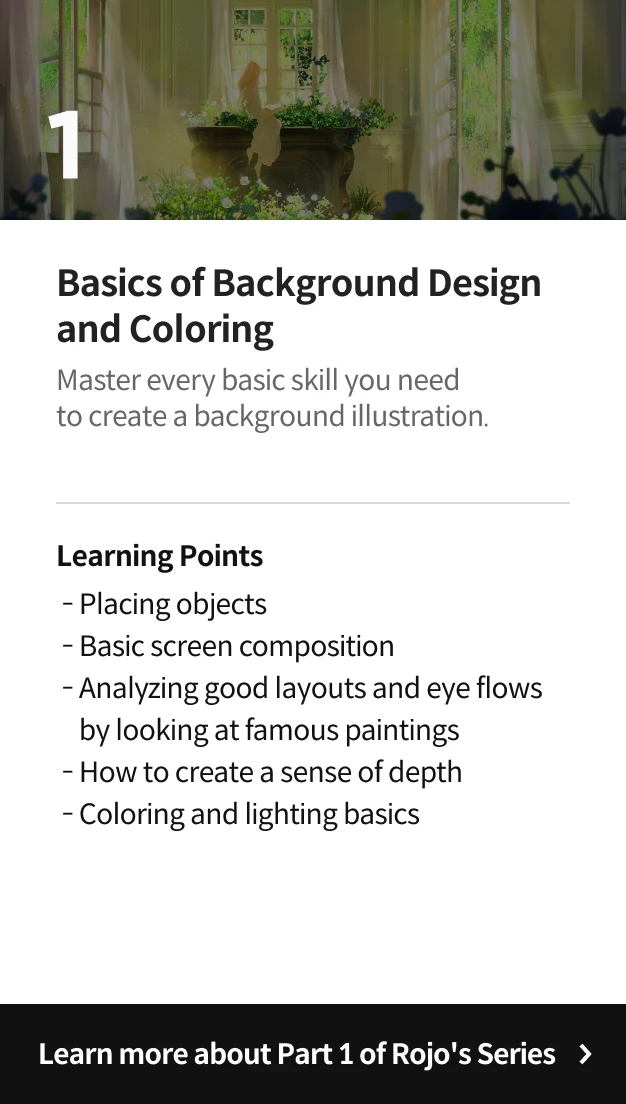
Part 01. Mastering Blender Basics Through Practice
-
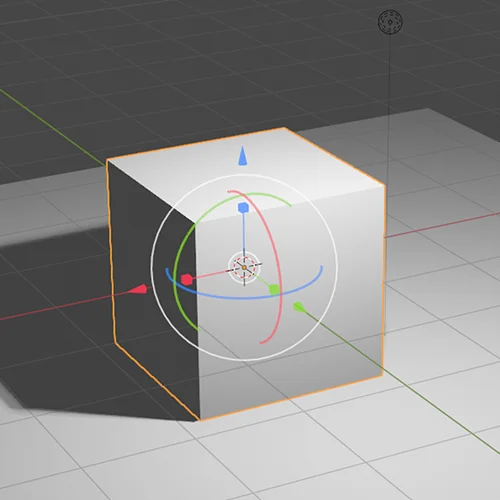 Essential Blender Features
 -
 Tips for More Natural Retouching
 -
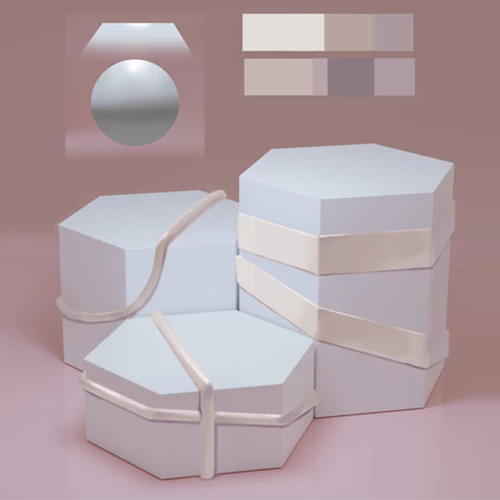
 Lighting and Retouching for Props
-
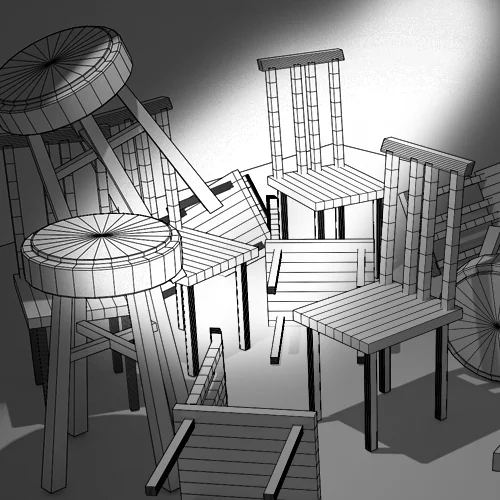 Making a Chair
 -
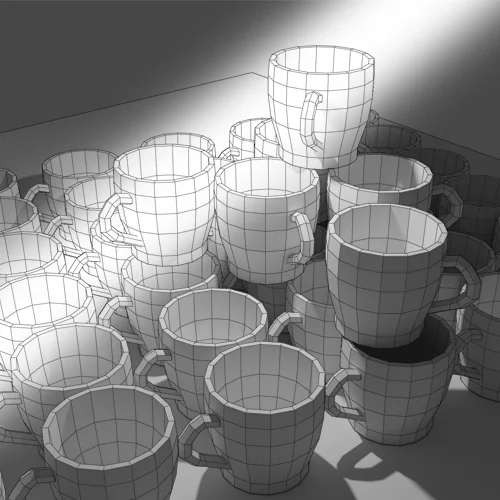 Making a Cup
 -
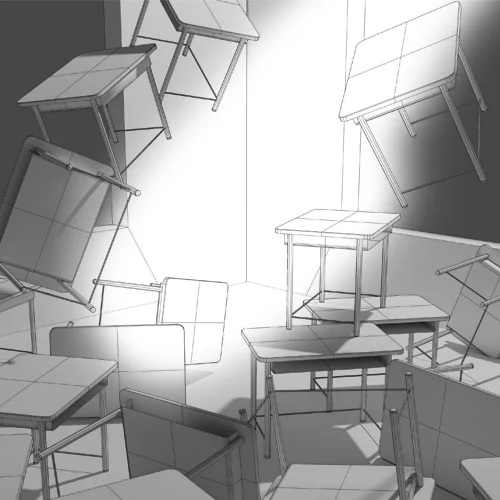 Making a Desk
Part 02. Combining Various Elements
-
 Placing a Character in a Natural Manner
 -
 How to Emphasize a Character
 -
 Making Characters and Backgrounds Look More Natural
Part 03. Improving Quality with Retouching
-
 Using Image Sources and Assets
 -
 Creating a Semi-Foreground Using Aerial Perspective
 -
 Stylish Color Retouching
Part 04. Creating Illustrations Using Blender
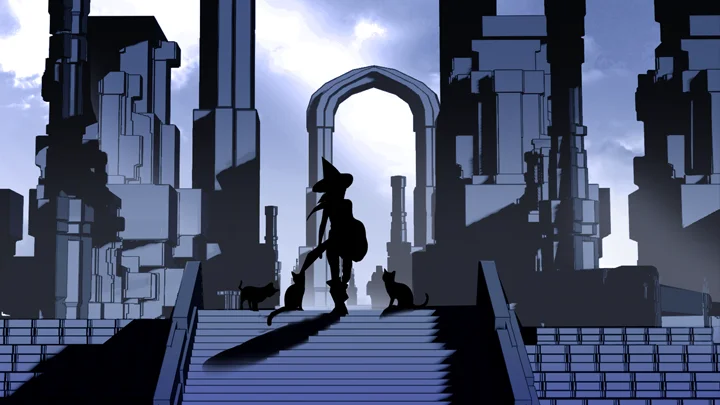
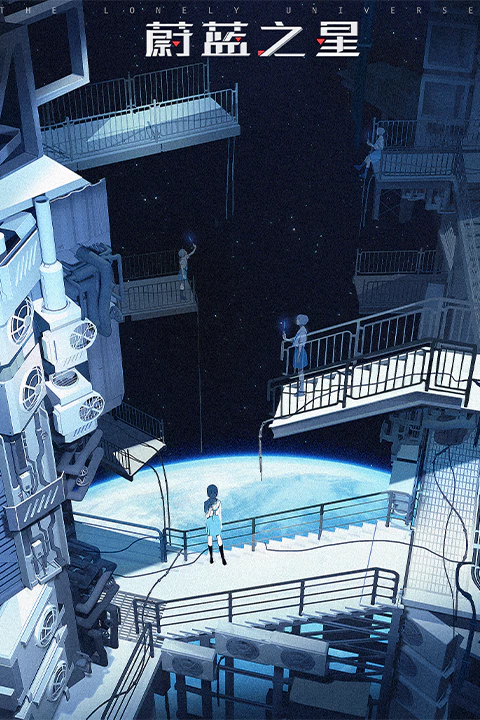
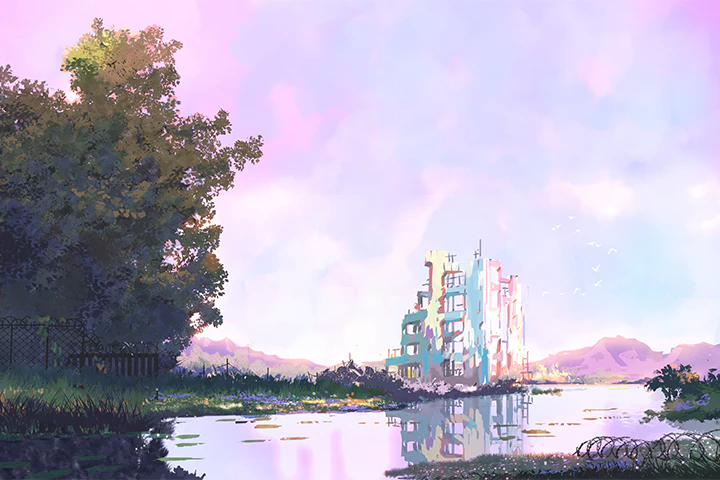
Final Product
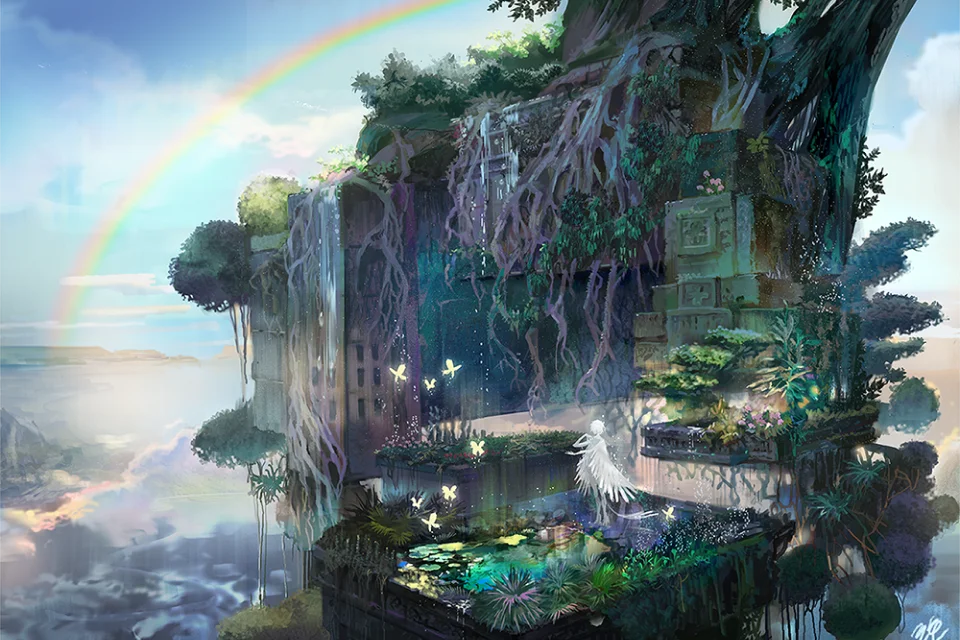
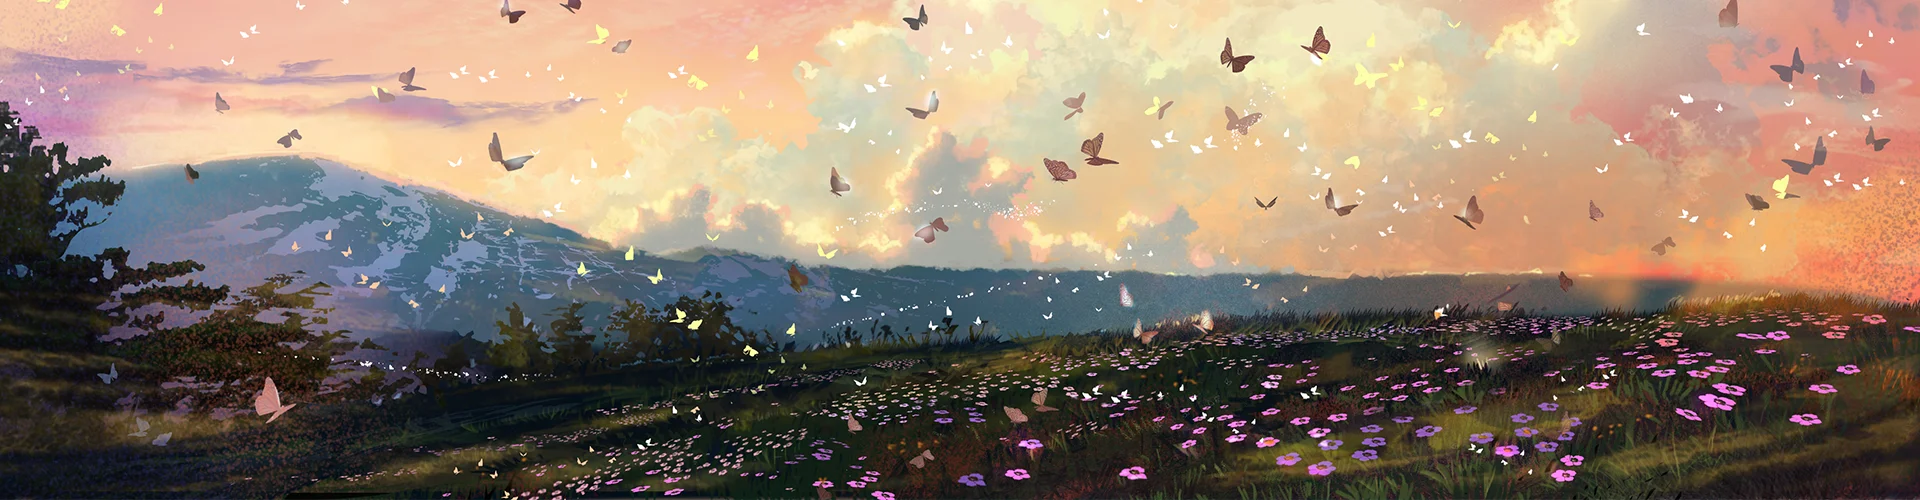
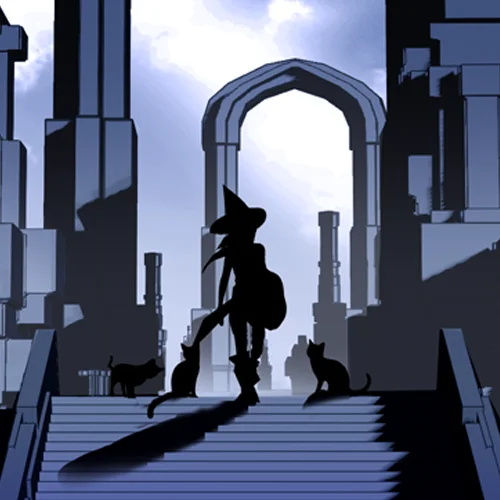
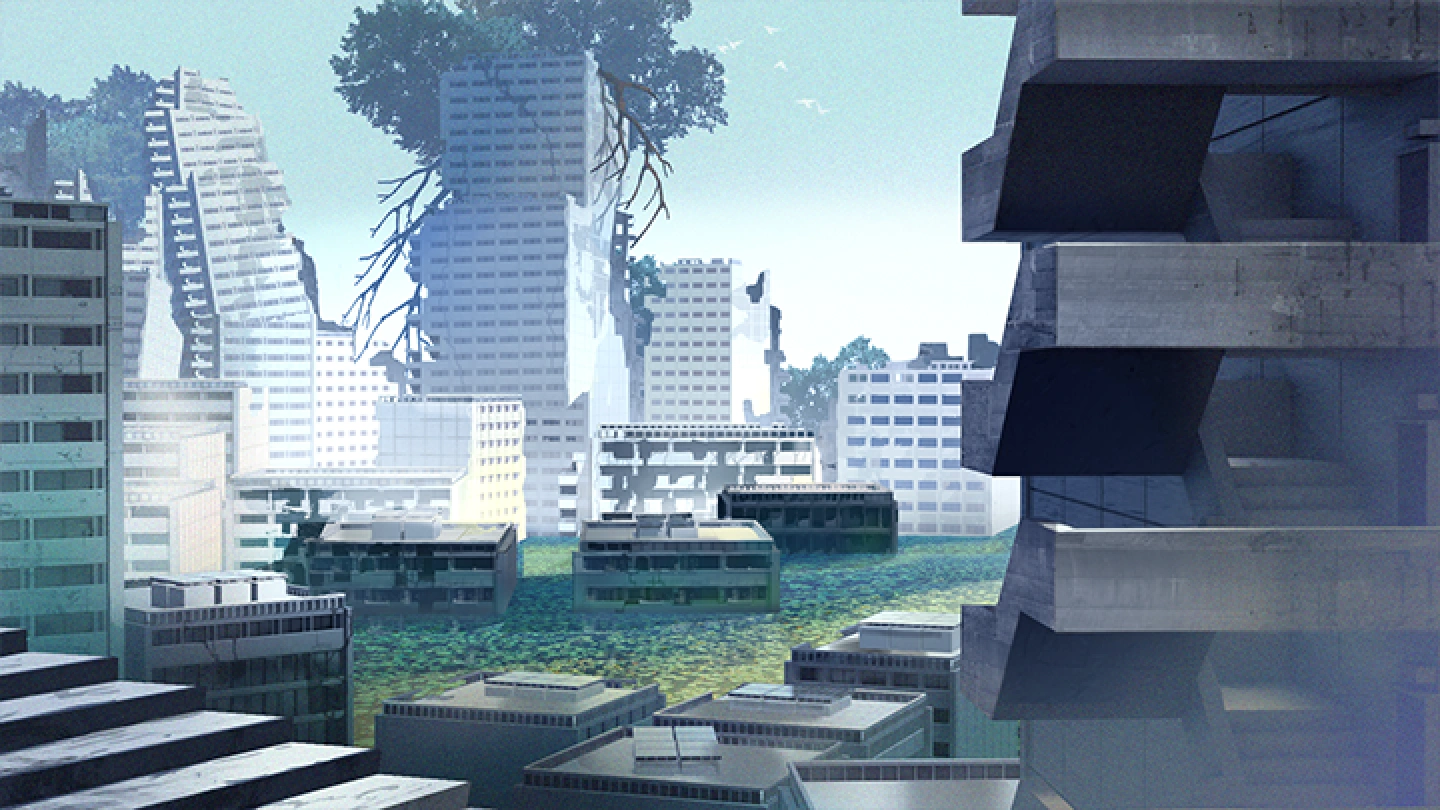
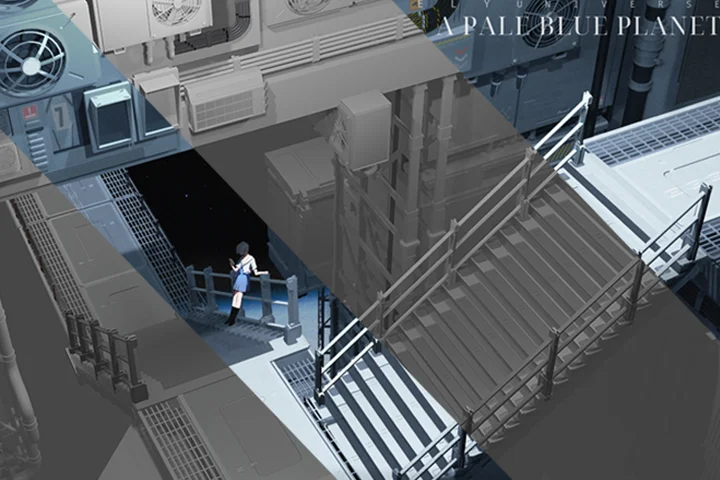
A Grand-Scale Ruined Cityscape
Student Review
What Students Are Saying About Illustrator Rojo's Class
Highlights
Class Highlights
The Complete Guide to Effortless Blender Illustration
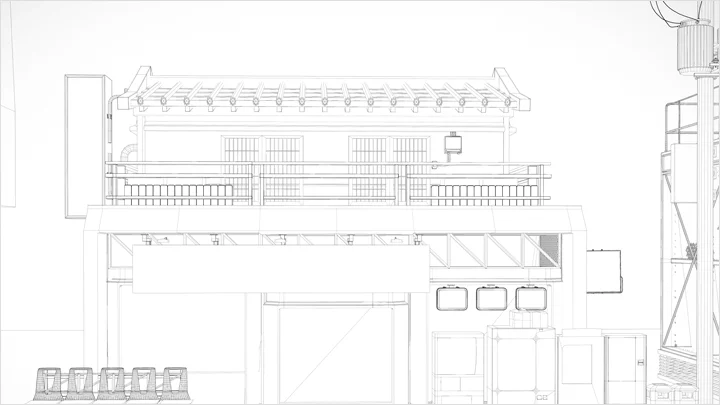
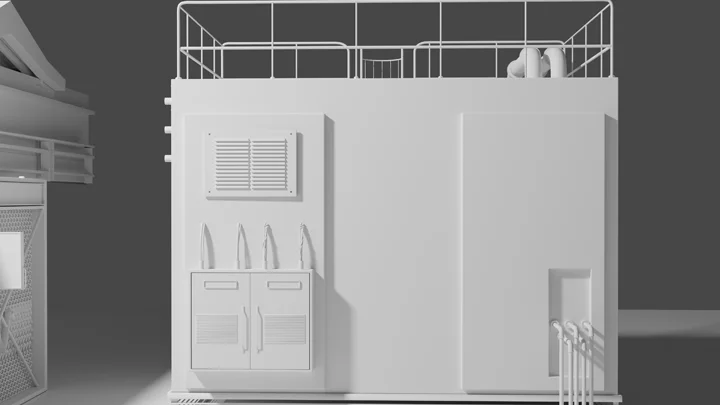
Does Blender seem too complicated? Worry no more! Among the hundreds of features offered by the program, learn only the essentials that illustrators need to know. From useful shortcuts to managing add-ons, learn useful Blender features through a well-designed, step-by-step curriculum that covers both theory and practice.
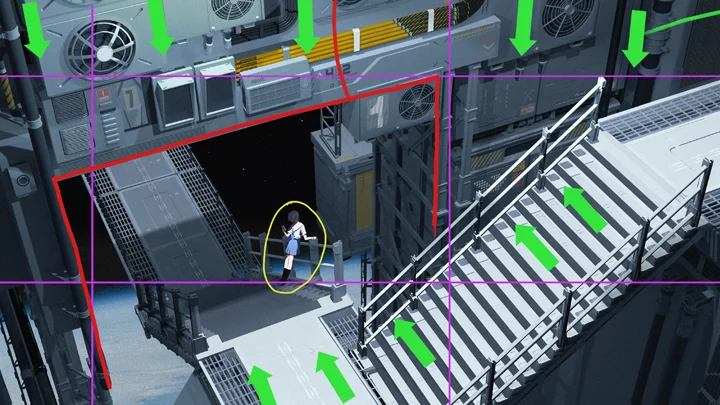
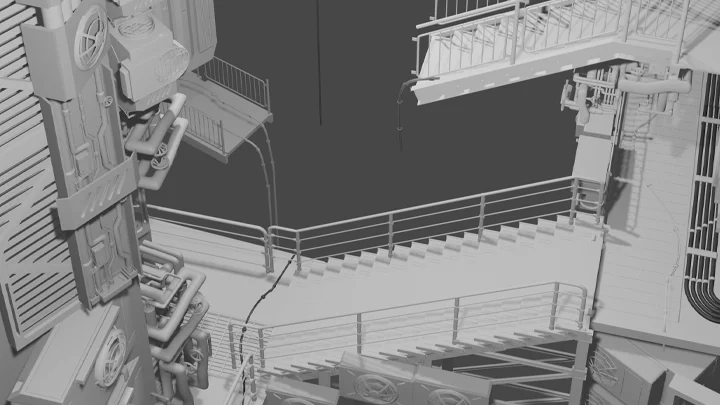
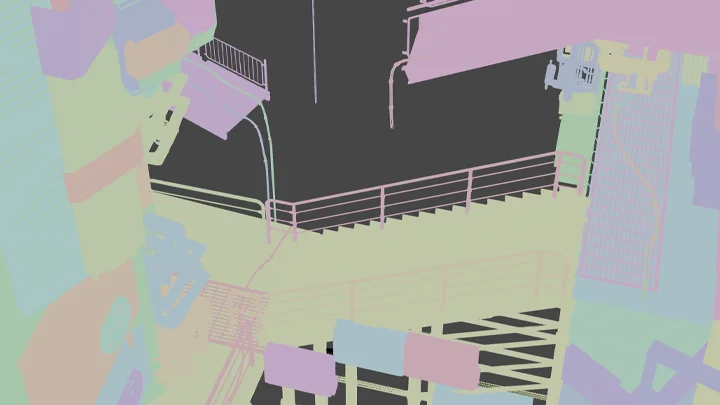
From Complex Perspective to Lighting and Materials: Master Illustration Precision
Let Blender handle the tricky process of drawing 3D, realistic-looking backgrounds. Find out how to create the scene you imagined more effectively by placing characters and props in perspective, applying lights in the desired direction and adding textures that suit the mood.
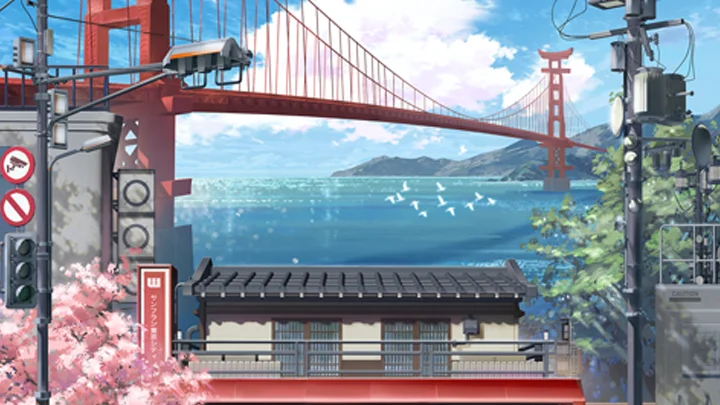
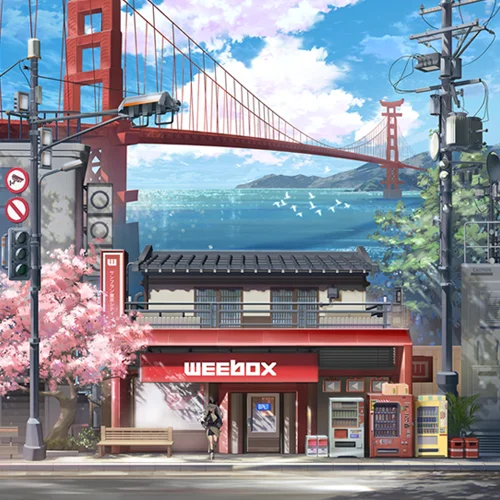
The Quickest Shortcut to Broadening Your Artistic Horizon
Do you want to create dazzling illustrations like those you see on social media and games? With Blender, you can do it without having to draw small elements one by one. From creating details to retouching and post-correction, learn the skills for producing exceptional illustrations with backgrounds of various sizes, going from 3D to 2D.