3ddesigner,phaethefae Details
Intro
Turn Your Ideas into VTubers That Express, Connect, and Come Alive
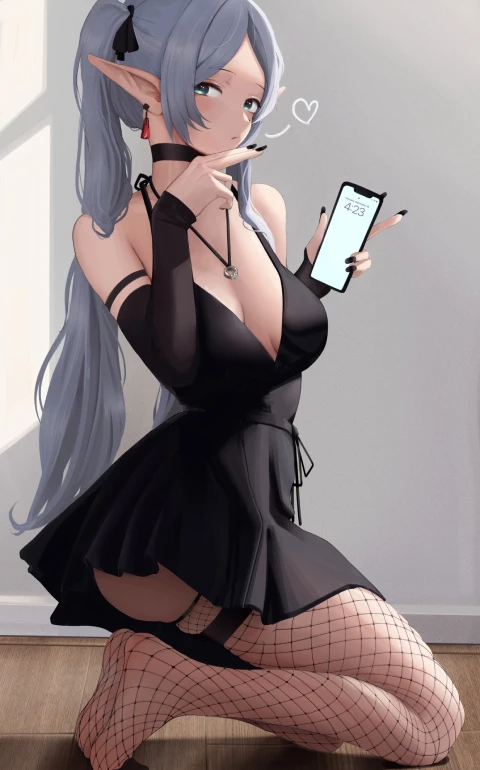
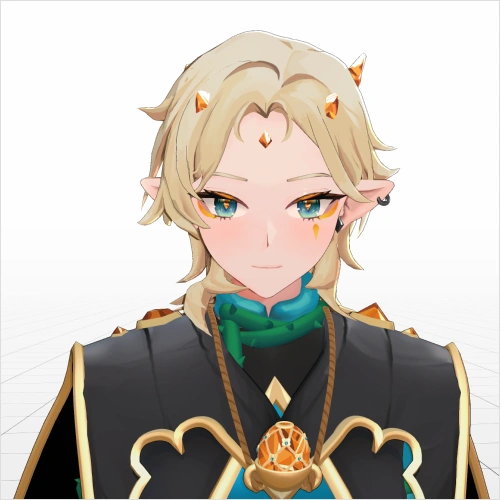
3D VTuber modeling made simple. This course is led by PhaetheFae, an expert in creating VTuber models for live streamers and fan projects alike. Through this course, you'll gain the skills needed to prepare for future projects, whether for personal streaming, fan content, or offering your own VTuber models to others.
Across 33 chapters, you’ll cover all the fundamentals. You’ll start by sculpting faces and bodies, then move on to modeling hair and clothing, retopologizing meshes, texturing in Substance Painter. Then we will move on to rigging for expression, and setting up shaders and physics in Unity and Warudo. Exercises, such as blocking in your character and creating hair curves, will allow you to apply what you have learned in each chapters.
By the end of the course, you’ll have a completed VTuber model. Most importantly, you’ll have your own unique art style ready to share with the world.
By the end of the course, you’ll have a completed VTuber model. Most importantly, you’ll have your own unique art style ready to share with the world.
Class Preview
Still Not Sure?
Check Out PhaetheFae
's Class Preview!
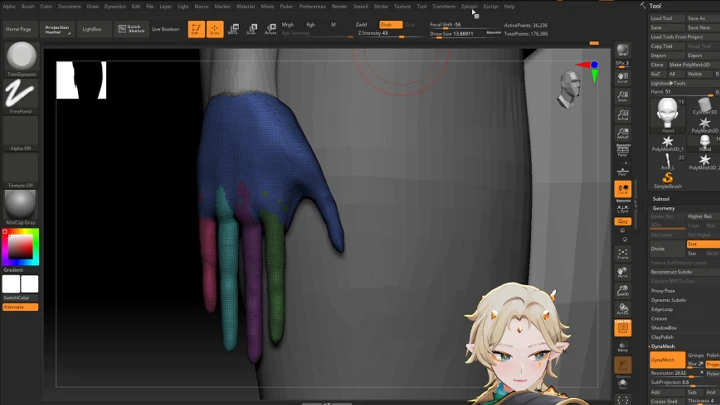
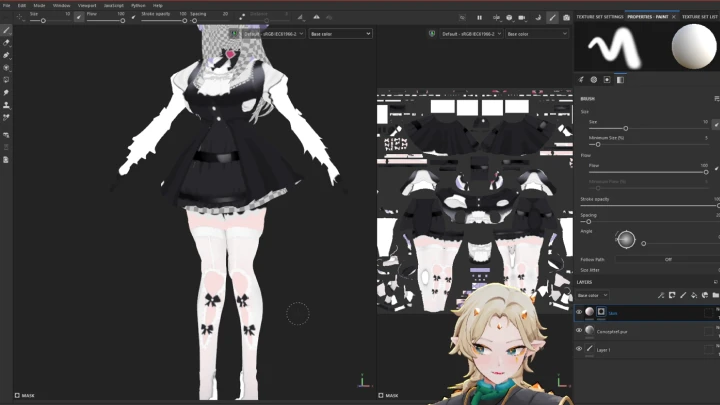
Chapter 19. Texture Projection Techniques
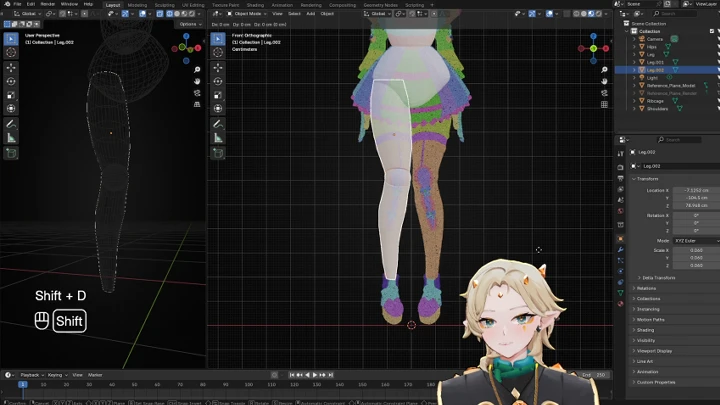
1. The process of projecting textures
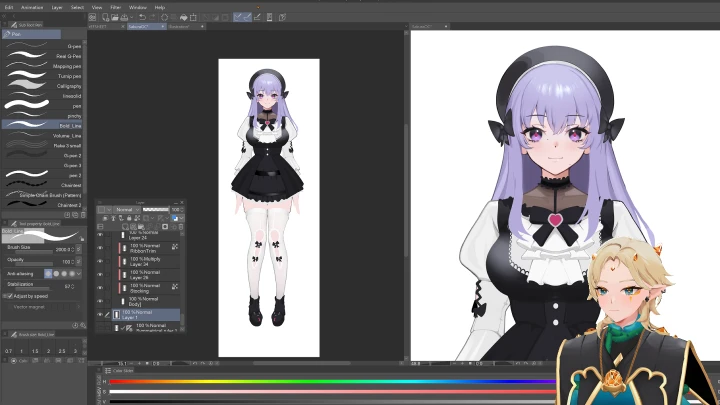
2. Hand painting both in Substance Painter and Clip Studio
2. Hand painting both in Substance Painter and Clip Studio
Class Perks
Special Gift from PhaetheFae
-
All-Inclusive Source Files, References, and Work-in-Progress Samples- Contains WIP source files for each step
- Visualize and study course components
- Useful for following along or deconstructing projects -
Finalized VTubing Model- Straight to the Warudo package
- Explore the final product for personal study and experimentation -
 Full Unity Template- Familiarize yourself with industry-standard scene and project setups
- Can be used as a base for your work and adapted to your needs
-
Custom Unity Humanoid Pose- A custom character pose for creating a dynamic character shot in Warudo
-
 Full Comprehensive List of Tools and Plugins- Complete list and versions of tools and plugins
- Improved workflow with modern industry-standard kits -
Custom Stylized Matcaps- Stylized Matcaps used to illustrate the subject character
-
Material Library for Smart Materials and PBR Baseline- Collection of PBR and stylized anime aesthetic smart materials for use in Substance Painter
-
 Clip Studio Brush Pack- A set of fundamental brushes used by the instructor in Clip Studio Paint
 -
Contact Details- Contact details for networking and live support (English only)
Recommendation
Who should take this class?
3D Artists who are interested in creating VTuber models
2D Artists who want to learn how to apply their work in 3D
Creators who are passionate about anime aesthetics, VTubing, or video games
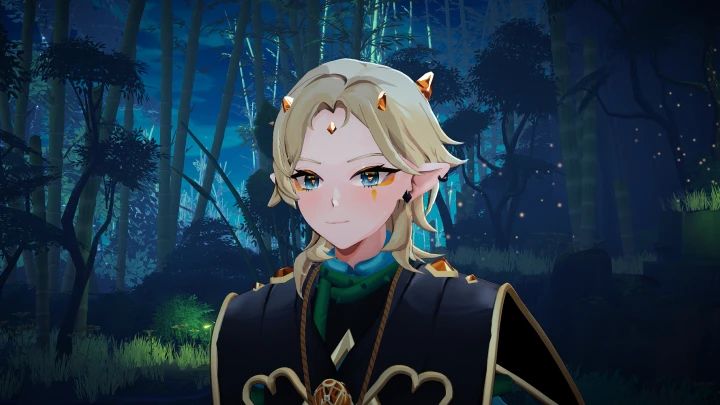
Expert 3D Designer PhaetheFae's Portfolio

Why Take This Class?
Modeling a VTube character is so much more than just making a 3D figure. It’s the art of shaping another self that conveys personality and emotion, serving as a bridge between the streamer and the audience. Unlike other courses that start from rendered illustrations, this class begins with early concept sketches. Each chapter guides you through the full development of a model, showing how your ideas evolve into a visually expressive VTuber character. Follow PhaetheFae’s curriculum, and you’ll develop a workflow that balances creativity with precision, producing characters that connect deeply with viewers.
PhaetheFae believes that mastering both the fundamentals and techniques will give you the tools to thrive in the growing VTubing industry. As the medium expands and increasingly intersects with the gaming industry, the demand for versatile 3D artists will rise, creating new opportunities for innovation and diverse expression. Through this course, you’ll gain the skills and mindset to craft VTuber models that do more than simply exist on screen. Discover how to shape experiences, inspire viewers, and stand out in this evolving creative landscape.

Get Ready for the Real-World
27 Class Exercises
-
 Selecting Your Character
 -
 Importing Your Reference into Blender
 -
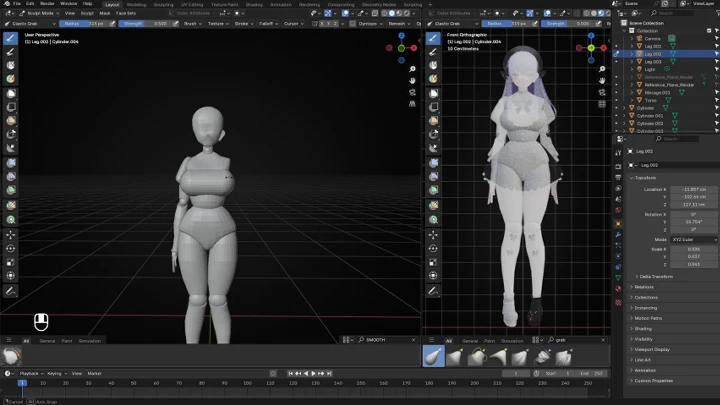
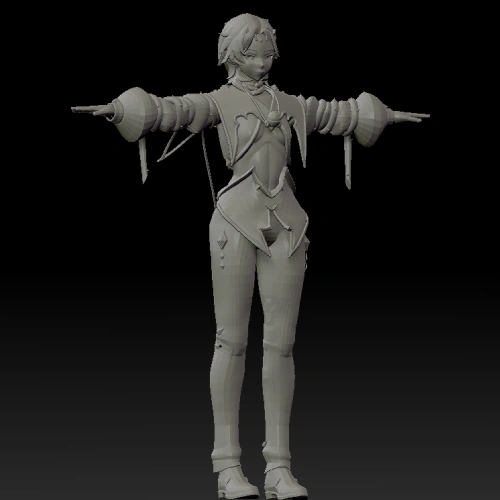
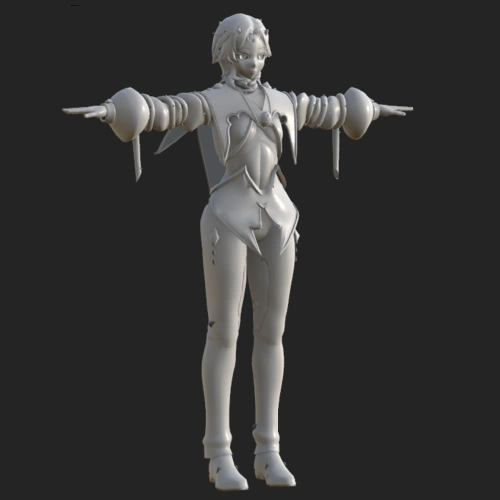
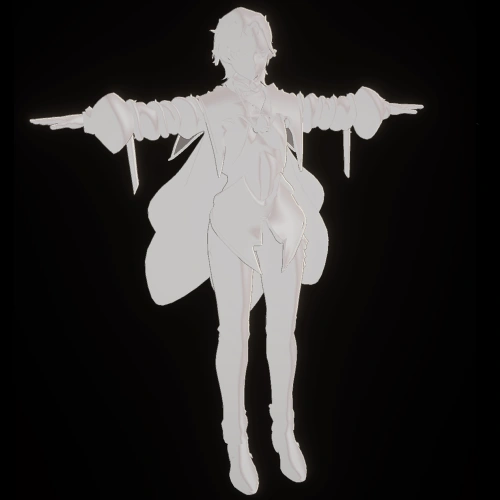
 Blocking in Your Character
 -
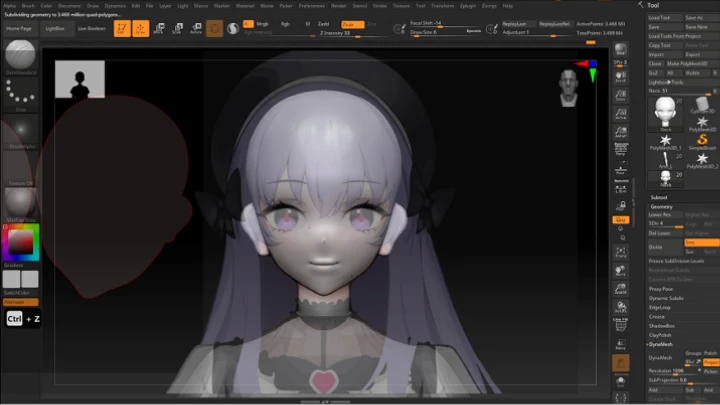
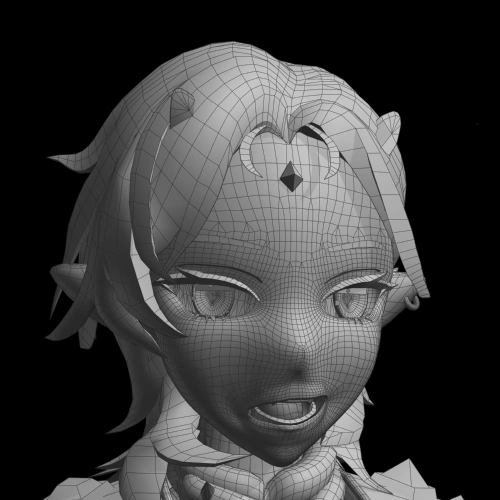
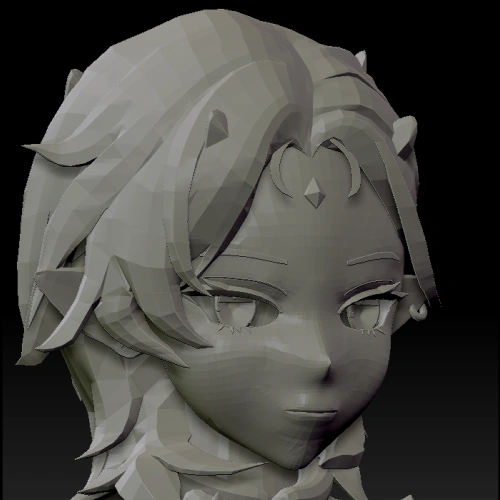 Sculpting the Face
-
 Sculpting the Body
 -
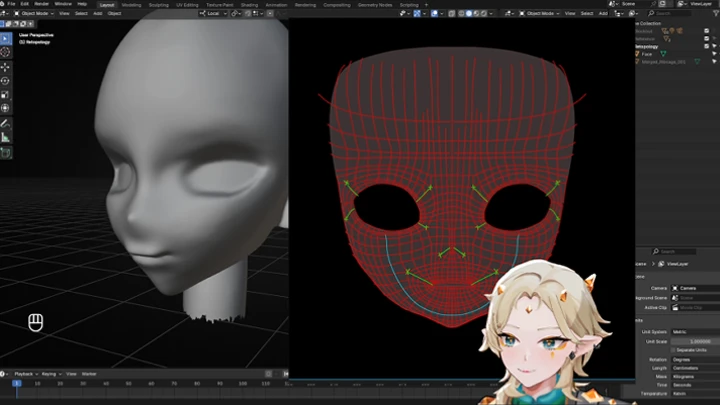
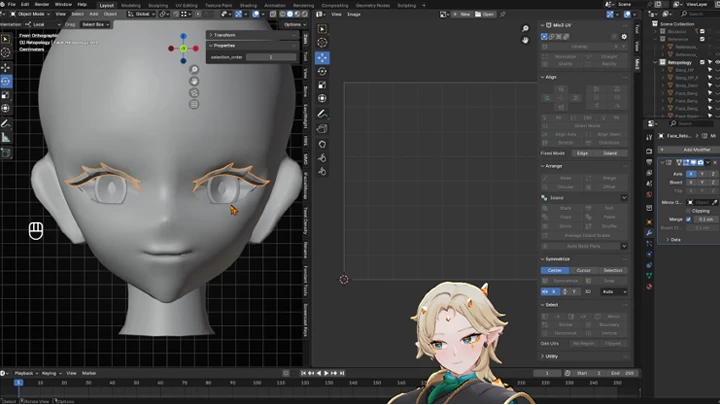
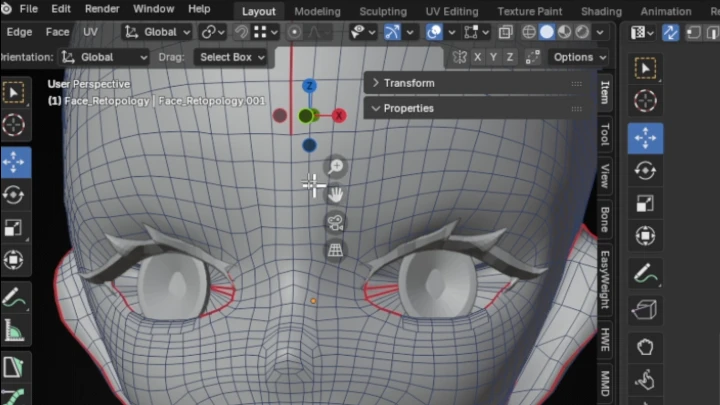
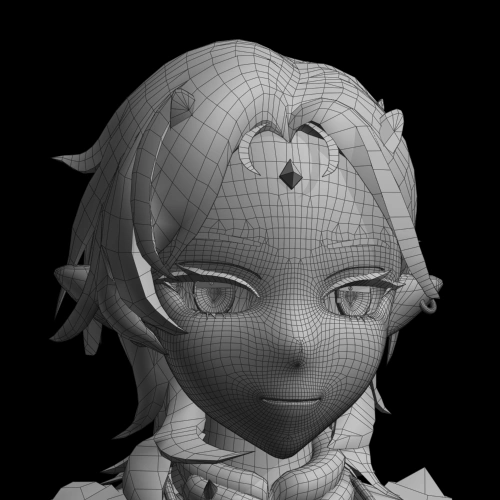
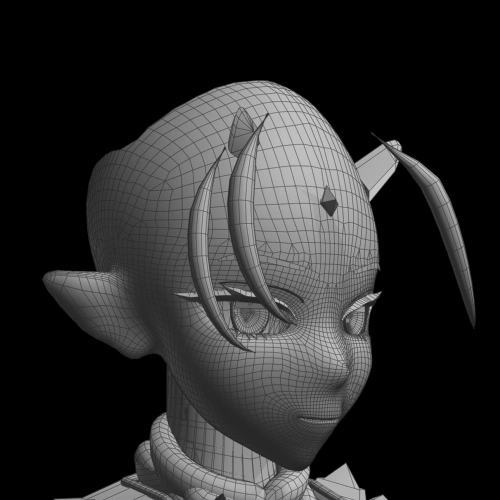
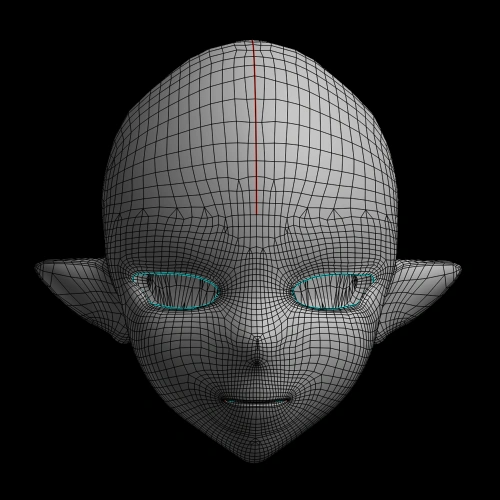 Retopologizing the Character’s Head
 -
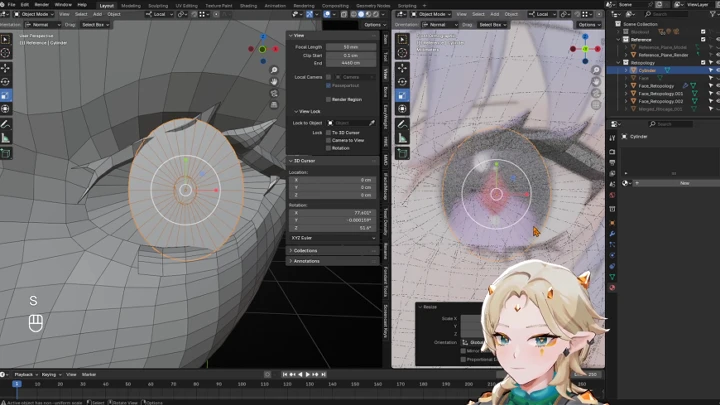
 Modeling the Eyes and Mouth
 -
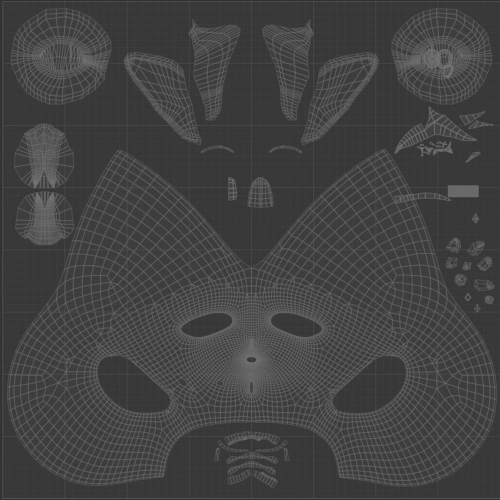 UV Mapping the Character’s Head
-
 Creating the Face Model
 -
 Creating Hair Curves
 -
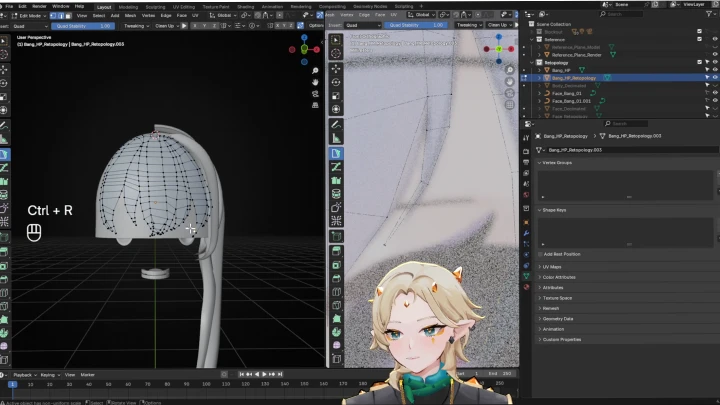
 Modeling Hair in Blender
 -
 Retopologizing the Character’s Body
-
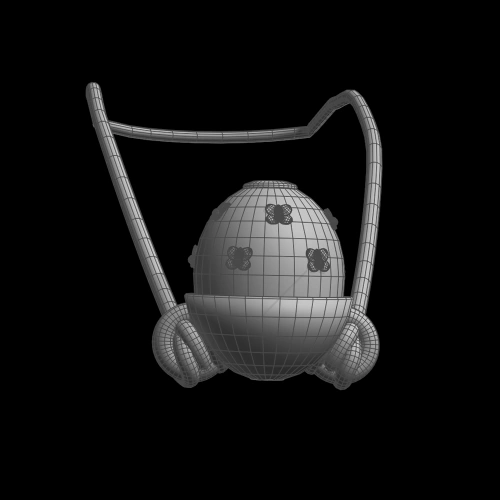 Modeling Accessories
 -
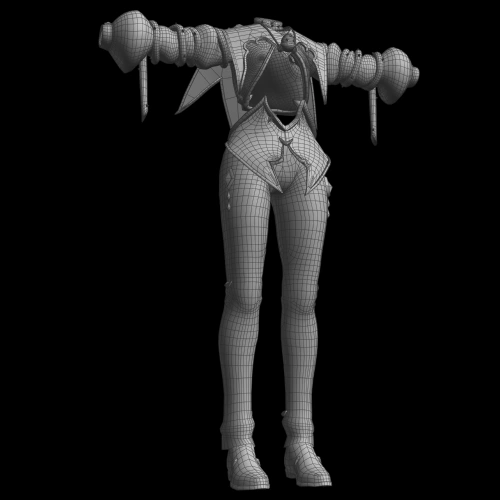 Modeling Clothing
 -
 Importing Your Model into Substance Painter
 -
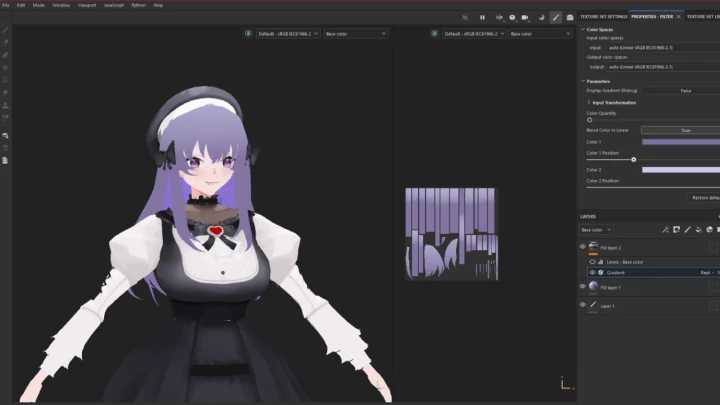
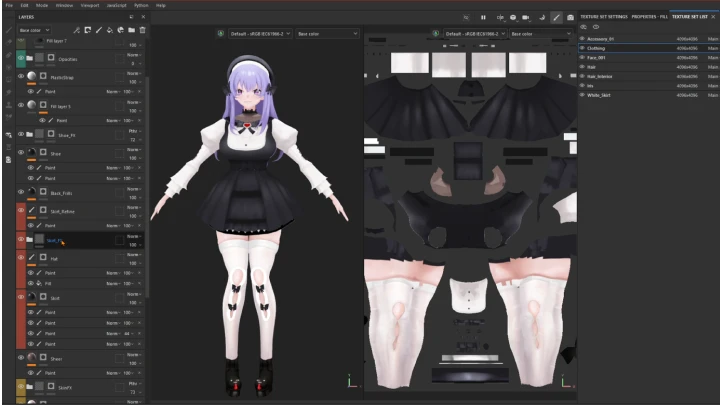
 Texturing
-
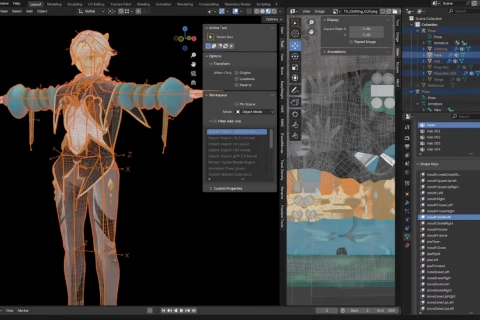
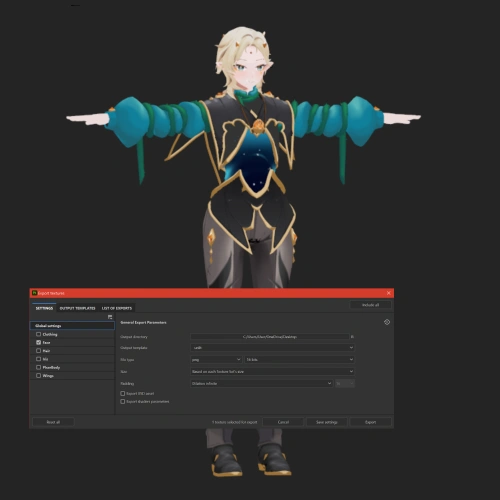 Exporting Textures
 -
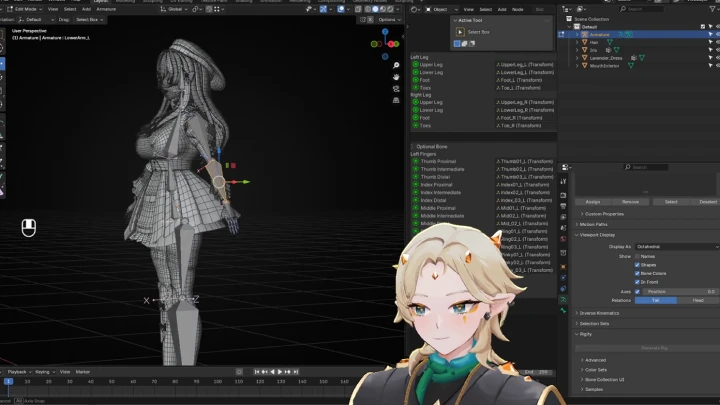
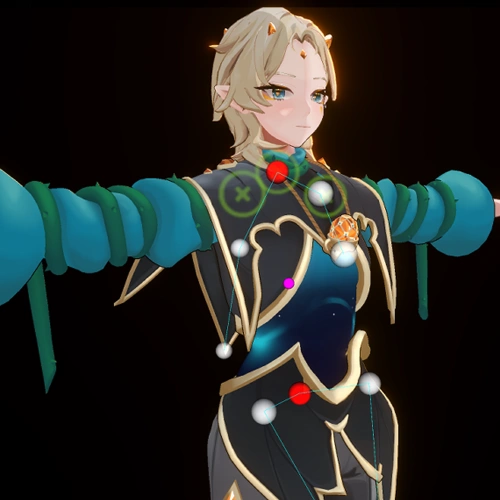
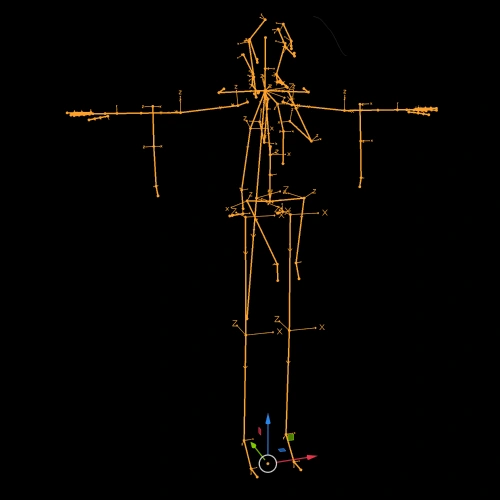 Creating the Skeleton
 -
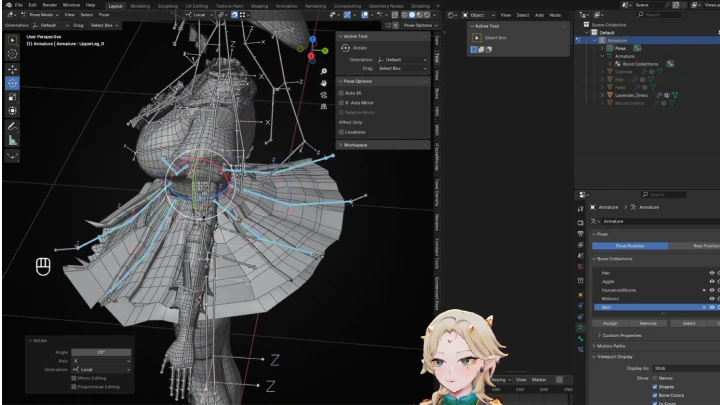
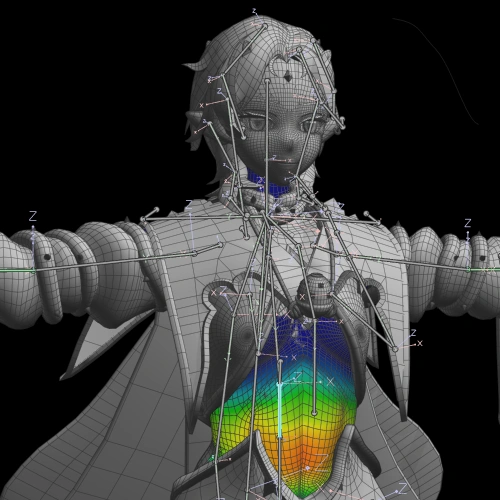 Weight Painting the Rig
 -
 Creating Shapekeys
-
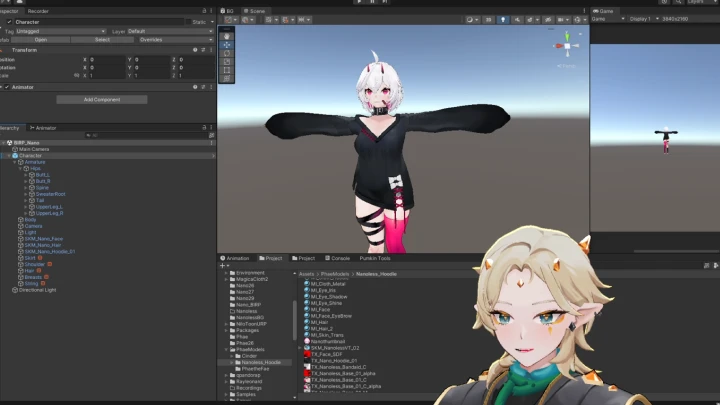
 Downloading and Configuring Unity and Warudo
 -
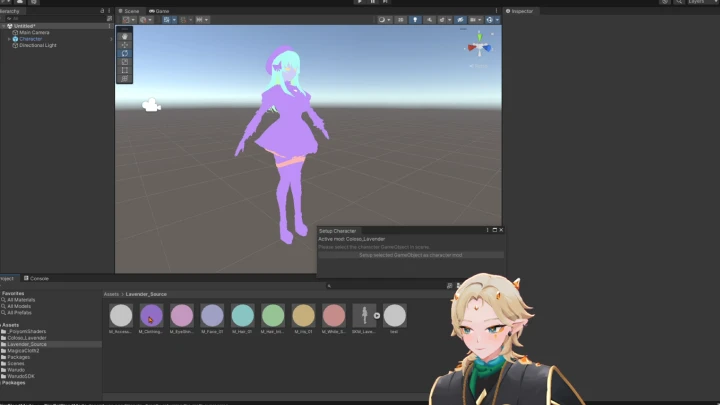
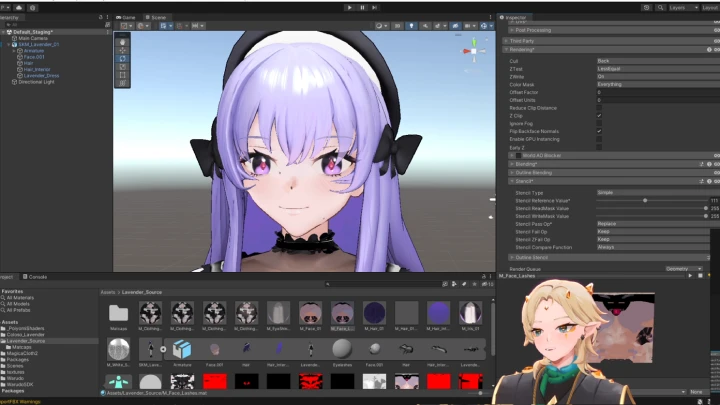
 Setting Up Your Character with Poiyomi Materials
 -
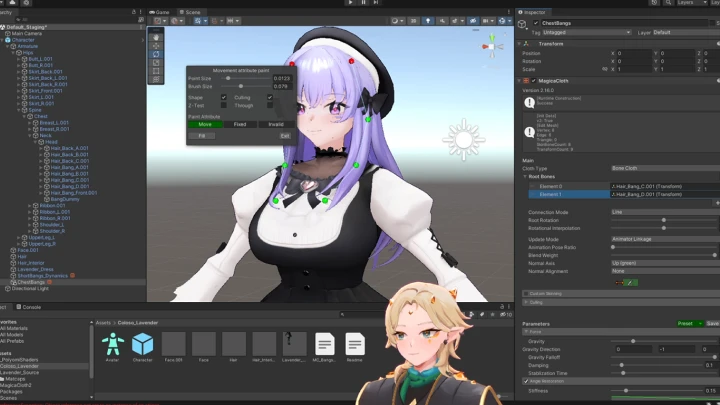
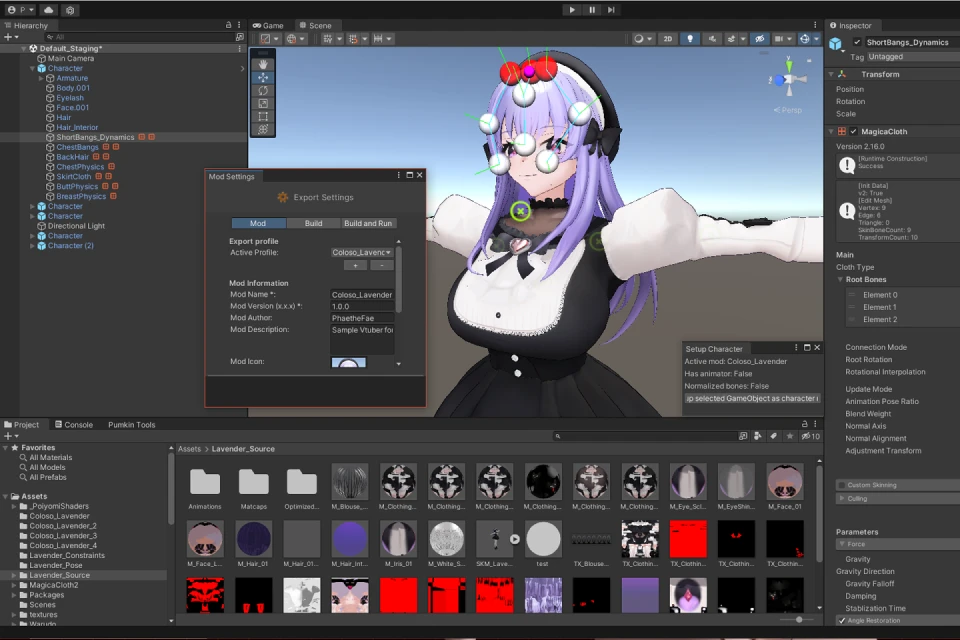
 Creating Dynamics for Your Character with Magica Cloth
 -
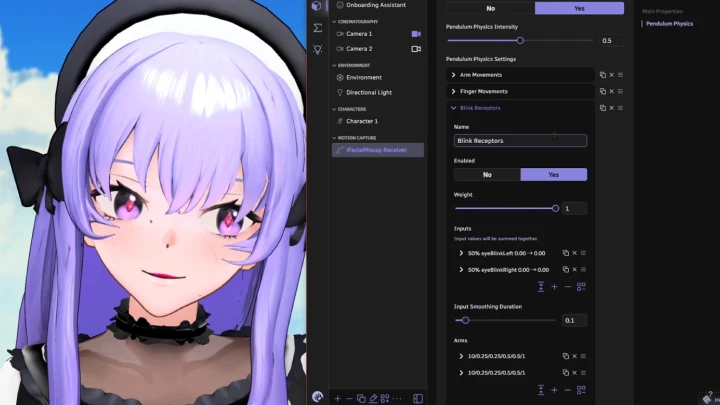
 Importing Your Character into Warudo
Final Products
-
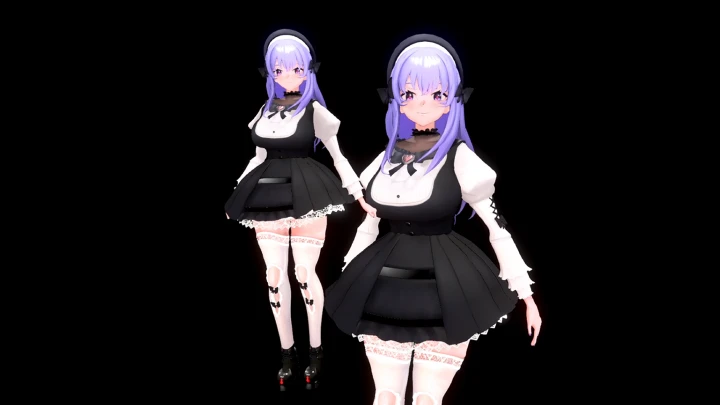
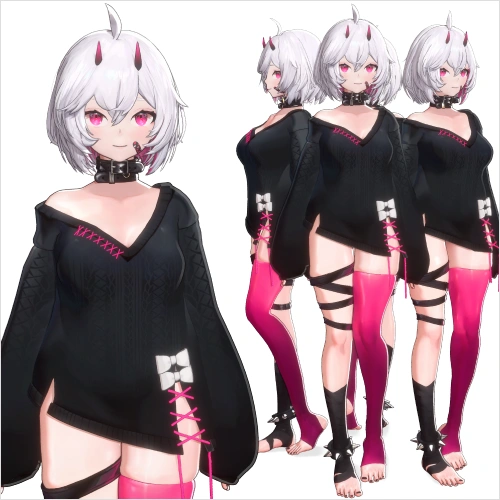
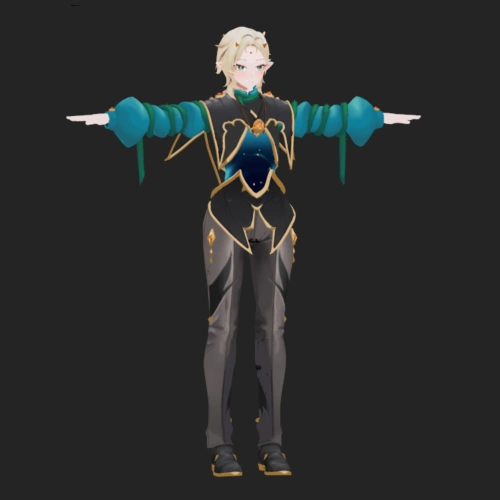
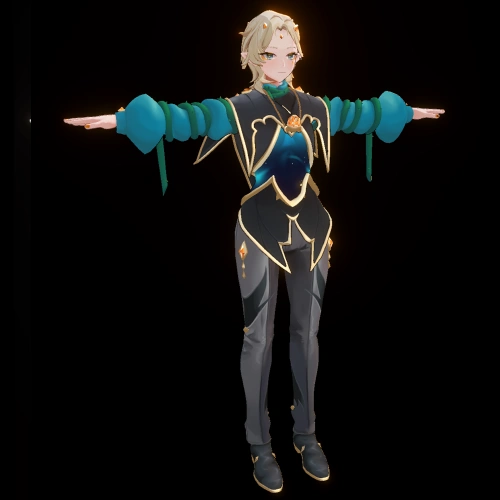
Finalized VTubing ModelPresent a high-quality, finished VTubing model that can be used for live or recorded video platforms
-
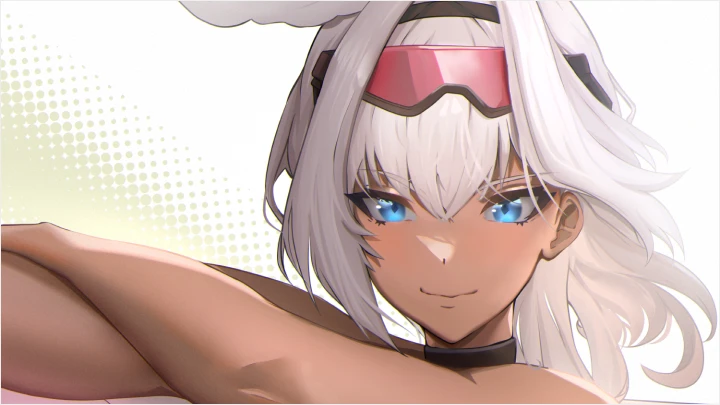
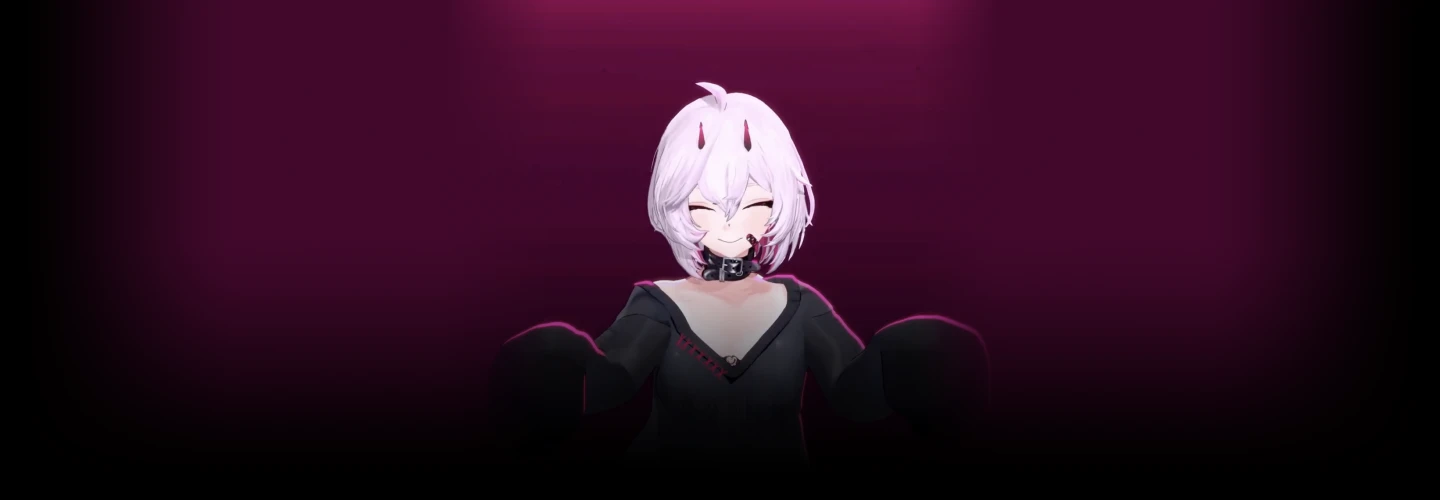
Rendered Live IllustrationPose and light your model for a dynamic and unique VTubing setup
-
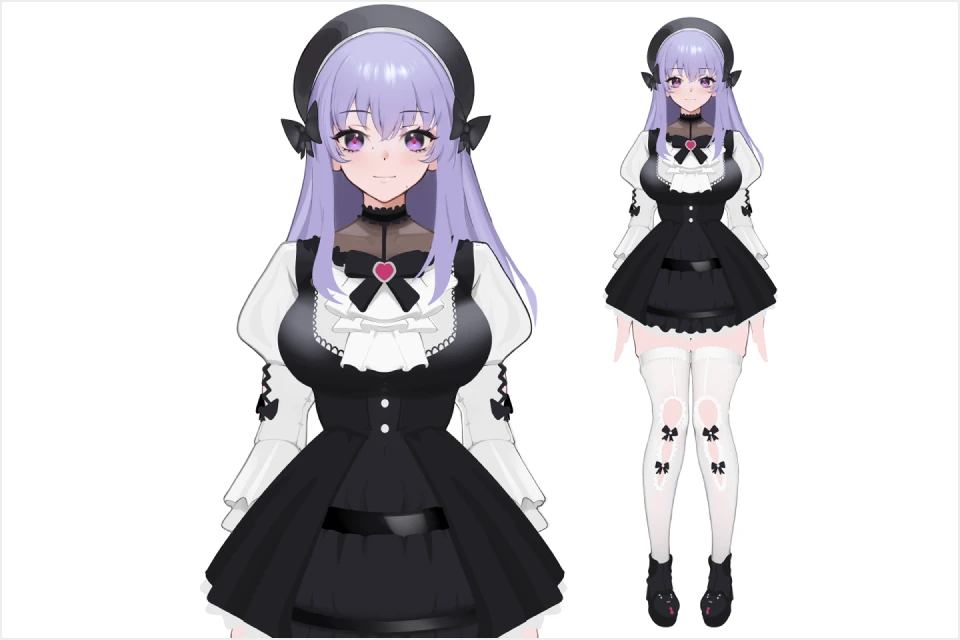
Polished Reference DocLayout your finalized model into a reference sheet for portfolio presentation and fan works
-
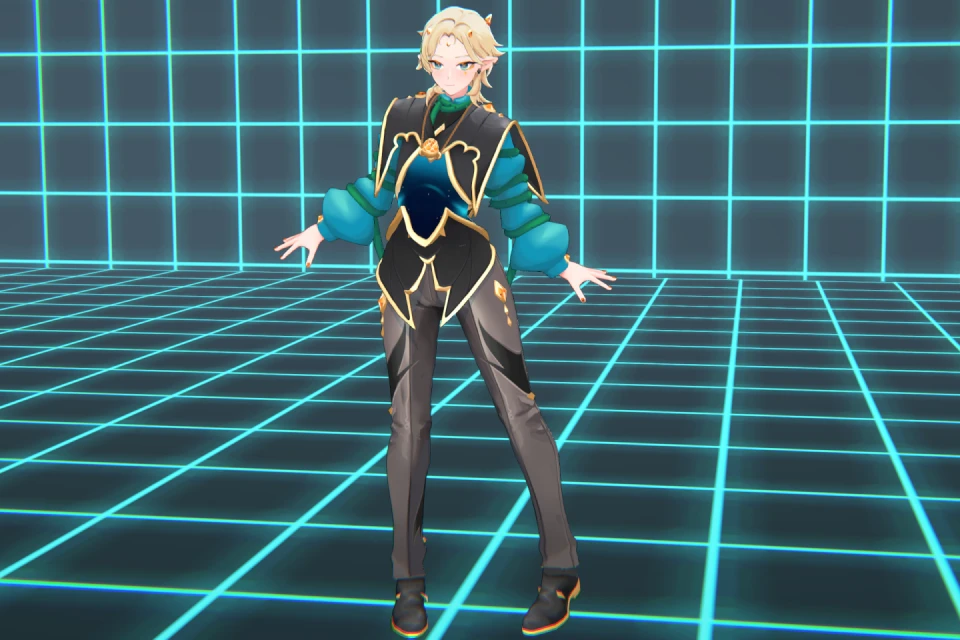
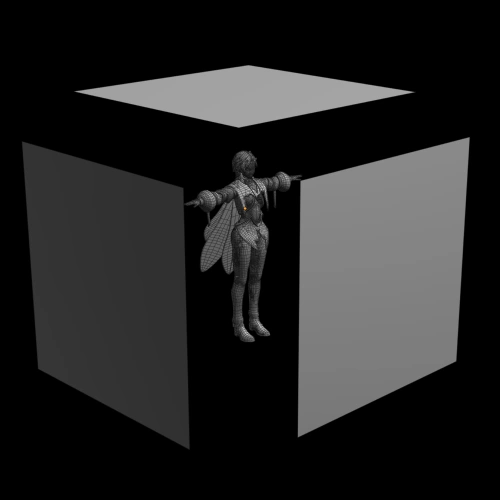
TurntableShowcase a finalized model with rendered turntables for portfolio presentation
Highlights
Class Highlights
Understanding Form and Silhouette: From Modeling to Sculpting
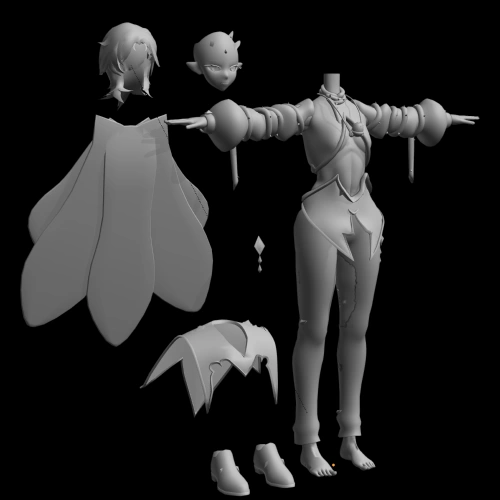
Strong 3D fundamentals find their roots in understanding. From modeling to sculpting, geometry needs to be grounded in strong shape and silhouette. By building up basic shapes, we cultivate interesting and readable structures that lend themselves to being expressed in three dimensions. Through this expression, 3D VTubing finds its potential as depth and perspective work together to create a compelling visual landscape.
Mastering Rendering: How Texturing and Shading Elevate 3D Media
Style, in and of itself, is documented through the interpretation of the world around us. By setting clear guidelines and standards for ourselves, we can consistently refine the look and behavior of materials in our work. Further study and observation of key inspirations allows us to create unique combinations that pay homage to the works that came before while also creating something completely new.
Instilling Your Art with Expression and Personality
Emotion is the core of VTubing. Technical fundamentals meet with strong emotions through rigging and shape keys to create an identity. When these many different factors interact and influence one another, they become a personality. By identifying key landmarks of emotion within each fundamental principle, we can express ourselves to the fullest. This intention creates a unique performance that captivates audiences and enables self-expression through VTubing.