[Course]figuremodeler,miro_미로JP Details
Intro

Now in Your Language, Only on Coloso!
Learn from Japan's Top Master Creatives
-
 A Coloso JP Class to Hit 22.5M KRW
in Sales in Just One Month!
A Coloso JP Class to Hit 22.5M KRW
in Sales in Just One Month! *25/2/28~25/3/28
-
 Master the Complete Figure Modeling Process
 -
 Develop ZBrush Skills for Character Sculpting
Class Intro
Figure Modeler, Miro
Discover how to emphasize a 2D illustration's charm by modeling it thorough stylization and detail adjustments.
A Practical Guide to Creating Figure Models and Garage Kits in ZBrush
Miro is an acclaimed figure modeler who was also invited to the garage kit event “Wonder Festival.”
In this class, she will share basic to advanced figure modeling skills using ZBrush based on a real-world practical work process, in addition to exploring the start-to-finish process of making a garage kit.
In this class, she will share basic to advanced figure modeling skills using ZBrush based on a real-world practical work process, in addition to exploring the start-to-finish process of making a garage kit.
Start with the basics of using ZBrush and its useful features, familiarizing yourself with the figure modeling work process. Then, explore the key points in transforming a 2D illustration into a 3D model, tips for modeling attractive-looking bodies, and how to set up beautiful poses for female characters, practicing and mastering techniques used by professionals.
This class also covers the process for turning digital concept art into marketable garage kits, including exporting, refining, coloring, and packaging digital files.
Join this Coloso-exclusive class right now and master every stage from figure modeling to creating garage kits!
This class also covers the process for turning digital concept art into marketable garage kits, including exporting, refining, coloring, and packaging digital files.
Join this Coloso-exclusive class right now and master every stage from figure modeling to creating garage kits!
Class Perks
Get These Coloso Exclusives
-
 Explore Miro's Modeling Skills with
Unlimited Access to 21 Chapters -
 Hands-on Exercises to Create
Two Models in Class -
 Includes STL Files of
Original Work and Image Files
Class Material Details
-
 For Class Exercises- References for Mamehinata
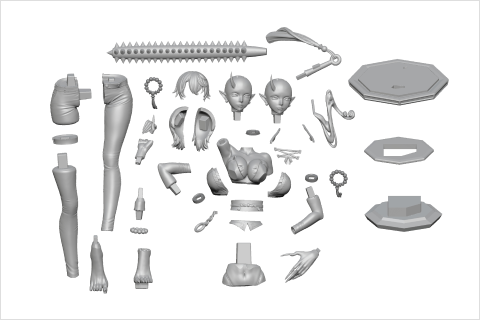
- STL files for original work
- ZTL and STL files for base models of original female characters
- ZTL and STL files of rulers
- ZBP files of original hair brushes -
 Bonus Videos for Making Garage Kits- Including bonus videos that explore the process of creating garage kits
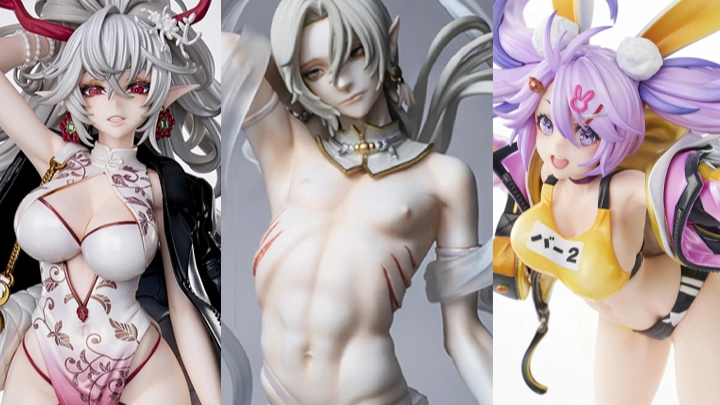
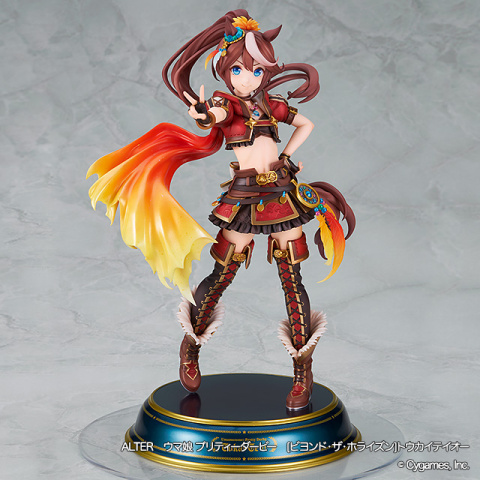
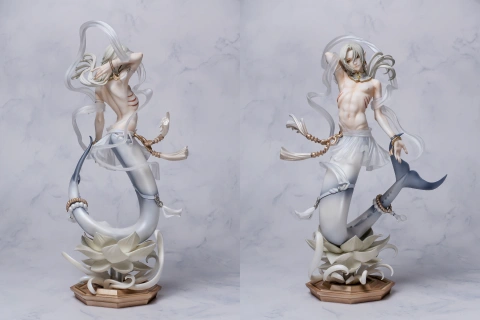
Expert Figure Modeler Miro's Portfolio
-
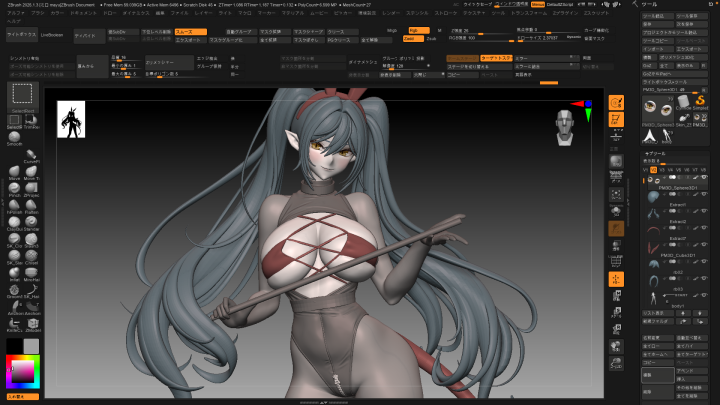
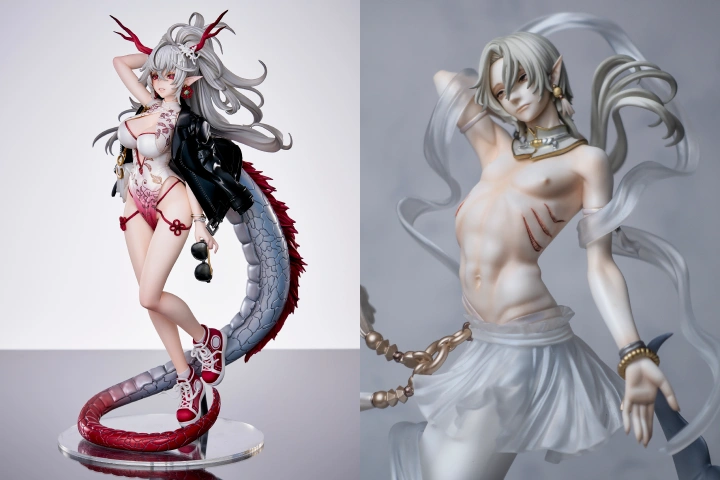
 [DZ12SX Ryuu Tatsuzaki [T.E.S.T]]
 -
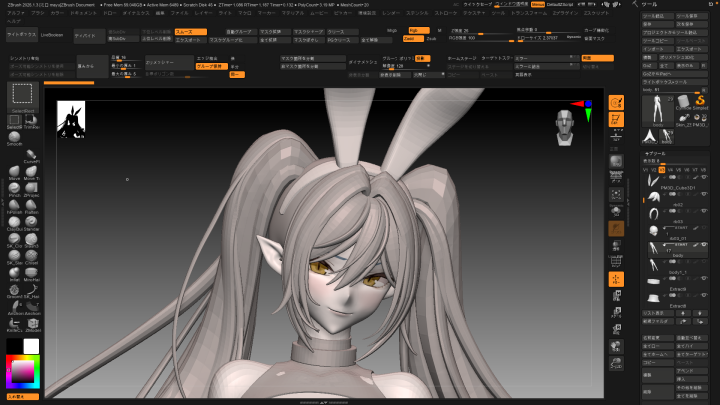
 [DZ12SX Baniko Uzuka [T.E.S.T]]
-
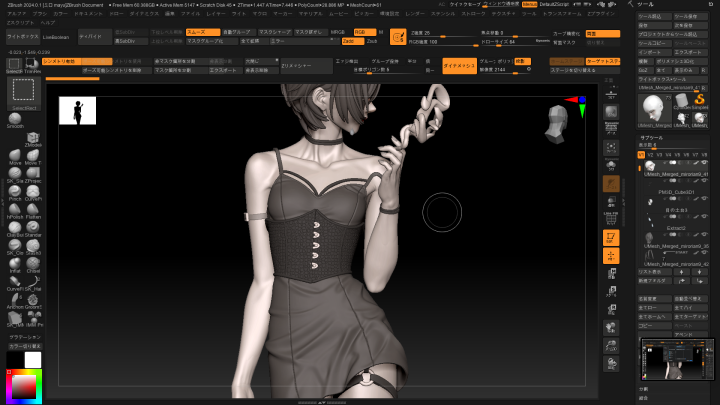
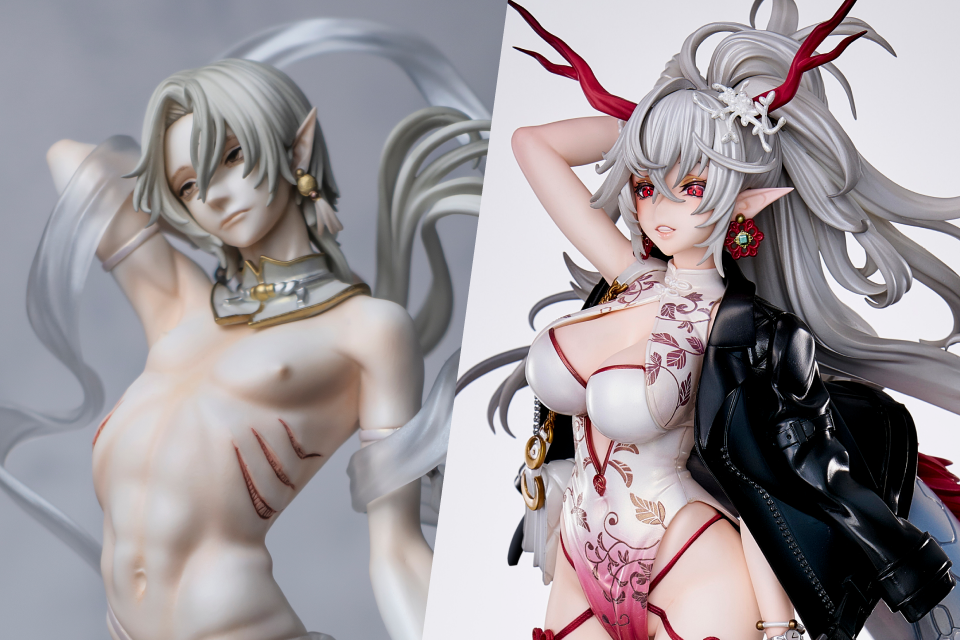
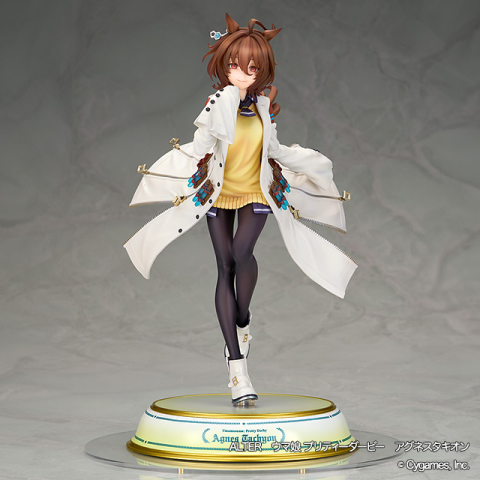
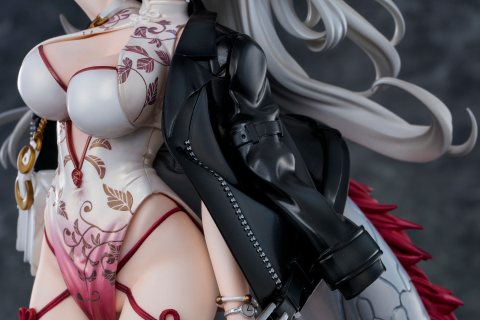
 Lucrea 2.5 Dimensional Seduction – Liliel
 -
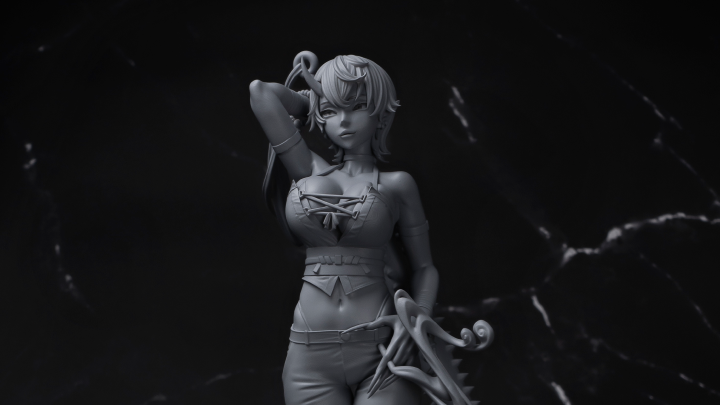
 Lucrea Gakuen Idolmaster – Kotone Fujita: Cutest in the World Ver.


Why Take This Class?
This course is led by Miro, a professional figure sculptor renowned for her expertise in creating captivating character figures. Designed for beginners to intermediate learners, dive into a comprehensive journey through the art of figure sculpting using ZBrush. You'll learn to transform 2D character designs into detailed 3D models, suitable for garage kits and professional displays.
You'll also learn the foundations of figure sculpting and understand the complete workflow of figure creation, from concept to final model. Master the ZBrush Techniques and essential tools and brushes to create appealing forms and intricate details. Discover the tips and know-how from a professional through a detailed curriculum covering fundamentals and practical applications. Upgrade your modeling skills with this comprehensive course!

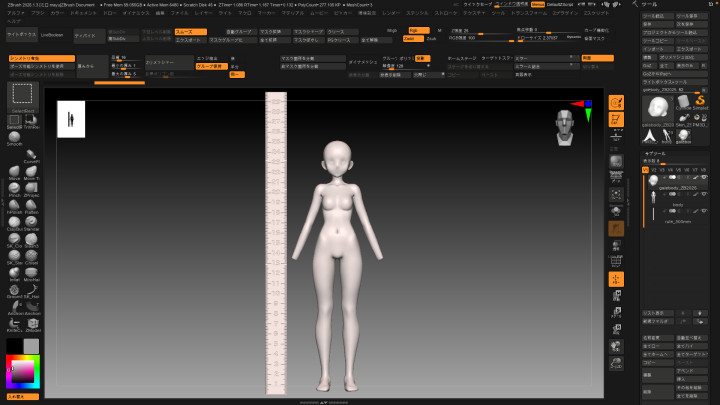
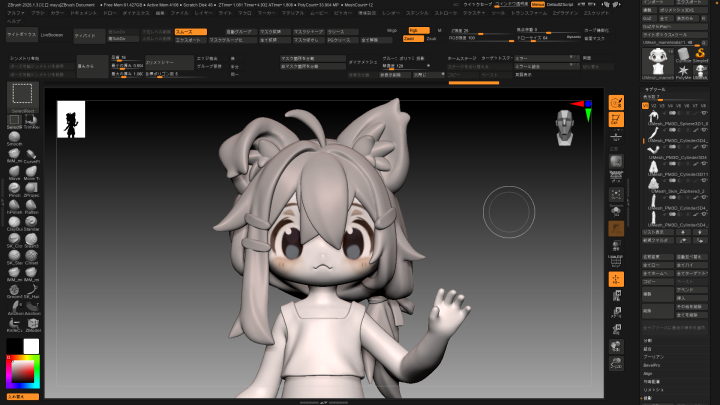
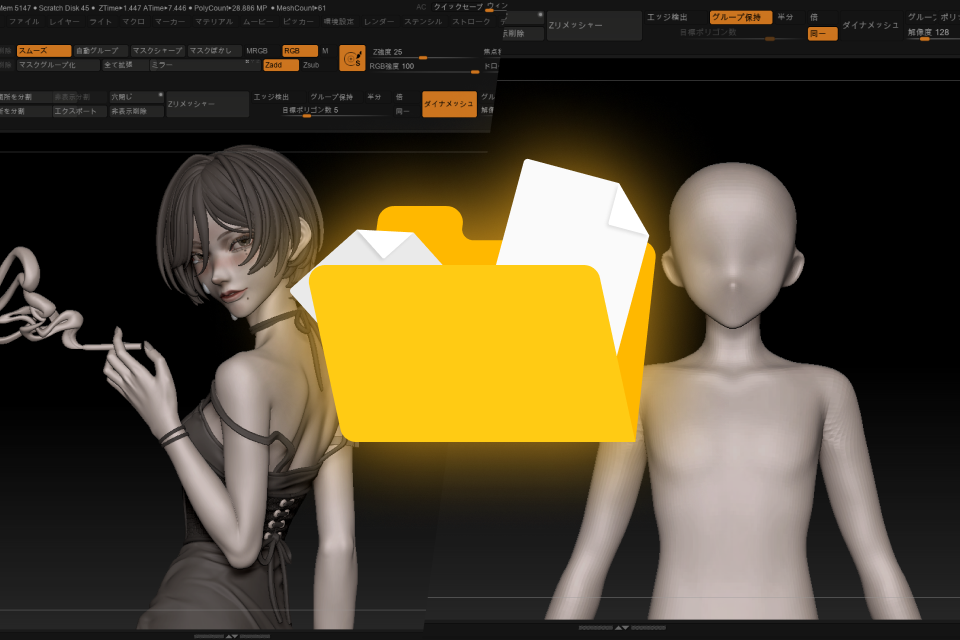
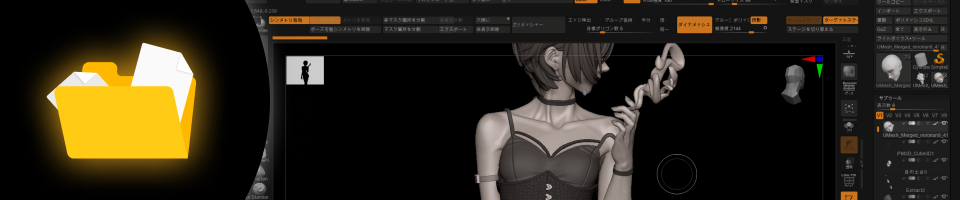
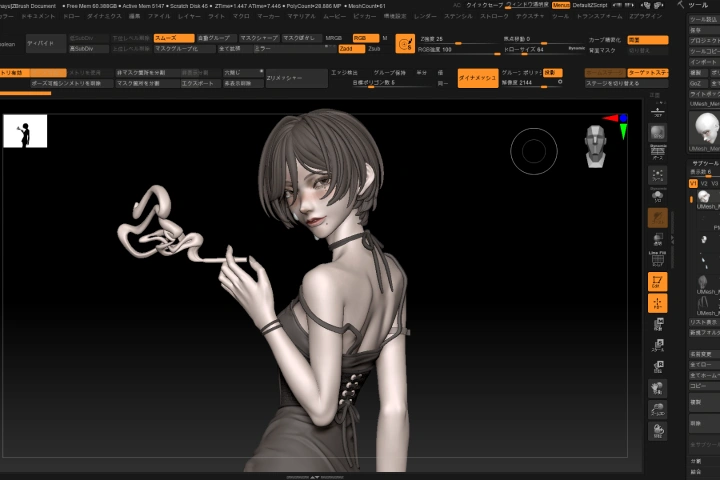
Hands-on Modeling Techniques with Practical Exercises
-
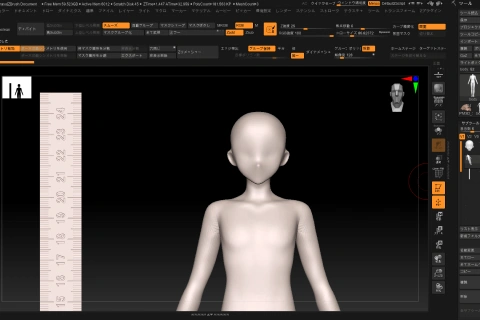
 Simple Modeling
 -
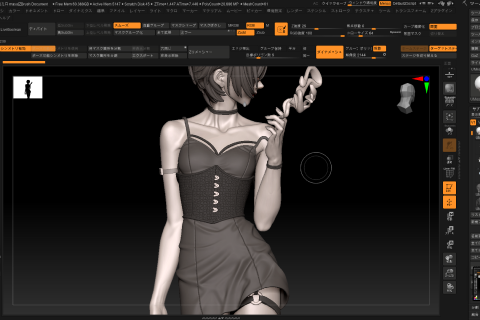
 Female Figures
Instructor
Figure Modeler
Miro
Hi, I’m figure modeler Miro. I majored in sculpture in college and studied digital modeling for a year on my own. I now work as a freelancer who mainly creates commercial models. I also create derivative work of my original work, as well as copyrighted work as personal projects.
This class explores the process of making figures and garage kits using ZBrush based on demonstrations. Join me now to master the modeling techniques for creating charming characters and garage kits.

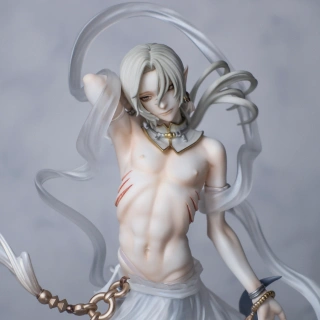
Figure Modeler Miro
[Current]
Figure Modeler
Projects & Awards
Books
- Published work on Sculptors 06 (Mook)
- Published work on Sculptors 07 (Mook)
- Published work on Sculptors Labo 01 (Mook)
Seminars/Events
- Lectured at Sculptors’ Seminar Vol. 8
- Lectured at CGWORLD SCULPTORS DAY 2024
Highlights
Class Highlights
How to Turn Illustrations and Characters into Appealing 3D Models
The key to recreating a 2D illustration is to understand the differences between flat surfaces and 3D shapes. In this class, you will learn to turn a character into a 3D model while boosting its appeal by applying stylization methods unique to figure modeling and adjusting the level of detail.
Recommended ZBrush Features for Figure Modeling and Their Practical Usage
Explore the basics of figure modeling in ZBrush as well as useful features offered by the program based on a real-world practical work process. Master practical Zbrush techniques used by professionals, including frequently used brushes and tools that improve work efficiency.

Setting Up Poses for More Attractive-Looking Figures and Key Points in Body Modeling
When it comes to modeling character figures, posing and body modeling determine the overall impression of the work. This class will introduce you to the key concepts and skills used by professional modelers, such as what makes a pose look beautiful and natural and how to adjust proportions considering silhouettes.
Class Details
You'll Learn
-
 Basic and Useful Features of ZBrushFamiliarize yourself with the basic features and brushes of ZBrush required for figure modeling. You’ll also learn how to boost your work efficiency in the program and tips for utilizing frequently used tools.
 -
 How to Create Attractive Female BodiesLearn the skills to create attractive bodies of female characters in the modeling process, focusing on incorporating anatomically important elements to make models that captivate the viewer.
 -
 Creating Beautiful Poses That Don't Fall ApartAfter studying the concepts of the center of mass and contrapposto, you’ll learn the skills for setting up poses that emphasize a character’s appeal, as well as how to create natural movement that does not fall apart, with the goal of making models that look beautiful from all angles.
-
 Enhancing an Illustration’s Look in 3DJoin Miro as she shares her stylization techniques for emphasizing an illustration’s characteristics and adjusting the balance of 3D shapes, as well as how to divide a figure into parts that need emphasis and those that need simplification.
 -
 A Modeling Process Where You Can Easily Make Changes and AdjustmentsDelve into a modeling process that allows you to make changes and adjustments with ease. Discover how to divide a model into detailed parts, ZBrush tools for smoother modification, and research regarding work methods.
 -
 The Process Up to the Garage KitExplore the process of turning a digital model into a marketable garage kit in depth with Miro’s demonstration of each stage, including 3D printing, refining, duplicating, coloring, and packaging.
- Unlimited Access
- Best Price
Buy now, get unlimited access.
07/27 (Mon) (UTC-7) Special offer ends soon.
This special offer ends soon.
Buy now and save!
Interview with
Figure Modeler Miro

Question.01
What is the biggest challenge faced by learners studying this field and how can this class help them overcome it?
To create a garage kit or a commercial model, you must have information about the suitable thickness for splitting and exporting, as well as knowledge and skills regarding forms that can be duplicated as silicone frames. Without hands-on practice, however, it is difficult to properly master these techniques. That’s why in this class, you’ll learn necessary practical knowledge and skills while experiencing a real-world practical work process, deepening your understanding of the field.
Question.02
What was the reason you started creating figures?
I once made a ball-jointed doll when studying 3D modeling in college, which introduced me to materials like stone powder clay and epoxy putty. This led me to develop an interest in making dolls and figures and start creating garage kits.
Question.03
What did you struggle with when studying this field, and what was your strategy to overcome that?
At first, I found it hard to get used to digital modeling. It was also not easy to understand the unique body stylization methods used for setting up poses and figures. To overcome these problems, I kept using ZBrush and spent a lot of time familiarizing myself with the program. I also made as many pieces of work as possible to get a grasp of posing and stylization, and bought figures that I thought looked good for observation and references.
Question.04
What is the most important point in producing output?
It is most important to objectively determine whether you could materialize the input knowledge and image in your style. Also, if it’s for a commercial figure, you must consider whether the result would be able to satisfy and receive positive feedback from consumers and the fans of the original work.
Required Programs
This course will use
- ZBrush
Please purchase and install these program(s) for an optimized class experience.
*These programs and/or materials will not be provided with the course.