[Course]cgproductionstudio,spookygraphic_JP Details
In-Depth Look
- SECTION 01
Orientation
Introduction and Class Overview- Instructor introduction - Class overview
Setting up Blender- Installing Blender and initial setup
- SECTION 02
Planning to Storyboarding
Planning and Scheduling- Purpose of production - Arranging and creating a schedule
Character Design- Character design for 3D - A haunted main character - Designing a ghost
From Storyboard to Video Storyboard- Developing a storyboard based on the script - Turning the storyboard into a video storyboard
- SECTION 03
Modeling and Setup
Learn Modeling Basics With Low-Poly Characters- Basic Modeling
Modeling Bodies- Drawing three orthographic views of a character - About base meshes - Adjustment techniques based on the character - Cloth modeling - UV mapping
Modeling Faces- Creating base meshes - Face modeling - Final adjustments
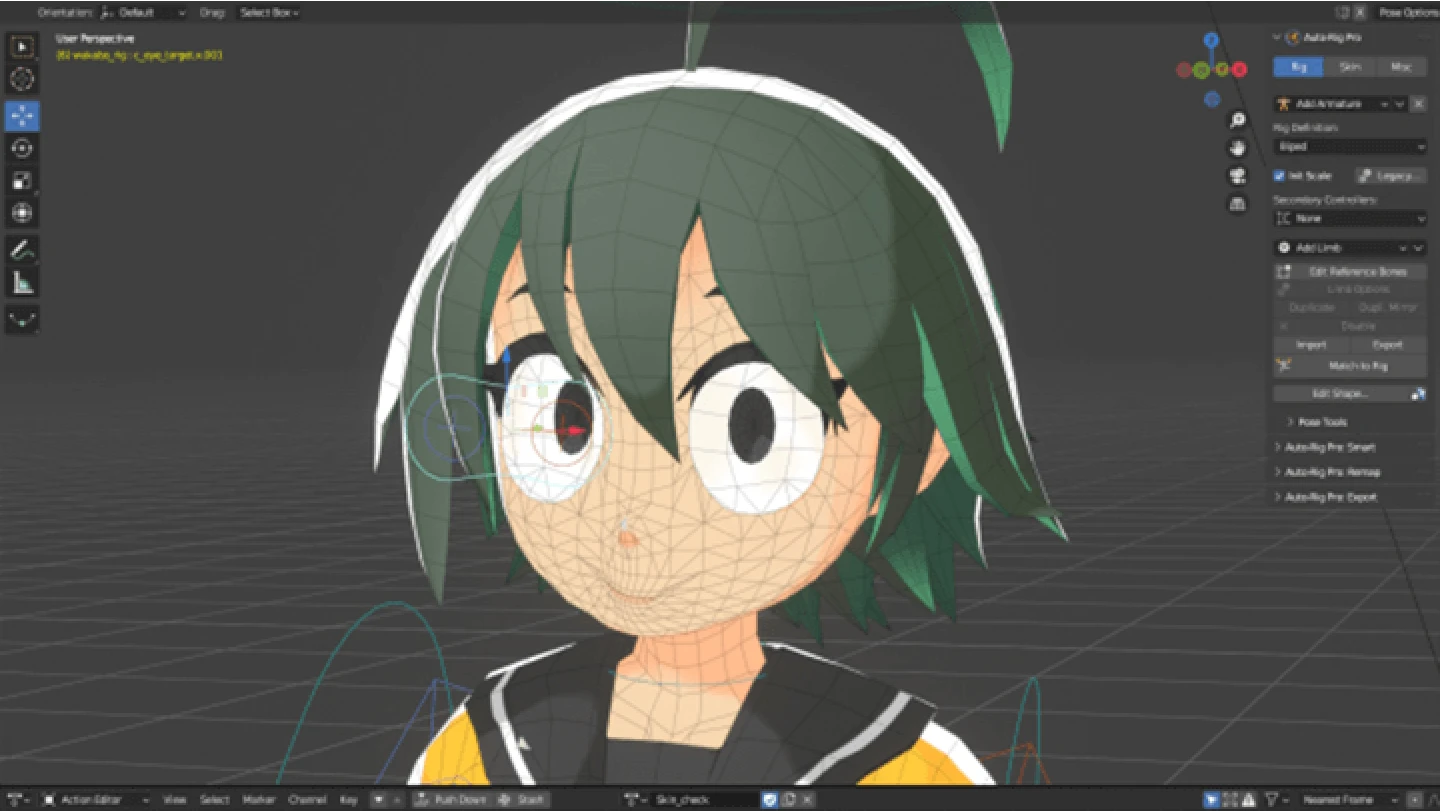
Rigging With Auto-Rig Pro- Overview of Auto-Rig Pro - Creating skeletons - Adding skin - Rigging a skirt - Setting up controllers - Setting up faces
Materials- What is Look Dev? - Reference collection - Interpreting materials - Setting up lightiing
- SECTION 04
Animating
Study Rig Movement by Posing- Understanding rigs - Showing a character’s personality
Practicing With Simple Animation- Showing a character running
Layouts and Cameras- Basic layout principles - Scene creation demo featuring haunted girl - Explanation of other scenes
Animation (Blocking)- What is blocking? - Scene creation demo featuring haunted girl - Explanation of other scenes
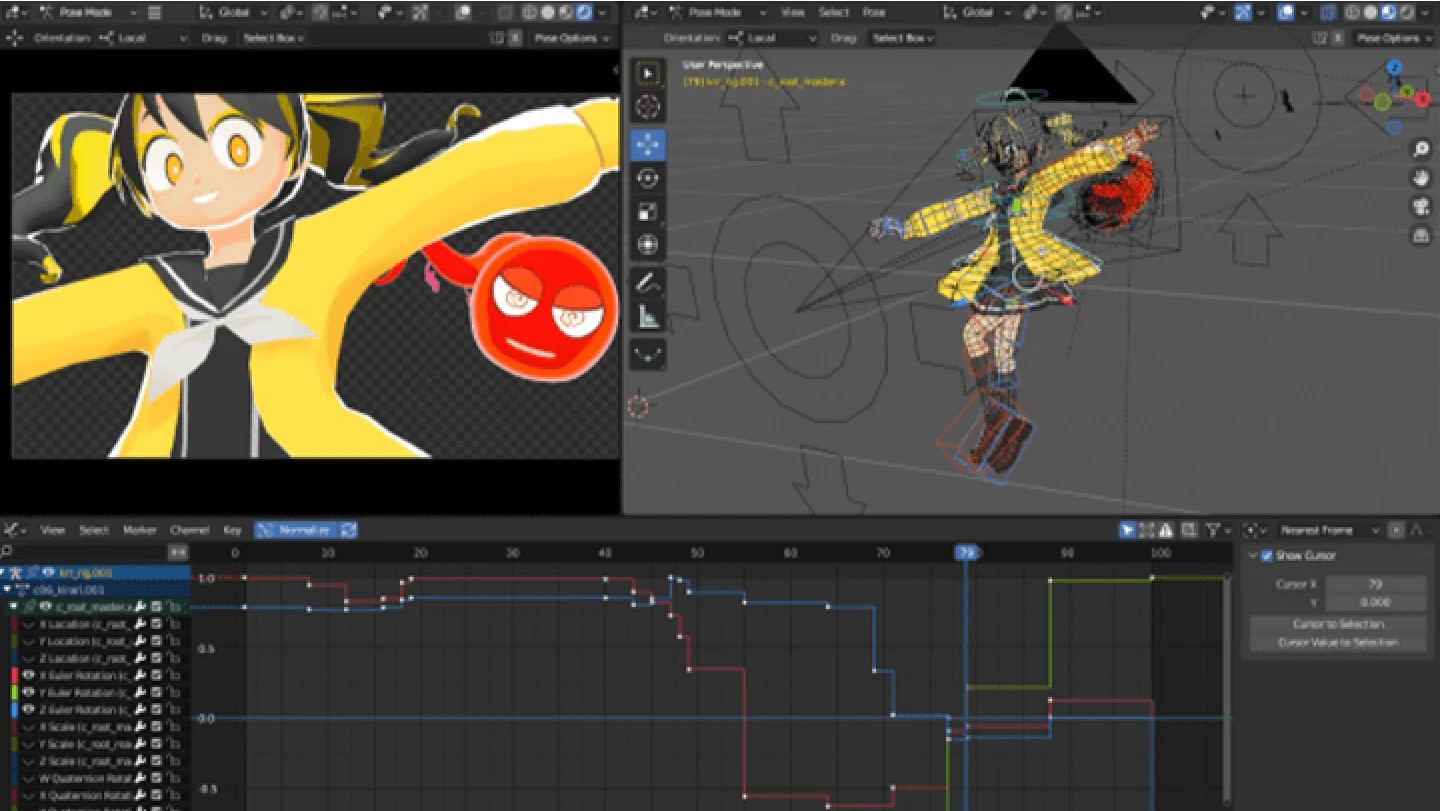
Animation (Splining)- What is splining? - Scene creation demo featuring haunted girl - Explanation of other scenes
Animation (Polishing)- What is polishing? - Scene creation demo featuring haunted girl
Secondary Actions- Advantages of using keyframes to add secondary movements - Demonstration of creating secondary movements for the skirt and hair - Creating facial expressions
Animating the Ghost- About the ghost rig - Creating ghost-like movements - About particles
- SECTION 05
Effects and Compositing
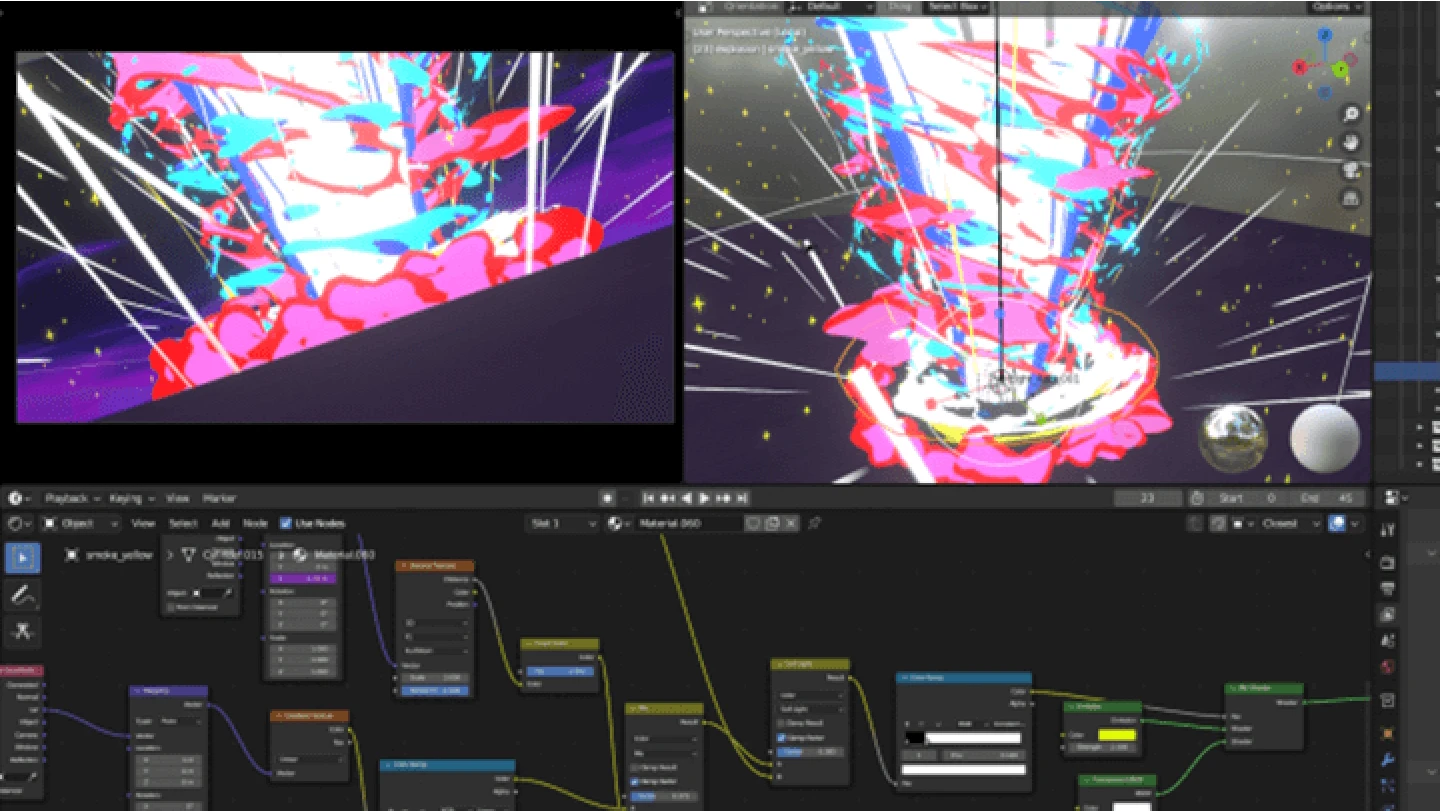
Effects in Blender- Understanding effects through procedural textures - Applying effects in Blender
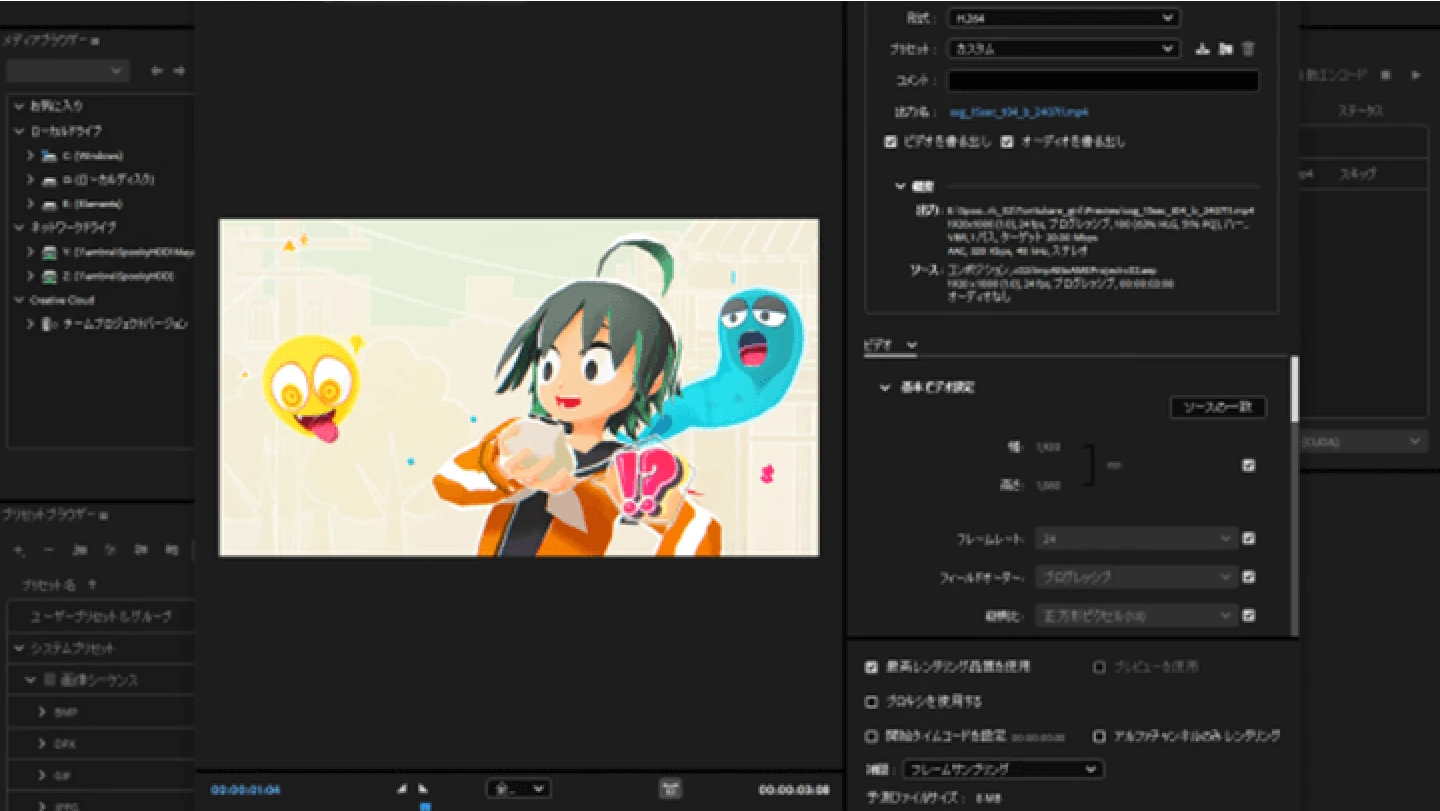
Compositing- What is compositing? - Setting up rendering - Scene creation demo featuring haunted girl
- SECTION 06
Adding 2D Elements in After Effects and Finishing
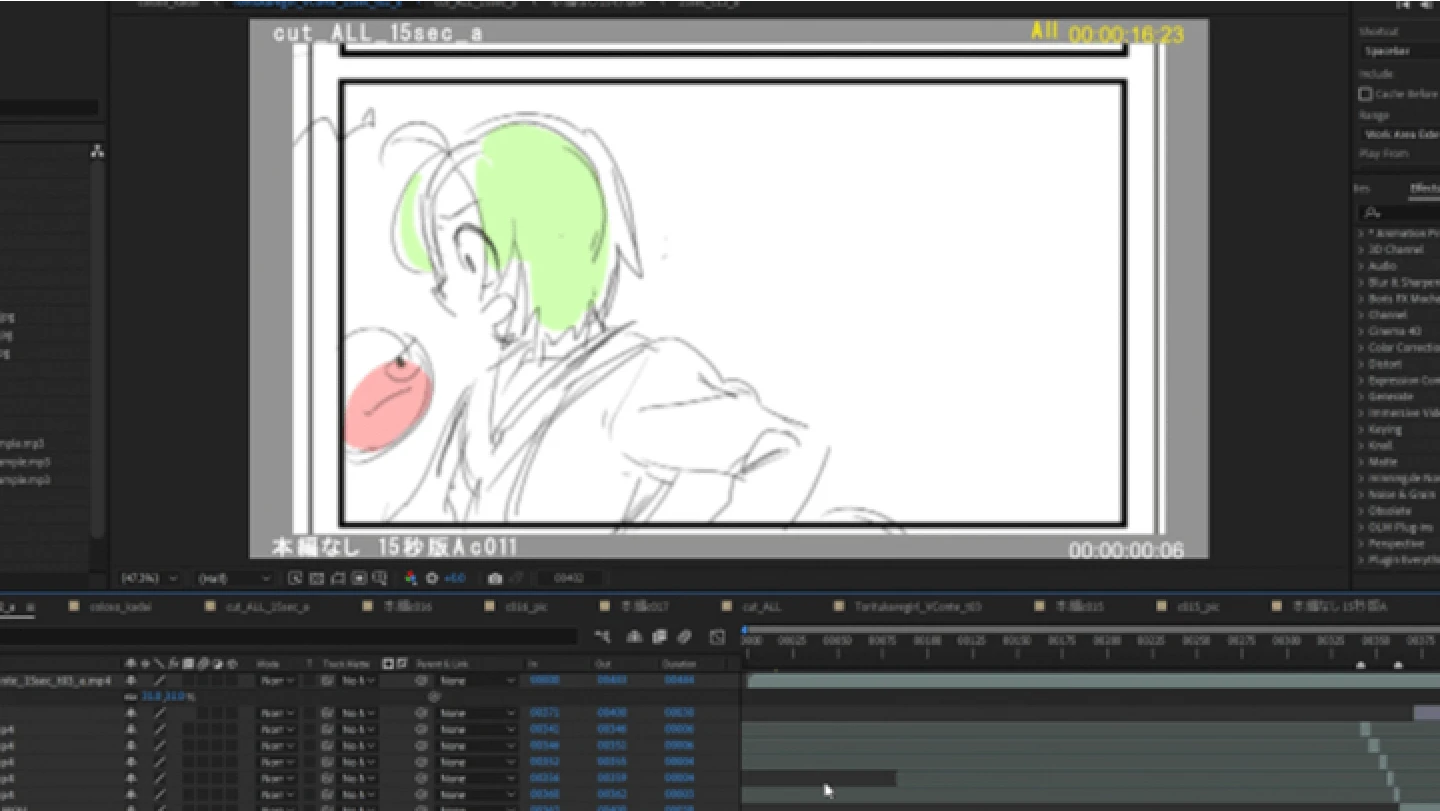
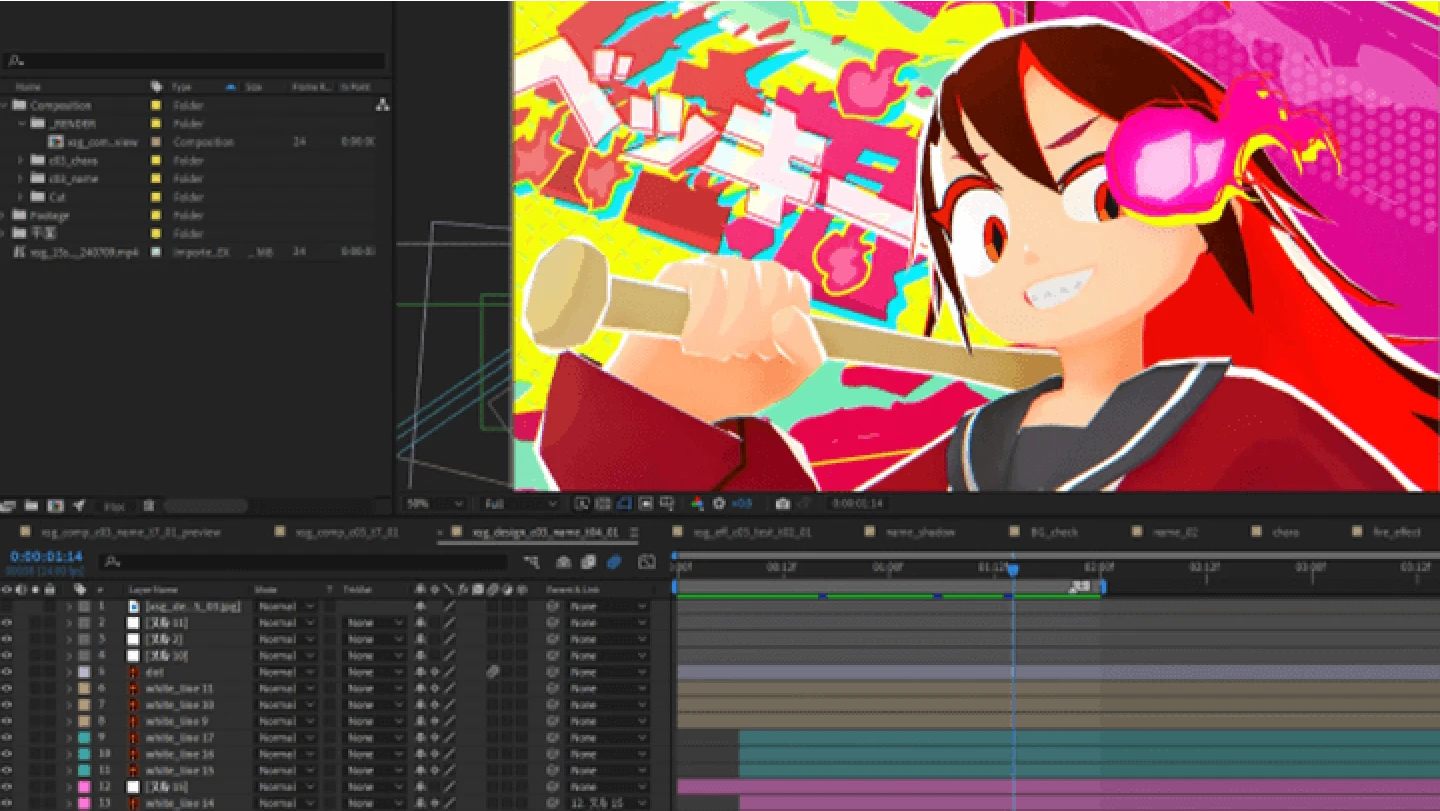
Adding Manga Iconography and Effects in After Effects- Creating 2D design materials - About hand-drawn effects - Importing into After Effects - Applying motions
Adding a Soundtrack and Sound Effects- Choosing a soundtrack and sound effects that suit the scene - Checking the work overall
- SECTION 07
Completion
Final Export and Upload- Final export - Uploading to social media
- SECTION 08
Useful Information
Useful Information for Producing Short Films- Reference sites - Sharing rigs - Conclusion
Like this class? Then check these out!
- 3DBlenderUnityVRChatFrom Sketch to 3D Anime Avatar: Exploring Applications3D CG Character Artist, RikaRecommended
- CelshadingAnimationProceduralEffectsGeometryNodesCreating Stunning VFX Animations with Blender's Geometry Nodes3DCG Creator, Hiroshi KanazawaRecommended
- 3DBlender2DCharacterCharacter Illustration to 3D in Blender: A Step-by-Step Guide2D & 3D Artist, Raul TrevinoRecommended
- Blender3DCGCharacterPosingAnimationCreate Expressive Character Animation Using Blender3DCG Creator, Jp-KRecommended
- AnimationCelShadingActionSceneGreasePencilCreating Cel-Shaded Character Animations with Blender3DCG Animator, HiraoRecommended
- ModelingToonShadingLineArtAudioKORSubENGIntro to 3D Cartoon Rendering with Blender 3D Artist, Sangwoo ParkRecommended
- BlenderanimationsubcultureblenderintermediateThe 100-Chapter Guide to Blender From the Basics to 3D Animation3D Animator, minusT Recommended
- Blendermodelingtexturing3DCreate Cyberpunk Animations Using BlenderDigital Artist, KazusaRecommended